


Color Theory for Quilters: Value, Hue and Choosing Fabrics That Work
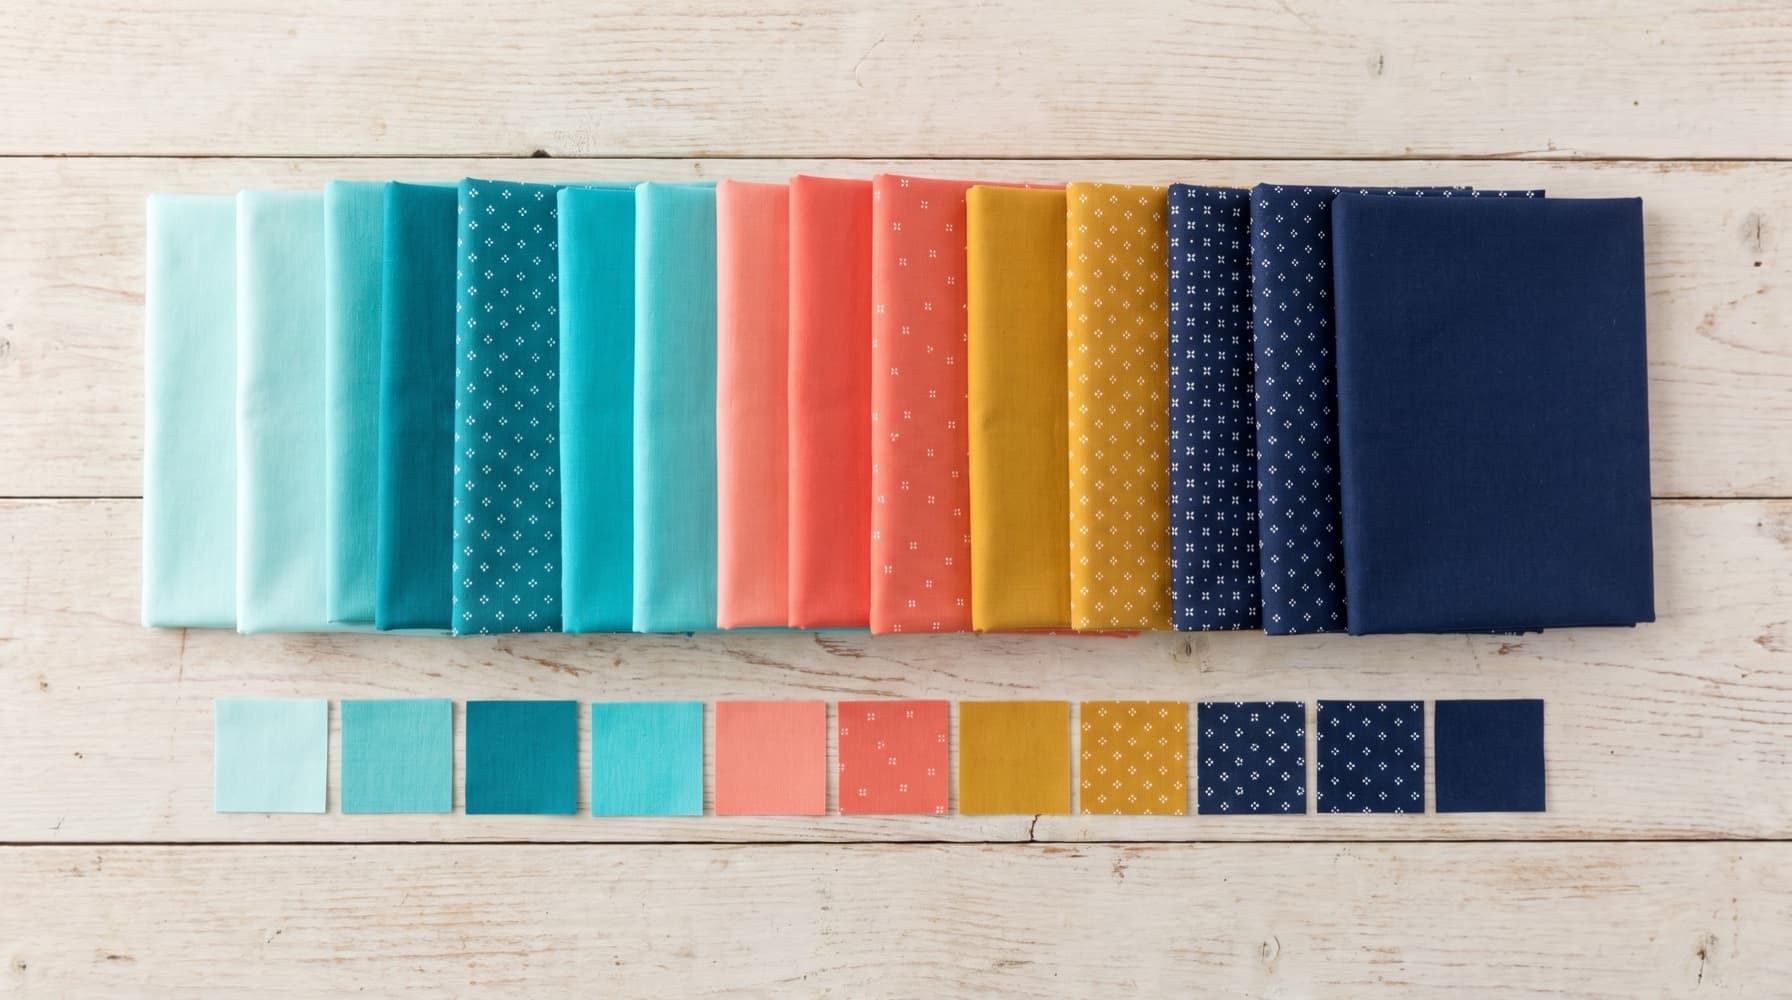
When a finished quilt top disappoints, the colors usually aren't wrong. The values are too close together, so the piecing you worked hard on melts into a blur. This guide starts with value, the property that matters most in quilts, then covers hue, saturation, temperature and print scale. It ends with a repeatable process for pulling fabrics.
The four properties of fabric color
Every fabric has four color properties worth separating in your head:
- Hue: the color family. Red, blue-green, violet.
- Value: how light or dark it is.
- Saturation, also called intensity or chroma: how pure or grayed the color is. Fire-engine red is saturated; brick red is muted.
- Temperature: whether it leans warm (toward red and yellow) or cool (toward blue and green). Even neutrals have temperature: cream is warm, dove gray is often cool.
Fabric adds two more that paint chips don't have:
- Print scale: how big the motifs are relative to the pieces you'll cut.
- Visual texture: how busy a fabric reads from a distance. A tone-on-tone print can read almost as a solid, while a multicolor floral reads as texture.
Value comes first
A pieced block is a drawing made of value. The star in an Ohio Star exists only because the star points contrast with the background. Swap the fabrics for two of similar value and the star disappears, however different their hues.
Value is relative
No fabric is "medium" on its own. A dusty blue looks light next to navy and dark next to white. So judge value in the company a fabric will actually keep in the quilt, not on the bolt.
How to see value
Hue distracts the eye, so remove it:
- Photograph your fabric pull in black and white. Most phone cameras have a mono filter, or you can desaturate the photo afterward. It's the most reliable test.
- Squint or step back. Blurring your vision suppresses hue and print and leaves value.
- Use a value viewer. Red acetate viewers work on most fabrics but make red fabrics look pale, so check reds with a green viewer.
Build a value range
Aim for at least three distinct steps (light, medium and dark) in almost any quilt. Five steps give you more room: a range from light through dark lets you shade, create depth, and make some shapes recede while others come forward. If your black-and-white photo shows mostly middle grays, add a darker dark or a lighter light before worrying about hue.
Hue: the classic color schemes
Color schemes are a starting structure, not a rule. The versions below are phrased for quilts:
- Complementary: two hues opposite each other on the color wheel, such as blue and orange or red and green. It's high-energy, so let one dominate and use the other as an accent.
- Analogous: three or four neighboring hues, such as yellow through orange to red. It's naturally harmonious and ideal for gradients, ombré layouts and scrappy quilts that should still feel unified.
- Split complementary: one hue plus the two neighbors of its complement, such as teal with coral and goldenrod. It has much of the punch of complementary with more flexibility.
- Triadic: three hues evenly spaced around the wheel. It's lively and can feel childish at full saturation. Muting one or two of the three helps.
- Monochromatic: one hue in many values and saturations. The design relies entirely on value, so it's a good exercise, and it showcases quilting beautifully.
Proportion matters as much as choice. A common starting point borrowed from interior design is roughly 60% dominant color, 30% supporting and 10% accent. Treat those numbers loosely, but make sure one color is clearly in charge.
Saturation: why one fabric "jumps out"
When a single fabric seems to leap off a quilt top, the cause is usually saturation, not hue. Clear, saturated colors come forward; grayed colors sink back. Mixing the two is fine if you do it on purpose: a few saturated fabrics among muted ones make natural accents. When it happens by accident, the quilt looks uneven, or "muddy" when grayed fabrics dull the clear ones next to them.
If a fabric is fighting the rest of your pull, compare saturation before you blame the hue. Often a slightly more muted fabric of the same color fixes it.
Temperature: advancing and receding
Warm colors tend to come forward and cool colors tend to recede, which is useful for building depth. Set warm blocks on a cool background and they'll float. But value and saturation often override temperature: a pale, grayed orange will recede next to a saturated royal blue. Use temperature as a tiebreaker, not a law.
Print scale and texture
A fabric you love on the bolt can look completely different cut into 2-inch squares. A large floral might become an unrecognizable scatter of petals, or it might add lovely movement. To preview it, cut a window the size of your finished piece in a scrap of cardstock and slide it over the fabric.
Mix scales on purpose. A quilt made only of small prints reads as flat texture. Large prints alone can feel chaotic. A range of large, medium and small prints, plus a few solids or tone-on-tones to rest the eye, usually works.
Low-volume fabrics (light prints with subtle text, dots or line drawings on white or cream) act as backgrounds that add texture without adding color. They're a good choice when a solid white feels too stark.
A process for pulling fabrics
- Start with an anchor. A focus print, a photo, or a mood ("dusk at the beach"). It gives every later decision something to answer to.
- Pull too much. Gather more candidates than you need, across a range of values.
- Stack in proportion. Fold fabrics so the amount of each you can see roughly matches its share of the quilt. A background showing as a small sliver will mislead you.
- Take the black-and-white photo. Check for a real range of values. Look for fabrics that merge with their neighbors where you need contrast.
- Remove the loudest outlier. Almost every pull has one fabric that fights the rest. Take it out and see if the group improves.
- Check in daylight. Store lighting skews warm or cool. Look again near a window before buying.
- Choose binding last. Audition it against the finished top. A binding matching the outer edge disappears. A contrasting one frames the quilt.
For a starting pull, compare our 20 quilt color combinations, then audition the background against the block's actual neighbors. If several scraps fill the same role, the scrappy quilt placement study shows how to keep that role consistent across the layout.
Common problems and fixes
| Problem | Likely cause | Fix |
|---|---|---|
| Piecing disappears | Values too close | Swap in a darker dark or lighter light at the key contrast points |
| Quilt looks flat | Everything is medium value | Extend the range at both ends |
| One fabric jumps out | Saturation or value mismatch | Replace it with a more muted fabric of the same hue, or repeat it elsewhere so it looks intentional |
| Top feels chaotic | Too many busy prints | Add a calm background or swap some prints for tone-on-tones |
| Colors look muddy | Grayed and clear colors mixed at random | Commit to mostly clear or mostly muted fabrics |
| Palette feels boring | No accent | Add a small amount of an unexpected color, a "zinger" |
Planning palettes in QuiltLab
A few QuiltLab features map directly onto the process above:
- Photograph your fabric pull at true scale. Upload each fabric in the Swatch Editor and set its real size. Fabrics then appear in blocks and quilts at the correct print scale, so you can see how a large print reads when cut into small pieces before you cut it.
- Collect candidates in a palette. A palette can hold custom colors, your own swatches and fabrics from supplied manufacturer collections, so you can gather a whole pull in one place.
- Recolor instead of redrawing. Duplicate a block or quilt in your library and swap fabrics in the copy. Comparing two colorways side by side quickly shows which one has the stronger value structure.
- Take the black-and-white test on screen. Screenshot your design and view it in grayscale, using your computer's or phone's photo tools. If the piecing disappears in gray, it will disappear in fabric.
For the mechanics, see the Swatch Editor and Block Editor guides.
Tools and further reading
- A physical color card. Screens don't show fabric color accurately. A manufacturer color card, such as the Robert Kaufman Kona Cotton card, shows real dyed swatches.
- Coolors for generating and saving palettes, including from a photo.
- Design Seeds for palettes pulled from photographs, useful for starting from a mood.
- Joen Wolfrom, Color Play, a quilting-specific color course.
- Becky Goldsmith, The Quilter's Practical Guide to Color.
Once you have a palette you like, see Modern vs. Traditional Quilts for how color choices change with style.
Related posts
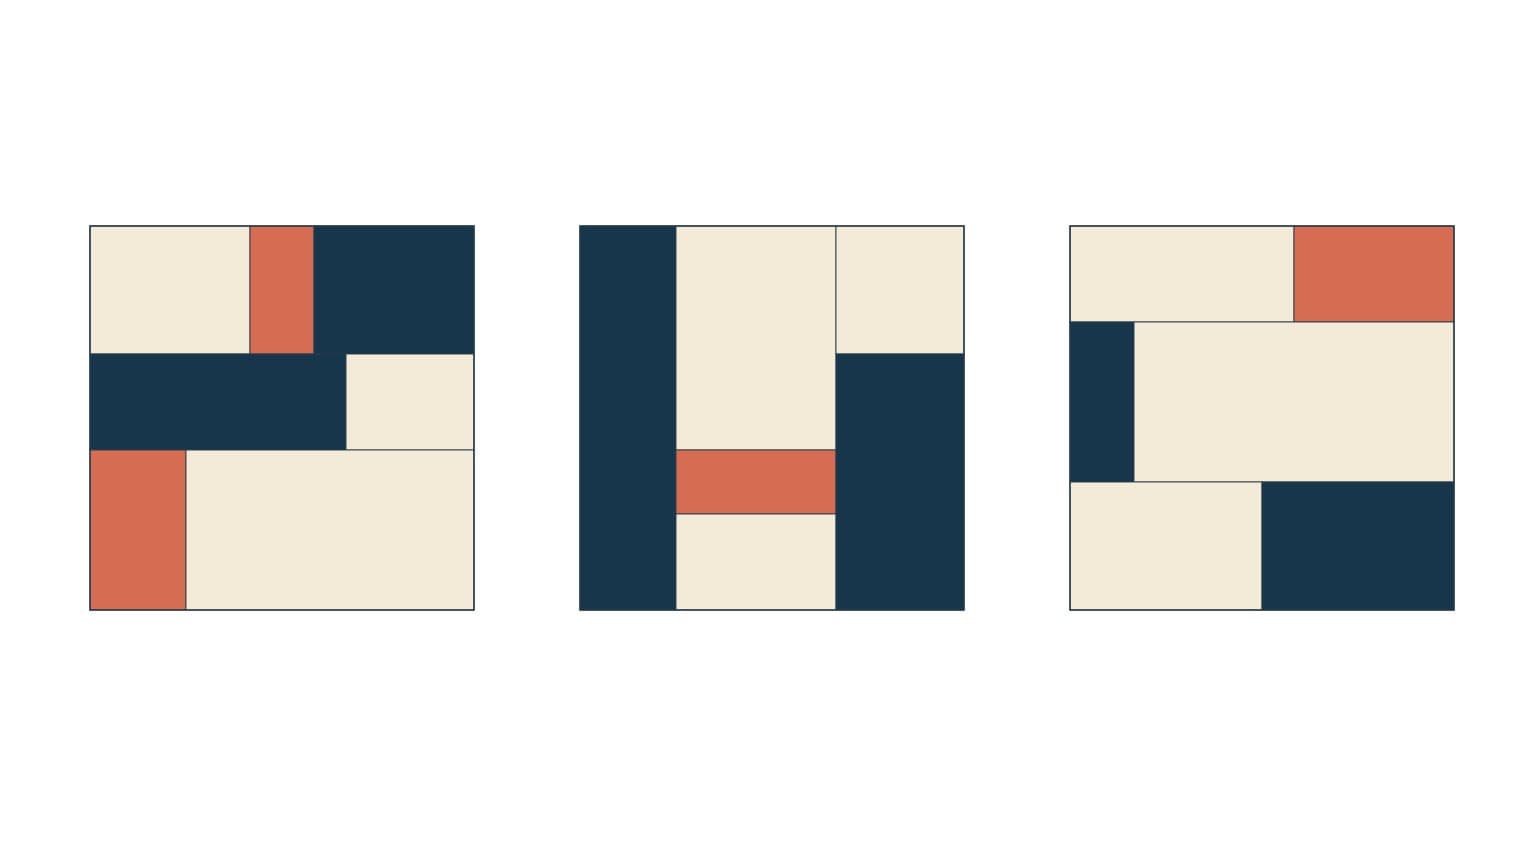
Improv Quilt Design Constraints: Three Limits
Start an improv study with a shape vocabulary, three fabric roles and a finished envelope, then explore several original compositions.
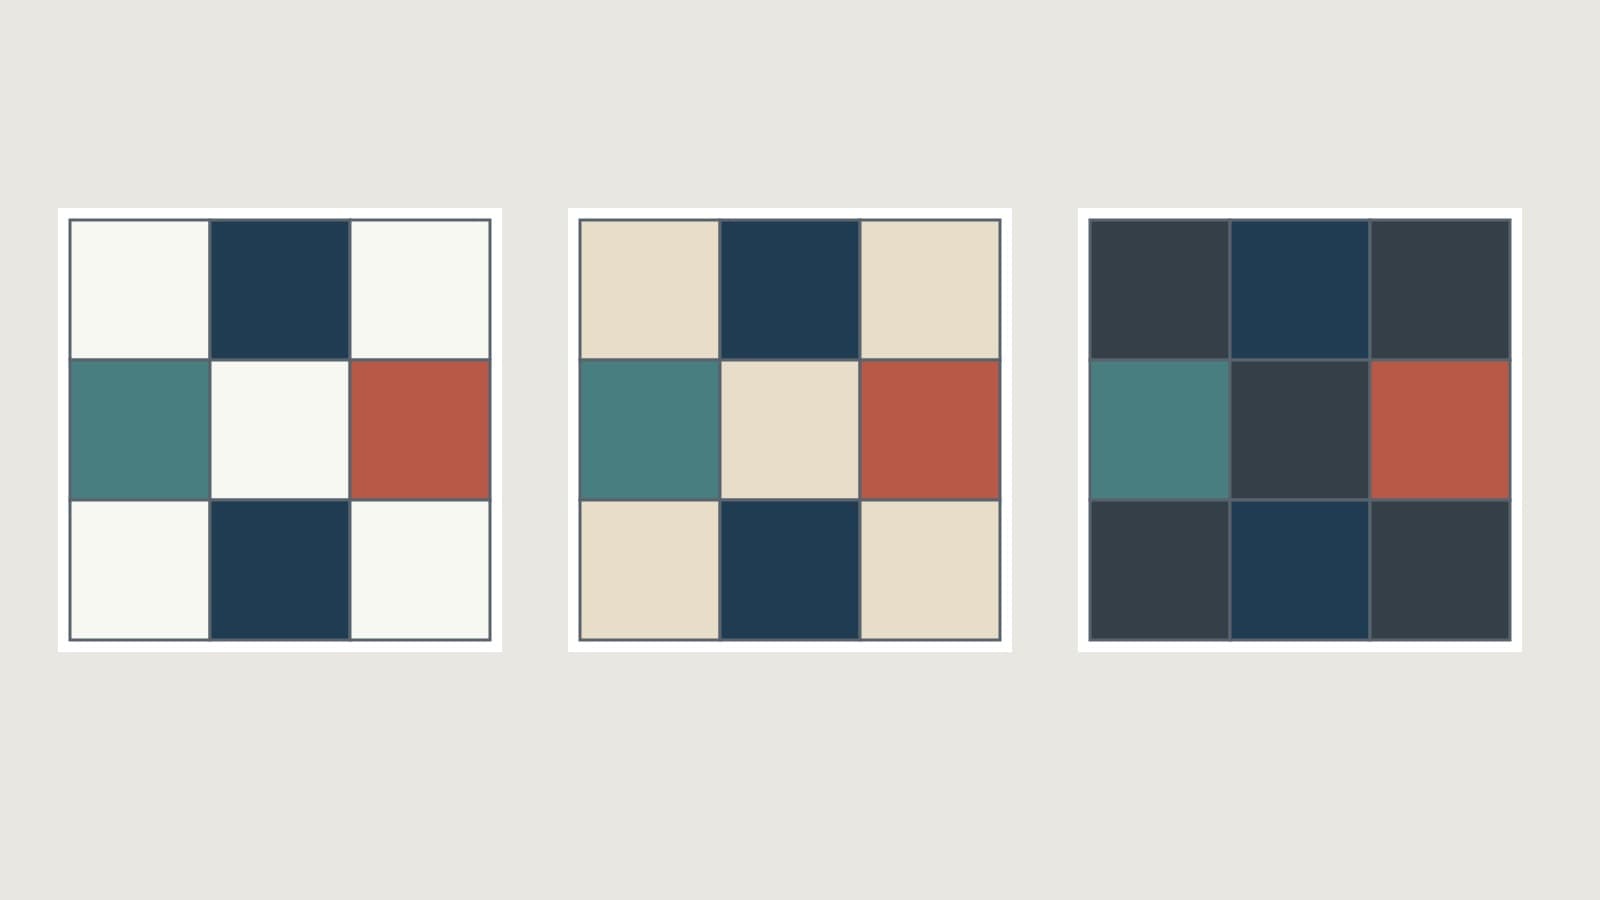
How to Choose Background Fabric for a Quilt
Compare contrast, undertones and print density, then test your background in the right proportion with a checked nine-patch example.
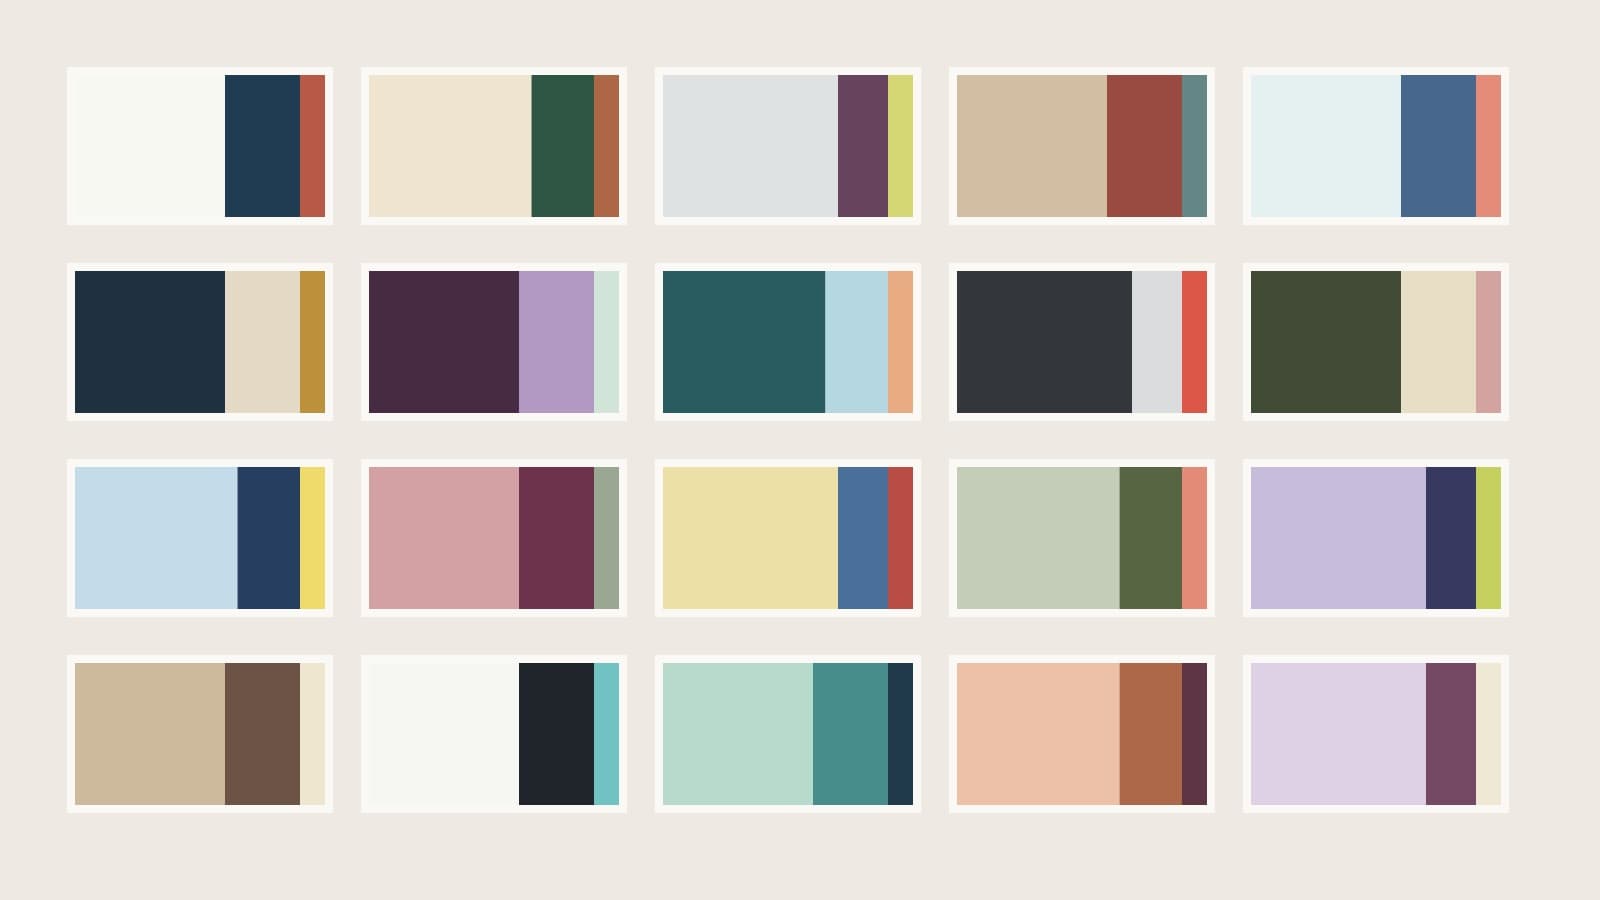
Quilt Color Combinations: 20 Palette Plans
Twenty quilt palettes with background, support and accent roles, checked area proportions and placement notes to help you choose fabrics.