


Photo Quilt Ideas: Seven Projects, From Printed Panels to Pieced Mosaics
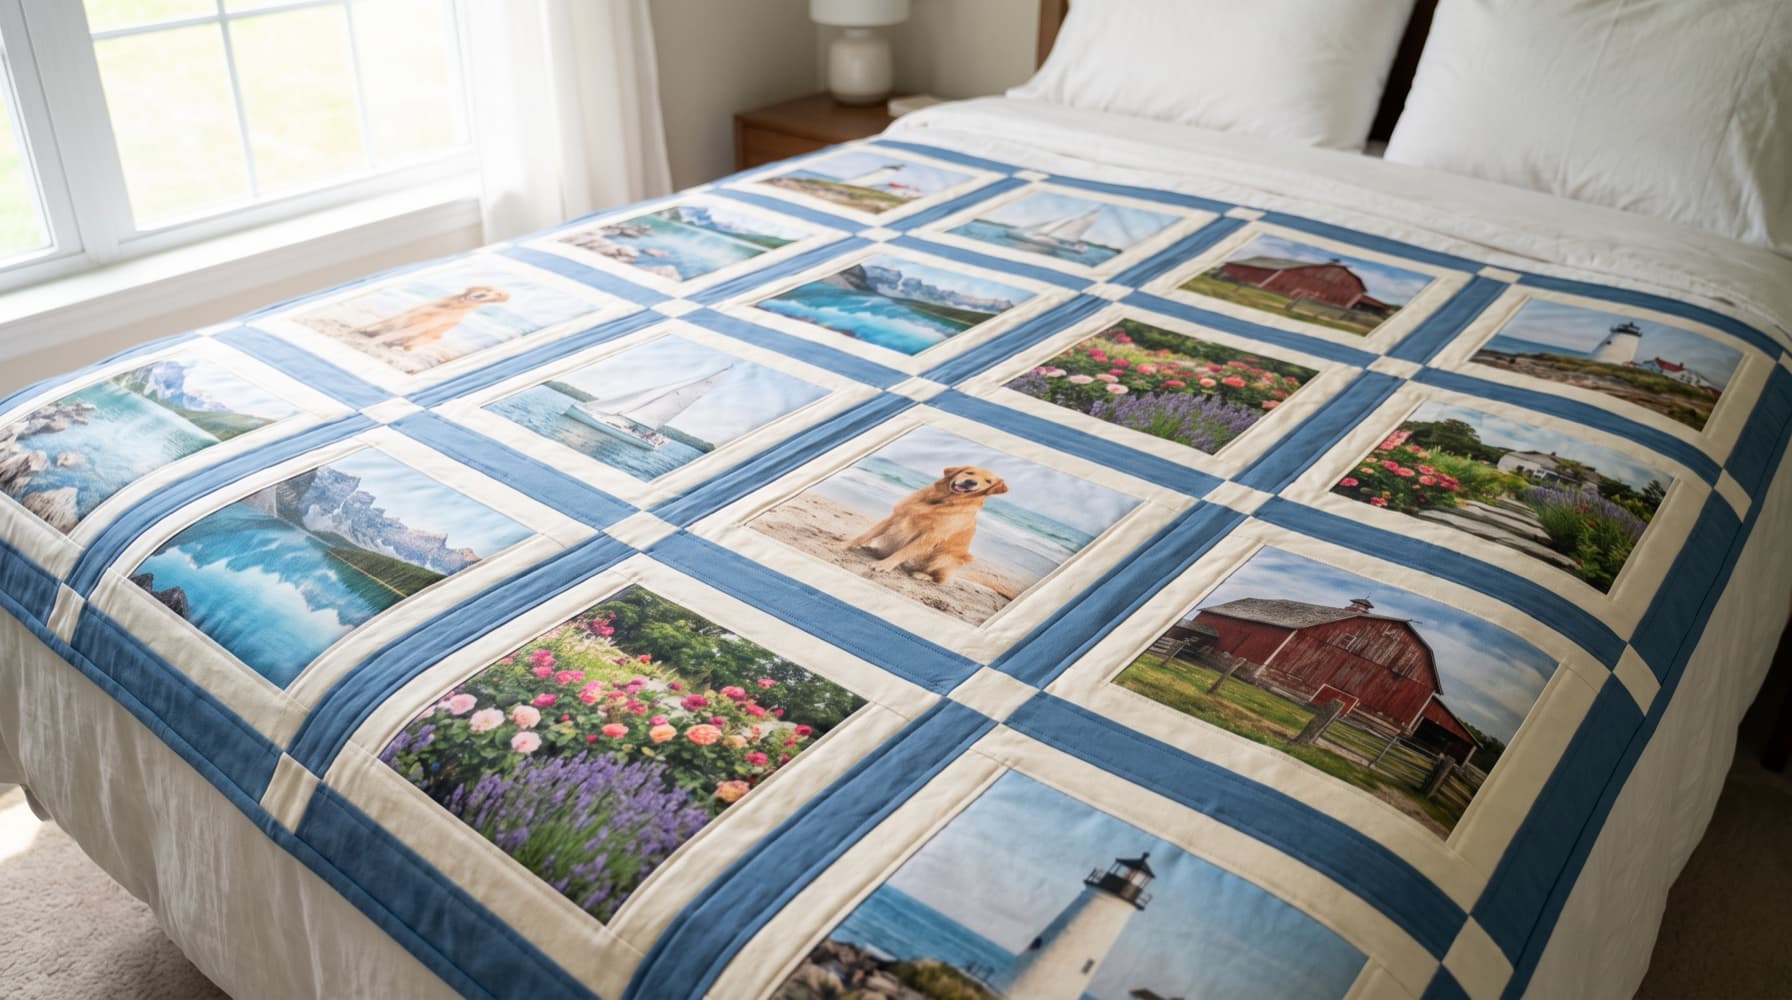
Photo quilt ideas work best when the technique matches what matters in the picture. If you want a person's expression or a handwritten recipe to remain legible, consider a printed fabric panel. If the subject is a bold silhouette, a pieced mosaic or appliqué can turn it into a fabric design.
Here are seven project directions, a checked twenty-photo layout, and the printing decisions to settle before buying the surrounding fabric.
The cover is a Gemini-generated mood illustration, not a photograph of a sewn QuiltLab project or a diagram of the layout below.
Three ways to put a photo in a quilt
Printed photo blocks keep the photographic image on a continuous piece of fabric. Use a suitable inkjet fabric sheet or a custom fabric-printing service, then incorporate the printed panel into your quilt. This is the most direct option for faces, lettering and handwriting, although small details still need a test print at their final size.
Pieced photo mosaics, also called pixel quilts, translate an image into a grid of fabric patches. The image depends on the relationship between adjacent colors and values. A clear outline and a subject that occupies much of the picture give you a useful starting point; a distant face in a group photograph may disappear at a coarse patch scale.
Photo-based appliqué uses fabric shapes to interpret the image. You might begin with a few large light, medium and dark regions rather than every color in the photograph. This can suit a house, pet or profile, but the shapes and edge treatment still need a construction plan.
These are different design approaches. A printed photograph does not require you to sew every pixel, and an appliqué outline is not automatically a ready-to-cut sewing template.
Choose the picture and the printing method together
Start with the part of the picture you want people to notice. Crop away distracting surroundings while leaving enough room around important features. For a set of printed photos, try one consistent treatment, such as black and white, and compare the images together before committing to it.
For printing, check the cropped file's pixel dimensions at the intended physical size. Spoonflower uses 150 DPI for its fabric files, while Electric Quilt recommends 150–200 DPI for its printable inkjet fabric. Those are product-specific instructions, not one resolution rule for every printer or transfer material.
An 8-inch-wide image needs 1,200 pixels across at 150 pixels per inch, or 1,600 at 200. A 1,200-pixel file supplies only 4 inches at 300 pixels per inch. Changing a resolution label does not recover detail missing from the image. Check the size again after cropping.
For printed panels, also confirm the printer's usable print area, the provider's sizing conventions and the space needed for seams. Keep names, eyes and other essential details away from the seam line. Use pictures you own or have permission to reproduce, and keep the original files separate from edited crops.
Seven photo quilt ideas
1. The memory grid
Technique: printed photo blocks.
Choose twenty photos for a graduation, anniversary or retirement quilt. Number them before arranging the quilt so you can compare chronological order with a grouping by person or event.
Here is an original finished-size design study, without a sewn-sample claim:
- Each visible photo area is 8 × 8 inches.
- A 1-inch finished frame on every side makes each framed block 10 × 10 inches.
- Set five blocks across and four down.
- Use 2-inch finished sashing between the blocks and around the outside.
There are six sashing widths across and five down, including the outside edges:
| Direction | Block space | Sashing space | Finished total |
|---|---|---|---|
| Width | 5 × 10 = 50 inches | 6 × 2 = 12 inches | 62 inches |
| Height | 4 × 10 = 40 inches | 5 × 2 = 10 inches | 50 inches |
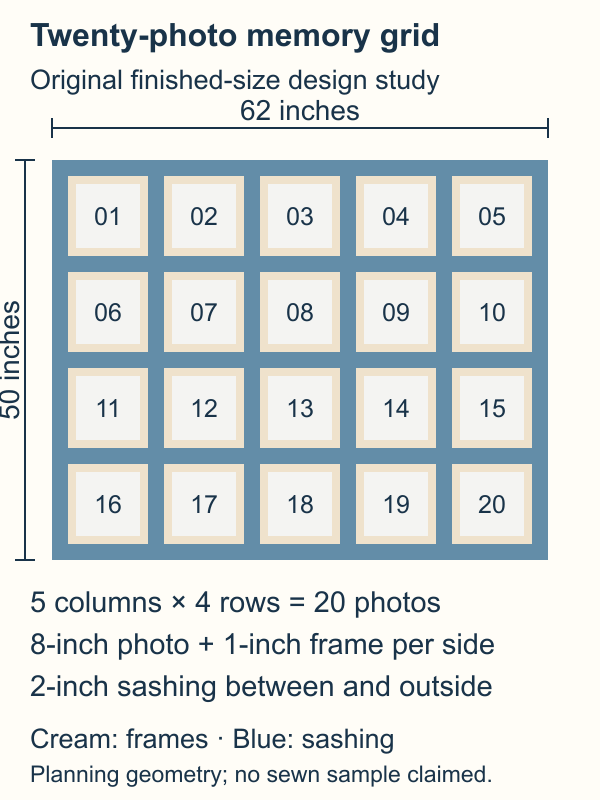
The 62 × 50 inches already includes the outside sashing. An additional outer border would increase it. The table gives finished design dimensions, not raw cutting sizes or yardage. Your construction plan must add seam allowances outside the intended visible image and accommodate the print medium's preparation or shrinkage before final cutting.
Print and process one representative photo before choosing the sashing fabric. Lori McCroskey of Photo Quilt Blocks similarly advises matching fabric to the actual printed blocks, because screen colors can differ from the cloth.
2. The pet portrait mosaic
Technique: pieced photo mosaic.
Begin with a pet that fills the frame and an outline you can distinguish from the background. Decide whether the expression, body shape or coat markings are the essential feature, then judge a reduced preview by that feature.
For a 60 × 72-inch rectangular grid, 2-inch finished squares give 30 columns × 36 rows: 1,080 patches. At 1½ inches, the same dimensions require 40 × 48: 1,920 patches, about 78% more. Smaller cells give the design more positions in which to represent detail; they do not guarantee a recognizable portrait.
Those are independent layout counts before any borders. They are not evidence of a particular QuiltLab conversion. For the editor workflow, continue to Creating Your First Photo Quilt.
3. The travel quilt
Technique: printed photo blocks mixed with patchwork.
Select a dozen images from one trip and give the strongest photo a clear focal position. Repeat a simple patchwork block between pictures to connect them visually: Flying Geese might echo a coastal trip, while Log Cabins might suit a cabin weekend.
A photographed ticket or map can add context, but test its lettering at the planned print size. A smaller collection of readable images tells the story more clearly than filling every gap with tiny memorabilia.
4. Four seasons of one place
Technique: printed blocks or four small mosaics.
Photograph the same tree, garden or view from the same position in each season. Keep the subject and framing consistent so that the changing color carries the series.
For printed blocks, choose equal visible image sizes. For mosaics, keep the grid dimensions consistent and compare each simplified image before deciding that all four belong in the same project.
5. The recipe quilt
Technique: printed photo blocks.
Pair a recipe with a photo of its writer, kitchen or finished dish. Test the smallest lettering on fabric at its actual size; preserve the proportions of the card rather than stretching handwriting to fill a square.
Deb Messina's printed-photograph projects at Quiltblox include a recipe-based heritage quilt and show how an image differs between screen and fabric. Her project is a useful example of the technique, not a QuiltLab demonstration. Put the writer's name and any known date in a separate label area so the original handwriting remains intact.
6. The high-contrast silhouette
Technique: pieced mosaic or appliqué.
Consider a skyline, a sailboat or a profile against a bright window. As a starting design exercise, reduce the image to two or three values and check whether the outline survives.
For a mosaic, large squares will simplify the outline. For appliqué, look for narrow or isolated shapes that may be awkward to cut and attach. Choose the edge-finishing method before treating a drawn outline as a template.
7. The growing-up timeline
Technique: printed photo blocks.
Arrange one image per year in reading order, using a consistent visible photo size and a separate space for the year. Decide which years are included before choosing the grid: birth through age eighteen is nineteen images, not eighteen.
Leave a caption or story block where the grid has an extra position. If several people are contributing images, agree on the file deadline, visible photo size and labels before collecting contributions. The group quilt ideas guide can help you choose a contribution format.
Write care instructions for the actual printed fabric
Choose the print medium with the quilt's intended use in mind. An often-washed throw and a display piece may need different materials. There is no single washing recipe for every photo quilt.
Electric Quilt's printable cotton instructions call for drying, soaking and rinsing after printing; its care guidance specifies gentle hand washing with mild detergent when necessary, no bleach and flat drying. The company also warns that the treated sheets can absorb loose dye from other fabrics and advises prewashing those fabrics before assembly. Follow the current instructions for the exact sheets and printer ink you use.
By comparison, Spoonflower's care instructions list cool machine washing with like colors and low tumble drying for Petal Signature Cotton. Other substrates have their own instructions. Do not apply a home-print sheet's soaking process to every commercially printed panel.
Process a small printed sample as its supplier directs, then use it to check the intended care routine before making the whole quilt. Keep a record of the fabric, print medium, ink or provider, and instructions to pass on with the finished quilt. Electric Quilt cautions against direct sunlight and notes that fading depends on ink, washing and water chemistry; a generic promise that printed photos will last for generations would be misleading.
Planning a photo quilt in QuiltLab
The Quilt Editor guide describes New, then Grid for a measured row-and-column block layout, or Photo Mosaic to upload a picture and adjust the block layout, patch size and palette.
Use that layout work to compare the project's proportions. For printed photos, keep the provider's print sizing, seam allowances and physical sample separate from the screen mockup. The memory-grid diagram above is independently calculated; it does not claim that QuiltLab automatically generates a sashing cutting list or prints fabric.
For a mixed keepsake project, the T-shirt quilt layout guide offers a different way to plan unequal usable areas. For a pieced image, the first photo-quilt tutorial walks through the mosaic workflow. Choose the technique and the one picture that must read well before multiplying it into a whole quilt.
Related posts
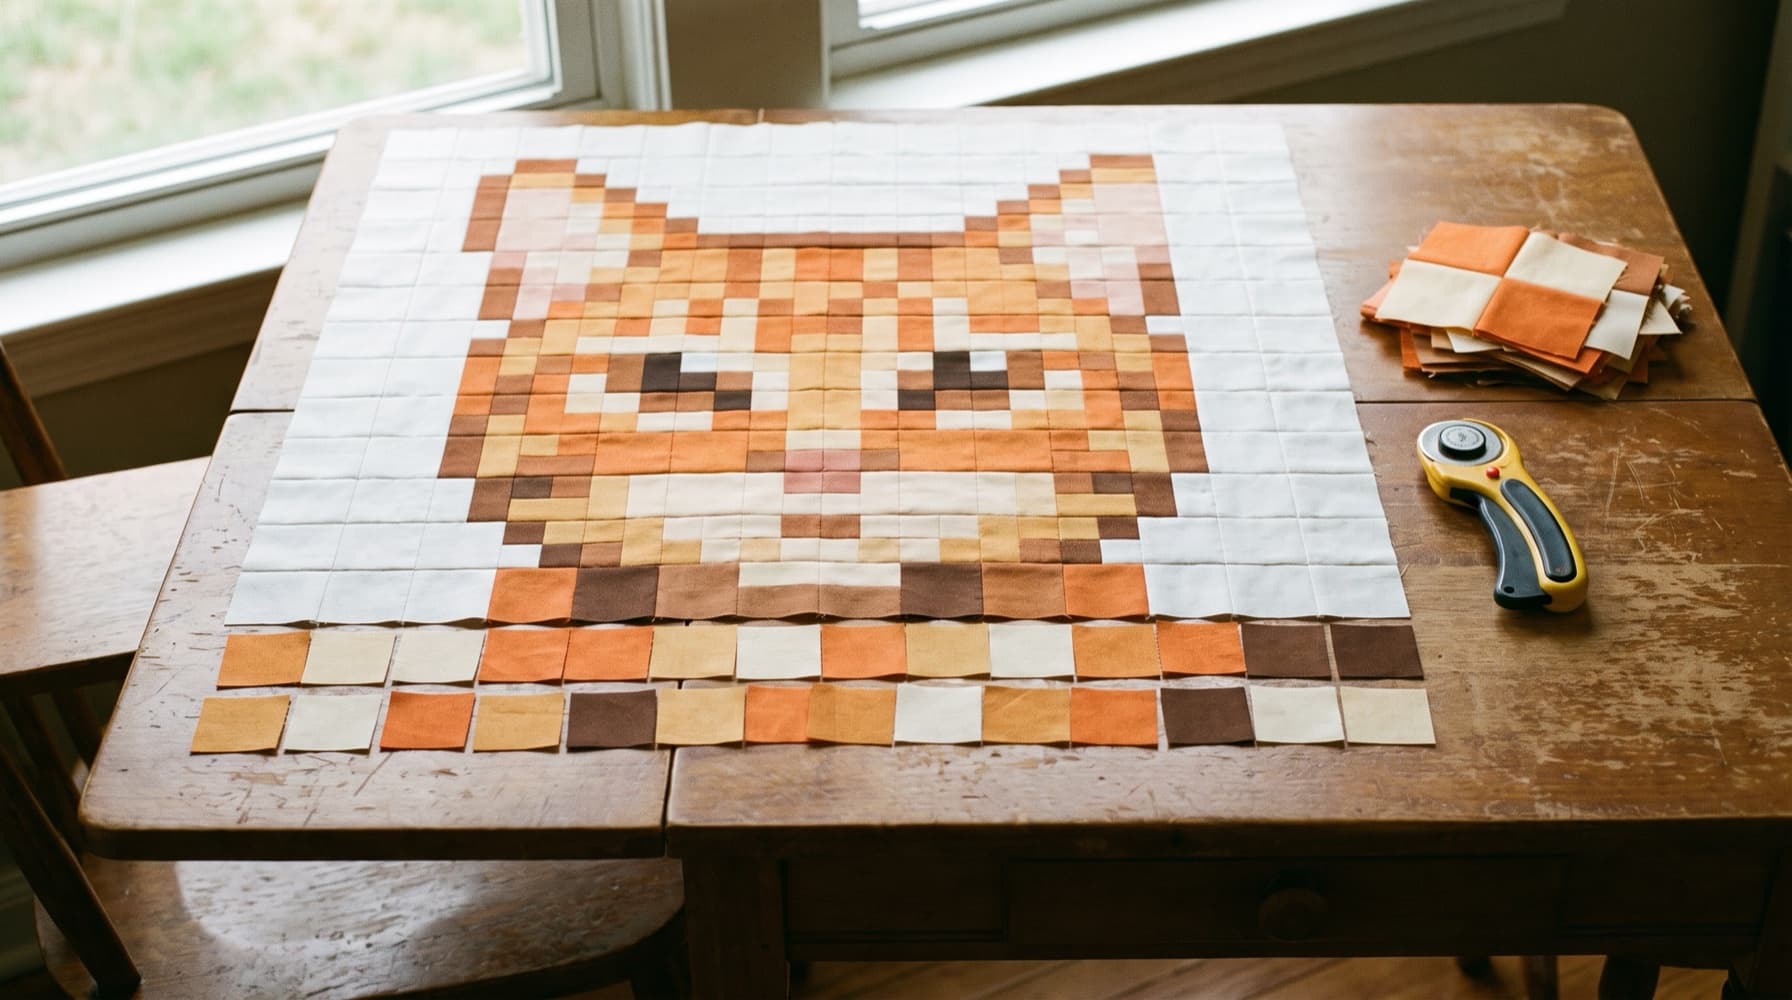
Creating Your First Photo Quilt: A Photo Mosaic Tutorial
Turn a favorite photo into a pieced mosaic quilt: choose a photo that will work, pick a patch size, generate the pattern and block guide in QuiltLab, and work out how much of each fabric to buy.
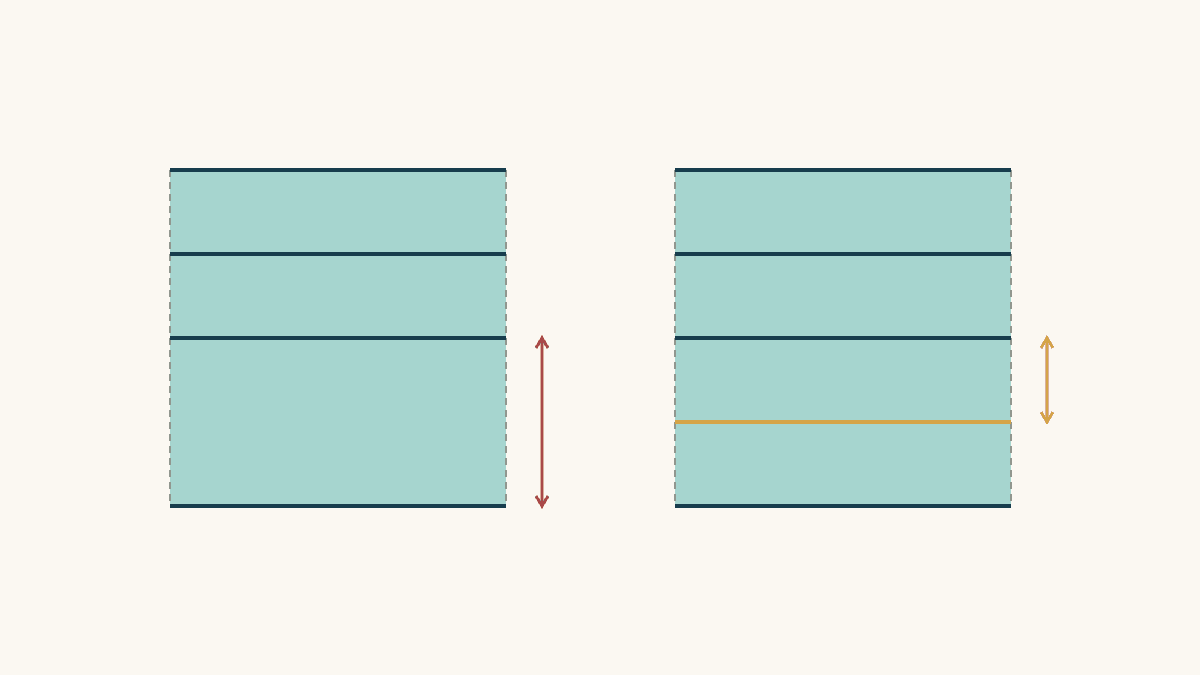
Batting Quilting Distance Planning: Gap Check
Check your batting's exact spacing limit against the largest gap in your quilting plan, with a measured example and a simple revision.
How to Make a Quilt Pattern Bigger: Three Plans
Compare extra blocks, larger blocks and borders on one original layout, with checked dimensions and fresh seam allowances.