


How to Prevent Wavy Quilt Borders: Measure Before Cutting
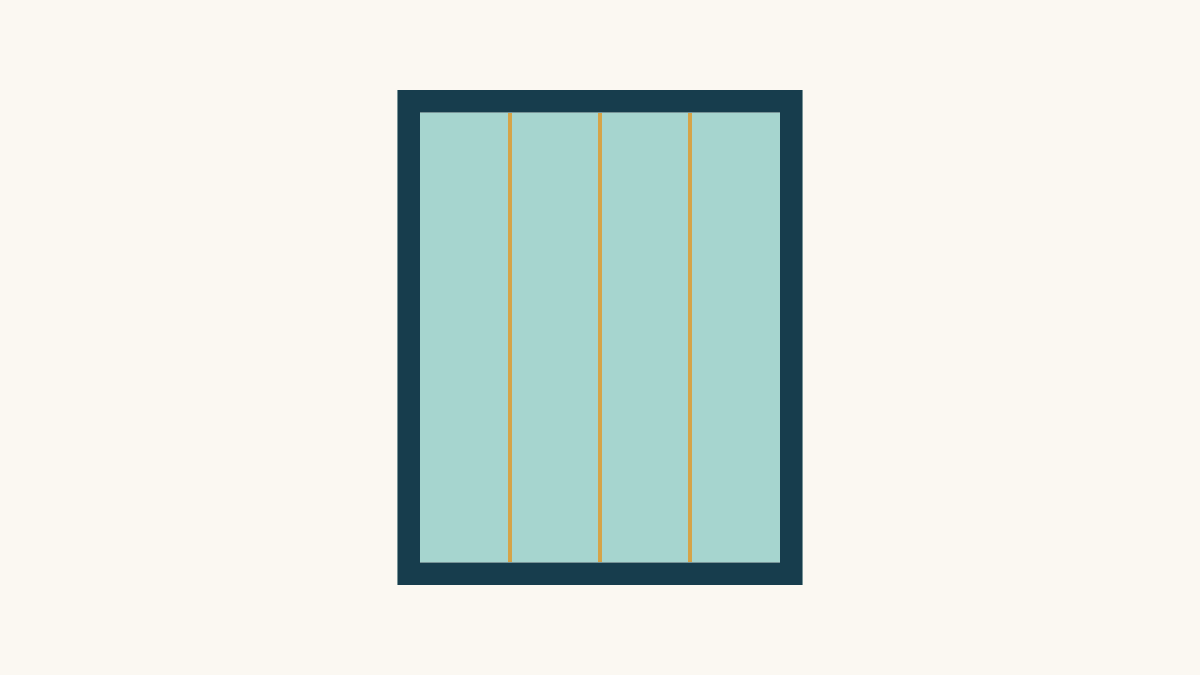
If you're working out how to prevent wavy quilt borders, start by measuring the sewn center and cutting strips to fit it. Then match the center to those lengths. Sewing an unmeasured strip along an outside edge and trimming whatever hangs over can preserve extra length that the edge picked up during piecing or handling.
Use a three-position worksheet before cutting. Keep the strip's cut width separate from its measured length, and measure again after attaching the first pair of borders. Those distinctions prevent two common errors: using a pattern's nominal dimensions for a differently sized top, and adding seam allowance twice.
The example below uses a hypothetical rectangular center and plain, butted borders attached sides first. Its diagrams and calculations are planning examples, not photographs or results from a sewn test. Follow your pattern's construction order if it differs.
Why the outside edge can give a misleading length
A pieced top has many seams, and the dimension on the pattern assumes those seams finish as intended. Your actual top can differ. An outside edge can also behave differently from the middle of the top as the fabric is handled.
Sara's explanation of wavy borders at Pretty Simple Sara distinguishes the center's actual measurement from a potentially stretched edge. Her approach uses three parallel measurements through the interior, rather than letting the perimeter alone dictate the border length.
First spread the top on a supported surface. Let it lie relaxed; do not pull its corners to make a ruler reading match the pattern. Check that seams are pressed as intended and the top is not folded underneath itself. A border measurement taken while a heavy section hangs off the table is not a useful starting point.
If the top will not lie reasonably flat before borders, investigate that separately. An uneven seam, distorted patch, or incorrectly assembled row deserves attention before a strip is used to constrain it. A measurement method cannot establish why the fabric is distorted.
Make a three-position measuring worksheet
For side borders, measure the top's length at three positions across its width:
- Halfway between the left edge and the center line.
- Through the center line.
- Halfway between the center line and the right edge.
These are the quarter, center, and three-quarter positions shown below. At each position, measure from one raw outside edge to the opposite raw outside edge, parallel to the intended side border. Keep the tape flat and the fabric relaxed. The positions are interior; the measured span still includes the top's outer seam allowances.
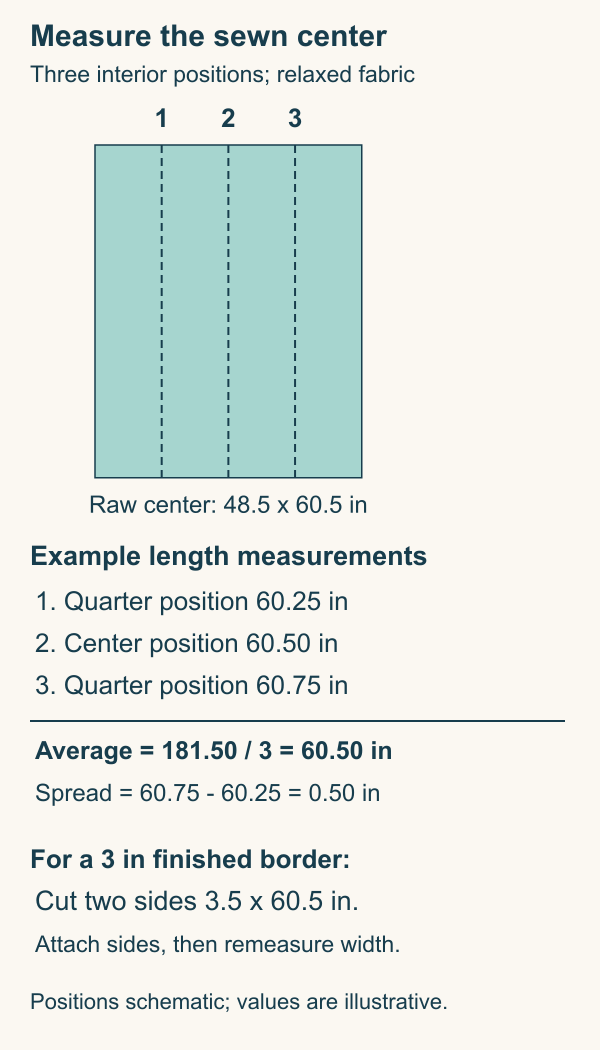
Suppose the intended center finishes at 48 x 60 inches and the illustrative readings are:
| Position | Raw edge-to-edge length |
|---|---|
| Quarter position | 60.25 inches |
| Center position | 60.50 inches |
| Three-quarter position | 60.75 inches |
| Sum | 181.50 inches |
| Average: sum divided by 3 | 60.50 inches |
| Spread: longest minus shortest | 0.50 inch |
The average gives a candidate length for this pair of strips. The spread is a separate observation: record it instead of hiding it inside the average.
These figures demonstrate arithmetic, not a rule that a half-inch discrepancy is always safe to ease. Remeasure unexpected differences, check the top's assembly and how it lies, and consider the fabric and pattern. There is no single tolerance here that makes every distorted top acceptable. Do not force a substantially different edge onto a shorter border and assume quilting will fix it.
Keep finished width and measured length separate
For a plain border intended to finish 3 inches wide, with quarter-inch allowances at its inner and outer edges:
Cut width = 3 + 0.25 + 0.25 = 3.5 inches.
The side-strip length in our worksheet is already a raw-edge-to-raw-edge measurement: 60.5 inches. Cut two side strips 3.5 x 60.5 inches. Do not add another half inch to that measured length.
There are two different starting points:
- A finished design dimension needs its appropriate outer allowances to become a raw cutting dimension.
- An actual raw measurement of the sewn center already includes those outside allowances.
For the idealized center, 60 inches finished corresponds to 60.5 inches raw, and 48 inches finished corresponds to 48.5 inches raw. Those theoretical numbers explain the arithmetic; your sewn measurements decide the lengths you actually cut.
If a strip needs piecing, join it before trimming to the required length. For a simple straight end-to-end join with quarter-inch seams, two 31-inch pieces give 31 + 31 - 0.5 = 61.5 inches after joining. Trim that assembled strip to 60.5 inches. This is straight-join arithmetic, not a diagonal-join or mitered-corner cutting formula.
Match the first pair before sewing
Mark or finger-press the midpoint of each side strip and the corresponding quilt edge. Match both ends and the midpoint, then add pins between them. For a long span, matching quarter points can help you keep any small difference distributed instead of accumulating it at the end.
American Patchwork & Quilting's published border tutorial transcript describes matching ends and center, pinning, supporting the quilt's weight, and keeping a consistent quarter-inch seam. These are practical checks while attaching a predetermined strip length.
Keep the top supported as you sew. Let the machine feed the layers without pulling the trailing fabric or stretching the strip in front of the foot. Stop as needed to reposition the bulk. If a pinning mismatch looks excessive, stop and check the measurements rather than sewing past it.
After sewing, press according to the pattern and fabric. Lift and place the iron rather than dragging the border into a longer shape. Check the first pair before adding the next: a twisted seam or a strip cut to the wrong length is easier to address now.
Remeasure for the second pair
The top and bottom borders must span the center plus the attached side borders. Measure across that enlarged top after the first pair is sewn and pressed.
Amy Smart's Churn Dash border instructions at BERNINA WeAllSew use this sequence: attach side borders, then measure across the center including those borders before determining the next pair. The order matters because actual seams affect the new span.
For our idealized quarter-inch-seam example, the raw width becomes:
48.5 + 3.5 + 3.5 - 0.5 - 0.5 = 54.5 inches.
Each attachment consumes a quarter inch from the center and a quarter inch from its border, so each joined pair loses a combined half inch of raw width. The two side borders add 6 inches overall.
Now repeat the three-position worksheet in the other direction: across the enlarged top at quarter, center, and three-quarter positions along its height. Illustrative readings of 54.375, 54.500, and 54.625 inches total 163.500 inches. Dividing by 3 gives 54.500 inches, with a 0.250-inch spread. Again, evaluate the spread separately.
For those example readings, cut two top/bottom strips 3.5 x 54.5 inches, match ends and center, and attach them. The ideal raw height then becomes 60.5 + 3.5 + 3.5 - 0.5 - 0.5 = 66.5 inches. The assembled top is 54.5 x 66.5 inches raw, corresponding to 54 x 66 inches finished when its remaining outer quarter-inch allowances are taken into the finishing seam. A particular binding treatment can affect the final outside edge.
Check the border before moving on
Lay the bordered top on a supported flat surface and inspect it without stretching it into place. Look for a rippling border, a puckered joining seam, or a corner pulled out of square. Check that the cut lengths, matching marks, and seam allowances match your worksheet.
If a problem appears, identify its source before attaching another border or layering the quilt. More borders repeat the same measuring sequence around the newly enlarged top; they do not remove an earlier length mismatch.
For visual choices before construction, our quilt border ideas guide compares widths, corners, and multiple borders. QuiltLab can help plan nominal dimensions; the Quilt Editor guide explains finished border widths. The physical sewn top still supplies the measurements used here.
Keep a small record with your project: three readings, average, spread, chosen cut width, first-pair cut length, and the new measurements after that pair is attached. That worksheet gives you a repeatable construction check at each stage.
Related posts
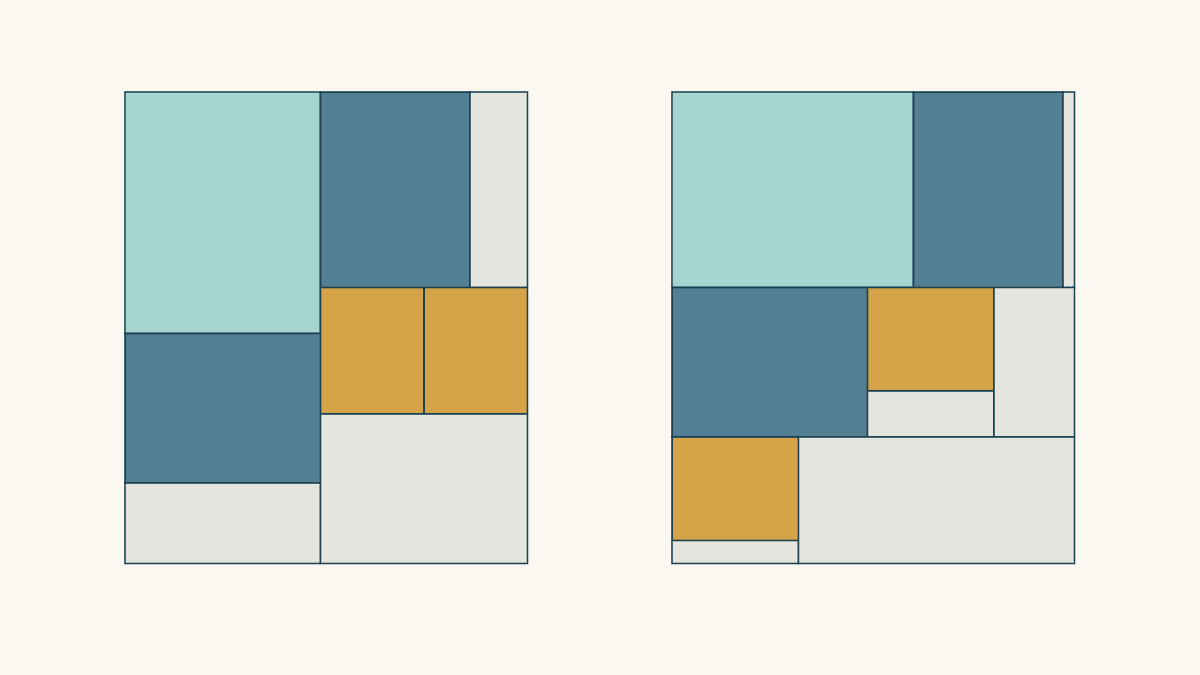
Fat Quarter Cutting Layout: Plan Mixed Rectangles
Compare two cutting maps for the same five rectangles, check usable cloth and rotation limits, and see why leftover shape matters as much as area.
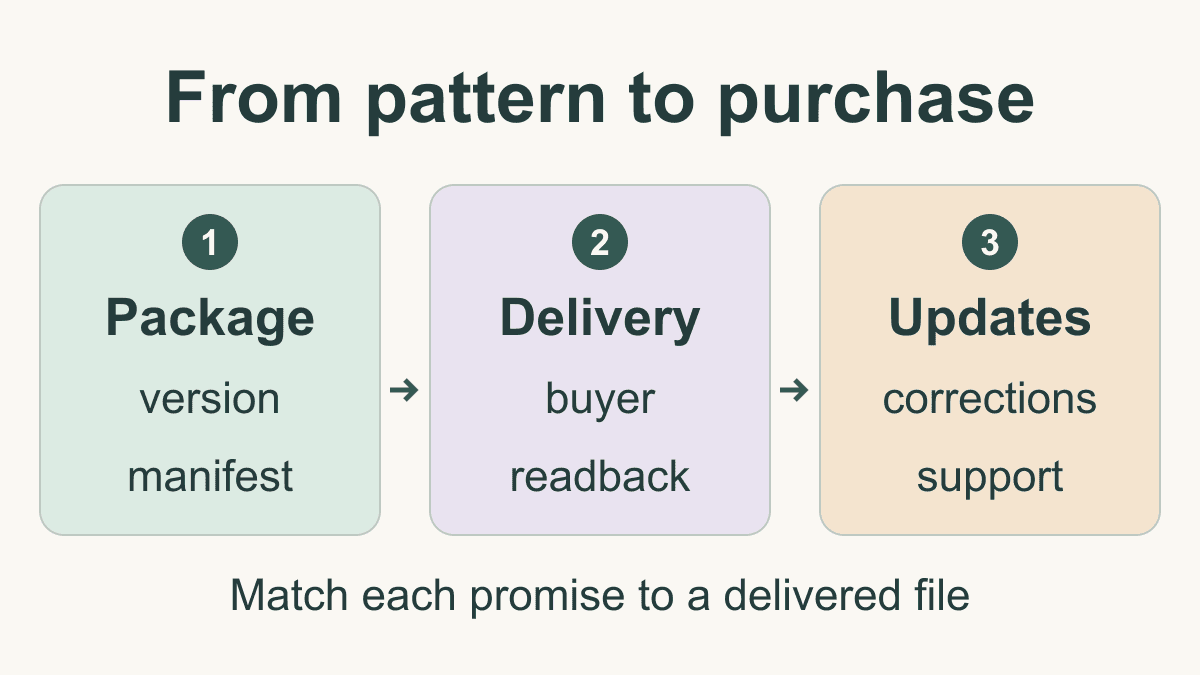
How to Sell Quilt Patterns: Package and Delivery
Prepare a clear pattern listing, a versioned download package and a delivery check, with a plan for access, support and corrections.
Sorting Quilt Scraps by Size: A Usable Inventory
Measure clean scrap dimensions, check which units fit, and allocate a sample inventory without counting the same fabric twice.