


Quilt Border Ideas: Widths, Corners and Multiple Borders
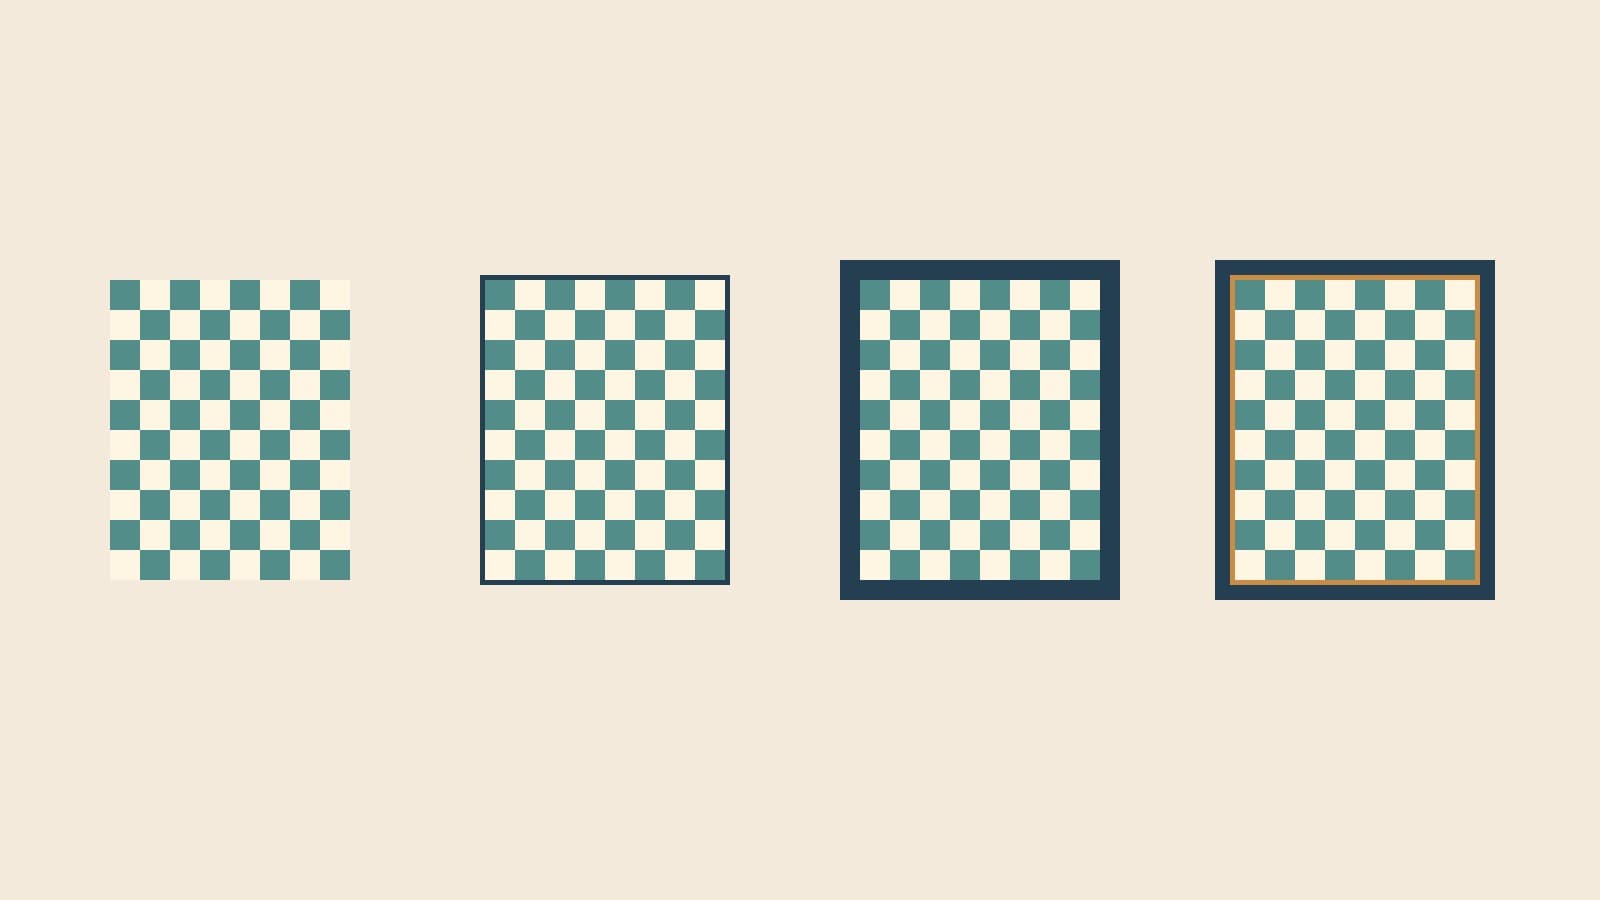
Quilt border ideas are easier to judge when you hold the center still and change one thing at a time. A 1-inch frame, a 4-inch frame and two borders totaling 4 inches have different visual effects, even when two choices give the same overall dimensions.
This guide compares those choices on an original 48 × 60-inch center, then covers color, corners and multiple borders. The diagrams are design studies, not sewn samples. You can repeat the comparison with fabric strips on a design wall or use solid fills in QuiltLab before cutting.
Decide what the border needs to do
A border can add size, separate the center from the edge, repeat an accent, or provide space for quilting. Give it one primary job. “The quilt needs a border” is harder to evaluate than “I need another 8 inches in both directions” or “the edge needs a quiet frame.”
Linda Griepentrog's border discussion for the American Sewing Guild starts with the desired size, print scale and space for quilting. Those are useful constraints because they explain why the same width can suit one quilt and overwhelm another.
Include no border in the comparison. If the outside blocks form complete shapes and the top already meets the intended size, binding may be enough to finish the edge. If an outer row ends in cropped points, decide whether you like that edge before adding another layer around it.
For our example, twenty 12-inch blocks set 4 across and 5 down make the 48 × 60-inch center. The teal-and-cream pattern stays identical in every diagram. Only the frame changes.
Four simple quilt border ideas on the same center
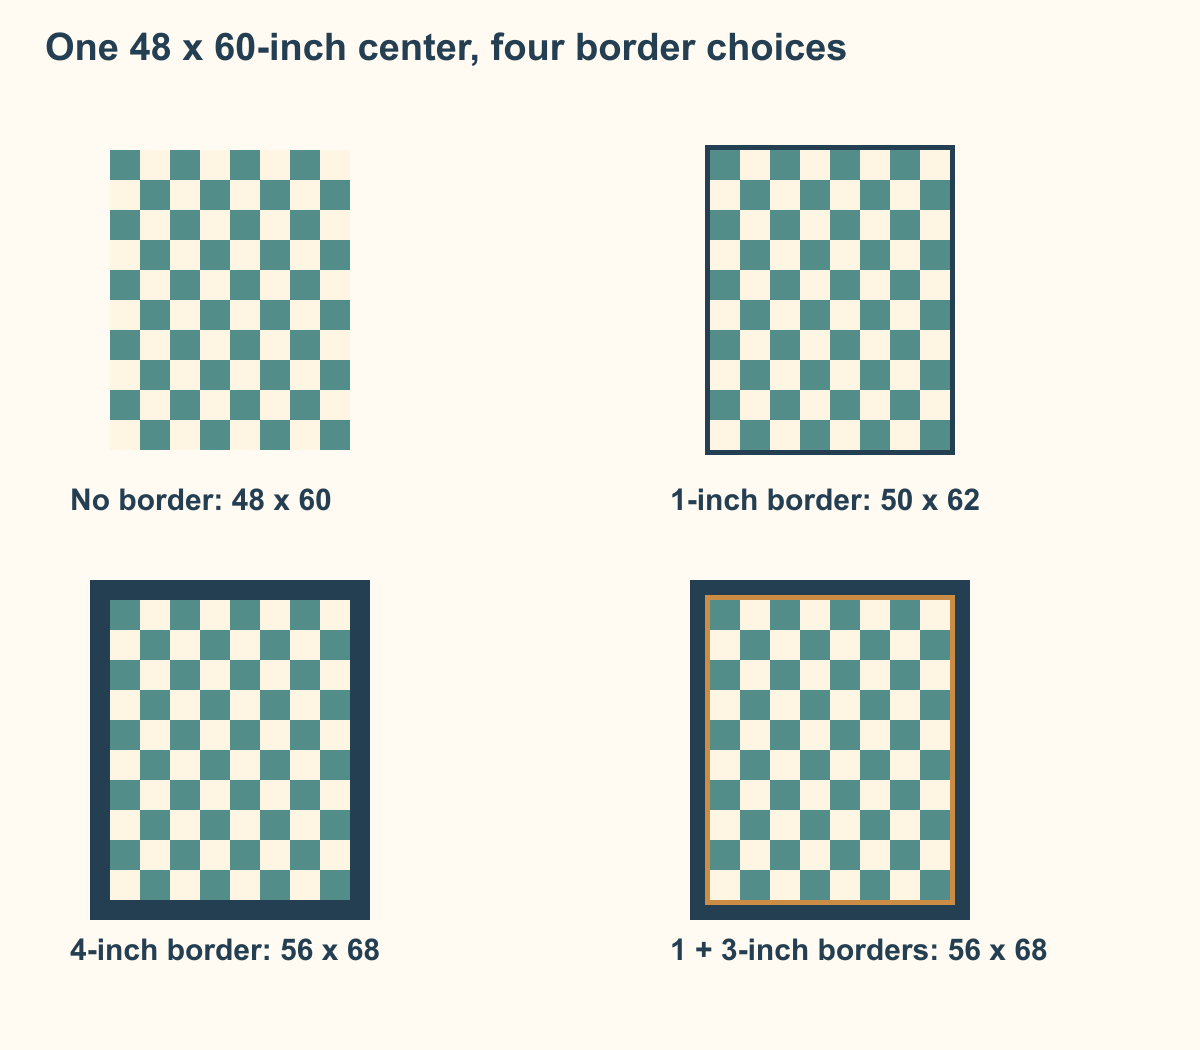
| Border plan | Total width per side | Overall top | What to compare |
|---|---|---|---|
| No border | 0 inches | 48 × 60 | Does the pattern finish clearly at the edge? |
| Narrow frame | 1 inch | 50 × 62 | Does the thin line contain the design? |
| Wide frame | 4 inches | 56 × 68 | Does the frame dominate or give useful space? |
| Inner 1 + outer 3 | 4 inches | 56 × 68 | Does the accent improve separation? |
A narrow frame works like a line around the center. Choose a color already present if you want continuity, or a contrasting value if you want a clear stop. At 1 inch, a large print may show fragments rather than a recognizable motif.
A wide frame creates a larger field around the patchwork. In the diagram, the navy has enough area to become part of the composition rather than simply an outline. A wide border in the background fabric has a different effect: the blocks seem to sit within a larger background.
Two borders divide the framing job. Here, the 1-inch gold ring supplies the accent, while the 3-inch navy ring provides the outer field. Switch their order and the gold becomes the edge emphasis. The size stays the same; the visual hierarchy changes.
No border keeps the repeated block field as the whole design. Compare it honestly, particularly if the quilt is already large enough. A frame is an option rather than a required final step.
Determine border width from scale and target size
GE Designs' guide attributes its starting range of a third to a half of the finished block size to founder Gudrun Erla. On 12-inch blocks, that suggests trying about 4–6 inches. Treat it as a comparison range, not a rule that invalidates a 1-inch accent or a borderless quilt.
There are two separate questions: does the width look right, and does it give the size you need?
For an equal-width border on all four sides:
- Overall width = center width + 2 × border width.
- Overall height = center height + 2 × border width.
- For multiple borders, substitute the sum of their finished widths.
Our 4-inch frame adds 8 inches to each dimension: 48 + 8 = 56, and 60 + 8 = 68. The 1 + 3-inch pair gives exactly the same result.
If you want 60 × 72 inches, the required total width per side is (60 − 48) ÷ 2 = 6 inches. The height check also gives (72 − 60) ÷ 2 = 6 inches. You could compare one 6-inch border with a 1-inch inner and 5-inch outer border.
If you want 60 × 70 inches, the checks disagree: width needs 6 inches per side, while height needs 5. An equal border cannot produce both dimensions from this center. Revise the center, accept another size, or make a separate asymmetric border plan. QuiltLab's border rows use one width around each layer; do not look for independent left/right/top/bottom controls in this workflow.
Check how much area the border occupies
Width alone can hide how prominent a frame will become. The center's area is 48 × 60 = 2,880 square inches. With the 4-inch border, the overall area is 56 × 68 = 3,808 square inches. The border occupies 928 square inches, about 24.4% of the top.
In the two-border option, the 1-inch inner ring adds 50 × 62 − 2,880 = 220 square inches. The outer ring adds 3,808 − 3,100 = 708 square inches. Most of the new area belongs to the outer color, even though the narrow accent may draw the eye first.
These are surface-area calculations, not fabric-yardage estimates. Cutting direction, joins, repeats and corner construction affect the fabric you need to buy.
Choose corners to suit the design
Butted or square corners let one pair of border strips run into the other pair. The seam crosses the border rather than running diagonally to the outside corner. This is a straightforward choice for solids and allover prints.
Mitered corners meet on a 45-degree seam, like a picture frame. They can carry a stripe around the turn, but continuity depends on the actual fabric and how it is positioned. Selecting “mitered” in a design does not guarantee that a cut print will match.
The American Sewing Guild source above compares lapped and mitered borders, especially for stripes. Plan the join before cutting long strips: a miter needs extra length and its own sewing method.
Corner blocks give each corner a separate square or pieced unit. They can echo a block from the center or stop a directional repeat cleanly. They also change the strip-length plan. In QuiltLab's border controls, Square describes the corner join; it is not an automatic cornerstone or corner-block generator. Sketch that construction separately if you choose it.
Keep detailed sewing instructions with the method you are actually using. This article helps choose the frame; it does not supply a tested mitered-border pattern.
Use multiple borders without losing the center
Begin with two jobs rather than two arbitrary fabrics: an inner separator and an outer frame. A busy center might need a quiet inner line; a quiet center might support a more active outer border.
Try unequal widths first. Equal stripes can make every ring compete. A narrow accent followed by a wider background or darker frame establishes a clearer hierarchy. If both fabrics have strong prints, check whether you can still see the center at a distance.
If you want a pieced edge, Ula at Designed to Quilt shows ideas including piano keys, squares and HSTs. Those introduce a second planning problem: repeated units must fit the side lengths and turn the corners. Do not simply divide the first border's length and repeat that count on every later border; each added layer changes the next ring's dimensions.
For our 1 + 3-inch plan, the outer border goes around a 50 × 62-inch inner section, not the original 48 × 60 center. Draw and label each stage before working out its construction.
Compare the solid-fill versions in QuiltLab
The current multi-border controls were checked in the running editor for this example. Use the Quilt Editor guide for the surrounding Grid workflow; its older single-border screenshot does not show the newer border rows.
- Start a Grid quilt. In Properties, set block width and height to 12 inches, with 4 columns and 5 rows. The quilt top is 48 × 60 inches.
- Open Borders and choose Add border. Set Finished width to 1 and choose a solid color. The overall size becomes 50 × 62 inches.
- Compare width 4 for a single frame: overall 56 × 68 inches.
- For the two-border version, set the inner width back to 1, then choose Add border again. Set the Outer border finished width to 3. The rows identify Inner border and Outer border.
- Compare Square and Mitered in each row's Corners control. Check the overall dimensions again before saving.
This comparison uses solid fills. Keep print placement and cutting allowances in a separate construction plan. QuiltLab does not calculate border-strip cutting lengths or yardage.
After sewing the center, measure the actual top before cutting border lengths. Use those measurements rather than assuming the sewn center is exactly the digital size. Choose the frame by its visual job and checked dimensions, then use the appropriate construction method to make that plan fit the real quilt.
If the center is still undecided, our quilt planning guide connects size, blocks and fabric. For a collection of different blocks, sampler quilt layouts compares direct setting, a manual sashing plan and alternating plain blocks before a border is added.
Related posts
Eight at a Time Half Square Triangles: Batch Math
Plan eight-at-a-time half-square triangles with an oversized starting-square rule, a clear cutting sequence, and a 54-unit color-pair example.
Fussy Cutting: Plan the Motif Before You Cut
Frame the print, protect the seam allowance and count usable repeats. A four-inch square example, plus a QuiltLab preview before you cut.
Fussy Cutting Hexagons: Plan Repeats for a Rosette
Count six matching motifs, record their orientation and preview a hexagon rosette before cutting the fabric.