


Sorting Quilt Scraps by Size: A Usable Inventory
Sorting quilt scraps by size is useful when it tells you which cut pieces you can actually obtain. A full bin labeled “small scraps” cannot answer that question. A short inventory of clean widths, lengths and exclusions can.
Start with one manageable group of leftovers, measure what is usable, and compare the results with a candidate pattern's cutting list. The example below uses hypothetical woven quilting-cotton scraps and checked geometry. It is a planning worksheet, not a report of our own stash or a sew-tested pattern.
Sort for a question you can answer
The first question is: “Do these leftovers contain enough material for the units I am considering?” It is different from “Which standard sizes should I cut every future scrap into?”
The American Patchwork & Quilting editors' organization guide connects sorting by size with patterns that repeat the same units. That is the useful starting point here. Inventory the dimensions before making an irreversible decision about how to cut the entire collection.
Use a few temporary groups:
- Ready squares: sound squares whose actual cut dimensions you have checked.
- Wide rectangles: pieces wide enough for the larger candidate cut.
- Narrow strips and rectangles: pieces that may supply smaller cuts or longer strips.
- Other shapes: triangles, tapered pieces or fragments needing a separate assessment.
- Excluded from this project: pieces with unsuitable material, damage or insufficient clean area for the proposed units.
These labels describe today's selection. They do not require a permanent storage system. Keep each piece in one physical group, and give it a lot letter or number so the worksheet can refer to it reliably.
Measure the clean rectangle, not the outside shape
Press a candidate flat before measuring it. Check for selvage, holes, stains, fraying and earlier cuts that interrupt the useful area. The widest and longest points of an irregular scrap can describe a rectangle that does not exist anywhere within it.
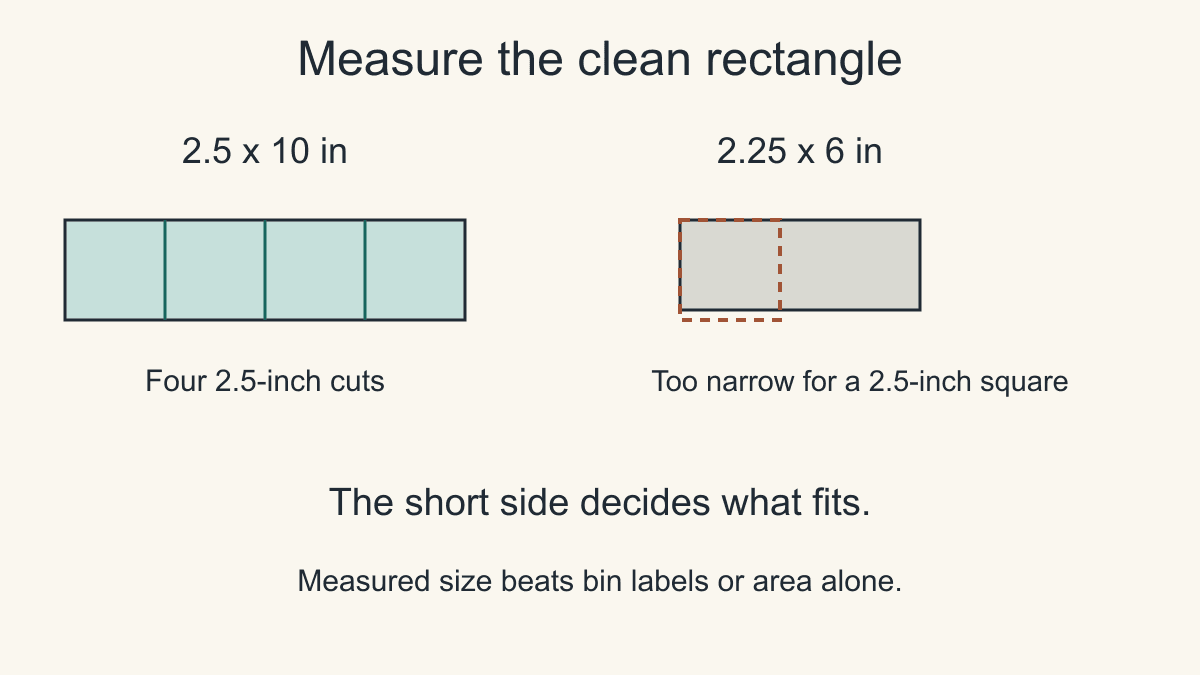
For a simple square-cut project, identify a sound rectangle with edges aligned to the fabric grain where possible. Measure that rectangle's short and long sides. Do not count an L-shaped remnant as its full bounding box, or add the areas of two separated sections and call them one square.
A 2 1/4 x 6-inch clean rectangle contains 13 1/2 square inches of fabric. A 2 1/2-inch square contains only 6 1/4 square inches. Despite the larger area, the narrow rectangle cannot provide that grain-aligned square: its 2 1/4-inch side is too short. More length does not solve the width shortage.
If an edge needs squaring, measure the useful area after allowing for that correction. A nominal 2 1/2-inch scrap that becomes 2 3/8 inches wide after removing damage does not qualify for a 2 1/2-inch cut. Keep the smaller piece for a suitable job instead of forcing it into this tally.
HollyAnne Knight's scrap organization discussion at String & Story describes both untrimmed and prepared approaches. Leaving a piece uncut can preserve options for a different kind of project. You do not need to assign every fragment a square-cut job today.
Keep cut size separate from finished size
Check whether the pattern asks for cut, unfinished or finished dimensions. Those words are not interchangeable.
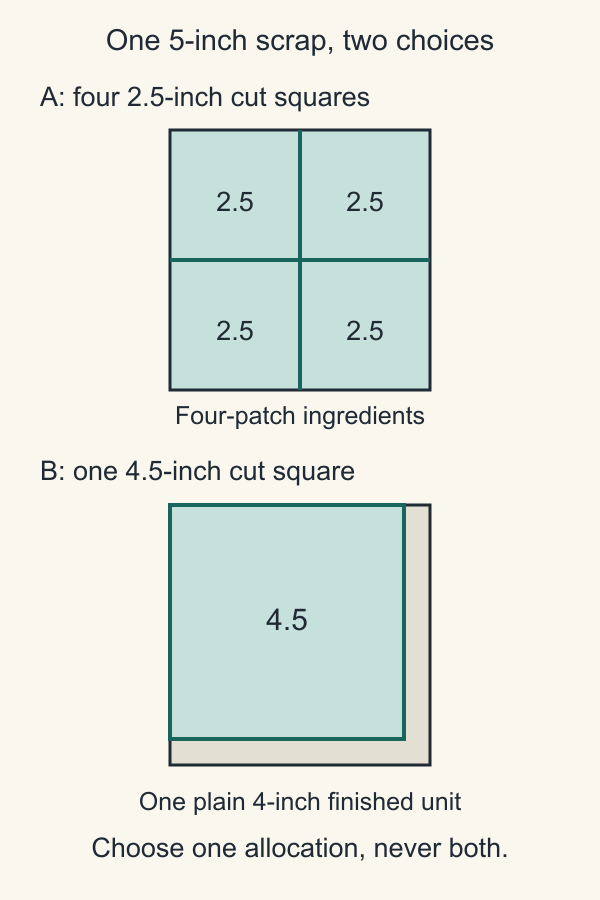
For a plain square sewn into a top on all four sides with nominal 1/4-inch seams, a 4 1/2-inch cut square finishes at 4 inches. A four-patch made from four 2 1/2-inch cut squares measures 4 1/2 inches unfinished and 4 inches finished:
- Across a row, two 2 1/2-inch cuts total 5 inches.
- The joining seam consumes 1/2 inch across the pair, leaving 4 1/2 inches.
- The outside seam allowances consume another 1/2 inch when the unit is joined into the top, leaving 4 inches finished.
The American Patchwork & Quilting quarter-inch-seam guide explains why consistent seam allowances and a measured sample matter. Thread, pressing and actual seams can change the result. Use the pattern's checkpoint dimensions, and verify a test unit before cutting all the scraps.
A square that fits one method's cutting list may be too small for another method that deliberately starts oversized and trims later. Triangle units need the actual pattern's starting-piece sizes. Do not infer their requirements from the simple-square arithmetic here.
Write a small inventory before choosing the pattern
This example compares two possible cuts: 2 1/2-inch squares for four-patches and 4 1/2-inch squares for plain units. Every listed dimension is a measured clean rectangle after preparation, with no hidden selvage or damaged section.
| Lot | Pieces | Usable size of each | Initial classification |
|---|---|---|---|
| A | 4 | 2 1/2 x 10 in | Narrow strips |
| B | 3 | 3 1/2 x 7 in | Narrow rectangles |
| C | 2 | 5 x 5 in | Wide pieces |
| D | 6 | 2 1/2 x 2 1/2 in | Ready small squares |
| E | 1 | 4 1/2 x 9 in | Wide rectangle |
| F | 1 | 2 1/4 x 6 in | Too narrow for these cuts |
Lot F might have come from a scrap with a larger irregular outline. Its worksheet entry records the clean rectangle, not that outline. “Too narrow” means excluded from these two proposed cut sizes; it does not mean unusable for every sewing technique.
For identical squares arranged in rows along a clean rectangle's edges, count how many fit across the width and along the length. Multiply the two whole-number counts. This checks a simple aligned layout; it is not a claim about an optimal packing of every possible shape.
| Lot | 2 1/2-inch cuts possible | 4 1/2-inch cuts possible | Allocation rule |
|---|---|---|---|
| A | 16 total | 0 | Four small squares per strip |
| B | 6 total | 0 | Two small squares per rectangle |
| C | 8 total | 2 total | Choose small or large cuts |
| D | 6 total | 0 | Use the checked existing squares |
| E | 3 total | 2 total | Choose small or large cuts |
| F | 0 | 0 | Keep outside this project's tally |
Each row describes alternative uses of that lot. You cannot add both yield columns and expect all those pieces to exist together. In particular, cutting a 5-inch square into four 2 1/2-inch squares consumes the area that would otherwise supply one 4 1/2-inch square.
Allocate pieces, then look for a matching project
Suppose you want a small study with five four-patch units and four plain units, all finishing at 4 inches. That calls for 20 small cut squares and four large cut squares. A three-by-three arrangement would finish at 12 x 12 inches before any added borders, with an assembled unfinished size of 12 1/2 x 12 1/2 inches. This is a feasibility study, not a complete project pattern.
Make a committed allocation:
| Requirement | Source | Cuts assigned | Remaining material |
|---|---|---|---|
| 20 small squares | A plus D | 16 from A; 4 from D | 2 checked D squares |
| 4 large squares | C plus E | 2 from C; 2 from E | Narrow trim from C |
| Reserve | B | None assigned | All 3 rectangles retained |
This allocation spends each lot once. It preserves all of B for a test unit or an additional requirement instead of cutting it automatically. The two spare D squares alone cannot make another four-patch; they are only half of that unit's four-square requirement.
Notice the difference between a feasible allocation and an allowance for mistakes. The design requires exactly 20 small and four large cuts. Before committing, use reserve material to check the unit and reassess the inventory after that test. If a large piece proves unsuitable, the large-unit total is short even though smaller scraps remain.
Now compare actual candidate patterns with the worksheet. Check every ingredient, not just the headline square size. Background rectangles, setting triangles, borders and binding may require material absent from these lots. The quilt design planning guide helps turn a selected idea into a defined top, while the backing and binding guide covers separate finishing quantities.
Keep exclusions and substitutions visible
Add a short reason beside every excluded piece: too narrow, unsuitable fiber, stain in the required window, uncertain grain, or reserved motif. That prevents a later recount from quietly putting it back into the available total.
Before substituting one scrap for another, check the actual cut requirement again. A longer strip can replace a shorter strip only if its clean width also fits. A large print may contain enough fabric but lack the desired motif within a complete cut window. Material suitability and visual placement are separate checks from dimensional eligibility.
Once the pieces qualify, use the controlled-scrappy layout guide for color roles and distribution. Keep this worksheet focused on what exists and what is already assigned. Update it when you cut, test, reject or reserve a piece, so the next pattern decision starts from usable fabric rather than the apparent fullness of a bin.
Related posts
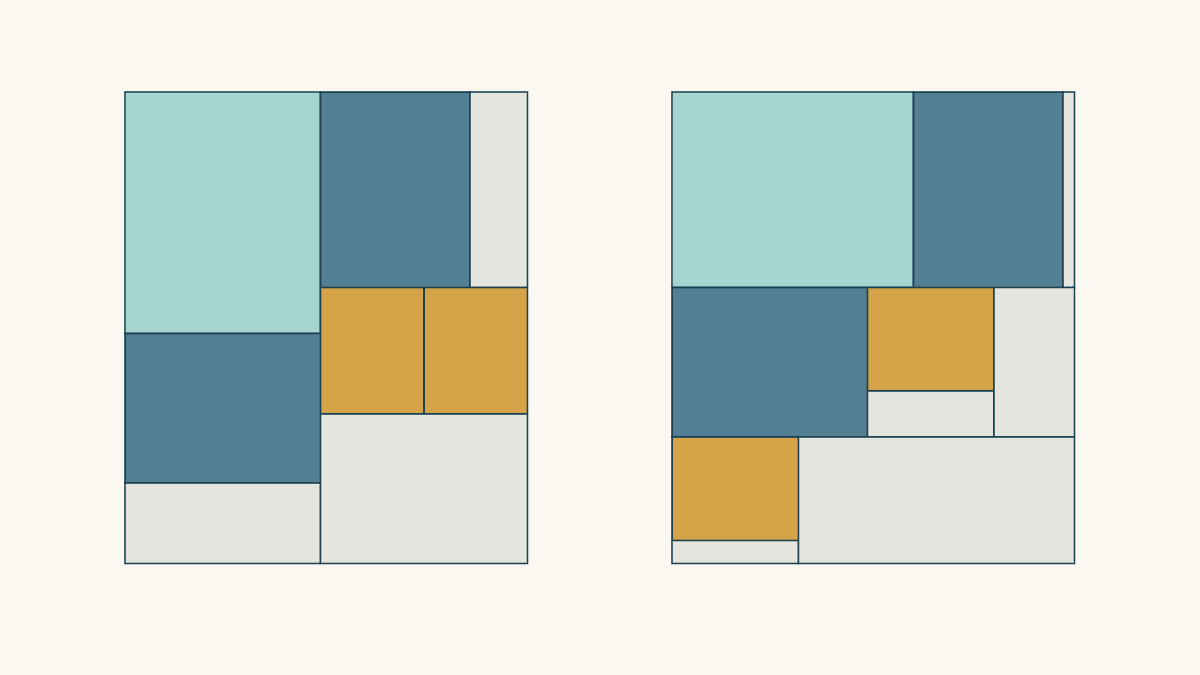
Fat Quarter Cutting Layout: Plan Mixed Rectangles
Compare two cutting maps for the same five rectangles, check usable cloth and rotation limits, and see why leftover shape matters as much as area.
How to Prevent Wavy Quilt Borders: Measure Before Cutting
Use three interior measurements to set border-strip lengths, keep raw and finished sizes separate, and remeasure after attaching the first pair.
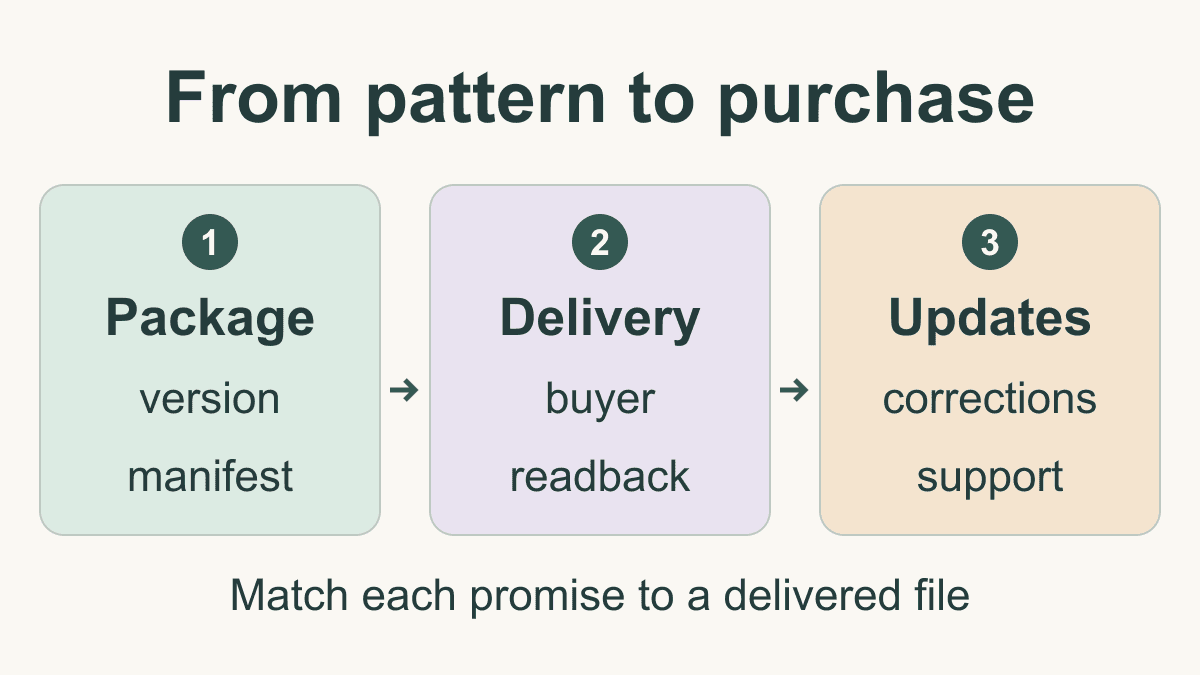
How to Sell Quilt Patterns: Package and Delivery
Prepare a clear pattern listing, a versioned download package and a delivery check, with a plan for access, support and corrections.