


Quilting Tension Troubleshooting: Top and Back
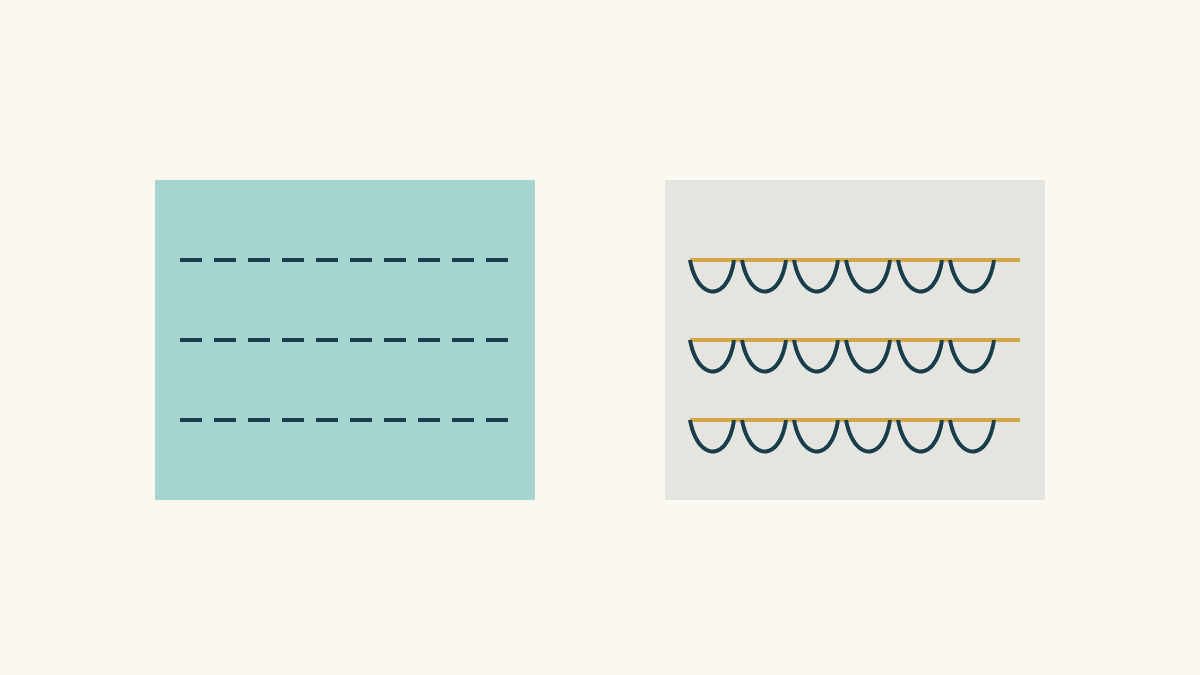
Quilting tension troubleshooting is easier when you can answer two questions: which thread is visible, and on which surface? Loose thread on the back does not, by itself, prove that the bobbin tension needs changing. Threading errors can produce stitch-balance symptoms that a dial adjustment will not correct.
Start with a separate sample made from the materials you intend to quilt. Label its top and back, record the starting setup, and make one change at a time. The goal is a useful observation that tells you what to check next.
This article uses the Brother CS7000X for its model-specific directions. Its official manuals page currently lists Operation Manual revision 03, released November 8, 2024. If you use another machine, find that machine's current manual before following an adjustment direction. The illustrations and example log below are original explanations, not results from a machine or sample we have tested.
Label the surfaces before interpreting the stitches
On a sample sandwich, mark TOP on the right side of the top fabric and BACK on the exposed right side of the backing fabric. Write the labels outside the area you will inspect. Keep those names when you turn the sample over; “the side facing up now” is an easy source of confusion.
Identify which thread came from the upper spool and which came from the bobbin. Color can help you recognize their origin, but color alone does not make two threads otherwise equivalent. If you introduce different thread types for diagnosis, record that change rather than treating the result as the same setup.
The figure uses dark teal for upper thread and gold for bobbin thread. Those colors are a legend, not brand recommendations. Its enlarged loops show a hypothetical symptom on the back; the drawing is not a literal cross-section of stitch formation.
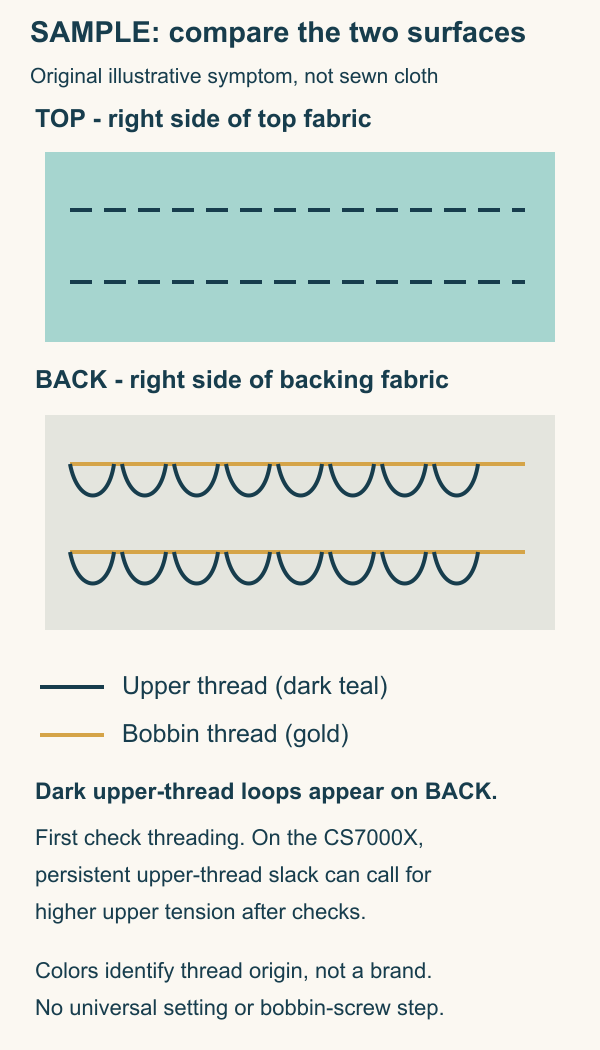
Inspect a section away from the start and stop as well as the ends. Record whether the issue continues along the line, occurs intermittently or is confined to an end. That gives you a more useful description than “the tension is bad.”
Use the symptom to choose the next check
Brother's CS7000X thread-tension FAQ explains the relationship between thread origin, the surface where it appears and upper tension. It also warns that incorrect threading or an unsuitable needle can prevent a tension adjustment from solving the problem.
| What you observe | Possible tension interpretation | First response |
|---|---|---|
| Bobbin thread pulled onto the top | Upper tension may be too tight | Verify threading before adjusting |
| Upper thread appearing loose on the back | Upper tension may be too loose | Verify threading before adjusting |
| Balanced appearance on both surfaces | No obvious surface imbalance in that section | Check other sections before continuing |
Treat the first two rows as clues, not complete diagnoses. A skipped stitch, damaged thread or a tangled start can call for other troubleshooting. Write down the visible symptom first, then consult the relevant section of your machine's manual.
This comparison also explains why changing the bobbin merely because the symptom is on the back can be unhelpful. The thread showing there may have come from the upper spool. Establish its origin before changing a setting.
Check threading before changing the dial
Use the CS7000X Operation Manual for the threading sequence and illustrations, especially printed pages 7-10, 17 and 26. Switch the machine off for threading as directed. For upper threading, the manual calls for the presser foot raised and the needle at its highest position; follow the numbered path and engage the take-up lever.
Thread manufacturer Superior Threads' troubleshooting guidance also starts with rethreading and identifies a missed take-up lever as a possible cause of uneven stitches and thread buildup. That supports checking the thread path before assuming that the tension setting itself is wrong.
Check the upper path and bobbin installation as separate actions. After correcting one, make a fresh sample line and record what you see before changing the other. If a known setup error needs correcting before the machine can operate safely, correct it first; the log should describe what you actually changed.
The CS7000X manual's incorrect-thread-tension procedure uses 4 as the upper-dial reset point when correcting misthreading. It is not a promise that 4 will be the correct final setting for every quilting sandwich. Keep your machine-specific starting instruction distinct from the setting that eventually works with your materials.
Hold the comparison conditions steady
Use sample layers matching the intended top, batting and backing. Record the upper and bobbin threads, needle, stitch type, foot, starting upper-tension setting and any stitch-length or speed setting relevant to the method. The Brother FAQ recommends a trial using the actual project threads, fabrics, stitch type and layer count.
Give each comparison a fresh labeled line or area. Do not change thread, needle, foot and tension together and then attribute a difference to only the dial. A short label such as “B: upper path corrected; dial unchanged” preserves what that comparison can tell you.
Keep your handling reasonably consistent, too. A line made with the quilt dragging off the table and a line made with the sandwich fully supported have different conditions. Record a handling change if you make one; the log is meant to expose differences, not hide them.
If you are unsure which movement method you are setting up, use the walking-foot and free-motion comparison to separate machine feeding from hand-guided movement. This article does not supply foot compatibility or free-motion setup instructions.
Use a hypothetical one-change log
Suppose a CS7000X sample shows dark upper-thread loops on its labeled back. That is the imagined starting symptom, not an observed test result. The following log shows how to structure a comparison; its outcome column is for you to fill from actual stitching.
| Row | Change from the preceding row | What stays fixed | Outcome to record |
|---|---|---|---|
| A: baseline | Establish the recorded starting setup | Materials, threads, needle and selected quilting method | Check both sides |
| B: upper path | Correct upper threading if needed | Baseline materials and dial setting | Are back loops still present? |
| C: bobbin path | Correct bobbin installation if needed | Correct upper path and dial setting | What changed on each surface? |
| D: upper dial | If checks are complete and upper thread remains loose on the back, try one small increase on this model | All other recorded conditions | Compare a fresh line with C |
Skip a correction row when that part of the setup is already verified. Do not invent a threading error to complete the table. If you change a damaged or unsuitable needle, insert a separate row and record that action rather than burying it in a tension adjustment.
On the CS7000X, a higher upper-tension number tightens the upper thread; a lower number loosens it. After the setup checks, persistent upper-thread slack on the back can call for a small increase. Bobbin thread pulled onto the top can call for a small decrease. Use the manual and compare fresh stitching after each change; do not copy these directions to an unfamiliar machine.
If the appearance improves after rethreading with the dial unchanged, your notes show that improvement followed a thread-path correction. They do not prove the machine will remain balanced for every material, direction or section. Inspect both surfaces across a longer representative sample before moving to the quilt.
Stop when the problem needs a different diagnosis
If the machine jams, skips stitches, breaks thread repeatedly or makes abnormal sounds, stop stitching and consult its troubleshooting instructions. Those symptoms need attention beyond chasing a visually pleasing tension number. Follow the manual's maintenance limits and seek a qualified dealer or technician when the required diagnosis is outside them.
This workflow contains no universal bobbin-screw adjustment. Bobbin systems and permitted adjustments differ. A direction copied from a different machine is not an adequate basis for changing yours.
Keep the sample, photographs of both labeled surfaces and the completed log with the project. Record the final setup only after you have actually checked it. Next time the materials change, repeat the relevant sample comparison instead of assuming that one setting applies to every quilt.
For model identification and its documented features, the Brother CS7000X guide provides a starting reference. For threading, adjustment and maintenance, use the exact manufacturer's manual. The most useful result of troubleshooting is a traceable change and a verified observation on both surfaces.
Related posts
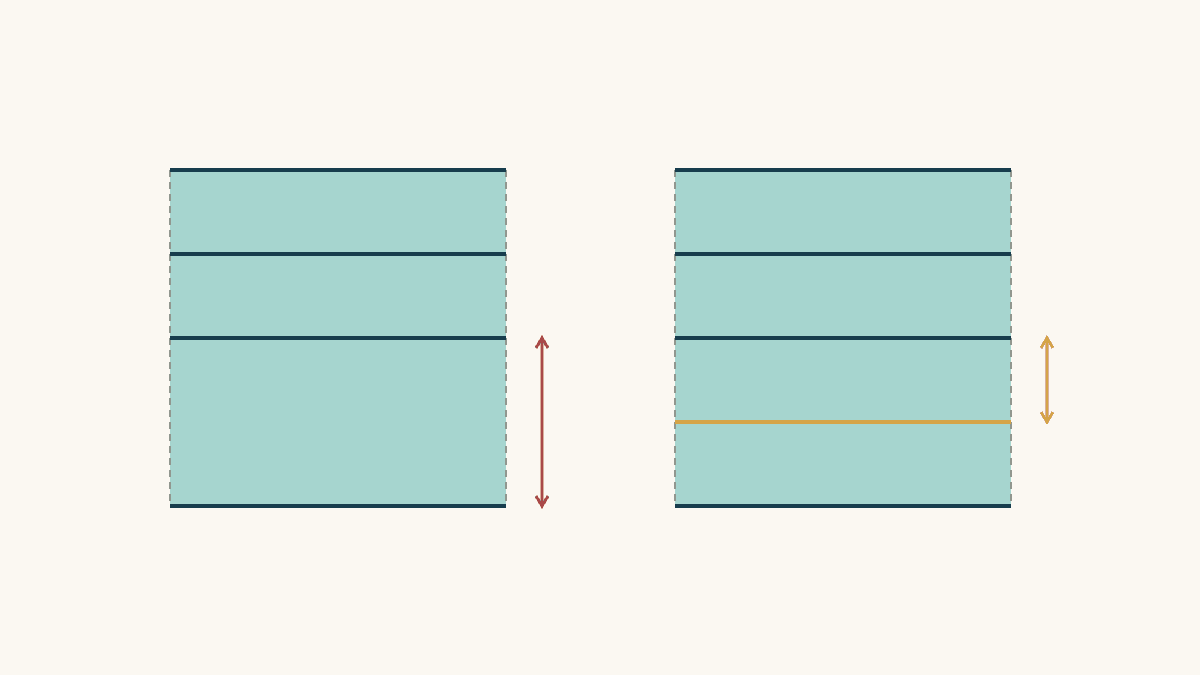
Batting Quilting Distance Planning: Gap Check
Check your batting's exact spacing limit against the largest gap in your quilting plan, with a measured example and a simple revision.
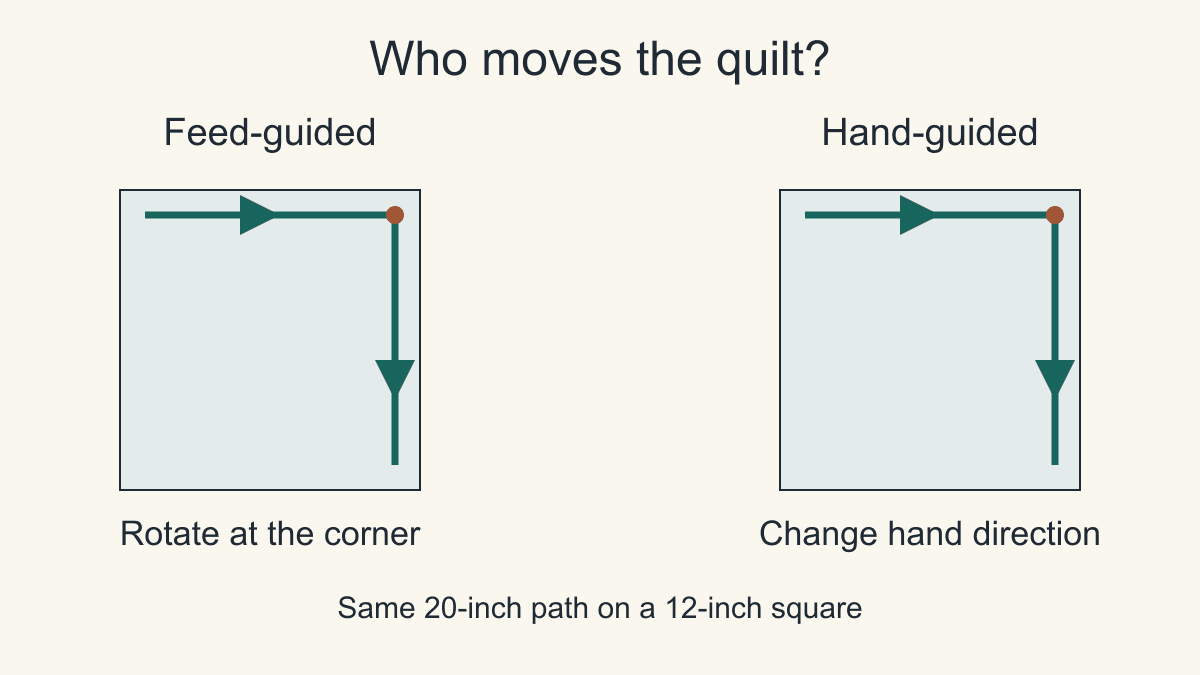
Walking Foot vs Free Motion: Choose a Method
Compare fabric feeding, direction changes and stitch control, using the same measured path to choose a quilting method for your top.
The Best Sewing Machines for Quilting in 2026: Five Picks for Every Budget
Compare five quilting machines by workspace, included accessories and the jobs you sew, with a practical dealer test and a total-cost worksheet.