


Quilt Sashing Width: Compare Block Scale
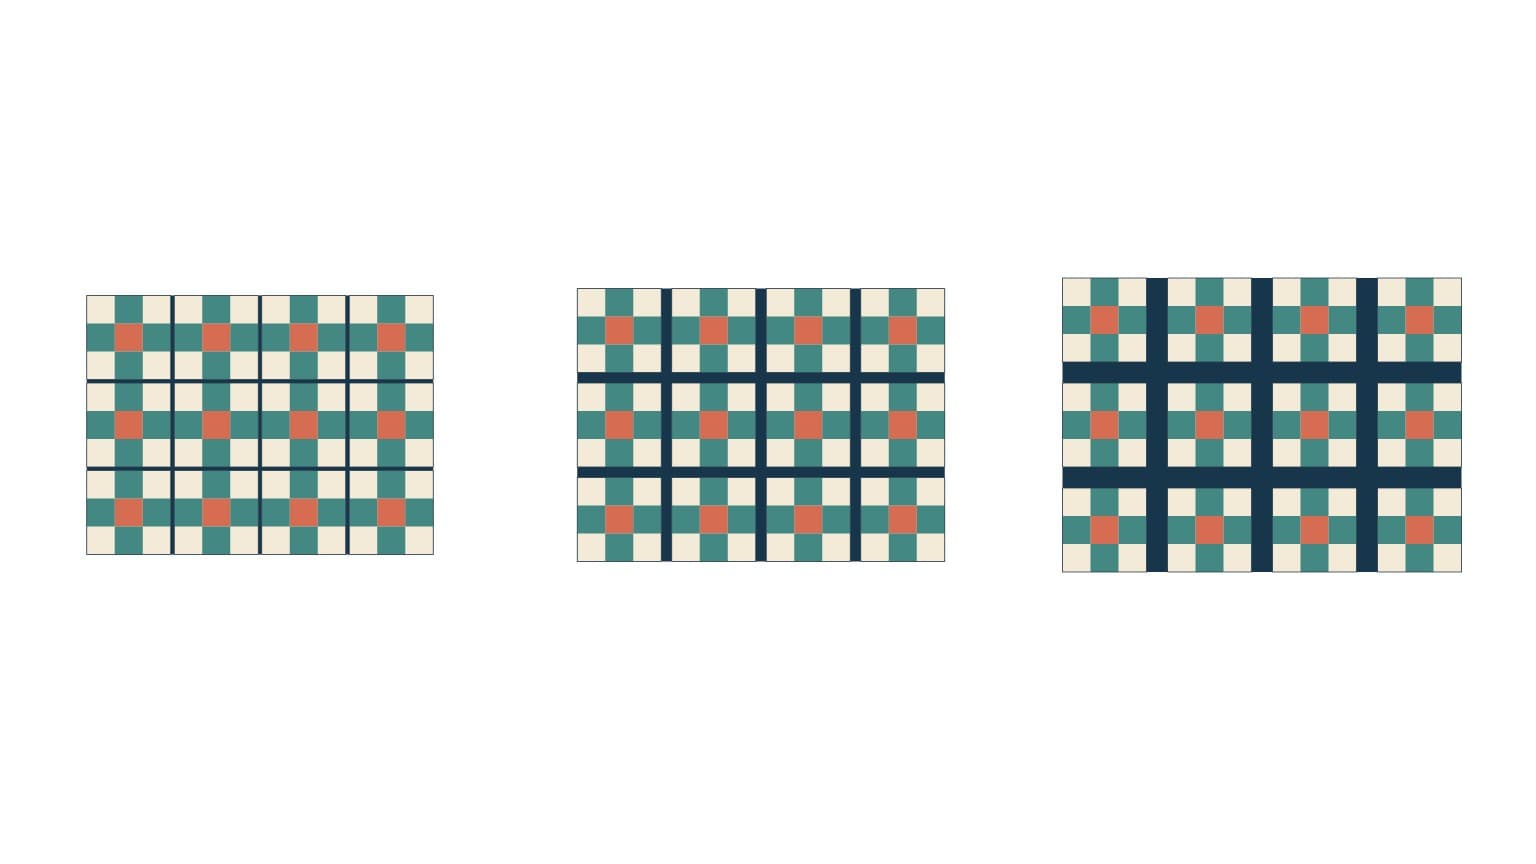
Quilt sashing width changes both the space between your blocks and the size of the quilt. Choose it by comparing the same blocks at the same scale, then calculate the result before cutting strips. A preferred proportion is a design choice, not a rule that every quilt must follow.
Our original example keeps twelve 12-inch finished blocks in four columns and three rows. Only the navy strips between them change: 1/2 inch, 1 1/2 inches or 3 inches finished. There is no outer sashing or border. These are unsewn drawings for comparing width, not a pattern or QuiltLab export.
Decide what the space should do
Sashing is fabric sewn between blocks. It can separate busy motifs, emphasize a repeated grid or connect backgrounds into a larger field. Decide which of those jobs you want before choosing a measurement.
In Ula's sashing guide at Designed to Quilt, she recommends auditioning widths and considering measurements already present inside the block. That gives you useful starting points without a universal prescription.
Look at the block's smallest important feature as well as its full outside size. Our drawn block has 4-inch-square units. A 3-inch strip is only a quarter of the 12-inch block width, but it is close to the width of one of those units. It becomes a substantial part of the composition. Calling it a small fraction of the block does not describe that whole visual effect.
Write one sentence for your goal: "Separate the blocks while keeping their coral centers more noticeable than the navy grid." That sentence gives you something concrete to compare. Another quilt might deliberately make the grid the main feature and choose differently.
Keep color and block scale fixed while comparing width
First hold the block count, arrangement and sashing fabric constant. If you also change the color, resize the motifs and add an outer frame, you cannot easily tell what the width alone contributed.
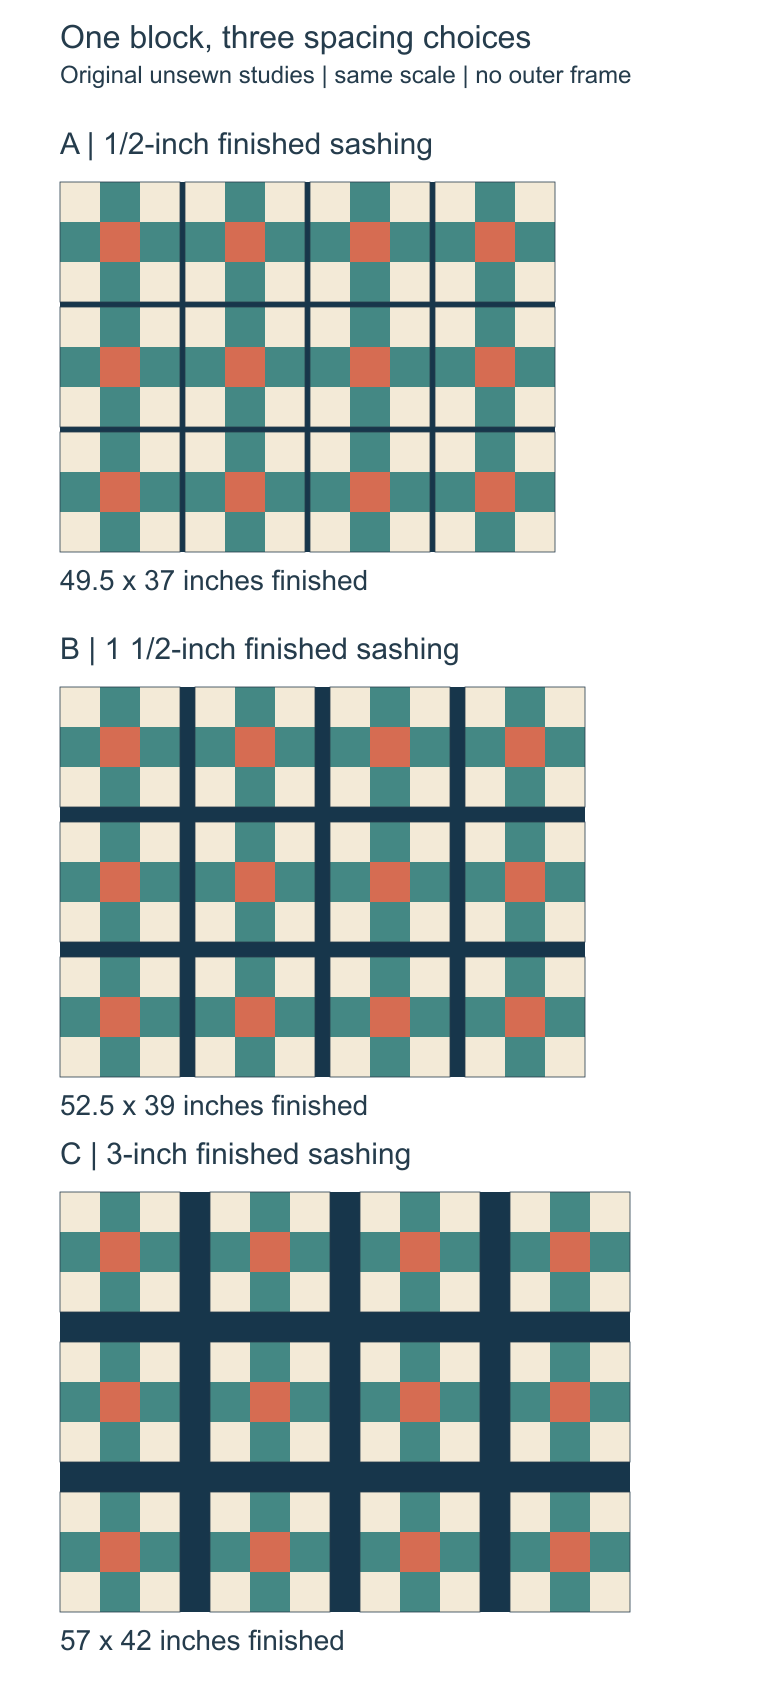
A: 1/2-inch finished sashing. The narrow navy lines separate the block edges while leaving relatively little navy area between them. In this drawing, the teal arms remain prominent. A narrow strip is still a deliberate choice; it is not automatically a mistake because another quilt uses wider strips.
B: 1 1/2-inch finished sashing. The navy grid is more visible and the motifs have more room between them. This is an intermediate audition, not the recommended answer for every 12-inch block.
C: 3-inch finished sashing. The navy bands become strong shapes across the whole field. The coral centers remain the same size, but they occupy a smaller share of the larger setting. Compare whether that supports your goal before deciding that extra space is an improvement.
If you need to compare sashing with completely different settings, start with sampler quilt layouts. Here the setting stays fixed so the width question remains clear.
Count internal gaps to calculate the finished size
Four columns contain three gaps between blocks. Three rows contain two gaps. With 12-inch finished blocks and sashing of finished width S:
- Finished width = (4 x 12) + (3 x S).
- Finished height = (3 x 12) + (2 x S).
The direct-set block field is 48 x 36 inches. Each added inch of sashing width grows this setting by 3 inches across and 2 inches down.
| Finished sashing | Added width / height | Finished setting |
|---|---|---|
| 1/2 inch | 1 1/2 / 1 inches | 49 1/2 x 37 inches |
| 1 1/2 inches | 4 1/2 / 3 inches | 52 1/2 x 39 inches |
| 3 inches | 9 / 6 inches | 57 x 42 inches |
For example, the middle version is 48 + (3 x 1.5) = 52.5 inches wide and 36 + (2 x 1.5) = 39 inches high. Moving from the narrowest to the widest version adds 7 1/2 inches across and 5 inches down, while the block count remains twelve.
These formulas assume internal spacing only. A strip around the outside edge would add another space on each side and requires a different calculation. Check the intended use against the quilt size reference; do not treat a wider setting as a substitute for deciding the size you actually need.
Label finished width and cut width separately
The finished width is the visible strip after its long edges are joined to neighboring fabric. For a straight strip with nominal 1/4-inch seam allowance on each long edge, add 1/2 inch to get its cut width:
Cut width = finished width + 1/4 + 1/4.
| Finished width | Nominal cut width |
|---|---|
| 1/2 inch | 1 inch |
| 1 1/2 inches | 2 inches |
| 3 inches | 3 1/2 inches |
That means a 2-inch cut strip in this example is intended to finish at 1 1/2 inches. Label both measurements on your plan so that the audition and the cutting notes refer to the same result.
The American Patchwork & Quilting editors' seam guide explains why stitching and pressing can affect the measured result even when the allowance looks correct. Before cutting every strip, make and measure a small sample using the fabrics and seam method you intend to use. We have checked the nominal arithmetic here; we have not sewn these studies.
Cut width alone is not a cutting list. Strip lengths, joins, construction order, usable fabric width and trimming still need their own plan. The finished dimensions above do not establish yardage or promise that one continuous strip will fit across a row.
Audition the actual block edges
A width can look quite different beside another block even when both finish at 12 inches. Pay attention to the colors touching the outside edge, the direction of strong lines and points that approach the seam.
Carolyn Gibbs's sampler-block planning guide demonstrates how blocks with different backgrounds and edge fabrics interact with possible sashing. The relevant comparison is the fabric immediately next to the strip, not simply the color at the block's center.
Place two or more actual blocks against your candidate fabric. Fold or mask it to the finished width you are considering. Showing an entire cut-width strip would include fabric that the seams will consume and make the audition wider than the intended result.
Photograph the arrangements from the same position, then look at a reduced image as well as the full-size view. Ask whether the blocks remain distinct, whether a repeated line becomes more important than expected, and whether the sashing disappears into any edge fabrics. Our color and value guide helps separate a width decision from a contrast problem.
If changing width does not solve the problem, compare a different fabric while keeping the selected width fixed. Record that as a second decision rather than quietly changing both variables at once.
Keep the manual plan with the design
Record the block size and count, finished sashing width, nominal cut width, finished setting dimensions and the chosen fabric. Note explicitly that the example has internal sashing only. Keep any outside-frame decision separate; quilt border ideas compares that later design stage.
These sashing studies are manual drawings. QuiltLab has no documented dedicated sashing control, and it does not automatically produce this setting's cut lengths or yardage. The Quilt Editor guide explains its supported Grid layout measurements; increasing a block size there is not the same as adding fabric between unchanged blocks.
Choose the width that serves your written goal and fits the checked dimensions. Then validate the physical sample and construction plan before committing the whole set of strips.
Related posts
Improv Quilt Design Constraints: Three Limits
Start an improv study with a shape vocabulary, three fabric roles and a finished envelope, then explore several original compositions.
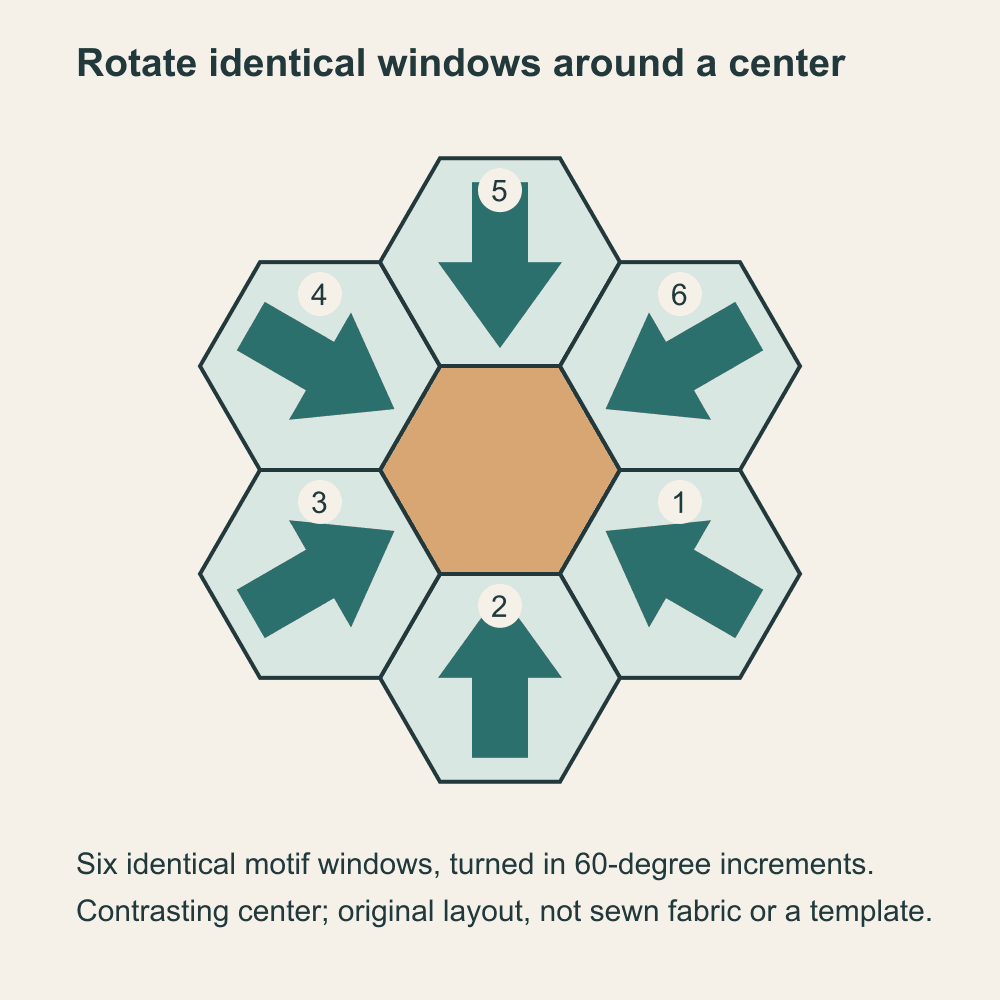
Fussy Cutting Hexagons: Plan Repeats for a Rosette
Count six matching motifs, record their orientation and preview a hexagon rosette before cutting the fabric.
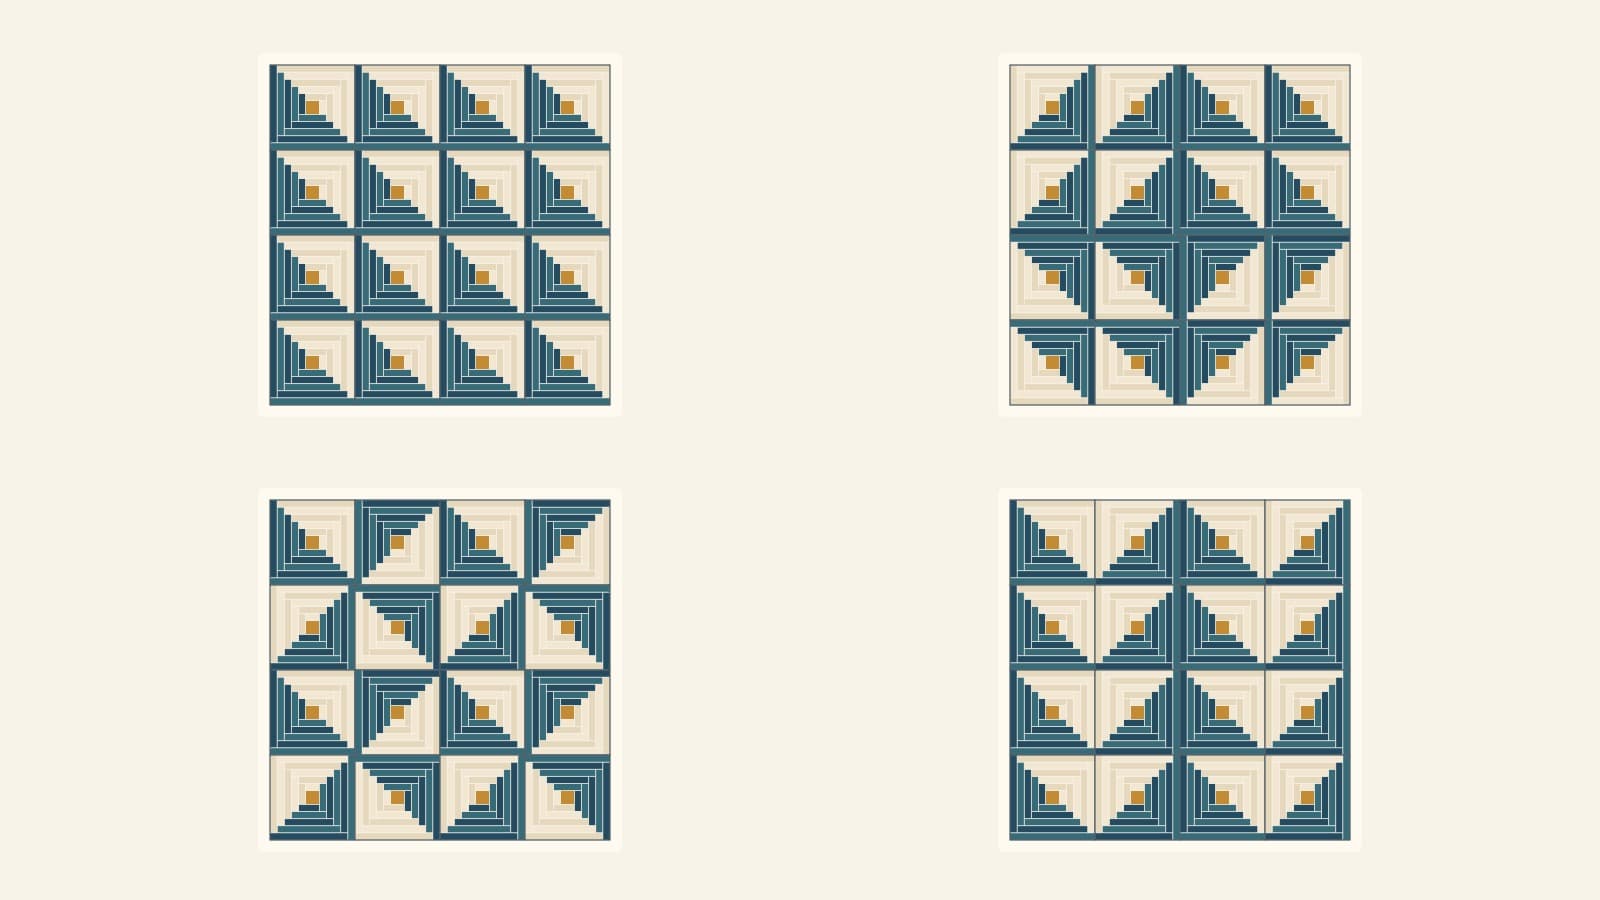
Log Cabin Quilt Layouts: Four Rotation Plans
Compare Barn Raising, Straight Furrows, pinwheels and chevron rows using the same sixteen blocks and an original dark-corner orientation key.