


Improv Quilt Design Constraints: Three Limits
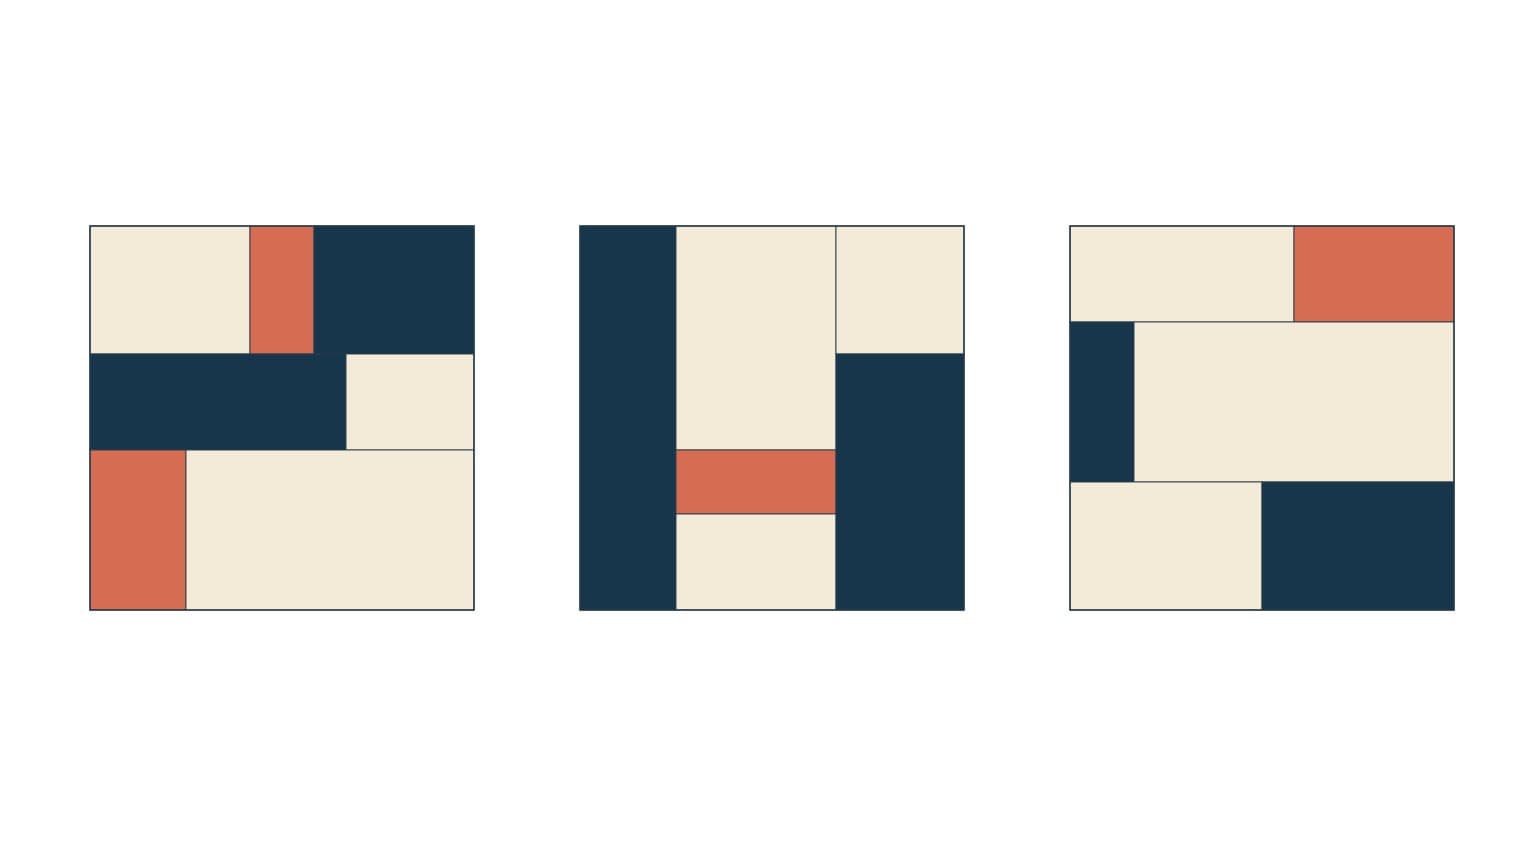
Improv quilt design constraints can give you a place to start when every fabric and every shape seem possible. Choose a small shape vocabulary, a few color roles and a size envelope. Leave the composition open so the next decision can respond to what you have actually made.
Our original starting brief uses rectangles, cream/navy/coral and a 12-inch-square finished envelope. Three drawings show how differently those same limits can unfold. They are unsewn design studies, not commercial patterns, QuiltLab output or evidence that a particular piecing method has been tested.
Use a limit to invite decisions
A constraint narrows one question while leaving others available. Choosing rectangles leaves their widths, heights, orientation and arrangement open. Choosing three fabrics leaves their proportions and relationships open. A size envelope gives the exploration a boundary without specifying every seam.
Sherri Lynn Wood's description of The Improv Handbook for Modern Quilters explains her scores as parameters and limits rather than a traditional sequence to copy. That teaching provides useful context for working within a framework. The brief below is our own; it does not reproduce one of Wood's scores or techniques.
Treat a limit as a decision you can explain: "I am using rectangles because I want to explore broad and narrow bands without also solving curved seams." That is more useful than adding restrictions merely to make the work difficult.
You can revise a limit if it stops serving the exploration. Write down the change, so you know whether you are still investigating the original question or starting a different one.
Constraint one: choose a shape vocabulary
For this first brief, use straight-edged rectangles, including squares. Leave triangles, curves and representational motifs for another exploration. This gives you room to concentrate on length, width and neighboring shapes.
Rectangles do not have to form a familiar block. A long piece can sit beside several shorter ones. A broad region can interrupt a row of narrow regions. You can turn the direction of the composition without building a Log Cabin around a center.
Maria Shell's Improv Patchwork, described by C&T Publishing, explores creating visual patterns from solid fabrics through line, shape and color. It is a source for further instruction from the named teacher, not a pattern behind our diagrams. No illustration or lesson from the book has been reproduced here.
On paper, try two rectangles of distinctly different proportions before adding many more. Ask what their shared edge makes possible. If every new piece is the same size by habit, consider changing its proportion rather than adding a new shape family.
Constraint two: give the colors roles
Our brief uses cream as an open field, navy as structure and coral as an accent. Every study uses all three. Allow no more than two separate coral regions in this particular starting exercise; their dimensions and positions remain open.
These roles are prompts for comparison, not universal definitions of the colors. Navy need not be structural in your next piece, and an accent need not be a bright hue. Use fabrics whose light/dark difference is visible for the relationship you want to explore. Our color and value guide explains that distinction.
Put the selected fabrics together before committing to the brief. A printed fabric may contain enough variation to behave differently from its overall color name. Decide whether that variation belongs in this first exploration or whether solids will make the chosen question easier to see.
For a starting fabric pull, write the roles rather than a shopping list: "one light field, one dark structural fabric, one contrasting accent." The scrappy-quilt planning guide offers a broader approach to giving many fabrics common roles. This exercise keeps the initial choices deliberately smaller.
Constraint three: set a finished envelope
The drawn envelope is 12 x 12 inches finished. It fixes the outside area for comparison while leaving the internal composition flexible. It does not mean that fabric pieces should be cut directly to the visible dimensions in a drawing.
With nominal quarter-inch outer seams, a panel intended to finish at 12 inches would need to measure 12 1/2 inches unfinished before it is joined into a surrounding construction. That extra half inch covers two quarter-inch allowances across each dimension. Internal seams need their own allowances too.
Keep the words finished, unfinished and cut beside the appropriate measurements. A 12-inch trimmed loose panel would finish smaller after its outside seams are taken. Plan the construction and check a physical sample rather than treating the diagram as a full-size template.
An envelope is also a practical limit on the first exploration. You can learn from one panel without deciding the dimensions, joins, batting or quilting of a complete quilt immediately. Those decisions still matter when you move beyond the study.
Compare three original possibilities
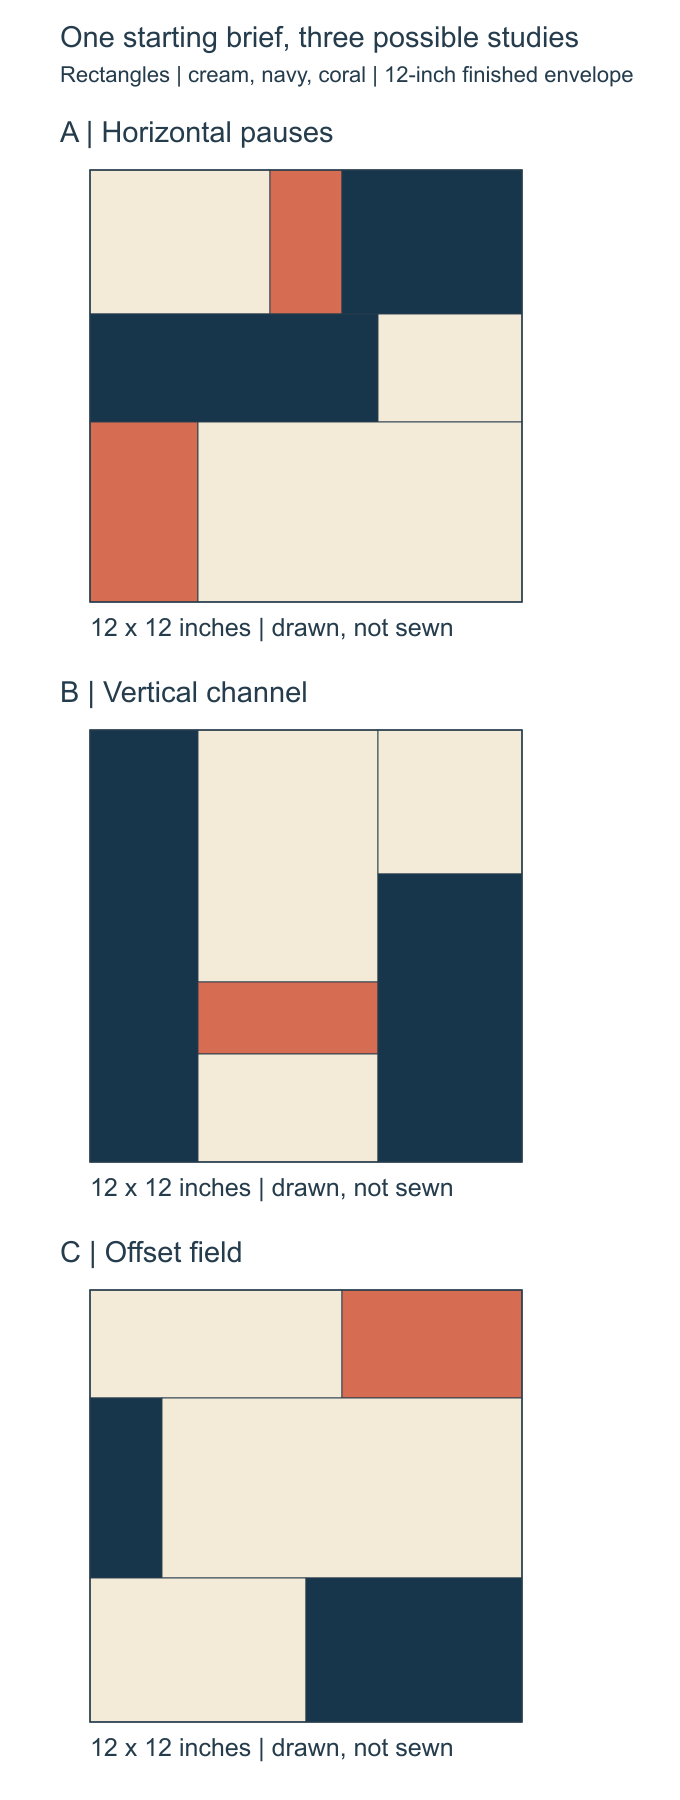
A: Horizontal pauses. Broad horizontal changes divide the field into three bands. Two coral regions interrupt different bands. In the drawing, navy stretches across much of the middle while cream leaves a larger opening at the lower right.
B: Vertical channel. A dark region runs down the left, with a second dark area lower on the right. The cream channel contains one coral interruption. The same palette now emphasizes upright movement instead of the horizontal bands in A.
C: Offset field. A large cream region occupies the middle, coral sits at the upper right, and navy occupies different positions on the left and lower right. The arrangement has more open central space without changing the envelope.
Each square has 12 x 12 = 144 square inches of drawn finished area. The coral areas are 23 square inches in A, 10 in B and 15 in C, calculated from the original rectangles. Those differences show that a fixed palette does not fix its proportions. They are visible geometry, not fabric requirements: seams and trimming consume material beyond it.
These are possible directions, not three outcomes you must copy. Sketch your own response to the brief. When you begin working in fabric, allow the actual pieces and joins to suggest the next decision rather than requiring every seam to match the drawing.
Keep the work's context attached
Improvisational quiltmaking belongs to many makers and teaching traditions. Naming one contemporary framework does not establish a single origin for the practice.
Souls Grown Deep's account of the Gee's Bend quiltmakers describes a specific multigenerational Alabama community, reused materials and quiltmakers following individual artistic paths. Learn the makers' names and the history alongside the images. That community's work is more than a generic visual style to imitate.
Keep a note of a teacher, book or artwork that prompted your exploration. Describe what you learned accurately and distinguish it from what you designed yourself. A source credit does not imply the maker endorses your design or QuiltLab, and access to an image or commercial lesson is not permission to reproduce it.
For a wider discussion of visual categories, read modern and traditional quilt design. The categories do not decide whether an individual maker's process was improvised.
Write the brief, then begin
Use three lines to start your own study:
| Limit | Our example | Decisions left open |
|---|---|---|
| Shape | Rectangles, including squares | Proportions, direction and adjacency |
| Color | Cream field, navy structure, coral accent | Amounts and positions; up to two coral regions |
| Envelope | 12-inch finished square | Internal arrangement and construction plan |
Save the brief beside a photograph or sketch of the current work. Note a decision you want to try next and any measurement that still needs checking. You do not need to solve an entire quilt in that first note.
If you want more variety, change a limit deliberately. If you want less, reduce the number of decisions within one limit. Keep enough space for the fabric and the emerging composition to surprise you while retaining a clear starting question.
Related posts
Quilt Sashing Width: Compare Block Scale
Compare three sashing widths around the same blocks, check finished-size growth, and separate the visible strip from its seam allowances.
How to Choose Background Fabric for a Quilt
Compare contrast, undertones and print density, then test your background in the right proportion with a checked nine-patch example.
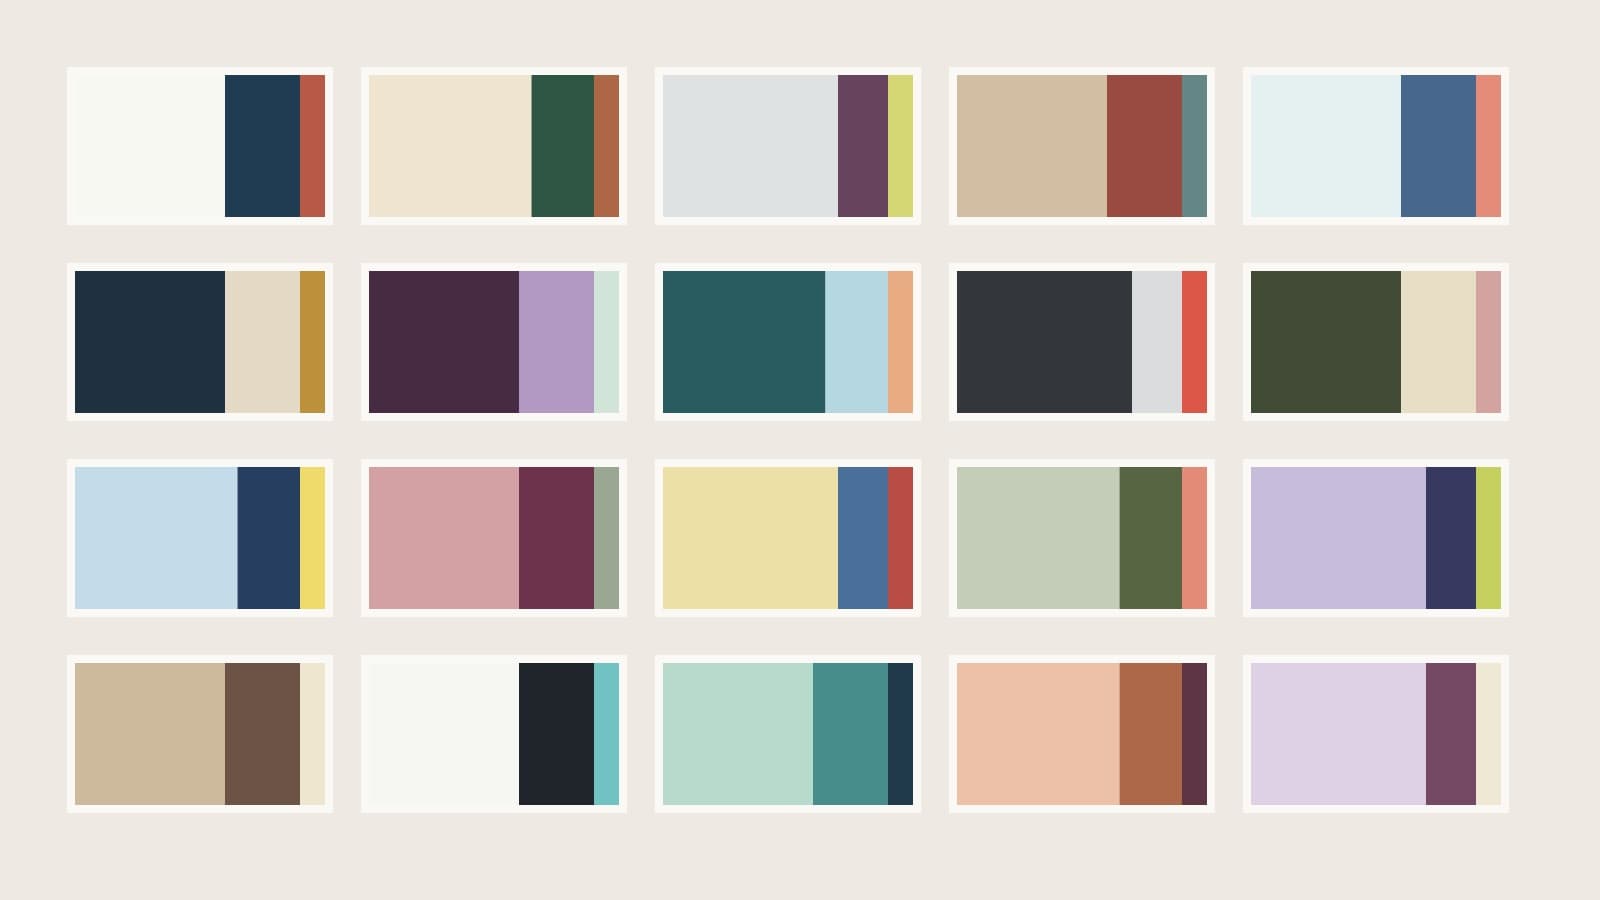
Quilt Color Combinations: 20 Palette Plans
Twenty quilt palettes with background, support and accent roles, checked area proportions and placement notes to help you choose fabrics.