


Kaleidoscope Quilt Fabric Repeats: Plan Eight Wedges

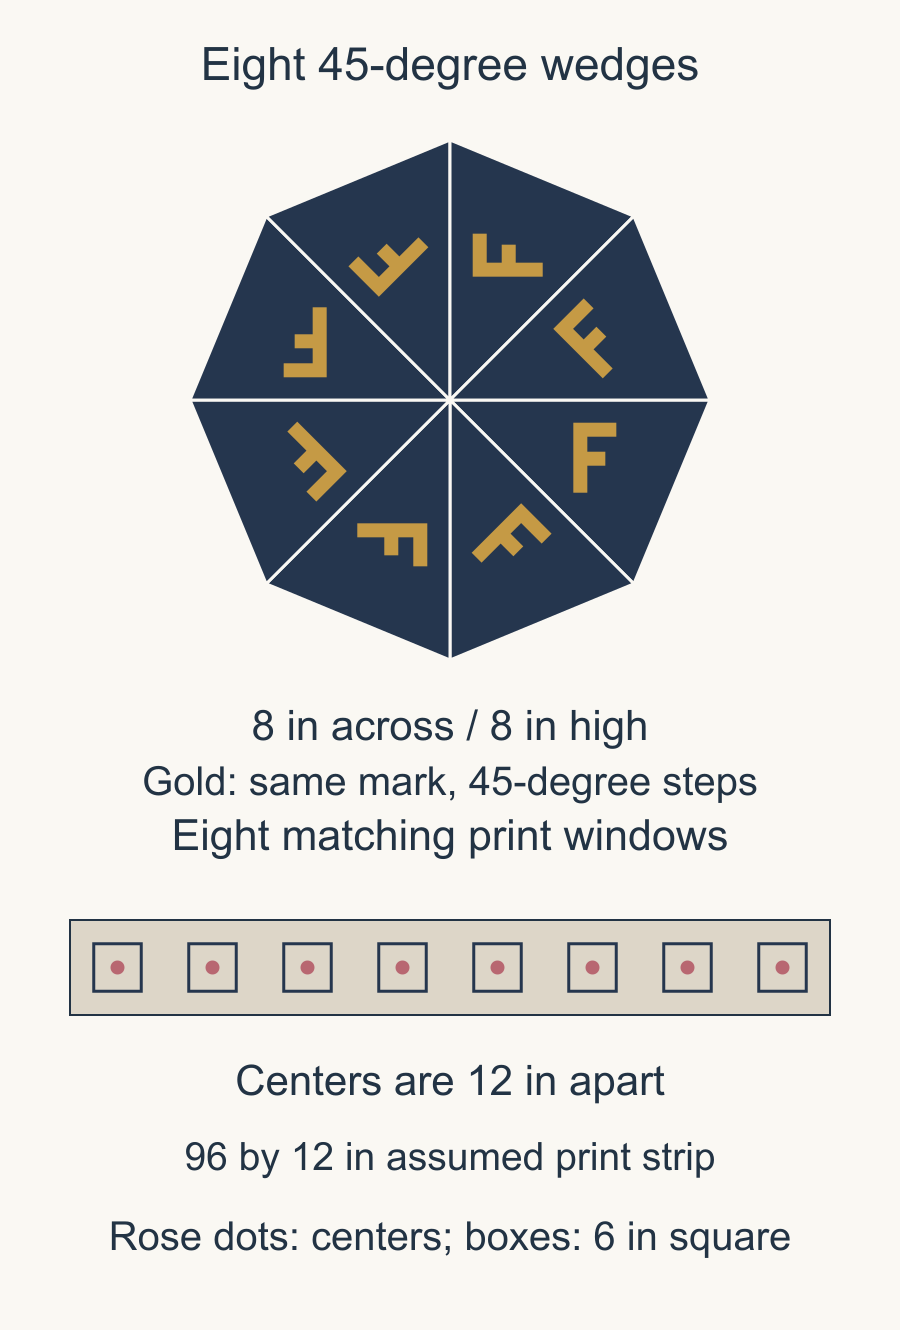
An eight-wedge kaleidoscope block needs eight matching print windows, one for each 45-degree sector. Start by choosing the wedge and locating the same print details in all eight occurrences. Then rotate a paper preview around the shared center before committing fabric.
The number of sectors changes the result. Geta Grama's kaleidoscope lesson distinguishes four-repeat squares, six-repeat triangular hexagons and eight-repeat triangular octagons. Decide which structure you are making before counting fabric repeats.
Start with the block's center
In this study, eight triangular wedges meet at one center. There is no separate center hexagon. Each wedge turns 45 degrees from the previous one, so eight turns complete 360 degrees.
That differs from arranging six full hexagons around a seventh hexagon, as in our fussy-cut hexagon article. Both use repeated print details, but they ask different things of the cutting window.
Draw a small arrow from the wedge's center vertex toward its outer edge. When the wedges rotate, the arrow rotates too. An asymmetric detail that begins upright will face several directions around the finished arrangement. That rotation creates the kaleidoscope effect; it is worth previewing deliberately.
Keep the cloth right side up and the same template face visible when selecting all eight windows. Match the arrow and print landmarks before turning any pieces for the arrangement. Turning the template over reverses its reference marks; it does not create a mirrored print on the cloth's right side.
For the paper preview, keep the first wedge at 0 degrees. Place the remaining copies at 45, 90, 135, 180, 225, 270 and 315 degrees from it.
Choose the wedge size with the print
A small window may isolate one leaf. A larger one may include a flower, leaf and background together. Those choices can make very different designs from the same cloth.
Karen Johnson's Connecting Threads fabric-preparation lesson compares segment sizes and counts as design choices. Use that relationship rather than expecting a particular category of print to guarantee a good block.
For our drawing, each finished wedge has two equal 4-inch radial sides with a 45-degree angle between them. Its outer chord is about 3.0615 inches. Eight wedges form an octagon with an area of about 45.2548 square inches.
With outer vertices placed at 0, 45, 90 degrees and so on, the octagon's full bounds are 8 by 8 inches. Turning the entire arrangement changes the bounding box. Keep the intended orientation when checking how the block sits in a layout.
Find matching occurrences in the actual cloth
Choose two or three recognizable print details inside your proposed window. Include one near the shared-center vertex and another farther away. That gives you both a position reference and a direction reference.
Locate the same details in the next occurrence. Check the full window, including the outer edge, rather than matching only the central flower. A staggered repeat or a small print variation can agree at one detail and disagree elsewhere.
American Patchwork & Quilting's fussy-cutting tips distinguish the finished window from seam allowances and note that printed motifs can vary. Traced print details can help register later pieces, but the cloth still deserves a close look at every occurrence.
Our fussy-cutting overview covers making a viewing window. Here, use that window eight times with the same chosen vertex and orientation.
Keep print length separate from wedge size
Suppose the print repeats every 12 inches along a 96 by 12-inch strip. Mark eight centers at 6, 18, 30, 42, 54, 66, 78 and 90 inches, each halfway across the strip.
Assume your full cutting-template envelope fits inside a 6-inch square. The first envelope then runs from 3 to 9 inches along the strip; the last runs from 87 to 93 inches. Across the strip, each runs from 3 to 9 inches.
| Planning item | Assumed measurement | What it establishes |
|---|---|---|
| Repeat spacing | 12 in | Distance between matching centers |
| Matching occurrences | 8 | One window per wedge |
| Full template envelope | 6 by 6 in | Room around each selected window |
| Finished radial sides | 4 in | Scale of the finished octagon |
The 6-inch envelope is an assumption for this map. It does not define a seam allowance or replace the template required by your actual construction method. Keep the full template over the cloth when checking whether a position really fits.
The listed set has eight positions and no spare. If one envelope crosses a previous cut, you have seven accepted windows. Find a replacement occurrence before cutting the set; a smaller window would change the crop you are trying to repeat.
Try more than one center detail
Move the shared-center vertex to three different places in one print repeat. Trace or sketch the resulting wedges, then rotate eight copies of each.
One choice may bring dark lines together at the center. Another may leave a pale opening. A third may create a busy middle but a clearer outer ring. Keep the wedge size and sector count fixed while comparing these choices.
Look at the center at a reduced scale as well as close up. Small differences at eight meeting vertices can become the feature the viewer notices first. If you prefer a quieter center, move the window before changing every fabric.
Label the winning window with its center vertex, arrow and print landmarks. Those labels are more useful than a photograph alone when you return to the uncut cloth.
Check the entire batch before cutting
Before numbering the set, check the center vertex against the same small print detail in every window. A shifted print landmark at that vertex changes how the motifs meet. Keep a rejected window outside the set rather than letting it return among the accepted positions.
Count eight usable occurrences, not eight visible flowers. Selvages, previous cuts and print drift can remove a window from consideration even when its main motif is present.
Lay the full template at each position and check that its complete boundary fits.
Keep the eight pieces associated as a set when you eventually cut them using the verified method. If you want several blocks from the same fabric, plan a separate group of matching windows for each one.
Start with one paper or traced preview today. Eight repeated windows are enough to reveal whether the chosen detail creates the center and outer rhythm you want, before you spend the next eight fabric occurrences.
Plan your next quilt
Lay out blocks and try colors in QuiltLab's grid editor before you cut.
Free forever, no card needed.
Get quilting tips by email
QuiltLab updates, tips and quilting inspiration. Unsubscribe anytime.
Related posts
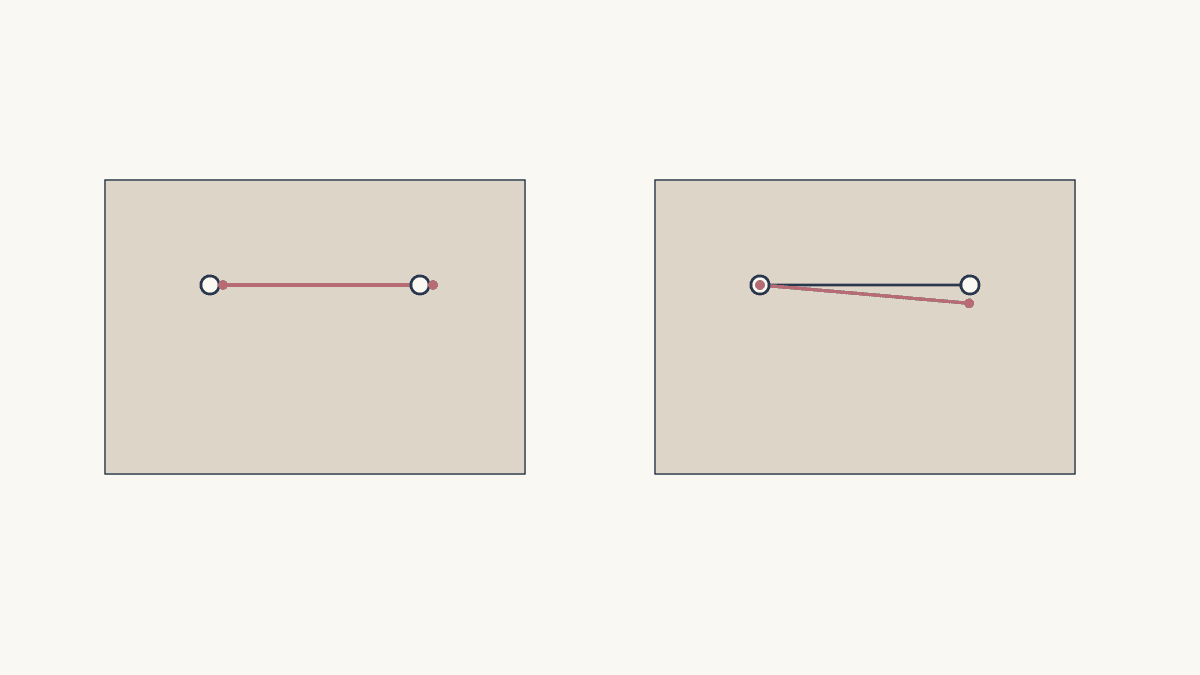
Centering Fussy Cut Motifs: Fix the Shift First
Use two print landmarks to tell a simple shift from a rotation or mismatched repeat before cutting the next batch.
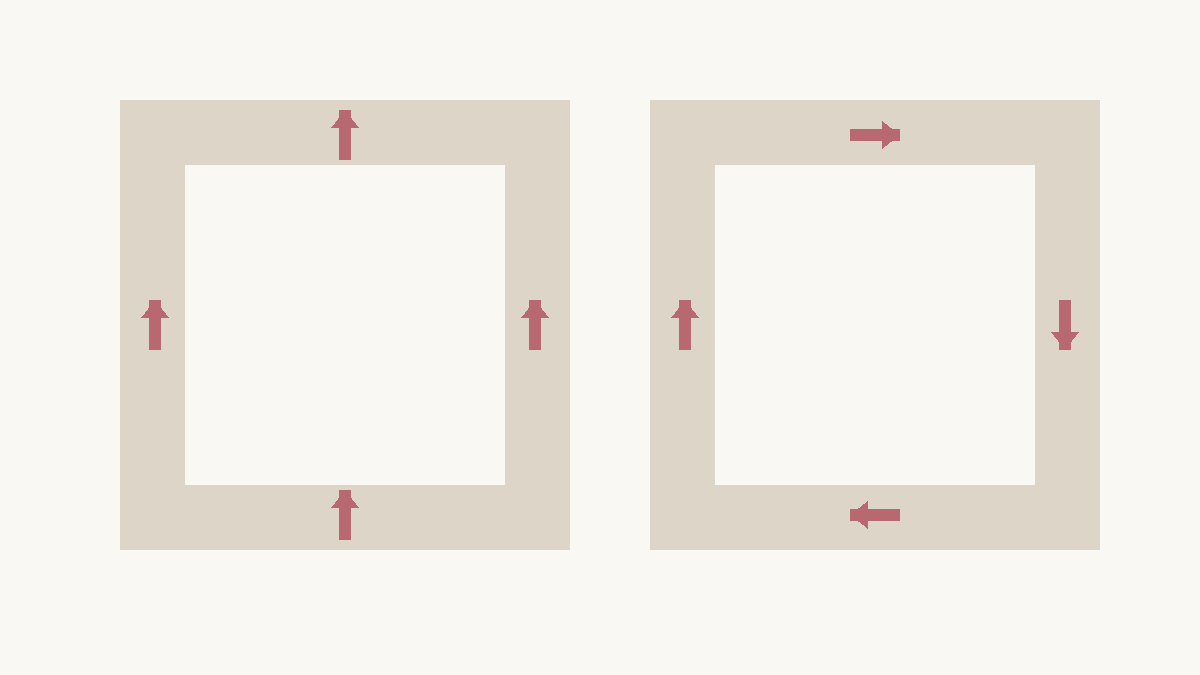
Directional Quilt Border Corners: Upright or Around?
Choose whether border motifs stay upright or turn around the quilt, then check every corner before cutting matching print bands.
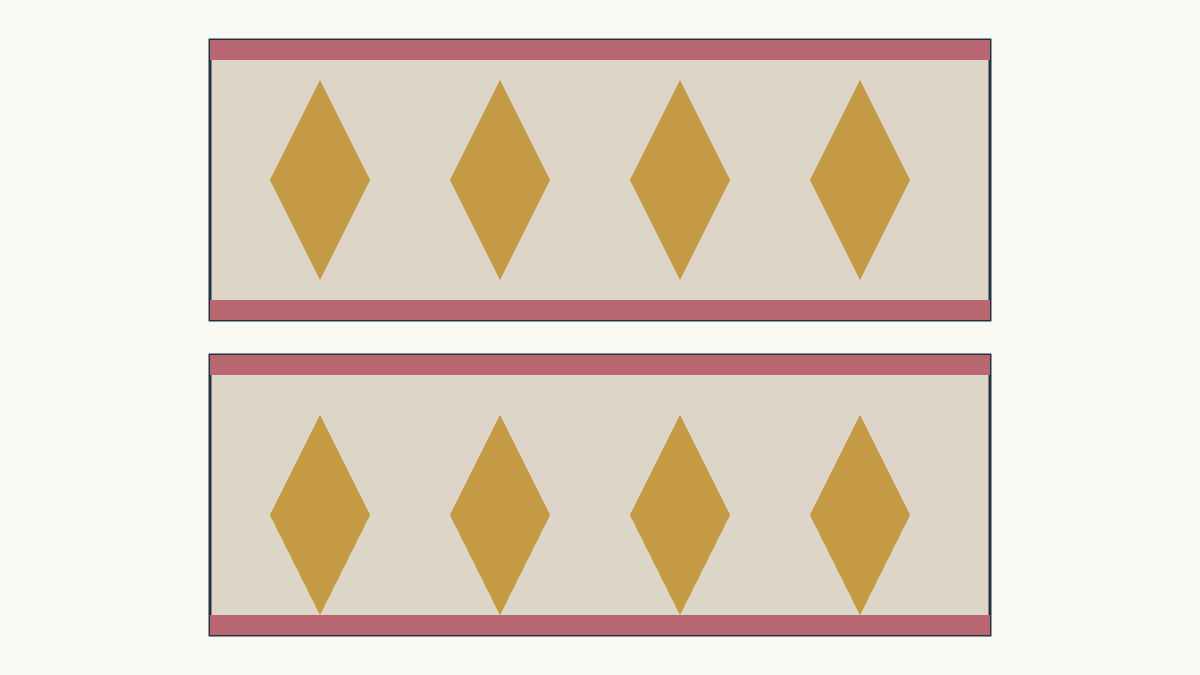
Fussy Cutting Border Prints: Keep the Whole Band
Choose a border print by its finished visible band, preserve calm margins, and check repeat phase before cutting long strips.