


Quilt Border Size Adjustment: Reuse Sewn Borders

If your pieced borders are already sewn, measure them and the center separately before changing either. A plain spacer can bridge a consistent size difference while preserving the border motifs. Work in both directions and keep raw measurements separate from finished sizes.
For a substantial mismatch, make the pieces compatible through a planned change. Easing is for a slight difference; stretching a center into a much longer border can distort the quilt.
Inventory the pieces you actually have
Write the center's raw width and height after it is sewn and pressed. Measure across the body as well as near the edges, and investigate a large disagreement before designing the fix.
Next measure each completed border strip. Note whether its corner pieces are already attached. A side strip with a corner square at each end has a different joining length from a strip that stops between corners.
American Patchwork & Quilting's border tips recommend waiting until the center is sewn, measuring it and matching pinned centers and ends. That sequence helps you use the quilt you have rather than the dimensions the first sketch predicted.
Use one sheet for the measured inventory. Do not erase the original intended dimensions; keep them in a separate column so you can see what changed.
Work a two-direction example
Suppose the sewn center measures 58.5 by 70.5 inches raw. Your existing pieced borders were made for a center measuring 60.5 by 72.5 inches raw.
The strip inventory is:
| Existing piece | Raw size or length | Quantity | Joining role |
|---|---|---|---|
| Side border | 72.5 in long | 2 | Beside the center |
| Top/bottom border | 60.5 in long | 2 | Between corners |
| Corner square | 4.5 by 4.5 in | 4 | Finishes at 4 in |
The center needs 2 more raw inches in width and 2 more in height. A 1-inch finished plain spacer on all four sides supplies that difference.
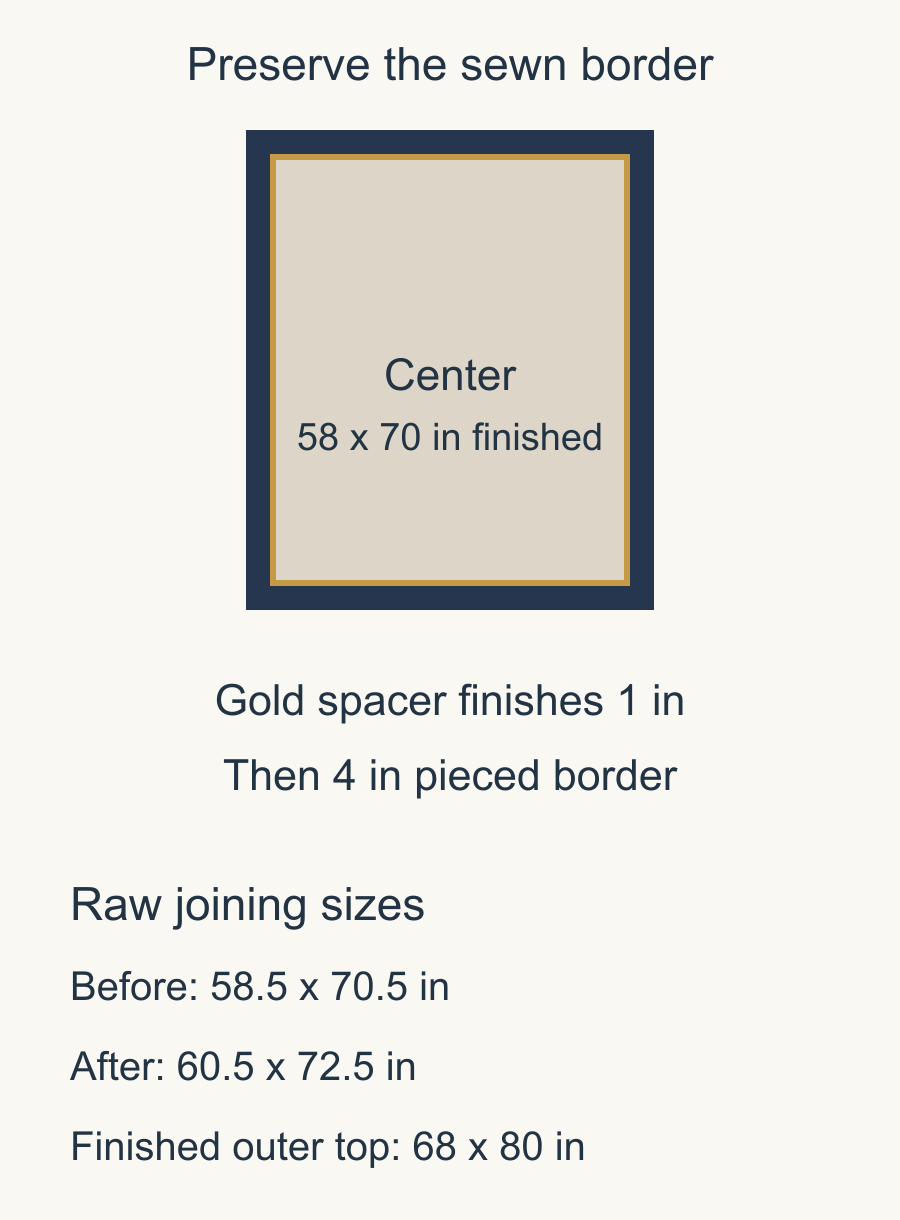
Chris Kirsch's Fitting Pieced Quilt Borders holds an existing pieced strip fixed and calculates a plain spacer from the difference. The useful habit is preserving what you have already sewn while making the joining dimensions agree.
Calculate the raw spacer width
With quarter-inch seams, a strip that finishes at 1 inch is cut 1.5 inches wide. Adding two strips to the raw center consumes four quarter-inch allowances across the two joins.
For the width:
58.5 + 1.5 + 1.5 - 1 = 60.5 inches raw.
For the height:
70.5 + 1.5 + 1.5 - 1 = 72.5 inches raw.
The subtracted inch is the total taken up by the two joins in that direction. Do not add 1.5-inch strips and expect their entire raw width to remain visible.
After the spacer, the center would finish at 60 by 72 inches when joined to the outer border. Four-inch finished pieced borders then make the planned top 68 by 80 inches finished.
Those final dimensions follow this example's join arrangement. If your strips already include corners or use a different seam allowance, redraw the inventory before using the equations.
Let the assembly order determine lengths
If you add the spacer to the left and right first, those strips meet the center's current 70.5-inch raw height. After those joins, the enlarged piece has a 60.5-inch raw width.
The top and bottom spacer strips then span that new raw width. Once attached, the piece reaches the 60.5 by 72.5-inch raw joining size required by the existing pieced borders.
Mark the order on the sheet. A list of four spacer strips without their joining sequence invites cutting the top pair to the old width.
For the outer border, the two side strips are 72.5 inches raw. Top and bottom runs are 60.5 inches raw between the 4.5-inch raw corner squares. Check where each corner enters the construction before treating these lengths as interchangeable.
Check whether one spacer width works
Our example needs the same correction in both directions. Real quilts may not.
For a different strip inventory, suppose the required raw joining size is 2 inches wider and 4 inches taller than the sewn center. That calls for 1-inch finished spacers on the left and right, and 2-inch finished spacers at the top and bottom. With quarter-inch seams, those strips would be cut 1.5 and 2.5 inches wide, respectively. Equal spacers on all four sides would leave one direction wrong.
Draw the unequal version at scale. A broader top and bottom band can look intentional when it repeats a color or frames the center deliberately. It is less convincing when the extra width appears only because one measurement was overlooked.
Audrey's Quilty Folk measuring lesson keeps finished repeat size and raw size distinct and considers the border in each direction. Use those same distinctions when deciding which existing piece can stay fixed.
Reject a fix that damages the design
A negative spacer means the existing border wants a smaller center. Adding a strip cannot achieve that. Review whether the border can gain a complete motif, whether a corner arrangement can change or whether a removable center frame provides room to revise.
Do not trim points off the center simply because its outside measurement is inconvenient. Likewise, shortening an asymmetric border unit may destroy the repeat. Our piano-key border planning article works with mixed-width keys and adjustable end keys. A picture motif needs its own intact-unit check before you trim.
Look at the color too. A narrow spacer can separate busy areas or make a new line around the center. Try it in actual cloth before accepting the first fabric that reaches the right measurement.
Measure again before the final joins
After adding the spacer, remeasure the enlarged center. Then compare each corresponding pieced strip and match its ends and midpoint. Investigate a significant discrepancy while the pieces are still separate.
Our wavy-border guide explains why measuring and attaching borders deserves care. The medallion planning article helps when several border rounds need to fit together.
Keep your final recovery sheet with the project: measured starting center, existing strip inventory, chosen spacer width, assembly order and remeasured result. Start by laying out the actual sewn pieces today. The smallest successful adjustment is the one that preserves their useful shapes and makes their joining edges agree.
Plan your next quilt
Lay out blocks and try colors in QuiltLab's grid editor before you cut.
Free forever, no card needed.
Get quilting tips by email
QuiltLab updates, tips and quilting inspiration. Unsubscribe anytime.
Related posts
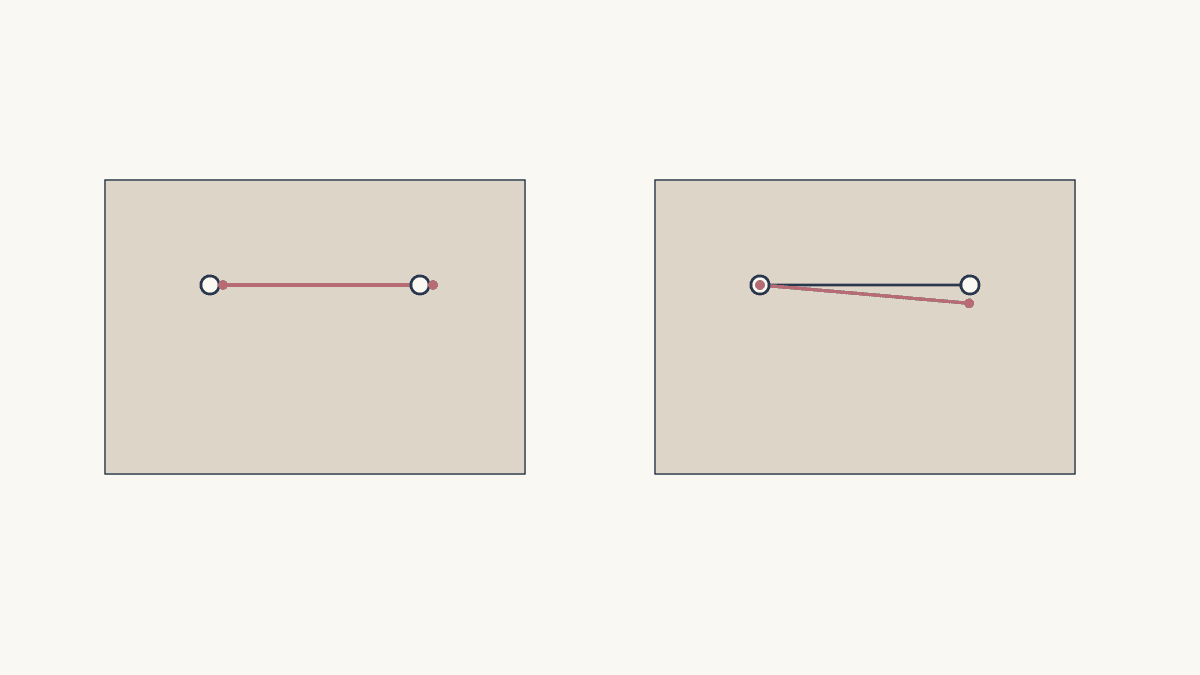
Centering Fussy Cut Motifs: Fix the Shift First
Use two print landmarks to tell a simple shift from a rotation or mismatched repeat before cutting the next batch.
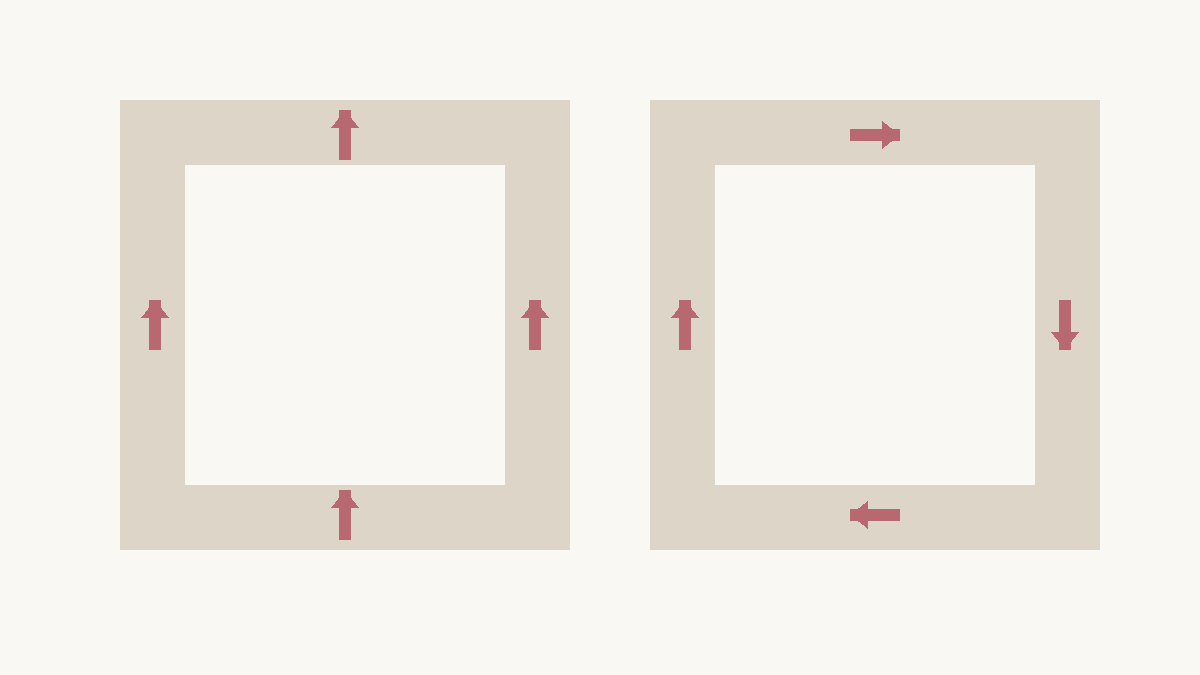
Directional Quilt Border Corners: Upright or Around?
Choose whether border motifs stay upright or turn around the quilt, then check every corner before cutting matching print bands.
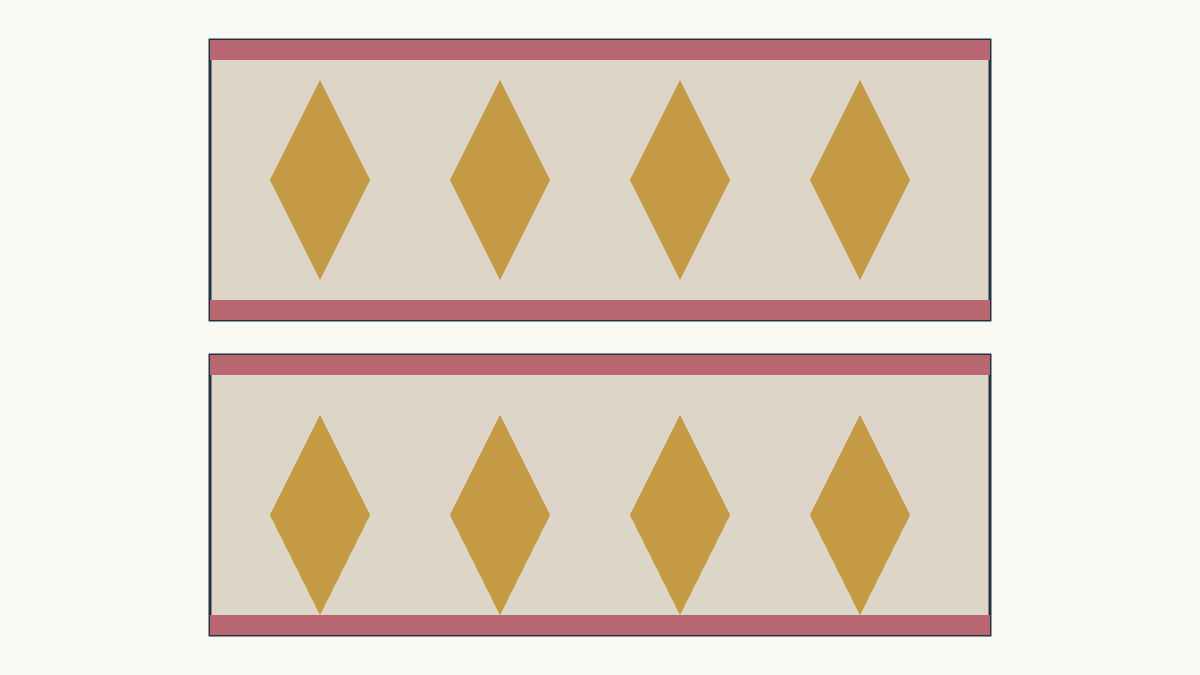
Fussy Cutting Border Prints: Keep the Whole Band
Choose a border print by its finished visible band, preserve calm margins, and check repeat phase before cutting long strips.