


Fussy Cutting Border Prints: Keep the Whole Band
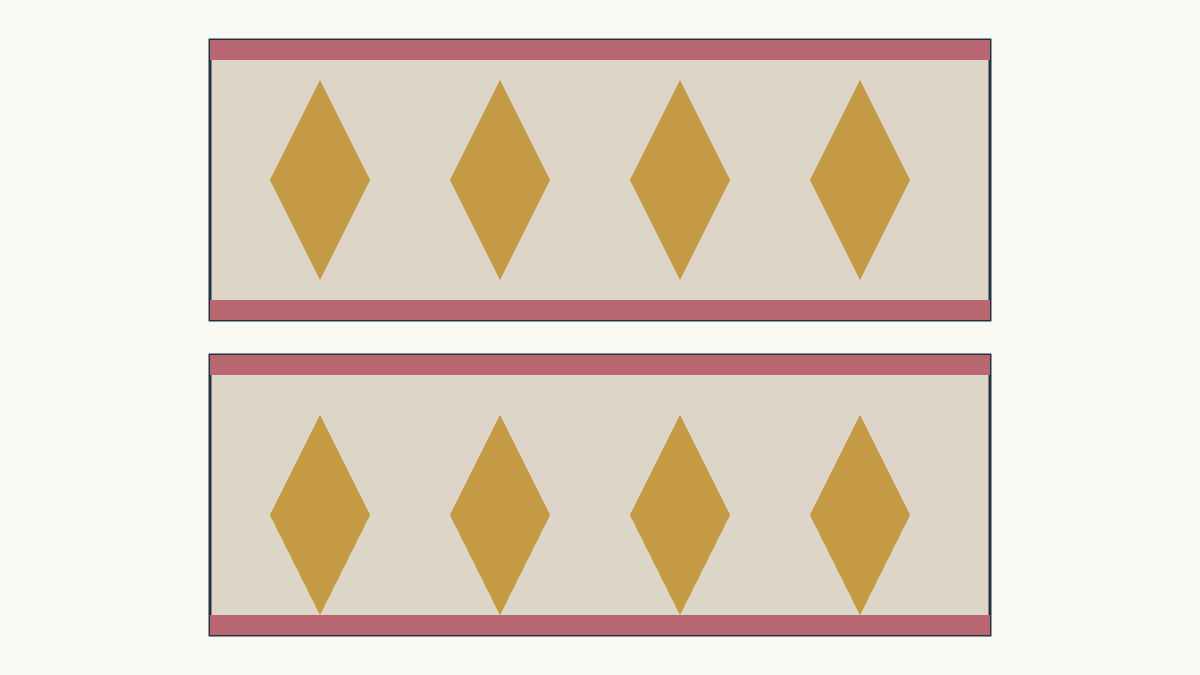
Choose a border-print strip by the band that will remain visible after sewing. Include the motif and the quiet space around it, then add the seam allowances outside that finished window. A flower can fit inside the raw strip and still lose its edges in the seam.
Start with the print band you want to preserve. Decide how much surrounding ground it needs before settling the border width or cutting a long strip along a printed line.
Mark the finished window first
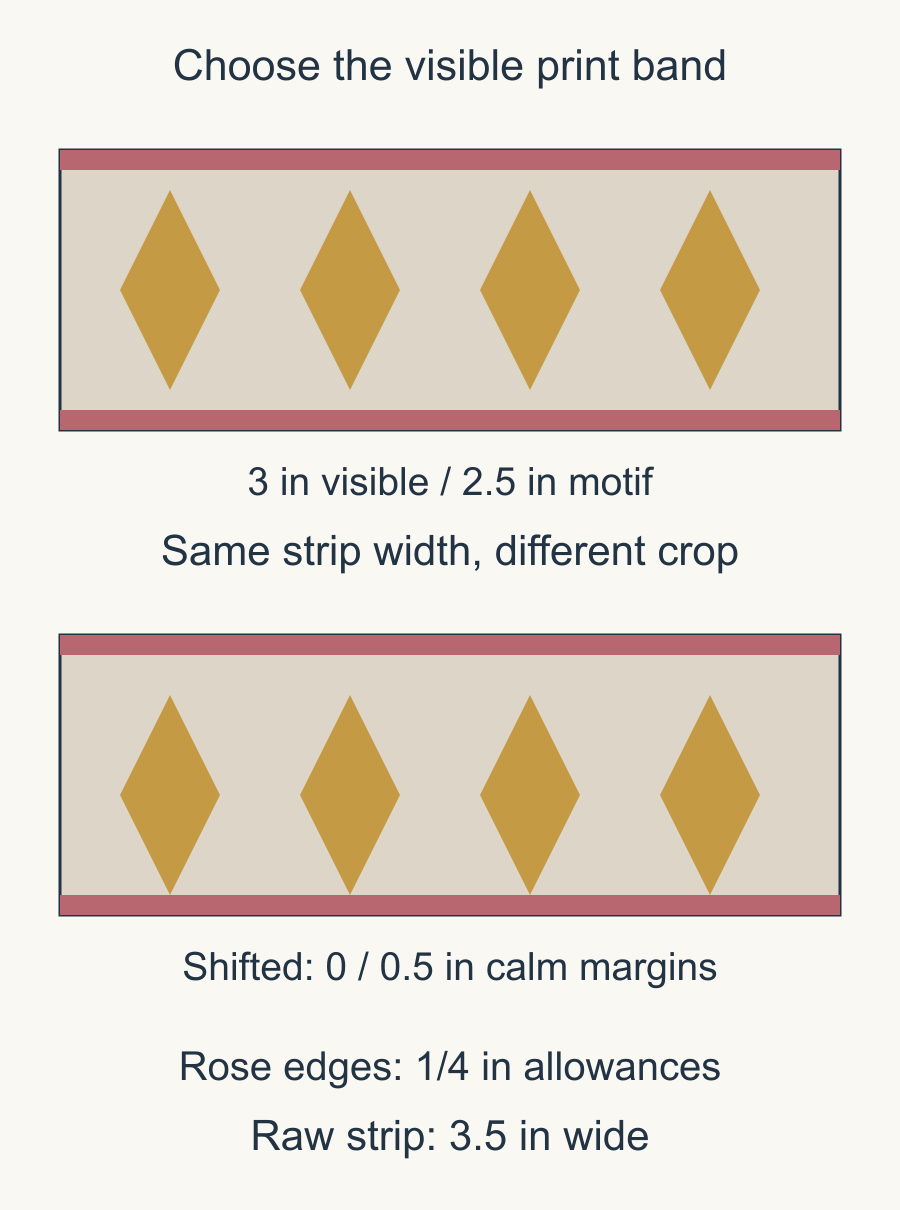
Our example border strip is cut 3.5 inches wide. Quarter-inch seams along both long edges leave a 3-inch visible band.
A motif measuring 2.5 inches across that band leaves half an inch of spare visible space: a quarter-inch margin on each side when centered. A 3.5-inch motif cannot remain whole in the same 3-inch window.
| Measurement | Width | Job |
|---|---|---|
| Raw strip | 3.5 in | Includes both joining allowances |
| Visible band | 3 in | What remains after sewing |
| Drawn motif | 2.5 in | Leaves 1/4 in visible on each side |
Linda Griepentrog's American Sewing Guild border article links motif scale, desired border width and seam allowances. Put those measurements together before assuming a narrow stripe will show the print you bought it for.
Preserve the quiet space deliberately
A border print may alternate flowers, narrow lines and open ground. The open ground can be part of the design. It separates the busy stripe from the center or gives the outer edge room to breathe.
Joan Hawley's Lazy Girl Designs border-print lesson uses a bag example to show the importance of the margin around a printed band. The same planning question is useful for a quilt: which part of the surrounding space needs to survive?
Make a 3-inch-wide paper viewing window for the example. Try it centered over the 2.5-inch motif, then move it by 1/8 inch. That shift narrows one calm margin and widens the other by the same amount.
| Offset from centered crop | Smaller calm margin | Larger calm margin |
|---|---|---|
| None | 1/4 in | 1/4 in |
| 1/8 in | 1/8 in | 3/8 in |
| 1/4 in | 0 in | 1/2 in |
The quarter-inch shift uses all the spare margin on one side: a motif tip now touches the finished stitching line. The lower drawing shows that limit. For this example, try the smaller shift first if you want an off-center crop with quiet ground on both sides.
The best placement need not be symmetrical. A deliberate narrow inner margin and wider outer margin may suit the print. Write down which edge faces the center so later strips keep the same relationship.
Separate repeat length from band width
Band width runs across the strip. Repeat length runs along it. Measure both; they solve different problems.
Repeat phase means where a crop falls within the repeating design: in a gap, at a flower center or beside a particular leaf. A finished 36-inch run spans six 6-inch periods, but that does not guarantee six whole flowers.
Imagine a separate drawn print with flowers 2 inches long along the strip, repeating every 6 inches. Their centers lie at 3, 9, 15, 21, 27, 33 and 39 inches; each flower extends 1 inch to either side of its center. That along-strip extent is separate from the 2.5-inch motif width across the band above.
| Finished visible run | Complete periods | Whole flowers | End crops |
|---|---|---|---|
| 0 to 36 in | 6 | 6, centered at 3 through 33 in | Quiet ground at both ends |
| 3 to 39 in | 6 | 5, centered at 9 through 33 in | A partial flower at each end |
Both runs begin and end at matching positions within their own repeat. The first begins and ends in a gap; the second cuts through flower centers. Count intact motifs as well as periods when whole flowers matter.
Start your paper preview in a gap, walk six repeat lengths along the actual cloth and inspect the endpoint. These are finished visible spans; the eventual end allowances depend on the border construction. Draw the end crops beside the proposed corner pieces before choosing the cut length.
Follow the print without ignoring the grain
Patty Murphy's border-print matching lesson repeatedly checks a print reference and warns that a printed line can drift off grain. That is a reason to inspect a long strip at several points.
Lay the cloth flat and compare the selected band near both ends and through the middle. A line that looks straight over a few inches may move relative to the fabric farther along.
Decide what the project can accommodate before cutting. You may choose a different band, a shorter joined section or a less demanding crop. Avoid assuming that following the print guarantees a straight-grain strip.
Our fussy-cutting overview explains finished windows and registration. A long border makes those same checks more demanding because the selected relationship has to continue along a much longer piece.
Keep the two long edges consistent
Once you like the window, choose a print reference for the inner seam line. It might be a narrow stripe or a row of small dots. Record the distance from that reference to the planned seam.
Check the second long edge as well. If the band changes width or its neighboring stripe wanders, matching only the inner edge may produce an unintended outer crop.
When cutting several strips, compare them together before assembly. The printed band should sit the same distance from the intended inner seam in each strip, unless the design deliberately changes it.
Do this comparison with the allowances visible. Two raw strips can look identical while their planned stitching lines expose different parts of the motif.
Leave the corners for their own decision
First establish a useful finished band. Then decide whether its pictures stay upright or turn around the quilt, and how the four corners meet.
Our directional-print article helps you identify a motif's top. The mitered-versus-butted border guide compares the construction choices. Neither choice can restore an outer flower that was already placed in a seam allowance.
Sketch the corner crops with the actual repeat phase marked. A plain corner square can provide a useful pause when continuous matching would demand more fabric or a mirrored motif the print does not contain.
Keep a band-selection note
Save the raw strip width, visible width, motif width, both calm margins and along-strip repeat length. Add which long edge faces the quilt center, plus the print details at both ends of the finished run.
That small note lets you return to the cloth without rediscovering the crop. It also makes a later fabric substitution easier to judge. The replacement needs to fit the finished band, not merely share the original fabric's nominal stripe width.
Start by covering both seam allowances on a short sample of the intended strip. If the whole motif and its useful margins still read clearly, check that same window along the full border length before cutting.
Plan your next quilt
Lay out blocks and try colors in QuiltLab's grid editor before you cut.
Free forever, no card needed.
Get quilting tips by email
QuiltLab updates, tips and quilting inspiration. Unsubscribe anytime.
Related posts
Centering Fussy Cut Motifs: Fix the Shift First
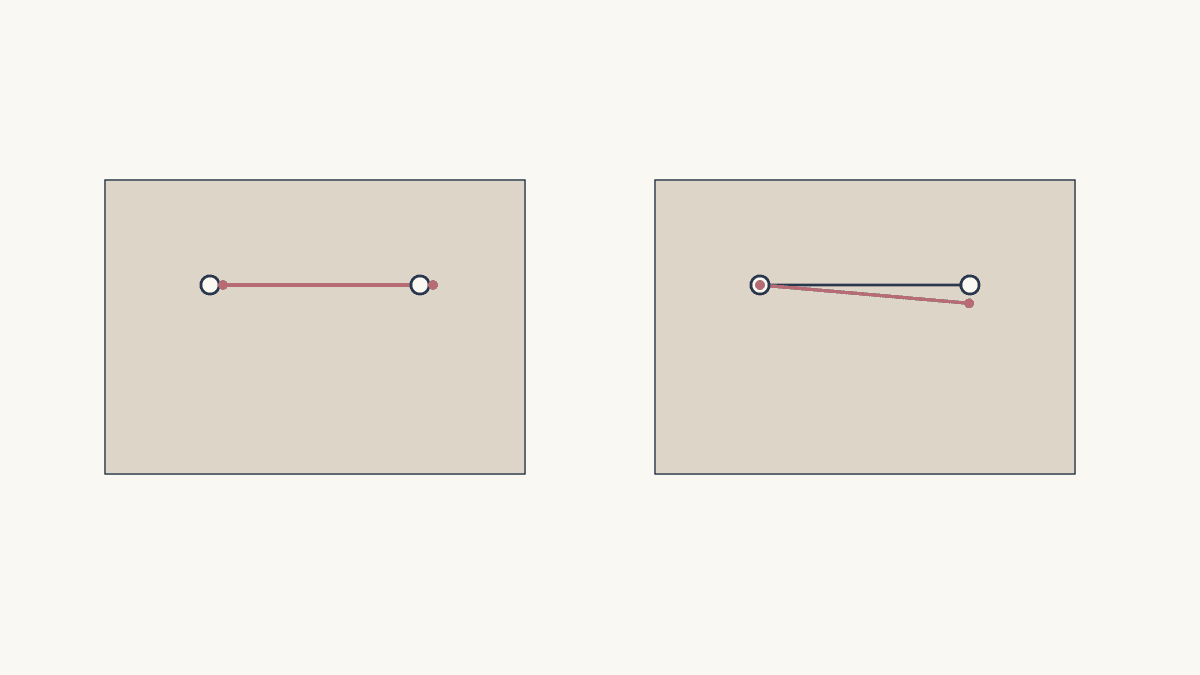
Use two print landmarks to tell a simple shift from a rotation or mismatched repeat before cutting the next batch.
Directional Quilt Border Corners: Upright or Around?
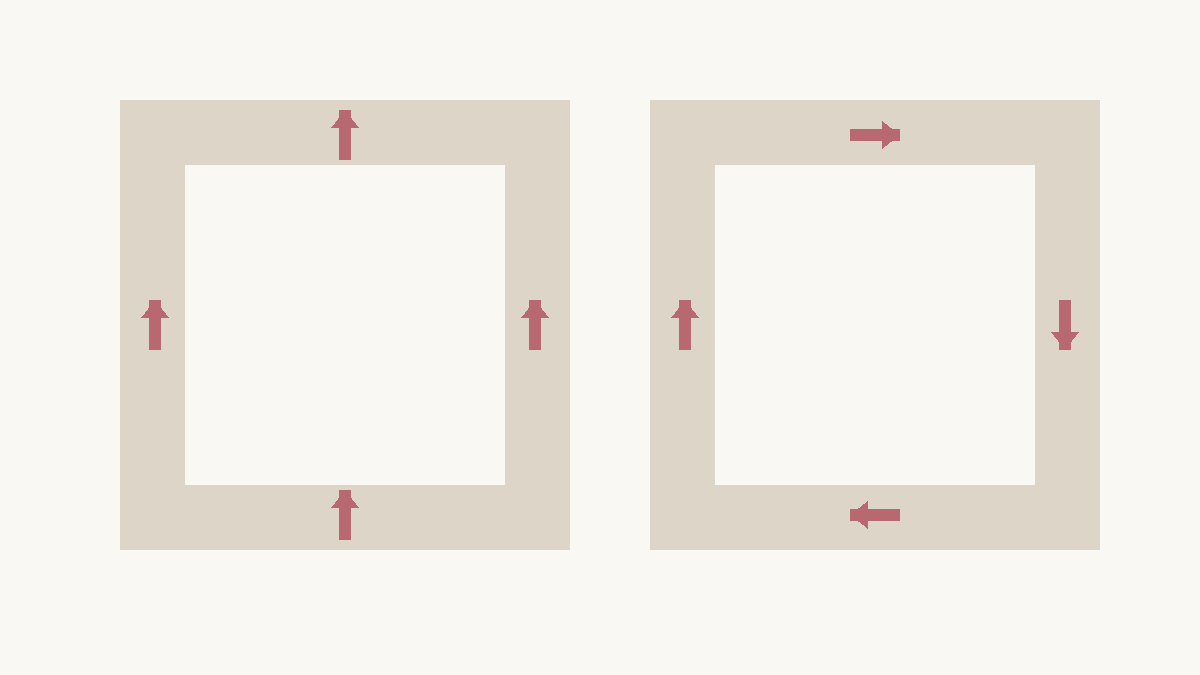
Choose whether border motifs stay upright or turn around the quilt, then check every corner before cutting matching print bands.

Kaleidoscope Quilt Fabric Repeats: Plan Eight Wedges
Find eight matching print windows, keep the same wedge reference, and preview the octagon before cutting a batch.