


Pinked Edges on Precuts: Where to Measure the Seam
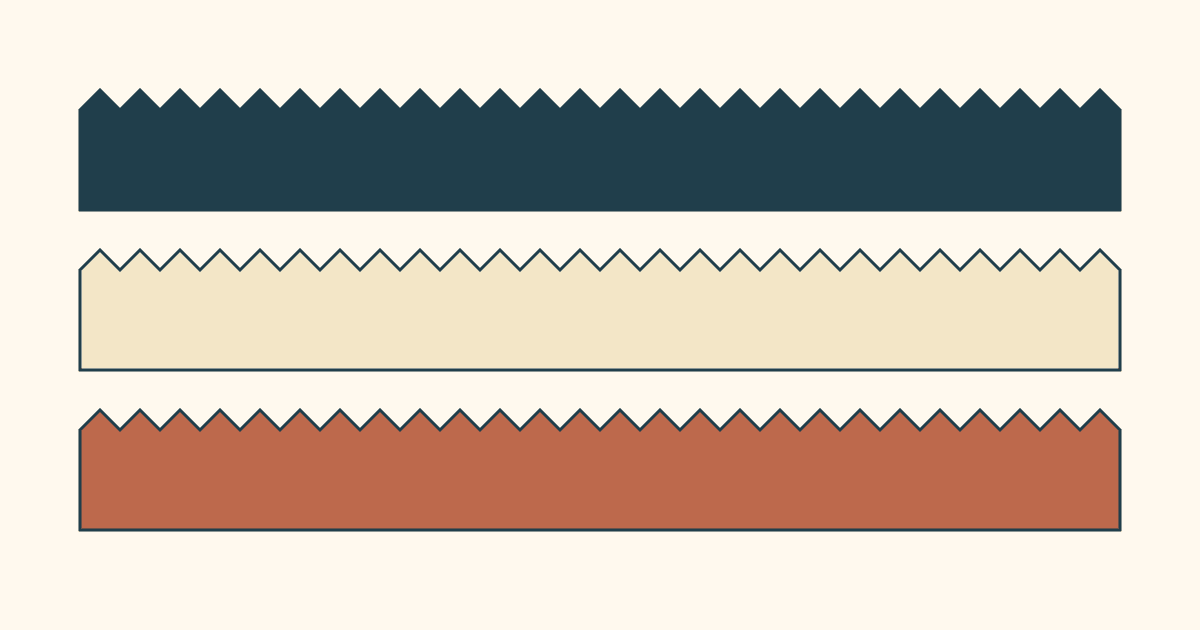
With pinked edges on precuts, start with the supplier's guidance and check a pressed test unit before sewing the whole bundle. C&T Publishing recommends aligning the outer peaks. Moda's Carrie Nelson emphasizes choosing a clear reference and using it consistently. The right check is whether your unit reaches the pattern's required size, not whether every zigzag tooth looks identical.
For a new bundle without more specific instructions, the outer peaks are a practical starting reference. Keep that choice for the entire test. Switching between peaks and valleys changes how far the stitching sits from the fabric edge.
Why the advice can sound contradictory
In C&T's Tips for Using Precuts, the publisher tells readers to measure actual pieces and align the top of the peak when joining pinked edges. It also suggests placing the pinked piece on top when pairing it with a straight edge.
Carrie Nelson's Moda explanation allows an outer, inner or intermediate reference when the teeth are clear, provided you use the same reference throughout. Her accompanying four-patch example uses outside points and trims the assembled unit.
Those are source-specific instructions, not proof that peaks and valleys produce the same result. Consistency reduces one source of variation; measuring the unit tells you whether that consistent choice works for this pattern and fabric.
Check the pattern too. A designer may expect a particular precut size, an oversized assembly or a final trimming step. Follow that construction sequence before changing every piece in the pack.
Measure before trimming off the teeth
Lay a strip flat and relaxed. Check its width at several places, using the same reference at both long edges. Write down whether you measured peak to peak or valley to valley. For squares, check both directions.
Don't stretch the fabric to make a nominal dimension appear. Don't count a frayed thread as a peak. If the teeth are worn or the edge is inconsistent, record the smallest dependable width you can actually use.
Trimming every strip straight can make alignment easier, but it also removes fabric. A strip sold as 2 1/2 inches wide may no longer be wide enough for a pattern requiring a full 2 1/2-inch cut after you straighten both sides. Work out that consequence before cutting the bundle.
Our precut-versus-yardage example makes the same distinction between the advertised piece and the useful piece you can cut from it. Here the extra question is where the stitching sits relative to the zigzag edge.
Use three strips to make the effect visible
Take three equal-width strips from the material you plan to sew. Measure and record their actual widths, join them into one strip set using one reference, press as the pattern directs, and measure across the set away from its ends.
For the drawn example, assume each strip is exactly 2 1/2 inches wide under the chosen reference. Joining three strips makes two seams. Each seam consumes an allowance from two strips, so the flat width is:
7 1/2 inches minus four seam allowances.
| Assumed allowance on each piece | Calculation | Expected flat set width |
|---|---|---|
| 1/4 inch | 7 1/2 - 1 | 6 1/2 inches |
| 9/32 inch | 7 1/2 - 1 1/8 | 6 3/8 inches |
| 7/32 inch | 7 1/2 - 7/8 | 6 5/8 inches |
These are calculated examples, not measurements from a sewn sample. Fabric thickness, pressing and actual strip widths also affect the unit you measure. A narrow set doesn't prove that the pinking reference alone caused the difference.
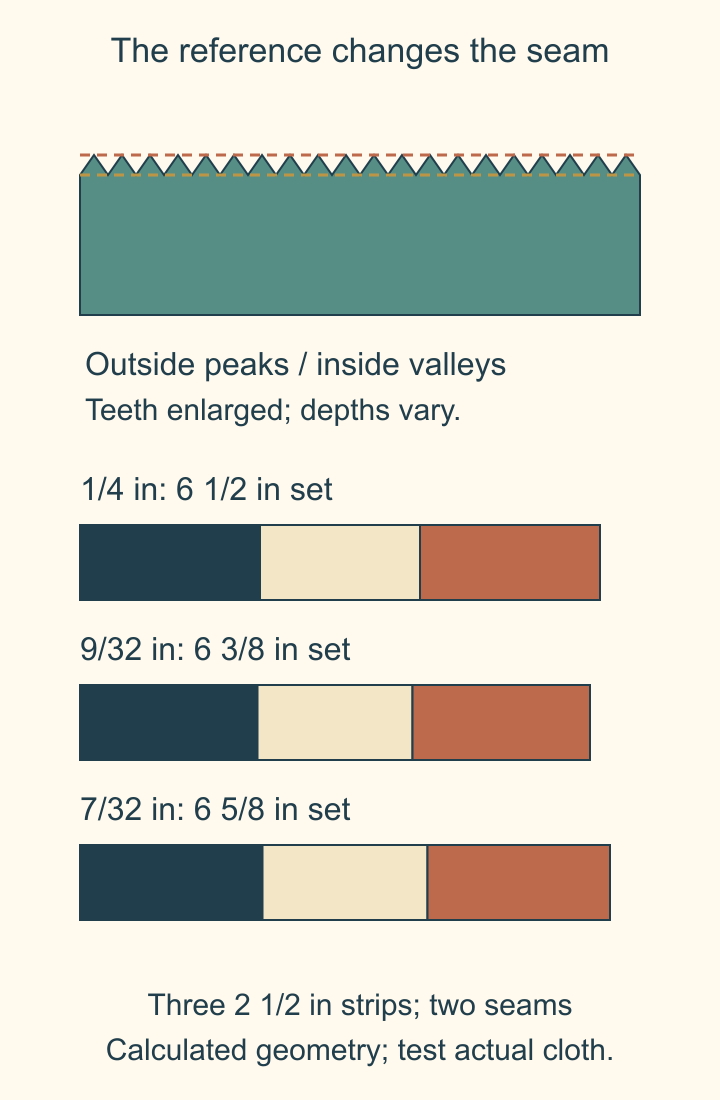
A 1/32-inch change at each allowance shifts this three-strip result by 1/8 inch. If a project has many joined strips, a small reference change can become a visible mismatch.
Change one thing in the next test
If the first set misses the required size, check your recorded strip widths first. A bundle with narrower usable strips needs a different response from correctly sized strips sewn with a deeper seam.
Next, check whether both long edges followed the same reference. A peak on one side and a valley on the other can look straight under the foot while changing the amount used in the seam.
Then make a second small unit with one deliberate change. Keep the same pressing method, machine setup and measurement location. If you move the seam guide, record the change. Our scant-quarter-inch calibration guide covers that broader machine-and-fabric check; this article isolates the pinked reference.
Don't change the needle position and trim the pieces narrower in the same test. You won't know which change moved the result toward the target.
Keep a note with the bundle
A useful note has five entries: actual strip width, peak or valley reference, seam setup, pressed unit size and the pattern's target. Add one photo of the ruler position if it helps you repeat the setup.
When you return to the project, make another small check before chain-piecing a large batch. If a new package has different teeth or a different useful width, treat it as a fresh measurement problem.
Start with three pieces, measure the pressed result and keep the reference that reaches the pattern's target reliably. That small record is more useful than a universal rule about every pinked precut.
Related posts

Freezer Paper Foundation Paper Piecing or Sew-Through?
Compare sewing through a foundation with sewing beside folded freezer paper, using one simple unit and a realistic plan for sixteen repeats.

Wonky Log Cabin Quilt Blocks That Trim to One Size
Keep the irregular strips and still make blocks that fit. Plan an 8-inch finished block, check the trimming square and protect the outer seams.

How to Chain Piece Quilt Rows in Layout Order
Keep a settled quilt layout in order with labeled row stacks, a checked pickup route and a three-row assembly example.