


Wonky Log Cabin Quilt Blocks That Trim to One Size
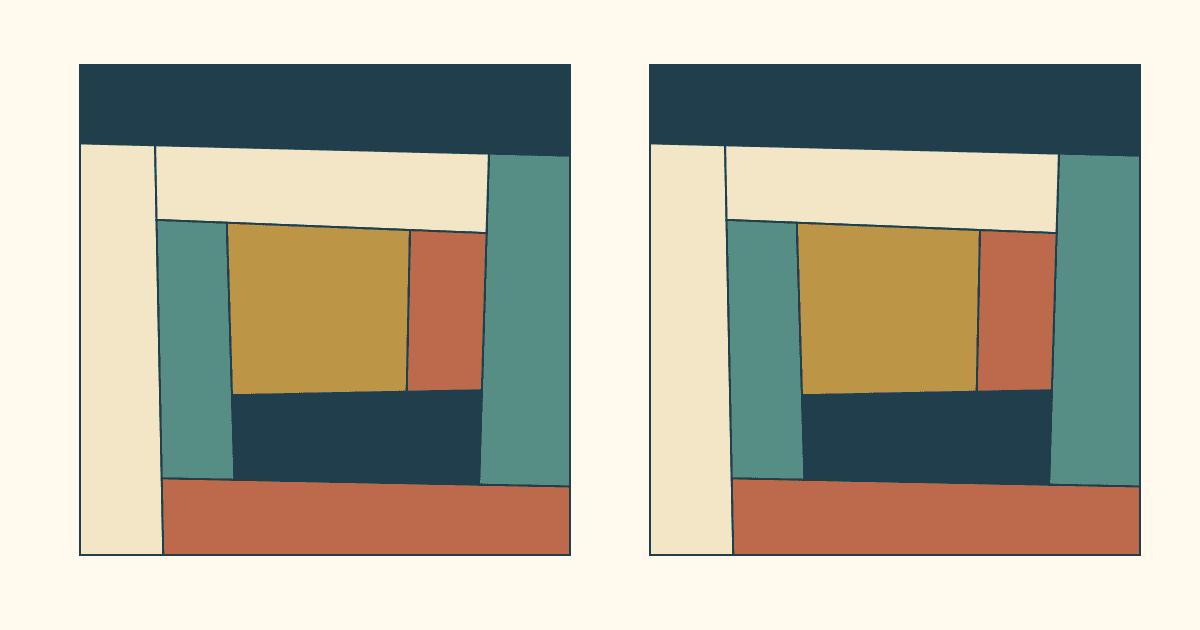
Wonky Log Cabin quilt blocks can have uneven strips and tilted centers while still finishing at one dependable size. Choose the finished block size first, add 1/2 inch for the outside seams, and grow each block until that entire trimming square fits inside the fabric. For an 8-inch finished block, trim the loose block to 8 1/2 inches.
The important check is the whole square, including its corners. A block that measures 9 inches across its widest part can still have a narrow spot that won't hold an 8 1/2-inch square. Don't trim away the room you need just to make every round look neat.
Keep the center loose and the outside measurable
Amy Smart's improv Log Cabin tutorial builds the block by adding scraps, pressing and making a straight edge for the next strip. Her light and dark groups keep a recognizable Log Cabin structure even though the individual logs vary.
That gives you two separate decisions. Inside the block, choose the tilt, strip widths and color balance. At the outside, choose the square you need for assembly. You can change the first without changing the second.
If you want a regular Log Cabin with a predictable round-by-round size instead, use our strip-width comparison. Here the goal is a lively interior that can join a measured grid.
For a first set, keep the same general value arrangement in every block. Try two light sides and two darker sides, but let the widths vary. Once the blocks fit the grid, turn them to compare the larger pattern, as in our Log Cabin layout guide.
Work backward from an 8-inch finished block
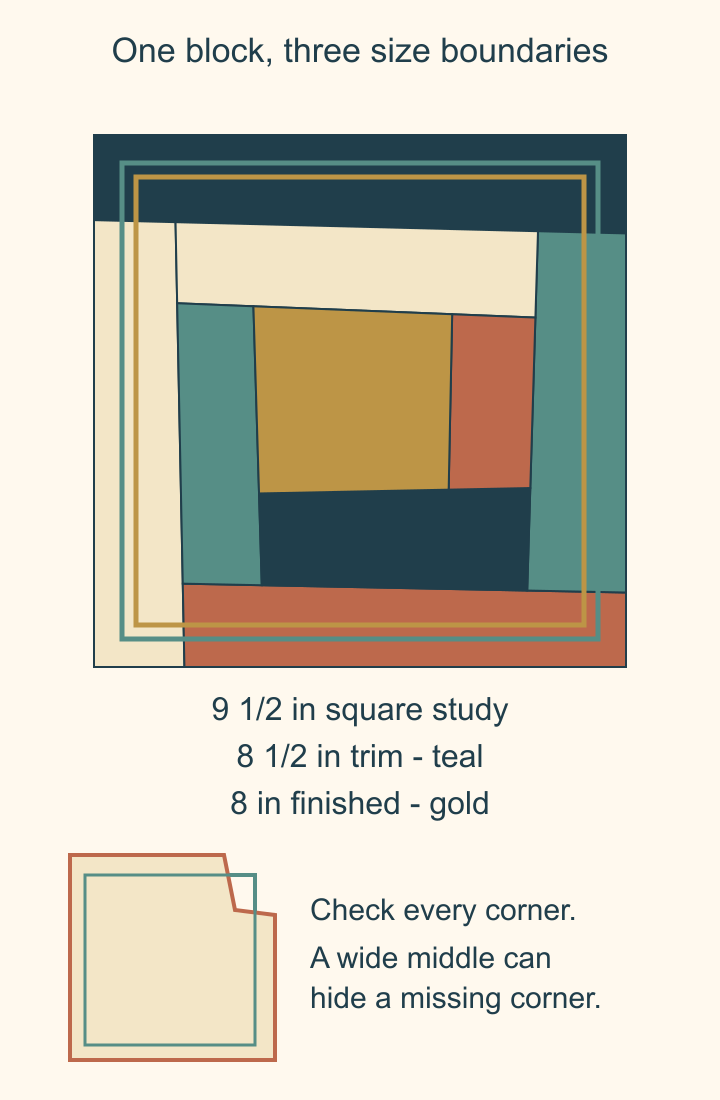
This drawn study uses a 1/4-inch assembly seam on each outside edge. We haven't sewn these example blocks.
| Stage | Size in the study | What it tells you |
|---|---|---|
| Finished block | 8 x 8 inches | Space in the assembled quilt |
| Loose block after trimming | 8 1/2 x 8 1/2 inches | Includes outside seam allowances |
| Oversized square used for comparison | 9 1/2 x 9 1/2 inches | Gives 1/2 inch to remove per side when centered |
The last row is an example, not a required starting size. Real improv edges are often irregular. A 9 1/2-inch width at one point doesn't promise a half-inch margin everywhere.
Draw an 8 1/2-inch square on tracing paper or use the corresponding square ruler. Mark an 8-inch square centered inside it. The outer line is the trim; the inner line is where the block's visible area ends after joining.
Move that two-line window over the block before deciding where to cut. Does it contain the center you want to keep? Does fabric cover all four corners? Will an outside seam consume a very narrow piece?
Check coverage after each round
Scrapish's wonky Log Cabin lesson recommends checking size as rounds grow and leaving extra fabric for the final square-up. Use that regular check to decide where the next log belongs.
Lay the trimming window on top after pressing. If the top-right corner is uncovered, adding another strip only to the left won't solve it. Identify the missing area, then add a log long and wide enough to cover that side, including its ends.
Before sewing, open the next strip into its intended position to check coverage. An angled seam can move the useful part of the strip farther than expected. Keep enough fabric beyond both ends to straighten the next joining edge.
After sewing and pressing, trim the edge needed for the next log. Save the final 8 1/2-inch square-up until the block fully covers the window. Repeatedly trimming the whole block to a small square makes you rebuild the same lost margin.
Protect a narrow outside log
Suppose the drawn trimming line leaves a log 3/8 inch wide at its narrowest point. The outside assembly seam takes 1/4 inch there, leaving only 1/8 inch visible. That's a useful warning before cutting, even though the ruler technically fits.
If you want at least 1/4 inch of that log visible, it needs at least 1/2 inch between its joining seam and the final trim line at that point. Move the window, add another log, or choose to lose the narrow tip deliberately. Inspect the whole sloping seam, not just its wider end.
Cassandra Madge's worked wonky blocks show why extra outer framing gives room for the final angle and trim. Her particular strip measurements belong to her design; the useful decision here is whether your own framing leaves enough fabric around the window.
Sort blocks before cutting a batch
Make three piles: covers the window, needs one more log, and needs a smaller destination. Don't shrink the first pile to match the smallest unfinished attempt.
For example, twelve blocks finishing at 8 inches make a 24 x 32-inch center in a three-by-four arrangement, before borders. If you trim every block down to 8 inches loose instead, each finishes at 7 1/2 inches and the center becomes 22 1/2 x 30 inches. The difference is an entire 1 1/2 inches across and 2 inches down.
If a block truly can't reach the planned size, keep it for a smaller project or frame it with additional fabric. Decide that before mixing it into the measured set.
Choose one finished size, make one trimming window and check one complete block. When you're ready to compare the overall grid in QuiltLab, the Quilt Editor guide explains its finished block dimensions. Keep the drawn trimming measurement beside those finished measurements so the two don't get confused.
Related posts

Freezer Paper Foundation Paper Piecing or Sew-Through?
Compare sewing through a foundation with sewing beside folded freezer paper, using one simple unit and a realistic plan for sixteen repeats.

Pinked Edges on Precuts: Where to Measure the Seam
Peaks or valleys? Compare Moda and C&T guidance, then use a three-strip check to choose a consistent seam reference for your actual precuts.

How to Chain Piece Quilt Rows in Layout Order
Keep a settled quilt layout in order with labeled row stacks, a checked pickup route and a three-row assembly example.