


Scrappy Quilt Binding: Plan the Color Rhythm
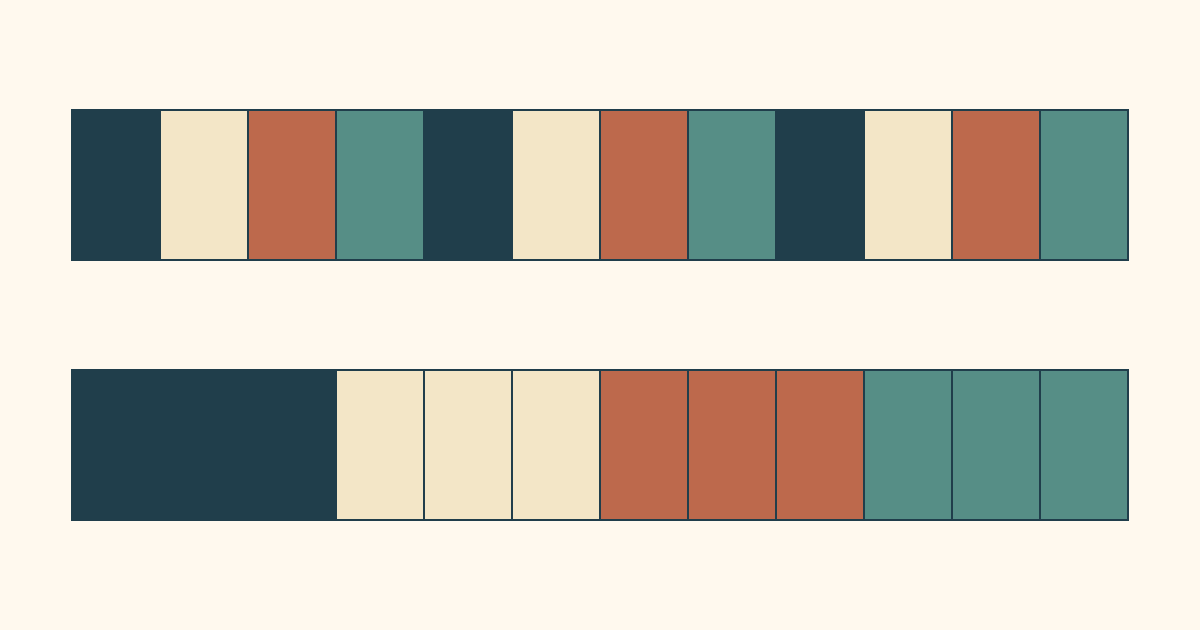
For scrappy quilt binding, choose one consistent strip width, arrange the colors before joining, and measure the usable length after the seams are sewn. A repeated color order gives the edge a steady rhythm; grouped colors make longer accents. Check that rhythm against the quilt's actual corners before attaching it.
Start with fabrics already in the top, then decide whether the edge should blend in or create another small pattern. You don't need a different print in every segment to make a binding look scrappy.
Choose the amount of contrast first
Sherri McConnell's scrappy binding tutorial describes arranging strips so their colors are distributed before joining them. Her example uses a relatively quiet outer border, leaving room for the binding's changes to show.
That's a useful first decision. Against a busy pieced edge, several different fabrics of similar value can read as one calmer line. Against a quiet border, larger changes between light and dark segments will be easier to see.
Scandiquilts' scrappy binding example compares that value effect and keeps all strips the same width while allowing different lengths. The method gives you flexibility in the scraps without requiring the finished edge to look random.
Choose the binding width for your quilt's loft and desired reveal first; our binding-width guide covers that calculation. This study uses 2 1/2-inch cut strips so we can compare the color sequence and join losses consistently.
Compare the same twelve strips in two orders
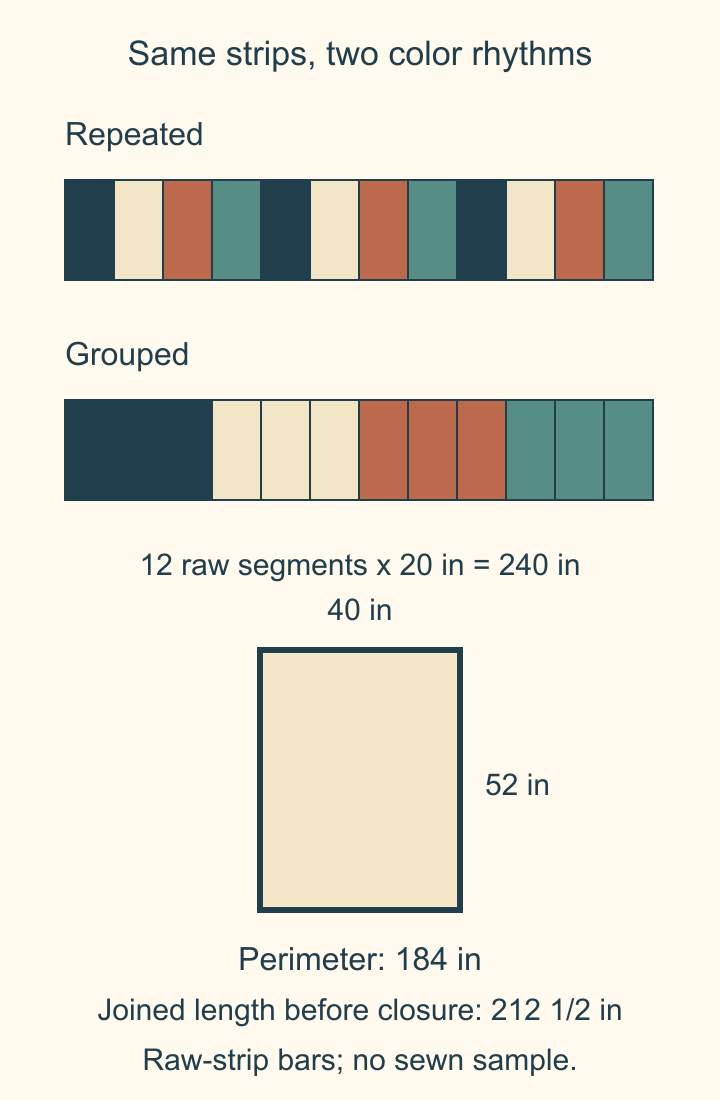
For a 40 x 52-inch quilt, suppose you have twelve suitable strips, each 2 1/2 x 20 inches: three navy, three cream, three rust and three teal. These are assumed usable rectangles, already squared and clear of selvages.
One option repeats navy, cream, rust, teal three times. The other places all three navy pieces together, then cream, rust and teal. Both begin with exactly the same fabric amounts. Their edge rhythms are different.
| Plan | Order | Likely visual effect |
|---|---|---|
| Repeated | Navy, cream, rust, teal; repeat | Frequent color changes around the edge |
| Grouped | Three navy, three cream, three rust, three teal | Longer stretches of one color |
| Edited | Repeated sequence with two similar-value fabrics exchanged | A quieter transition where you choose it |
These are drawn planning options, not sewn quilt results. Print scale and the amount of binding visible on each face can change how noticeable a color becomes.
Count the joins before trusting the pile
The quilt perimeter is 2 x (40 + 52) = 184 inches. Twelve 20-inch strips provide 240 inches before joining.
For the usual right-angle overlap and diagonal seam, each connection between two equal-width, square-ended strips shortens the combined length by one strip width. With 2 1/2-inch strips and eleven joins:
240 - (11 x 2 1/2) = 212 1/2 inches.
That leaves 28 1/2 inches beyond the 184-inch perimeter, before the final joining of the two ends and any other trimming. Measure the joined strip to confirm the real result rather than assuming every initial scrap was the full planned length.
Lynn Woll's Create Whimsy tutorial starts with about 20 inches beyond the perimeter for her method. Sherri also allows extra for her many scrappy joins. Their allowances explain why a raw pile totaling exactly the perimeter isn't enough; don't subtract the same join loss twice if your chosen instructions already account for it.
Our example calculates the eleven preliminary joins explicitly, then keeps the remaining 28 1/2 inches available for corners, final closure and adjustments. If your selected finishing method requires more, add another suitable segment before attaching the binding.
Shorter scraps change more than the color frequency
Compare the twelve-strip plan with twenty-four 10-inch strips of the same width. Both piles total 240 raw inches, but the shorter set has twenty-three preliminary joins:
240 - (23 x 2 1/2) = 182 1/2 inches.
That's already 1 1/2 inches short of the perimeter, before finishing allowances. More color changes brought more join loss. Equal raw length doesn't mean equal usable binding length.
Keep that in mind when cutting a long strip into several short accents. The new seams consume fabric. If you want a short cream accent between two dark pieces, include both new joins in the estimate.
Walk the joined strip around the quilt
Once the strip is joined and pressed, lay it loosely along the actual quilt edge without stretching it. Choose a possible starting position on a straight side and continue around all four corners.
Mark any place where a joining seam lands on a corner fold. Move the starting position, change a segment or rejoin where necessary before sewing the binding down. Keep enough unstitched tail for your final-closure method; the binding-ends guide explains that separate join.
This is also the time to check the visual rhythm. A cream stretch may disappear against a pale border, or a dark segment may emphasize one corner more than you intended. Photograph the audition, then try one different starting position. Compare the two rather than repeatedly rearranging the entire strip.
Keep the useful leftovers together
Record the cut width and remaining usable length on spare binding. Store it with the other leftovers you may combine later. Two folded strips can look similar while starting from different widths.
Choose the repeated or grouped order that suits the quilt, calculate the preliminary join losses, and audition the real joined strip around the edge. The next useful step is one small color sequence, not cutting every scrap in the bin.
Related posts
Monochromatic Quilts: Choose Prints That Stand Apart
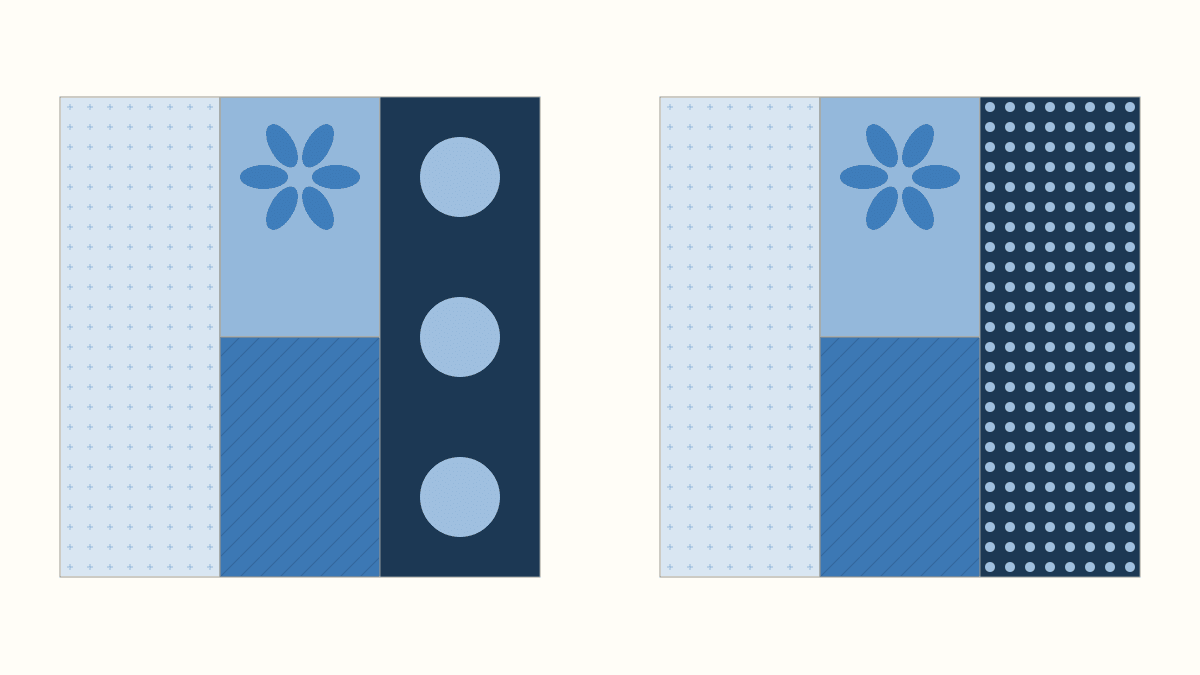
Choose four blue prints by their jobs, then compare value and print scale separately. An equal-coverage dot swap shows why both matter.
Mixing Fabric Collections for Quilts? Give Each Print a Job
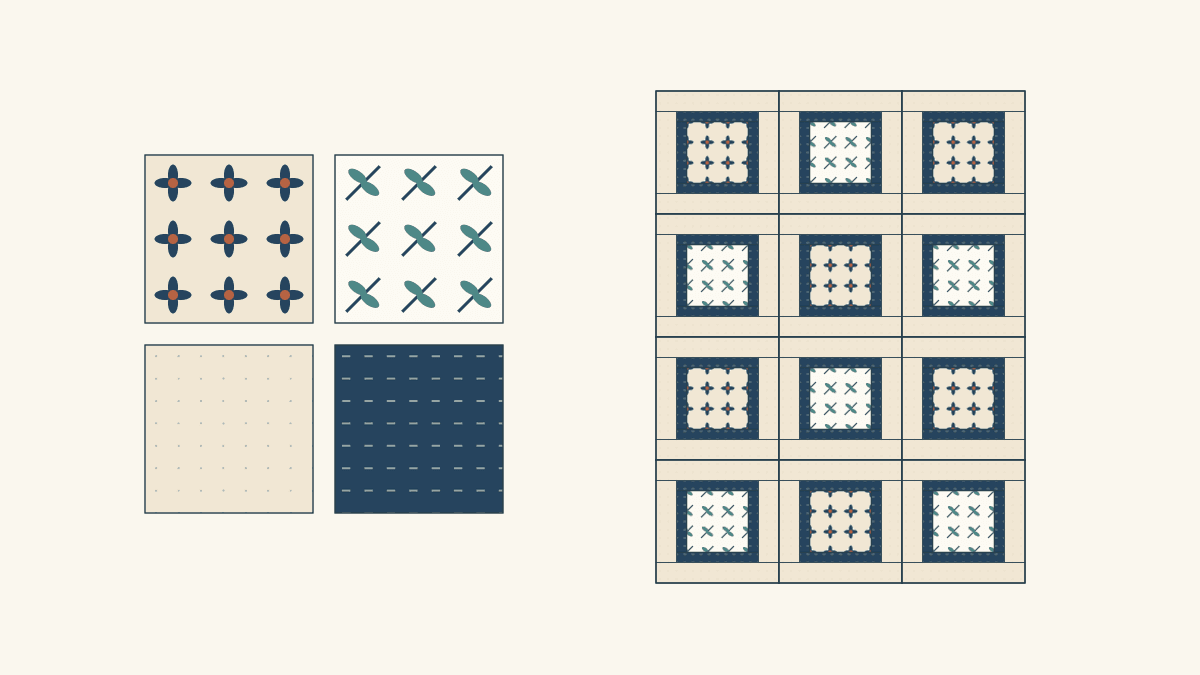
Choose an anchor print, keep useful pieces from two collections, and repeat a bridge fabric. A four-role worksheet shows what to leave out.
How to Plan Sampler Quilt Fabric Placement
Connect six different blocks by repeating one fabric's role. Compare two placement maps, their fabric areas and the seams between blocks.