


How to Choose Quilt Batting Loft for the Texture You Want
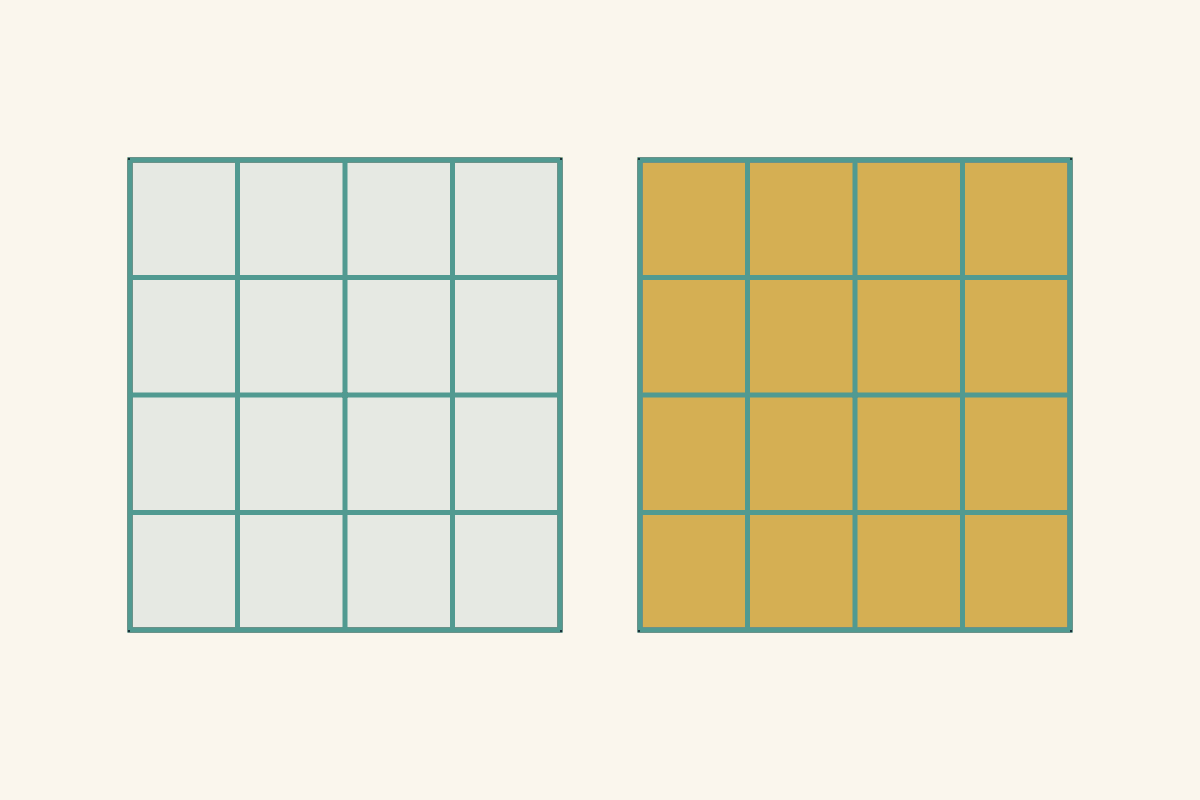
Choose low-loft batting when you want a flatter quilt with less bulk, and consider a puffier batting when raised, unquilted areas are part of the design. Before buying enough for a large quilt, make a small comparison with your actual fabric and quilting. The batting's package thickness tells you less about the finished surface than that combination does.
Amy Smart's guide to choosing quilt batting explains the two decisions together: loft is thickness, while fiber affects other properties of the quilt. Keep them separate on your shopping list. A thin polyester and a thin cotton batting aren't automatically interchangeable because both are called low loft.
For a first comparison, choose two named products and try each with two quilting spacings. Four small coupons let you see which surface suits the project without changing every ingredient at once.
Describe the surface you want before choosing the bag
Take the quilt's intended use as your starting point. A wall hanging with open shapes may call for different relief than a frequently folded lap quilt. Write a short target such as "a fairly flat surface that lets the printed fabric lead" or "visible puff between the quilting lines."
Then choose one design detail that will help you judge it. On a large-scale print, you might compare how much the quilting divides the motifs. On a solid, look at the shadow beside a stitched line. View the samples from the same direction under the same light; a dramatic side light can exaggerate either surface.
Also handle the samples. Thickness, bend and the amount of bulk under a binding matter even when two photographs look similar. If you are handing the quilt to a longarmer, ask about suitable batting and the planned quilting before making the purchase.
Use exact products rather than generic loft labels
Two Hobbs polyester products make a useful, clearly specified comparison. These are manufacturer specifications for the batting before quilting, not measured results from our sample plan.
| Product | Stated approximate loft | Stated maximum quilting distance |
|---|---|---|
| Hobbs Thermore | 1/16 inch | 9 inches |
| Hobbs Poly-Down | 1/4 inch | 4 inches |
The current Hobbs Thermore product page describes a thin, 100% polyester batting. The Hobbs Poly-Down page describes a puffier polyester product. Check the exact bag and current directions when you buy: the brand name alone doesn't identify the product.
The approximate package lofts differ by a factor of four, but that does not predict four times the relief in a finished quilt. The products differ in their construction as well as their stated loft. This comparison helps you choose between them; it doesn't isolate loft as a laboratory cause.
Both proposed quilting spacings below fit within the products' stated maximum distances. If you substitute another batting, check its own limit before drawing the sample. Our quilting-distance guide explains that separate requirement.
Plan four 12-inch coupons
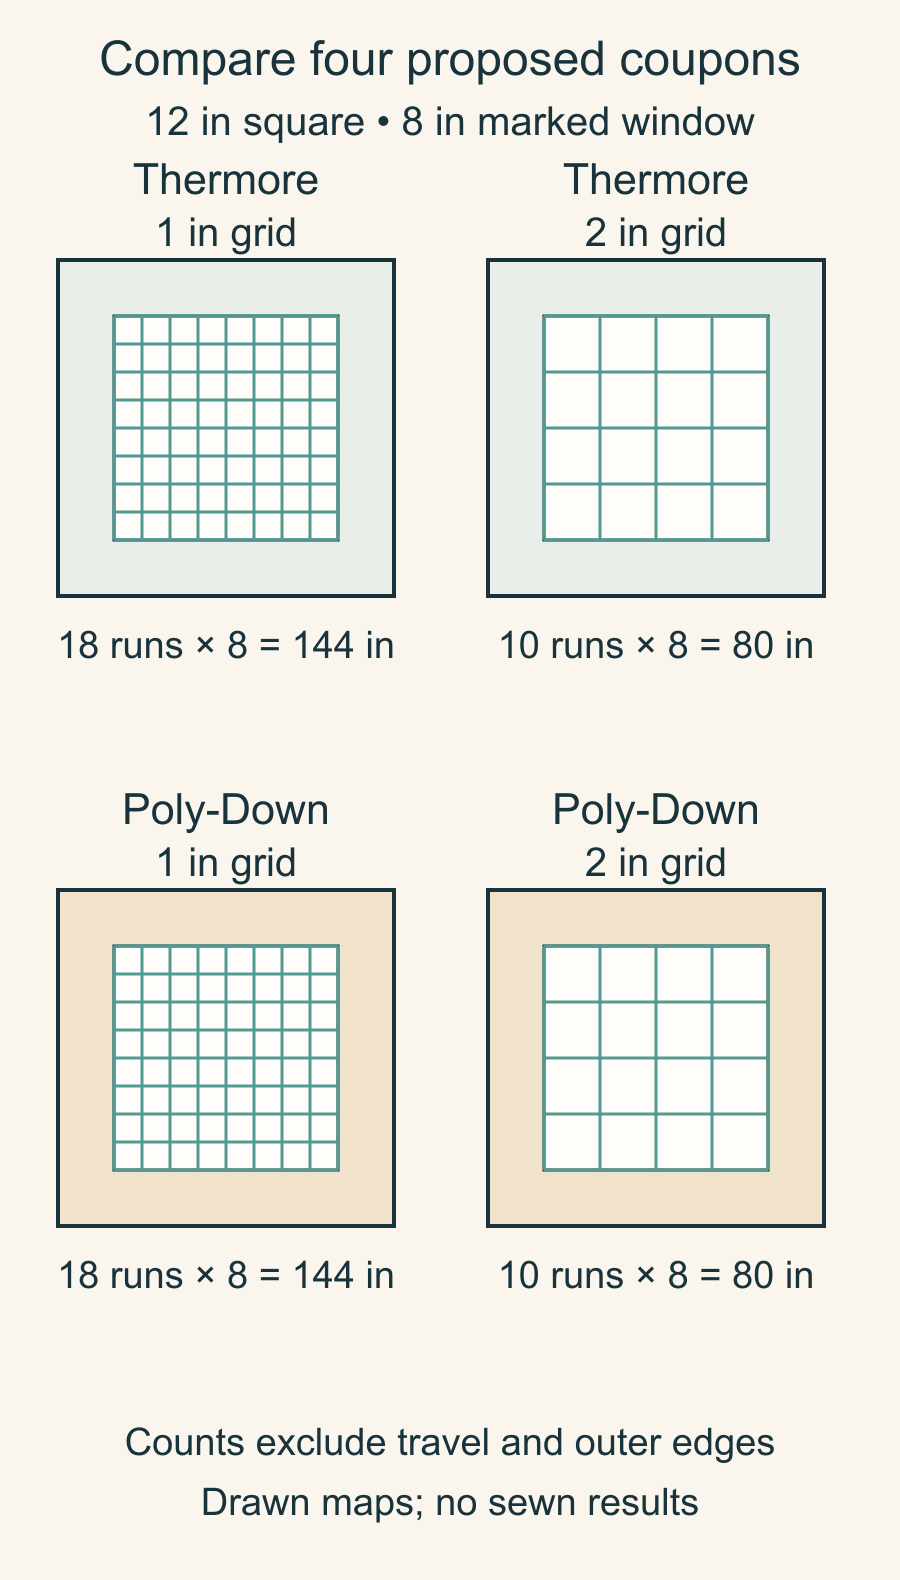
Prepare four small sandwiches with the same top fabric, backing, thread and intended quilting method. Use a size your machine and chosen method can handle safely. For this planning example, each coupon is 12 inches square with an 8-inch square comparison window centered inside it.
Label the coupons before quilting so they remain identifiable after handling:
| Coupon | Batting | Grid within the 8-inch window |
|---|---|---|
| T1 | Thermore | 1-inch crosshatch |
| T2 | Thermore | 2-inch crosshatch |
| P1 | Poly-Down | 1-inch crosshatch |
| P2 | Poly-Down | 2-inch crosshatch |
The window leaves 2 inches outside it on every side. Finish or secure the outer coupon edges appropriately before laundering, following the material directions. The drawn grid is only the comparison area; it isn't a complete edge-finishing instruction.
Know how much quilting the two grids contain
For the 1-inch grid, mark across the 8-inch window at 0, 1, 2 and every whole inch through 8. That makes nine parallel lines. Add nine lines in the other direction: 18 runs of 8 inches, or 144 inches of straight quilting.
For the 2-inch grid, the marks are 0, 2, 4, 6 and 8. Five lines in each direction make 10 runs of 8 inches, or 80 inches.
Those totals exclude travel, securing stitches and work outside the window. They aren't thread-purchase estimates. They do show why the two samples may feel different: the first has 64 more inches of drawn quilting within the same area.
Keep the starting method and handling as similar as practical. Avoid comparing one carefully supported sample with another that hangs off the table. Our quilt-weight support example can help you arrange the workspace.
Compare the coupons in pairs
Start with T1 beside T2. That keeps the product constant while you look at the change in quilting density. Look for how easily you can bend each coupon, how visible the grid is and whether you like the balance of flat lines and raised spaces.
Next compare P1 with P2. Ask the same questions. Only then compare T1 with P1, and T2 with P2, to judge the two products at the same spacing.
Make short notes rather than a score for "best batting." Useful observations describe what you see and feel: "print remains easy to read," "too bulky for the planned edge" or "prefer the larger spaces in this fabric." Leave the result blank until you have handled your own samples.
If a dark fabric is involved, follow the maker's sample advice and inspect both sides for fibers showing through. A light-colored demonstration fabric can't answer that question for your dark quilt.
Include the care routine in the decision
Hobbs recommends sample checks for needling and laundering. Both product pages say not to prewash the loose batting. Poly-Down's current directions call for gentle, cool-water care without heavy agitation or spinning and low-heat drying; follow the exact product directions together with the other quilt materials.
A batting maker's expectation of no shrinkage doesn't mean the complete quilt cannot shrink. Your fabrics, quilting and finishing also affect the result. If washing matters to your choice, record measurements only after the fully finished coupons have been washed and dried by a compatible method.
Keep the chosen coupon with the batting label and project notes. Before ordering the full batt, write down the exact product, the quilting spacing you preferred and the care routine that worked for your materials. That gives you a decision you can repeat when the next quilt reaches the sandwich stage.
Related posts
Fabric Grain Explained: Which Way Should You Cut?
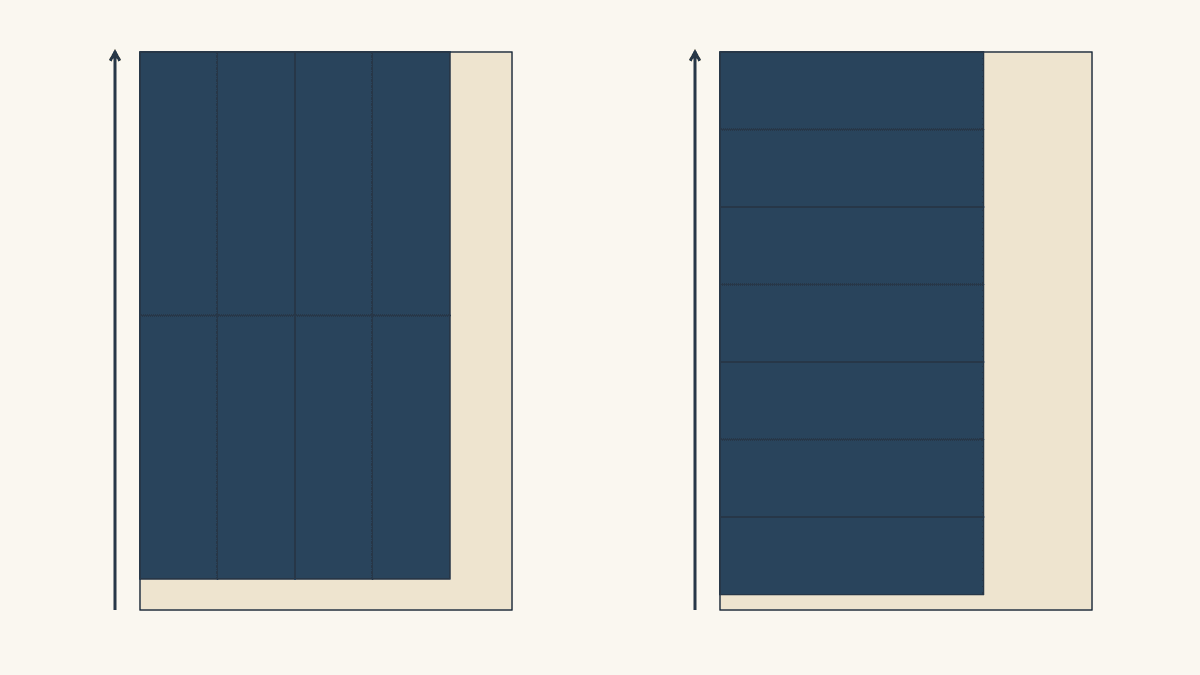
Mark lengthwise, crosswise and bias edges before cutting. Compare two rectangle layouts and see how turning a triangle moves its bias edges.
Batting Quilting Distance Planning: How Far Apart Can You Quilt?
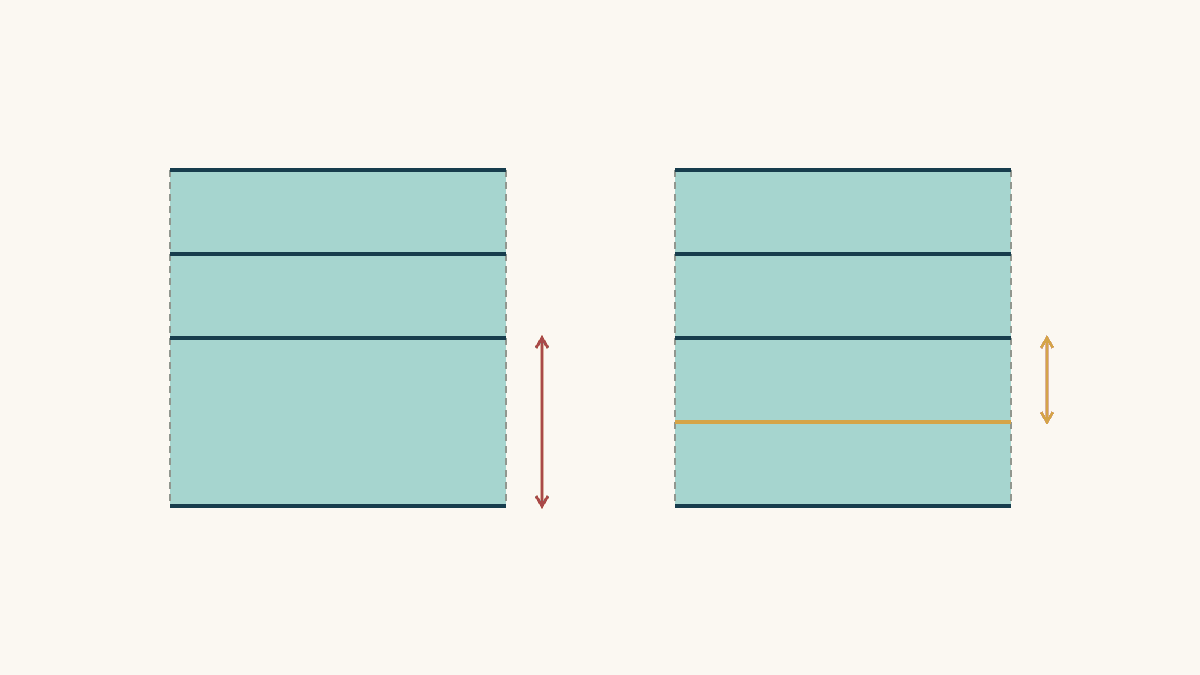
Your batting's package sets the limit, from 4 inches to 10. Check the widest gap between your quilting lines against it, with a worked 12-inch example.
Why Is Your Rotary Cutter Skipping Threads?
Stop adding pressure. Use the cutter's exact instructions and a short scrap-check record to decide whether the blade, assembly or cutting surface needs attention.