


Block of the Month Quilt Planning When Blocks Are Still a Mystery
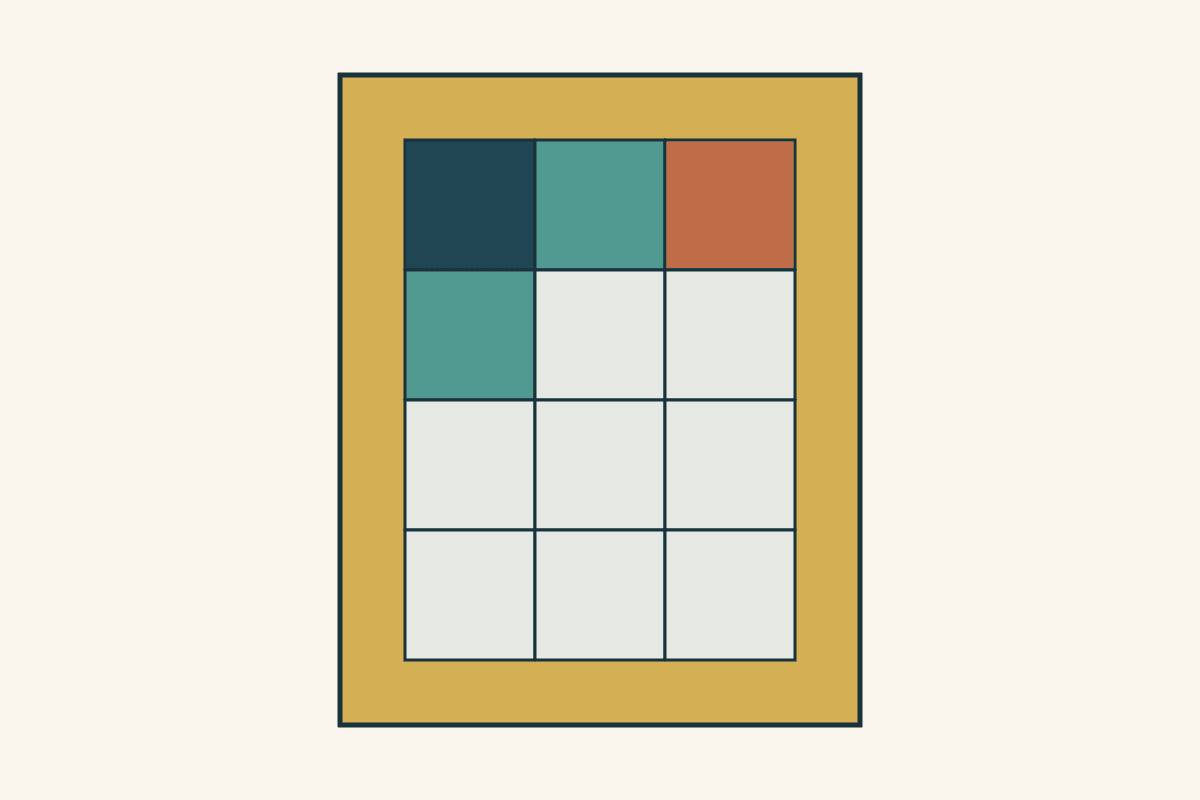
If your block-of-the-month program releases instructions gradually, separate confirmed details from the blocks still to come. Choose fabrics using its actual supply guidance, keep a reserve, and leave unknown blocks as blank spaces in your working layout. Don't cut a year's worth of pieces from a guessed final design.
Some programs give you a full pattern at the start; others deliberately keep the blocks a mystery. The National Quilt Museum's current Block of the Month page says its 2026 Round 8 blocks remain a mystery until release and that specific fabric amounts aren't available. That is a reason to keep planning flexible, rather than inventing a shopping total.
You can still make useful decisions now: how to organize instructions, which fabrics play each role, where finished blocks are stored and which questions must wait.
Read the program's structure before planning the quilt
Write down the release schedule, block dimensions, number of blocks, pattern access and any supplied fabric guidance. A twelve-month title doesn't necessarily mean twelve blocks, and one release doesn't necessarily contain one block.
For example, Sherri McConnell's Poinsettia Stars sew-along details describe a named pattern and two blocks a month. The National Quilt Museum's Round 8 runs from April through December 2026. Neither should be forced into a generic twelve-release assumption.
If a pattern purchase or kit is required, make sure you have the correct edition. Save current corrections with the relevant instruction before cutting. The Mississauga Quilters Guild's Block of the Month page is a helpful example of a program separating fabric and size decisions from piecing, labeling units and providing corrections.
Keep another designer's block drawings and instructions in your private project file under their original credits and permissions. Your working overview can use plain boxes without copying the block artwork.
Make a known-and-unknown sheet
Use two columns before drawing a layout. Be specific about which source confirmed each known detail.
| Known now | Still open |
|---|---|
| Released block size and current instructions | Dimensions of an unreleased block |
| Fabrics already used and their remaining amounts | Future contrast or print-scale demands |
| Program's supplied setting, if provided | Border widths if the setting is still hidden |
| Your intended use and space | Final cutting amounts not yet supplied |
If the program already gives the complete setting, move that item into the known column. The sheet follows your actual program; mystery is not a required feature of every BOM.
Keep your own preferences separate from the designer's instructions. "I would like a 60-inch-long lap quilt" is a personal target. "The pattern will finish 60 inches long" requires the pattern's confirmation.
Work a twelve-block planning study
For this example only, imagine a program brief that confirms twelve blocks, each 12 inches finished, but has released just four. We will explore a three-column, four-row setting with no sashing. This is our hypothetical worksheet, unrelated to the museum's nine-month round or any named designer's pattern.
The block center would measure 36 inches wide by 48 inches tall: three times 12 and four times 12. A possible 6-inch finished border on every side would add 12 inches in each direction, making 48 by 60 inches overall.
Those dimensions help you see the space a setting would occupy. They don't supply border yardage or instructions for an unreleased quilt. If the real program later calls for sashing, alternate blocks or different block sizes, the calculation changes.
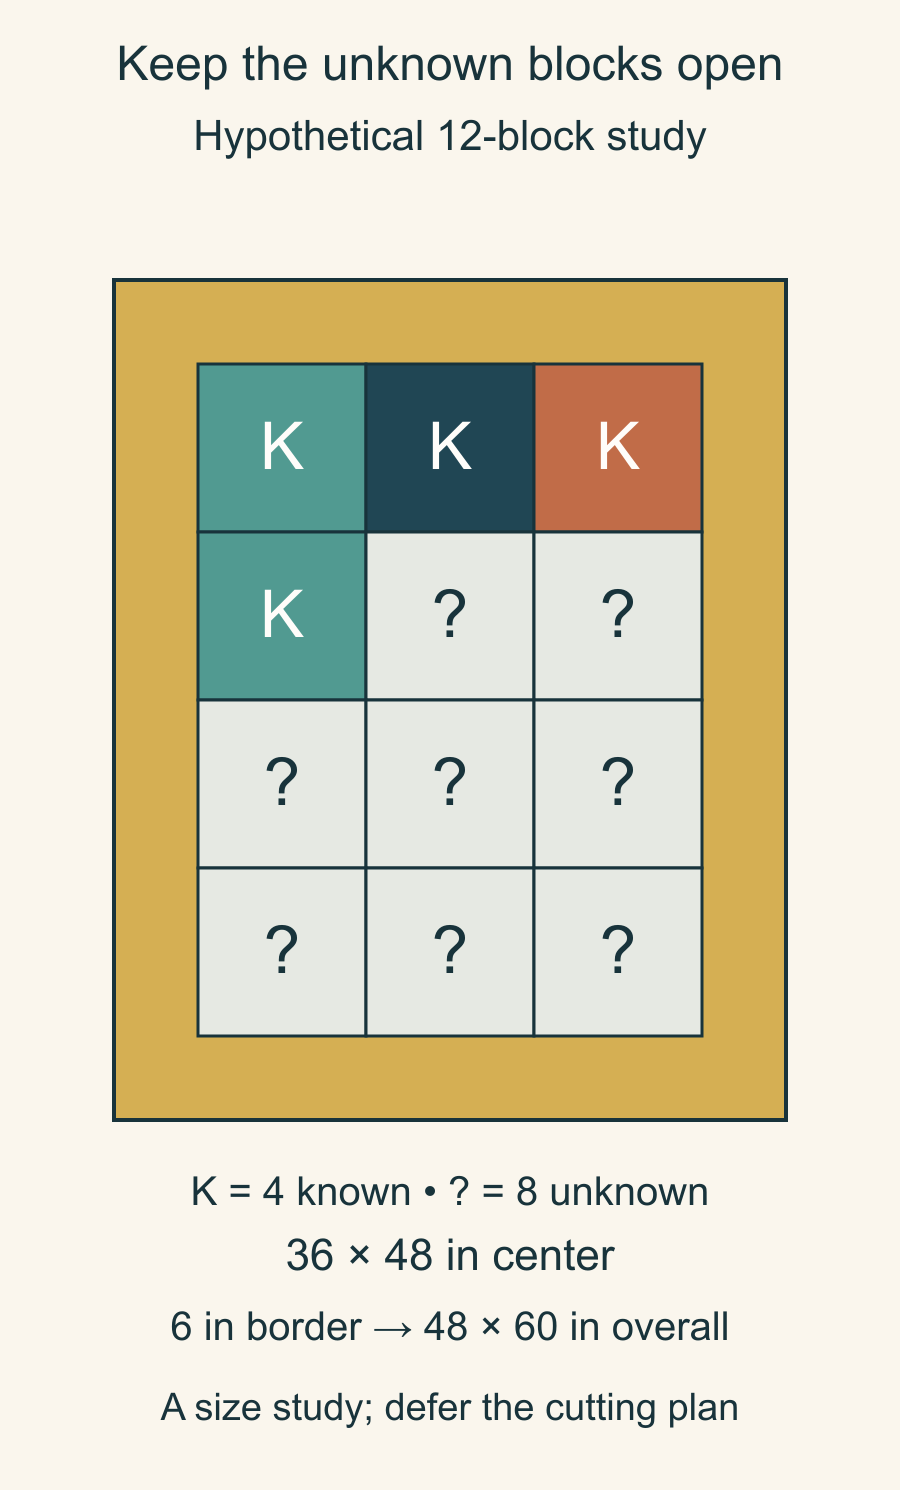
The most useful part of this diagram is the eight blank cells. They keep you from treating the first four blocks as a complete picture of the quilt.
Reserve fabric by role, not by a guessed block recipe
Identify the roles already visible in the released blocks: background, darker structure, medium-value color or a small accent. Put a physical swatch beside each role and note which fabric you actually used in each block.
Keep the program's stated quantities and your remaining fabric together in one place. If the designer supplies a fabric list, follow it. If amounts are unavailable, record that uncertainty rather than turning a rough layout into an exact purchase promise.
Be cautious about spending a favorite accent in the early blocks. Set aside a reserve and revisit it when a new release arrives. How much to reserve depends on the program's guidance and your fabric supply; there is no single percentage that guarantees enough for unknown blocks.
Our sampler fabric-placement guide helps when you are ready to judge how values and colors travel across released blocks. The present task is earlier: keeping enough options open while the quilt is incomplete.
Give each release a small packet
Store the current instruction, any correction, the required fabric pull and the completed block under the same release number or name. Keep cut pieces labeled according to the designer's system so that a later session doesn't begin by guessing which similar triangle belongs where.
For the hypothetical twelve-block project, your register might look like this:
| Release or block | State | Next action |
|---|---|---|
| 1 through 4 | Completed; measure and record individually | Photograph together and check the current instructions |
| 5 | Instructions not yet released | Keep the packet empty |
| 6 through 12 | Unknown | Preserve the fabric reserve and open layout cells |
| Setting | Only our size study exists | Wait for the actual program setting or a deliberate independent plan |
Measure blocks in the state the pattern specifies. A 12-inch finished block commonly measures 12.5 inches before joining with quarter-inch seams, but don't trim an unfamiliar block from that convention alone. Follow its instruction and check the intended measurement first.
Review the whole group after each release
Lay out or photograph the completed blocks together. Notice whether one fabric has become much more prominent, whether backgrounds still relate and whether a directional print changes when a block rotates. Record the observation before cutting the next release.
Avoid making a final fix for a problem that unreleased blocks may resolve. You can flag a concern and save alternatives without recutting the completed set immediately. When all blocks and setting instructions are available, use the sampler layout guide to compare the actual arrangements.
If you want a digital note sheet, QuiltLab's Diagram Editor supports manually adding elements, lines and labels through Insert. Use simple boxes and your own labels for known and unknown positions. It won't supply the missing BOM instructions or calculate material requirements from those boxes.
Before the next release, update three things: the completed-block register, the fabric you have left and the questions still waiting for the pattern. A useful plan makes the next month easier while leaving the unreleased quilt room to become itself.
Related posts

Check Donation Quilt Requirements Before You Cut
Turn one recipient program's current rules into a measured quilt brief, then check the handoff details before buying fabric or starting a kit.
Free Motion Quilting Practice You Can Learn From
Use three small practice lanes for travel, waves and loops, then record one change at a time so each sample tells you what to try next.
Freezer Paper Foundation Paper Piecing or Sew-Through?
Compare sewing through a foundation with sewing beside folded freezer paper, using one simple unit and a realistic plan for sixteen repeats.