


Free Motion Quilting Practice You Can Learn From
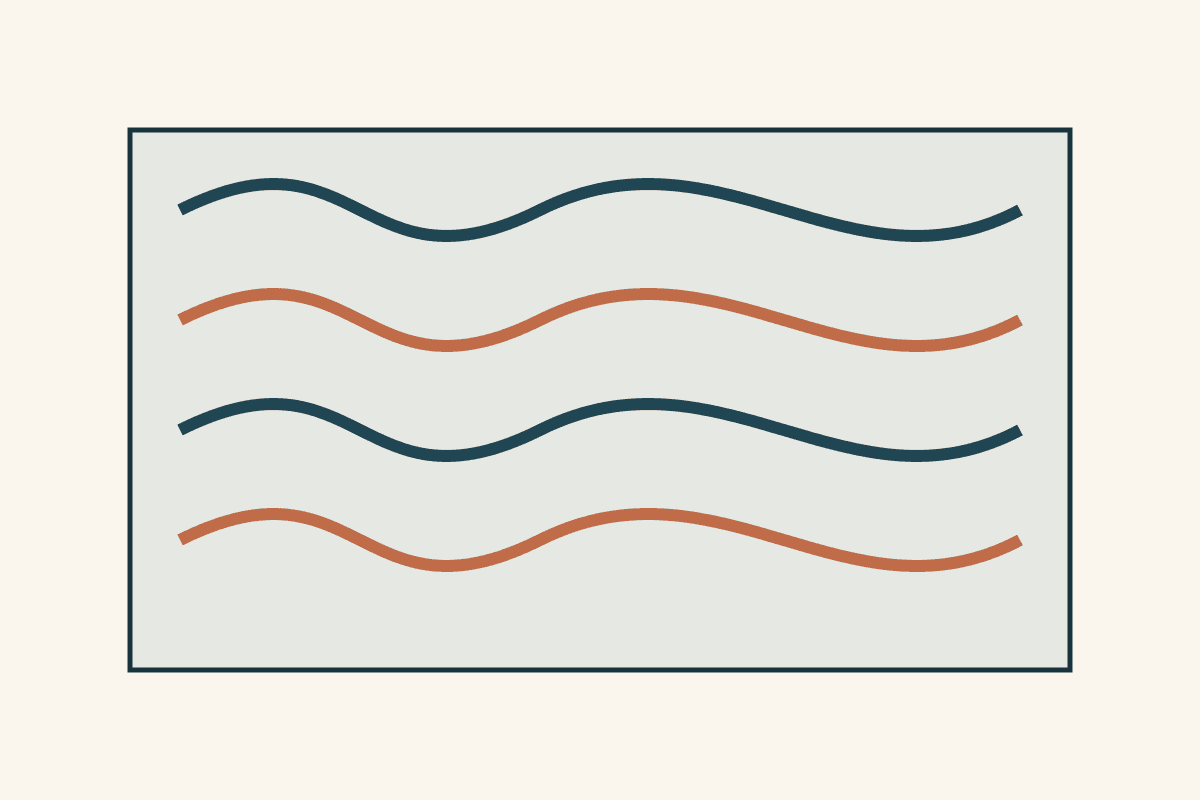
Start free motion quilting practice with a small, supported sandwich, a simple drawn path and one thing to notice. Try traveling between two points, making broad waves and making open loops. Repeat a short section after one change, rather than filling a whole practice quilt without knowing what helped.
Quilting teacher Megan Bohr's first lesson on moving beyond the basics makes a useful point about loops: crossing a line can be part of the design. A meander asks you to navigate without those crossings, which can add a difficulty that a beginner doesn't need in the first exercise.
The plan below gives each exercise its own space. The aim is a sample you can read and learn from, with room to compare attempts. It isn't a timed route to mastery.
Set up the sample before judging the stitching
Use the free-motion setup specified for your exact machine and compatible foot. Check the manual for the foot attachment, feed-dog handling and other required controls. A setting that works on someone else's machine isn't a useful starting instruction for yours.
Our walking-foot and free-motion comparison explains the difference in fabric handling. Here, the practice question is narrower: once you have the correct setup, how do you notice and improve your movement?
Keep the sandwich supported beside and behind the needle. Put any threads, tools and pins outside the path of your hands. If the sample catches on the table edge or pulls toward your lap, fix that before changing how fast you move. The quilt-weight support guide shows why the position of the fabric matters as well as the amount of table space.
Choose a top fabric and thread that make the stitches visible. Keep those materials constant while comparing attempts. This is a learning sample, so you need to see unevenness rather than camouflage it.
Divide a 12-inch square into three lanes
For this exercise map, start with a 12-inch-square sandwich and divide its width into three 4-inch lanes. Within each lane, mark a 3-inch-wide by 8-inch-high practice window. Centering that window leaves half an inch at either side of the lane and 2 inches at the top and bottom of the sandwich.
Choose removable marks that suit your fabric and follow their directions. Keep the lane names on a separate paper diagram if marking the cloth isn't appropriate. The boundaries help you return to a comparable area; they aren't a requirement to steer precisely beside a ruler mark.
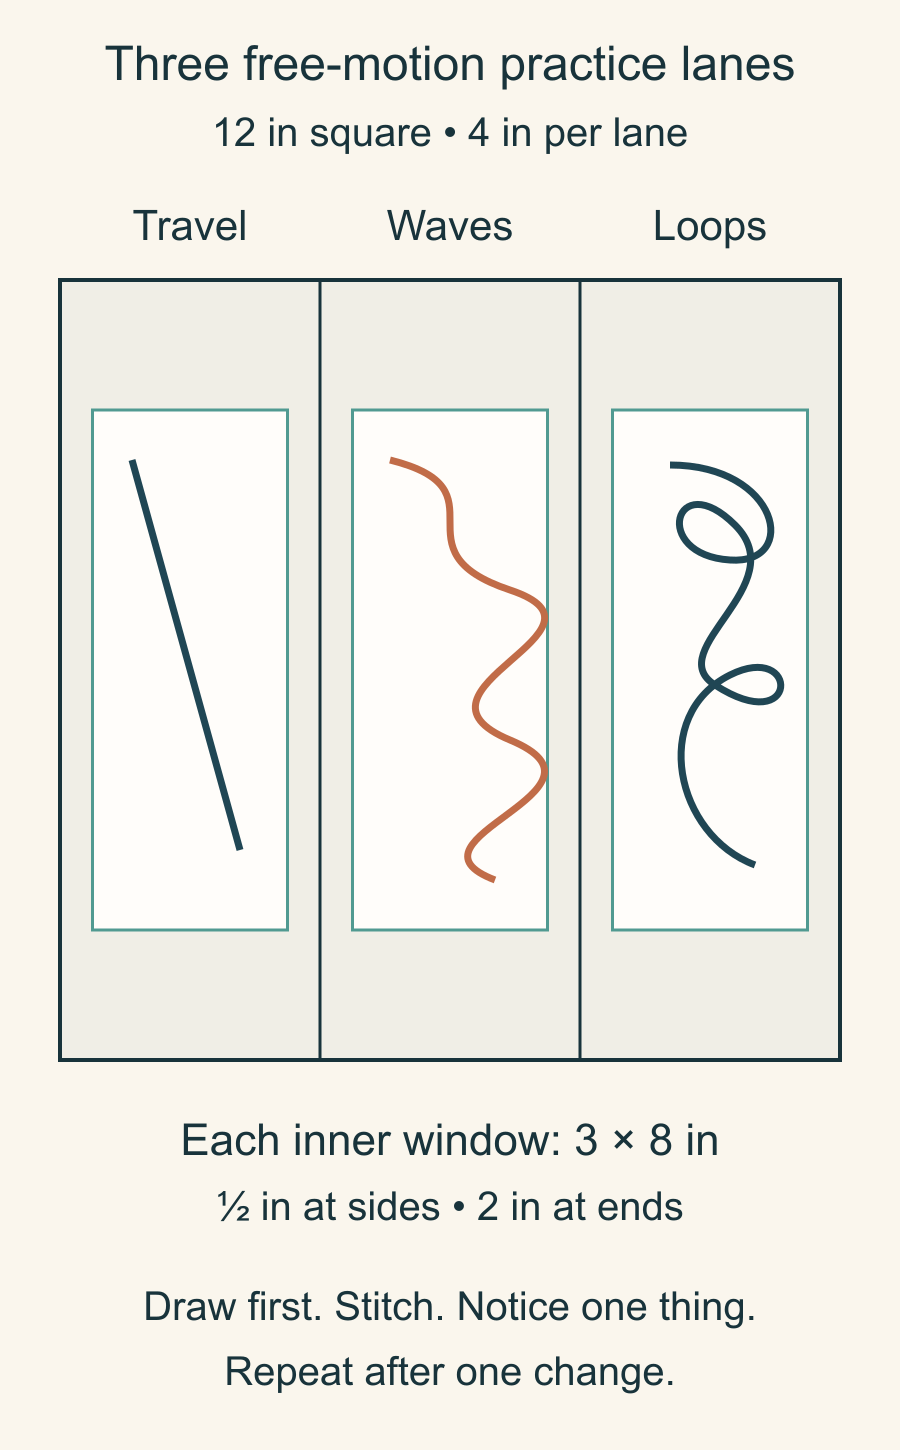
| Lane | Practice question | What to notice |
|---|---|---|
| Travel | Can you move steadily toward a chosen point? | Hesitation, drifting and the place you stop |
| Waves | Can you make an easy, repeating change of direction? | Tight turns and changes in wave size |
| Loops | Can you cross a path deliberately and keep moving? | Crowded crossings and sudden changes in speed |
Use as much space as you need inside a window. Widely spaced marks are easier to inspect than several attempts sewn on top of each other.
Exercise one: travel between two points
Draw two points on paper and connect them with a comfortable movement. Repeat that path a few times before taking it to the sandwich. Aim toward the destination instead of staring only at the needle.
On the sample, sew one short path between two chosen points. Stop and look before adding another. A slight curve is useful evidence of how you moved; this exercise doesn't promise a perfectly straight freehand line.
Ask where the movement became uncertain. Was it the start, the middle, or the approach to the stopping point? Repeat with attention to that one part. If you want a wider or shorter path, record that change so you don't mistake a different exercise for an improvement on the same one.
When the line is hard to read because the stitches loop or pull on one side, use a separate top-and-back tension sample before judging the shape. Movement practice and diagnosing stitch balance are different jobs.
Exercise two: make broad waves
Megan Bohr's second lesson in the series teaches waves and other flowing designs. Use the written lesson to see how a simple repeat can build into a quilting design, then draw your own broad wave on paper.
Make a single wave path inside the second window. Leave generous space between the turns. Look at the shape as a whole: does it become narrower at one end, or does one turn feel consistently harder?
Choose a repeat that tests one observation. For example, keep the wave size but try a more comfortable hand position. Don't also change the foot, thread, needle and machine speed; you would lose the comparison.
When you need to reposition your hands, stop in a controlled way according to your machine's operation instructions. The goal is a repeatable motion with planned pauses, not an unbroken performance.
Exercise three: let loops cross
Draw a line with open loops before sewing it. Allow the path to cross itself intentionally. You can explore direction and spacing without also solving a no-crossing puzzle.
In the third window, make a few roomy loops. Look at where each loop joins the traveling line. Are the crossings deliberate and readable, or are several turns crowded into one spot?
Repeat with more room around the join if crowding was the problem. If the loops vary but the movement feels comfortable, keep that observation too. Consistency can be a later goal; an individual attempt doesn't have to become a finished quilting motif.
Avoid comparing your first sample with an expert's finished quilt. Compare it with your previous attempt on the same materials, then choose the next useful question.
Keep a short log that changes the next session
Write a row after each attempt while you can still identify the stitched area.
| Attempt | Kept steady | One change | What you actually observed |
|---|---|---|---|
| Travel A | Materials and machine setup | First attempt | Fill in after stitching |
| Travel B | Same path and materials | Your chosen adjustment | Fill in after stitching |
| Waves A/B | Same window and wave size | One handling change | Fill in after stitching |
| Loops A/B | Same open-loop idea | Space at the crossings | Fill in after stitching |
A note such as "the left turn felt cramped" gives you something to practice. "Bad at quilting" doesn't. Photograph the front and back and keep the lane map with the sample, so a later session begins with evidence you recognize.
For the next session, choose the exercise that exposed a useful question and draw it again. Keep the successful materials and setup, change one part of the movement, and leave yourself enough clear fabric to see the result.
Related posts
Block of the Month Quilt Planning When Blocks Are Still a Mystery
Separate known blocks from unreleased instructions, reserve fabrics by role, and keep the layout flexible until the program supplies the missing details.

Check Donation Quilt Requirements Before You Cut
Turn one recipient program's current rules into a measured quilt brief, then check the handoff details before buying fabric or starting a kit.
Freezer Paper Foundation Paper Piecing or Sew-Through?
Compare sewing through a foundation with sewing beside folded freezer paper, using one simple unit and a realistic plan for sixteen repeats.