


How to Support a Quilt While Quilting
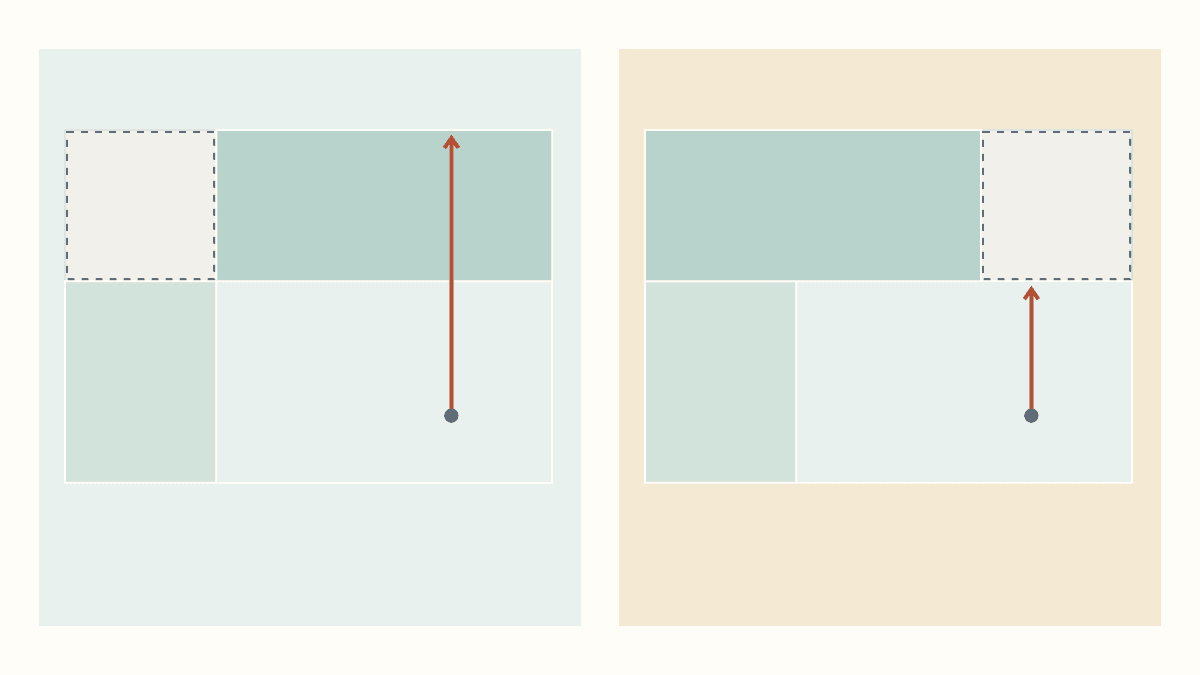
Support a quilt while quilting by keeping its bulk on a stable, smooth surface to the left and behind the needle, at the working height your machine and table require. Gather the excess onto that support and stop to rearrange it before hanging fabric pulls against your stitching.
Start by checking where the quilt will travel during the next line or turn. More tabletop can help, but its position matters. Two setups with exactly the same area can offer very different support directly behind the needle.
Look left and behind before changing settings
Leah Day's sewing-table setup lesson recommends a flat working surface with additional quilt support behind and to the left of the machine. Those are useful places to inspect when the quilt's bulk starts sliding off the edge.
Look beyond the small section under your hands. Is the rest of the quilt resting on a surface, draped over an edge, or catching at a join? A hanging section can pull while you're trying to guide the section being stitched.
Bring that loose bulk back onto the supported area before changing a machine setting to compensate. Our tension troubleshooting guide helps with the thread and stitch checks if the problem remains after the quilt moves freely.
For a first setup, favor a clear, continuous area behind the needle plus support for the bulk on your left. Then adjust the arrangement to the path you actually sew.
Check the surface and the machine together
Use the table or extension surface according to its instructions. Check stable footing, the permitted height and any required mounting before placing the quilt on it. Keep joins smooth enough that the fabric doesn't catch as you reposition it.
A purpose-made extension table has its own rules. For example, Brother's wide-table and guide-grip leaflet describes opening the supporting legs, engaging the mounting hook and adjusting the feet. For that accessory, the surface should be the same level as or slightly lower than the needle plate. It also warns against moving the machine with the table attached.
Use that as a reminder to read the instructions for your exact machine and accessory. A table's appearance or generous width doesn't establish that it fits or is supported correctly.
Clear space for the foot control and cords, too. You need room to stop and reposition the quilt without disturbing the machine or its support. Keep scissors, rulers and other loose tools out of the area where the quilt will gather.
Compare where the same three surfaces reach
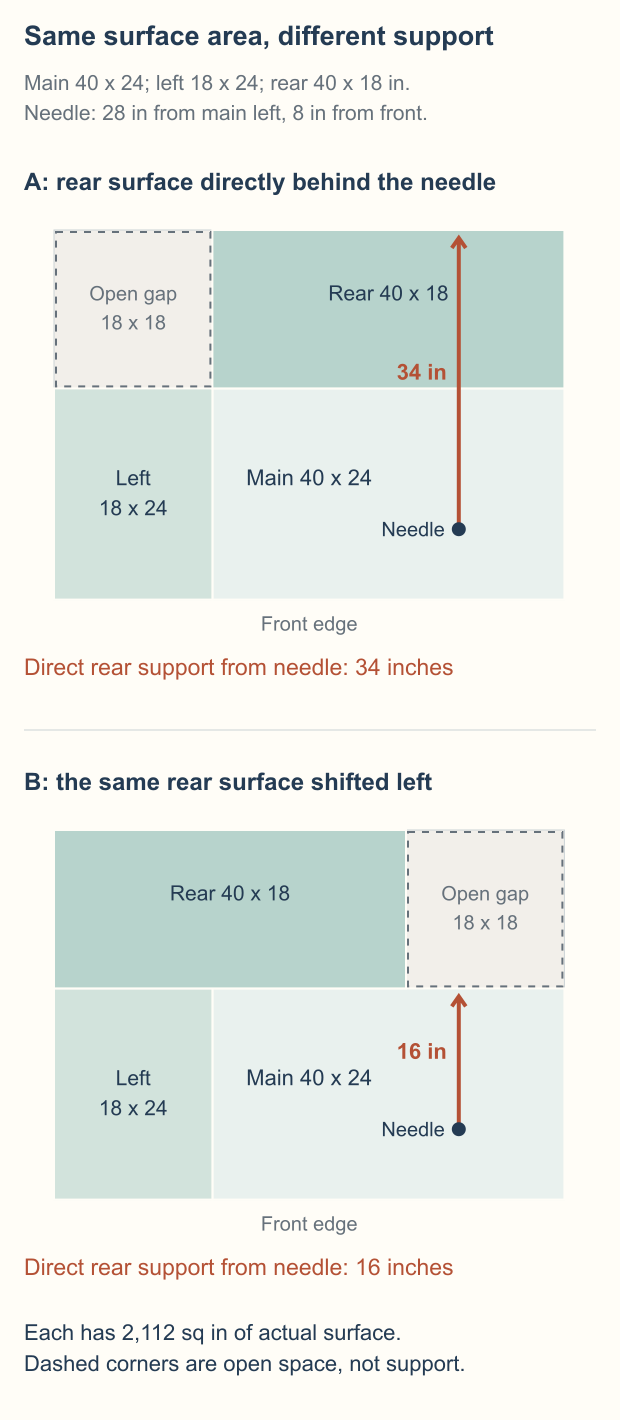
Consider a flatbed station with a 40 x 24-inch main surface, an 18 x 24-inch left return and a 40 x 18-inch rear surface. Place the needle reference 28 inches from the main surface's left edge and 8 inches from its front.
We drew this hypothetical workspace with all surfaces at the needle-bed plane; we haven't trialed it with furniture or a quilt. Use the measurements to compare support positions, then check your own equipment's fit, height and instructions.
In arrangement A, the rear surface lines up with the main surface. In B, slide that same rear surface 18 inches to the left. The main surface, left return and needle reference stay in place.
Both arrangements contain the same three surface areas:
| Surface | Dimensions | Area |
|---|---|---|
| Main | 40 x 24 inches | 960 square inches |
| Left return | 18 x 24 inches | 432 square inches |
| Rear | 40 x 18 inches | 720 square inches |
Each provides 2,112 square inches of actual tabletop. Each also fits inside an overall 58 x 42-inch rectangle, whose area is 2,436 square inches. The 324-square-inch difference is an 18 x 18-inch open corner. That gap belongs to the room, even though it sits inside the setup's outer dimensions.
Follow the support behind the needle
In A, the needle has 16 inches of main surface behind it, followed by the rear surface's 18 inches. That gives 34 inches of continuous support directly rearward.
In B, the shifted rear surface ends 22 inches from the main surface's left edge. The needle sits at 28 inches, beyond that rear surface's right edge. Its direct rearward support therefore ends at the back of the main surface: 16 inches.
B still has a useful rear-left surface. It may suit bulk gathered toward that side. But if the next stitching pass carries fabric directly behind the needle, A places the additional support along that path.
The left return also changes the available space beside the needle. At the needle's front-to-back position, it extends leftward support from 28 inches to 46 inches. That extra area helps only when the bulk rests on the actual surface.
Choose by the direction the quilt will move, rather than the setup's total area or outer width. Trace that path with the machine stopped and look for an edge, open corner or crowded spot where the quilt will need rearranging.
Arrange enough bulk for the next pass
Settle the excess quilt onto the surfaces you've checked. Gather it so the section approaching the needle can move without having to pull a hanging section up from below the table.
You don't need the entire quilt spread flat to make this check. Focus on the part you're about to stitch and where its neighboring bulk rests. Before beginning a long line, look at both the incoming section and the fabric that will collect behind the machine.
In Erika Mulvenna's Union Square quilting lesson at BERNINA WeAllSew, she supports the quilt at the side and back of her worktable. She also stops to readjust her hands and quilt during stitching. That pause is useful: you can resettle the bulk before it becomes difficult to guide.
If a section slips toward an open corner, stop and bring it back onto the surface. Keep the fabric off the gap rather than stretching it across empty space. Rearrange again when the direction of travel changes.
Recheck before a turn
A setup that works for one straight line may feel crowded when you rotate the quilt. Before the turn, stop using your machine's prescribed procedure and look at where the new bulk will land.
Move nearby tools, make room on the supported surface and settle the quilt before continuing. Follow your machine's instructions for needle position, presser-foot operation and pivoting; a feature shown on someone else's machine may work differently on yours.
Mulvenna's lesson uses specific BERNINA settings and functions. Take the support-and-rearrange habit from her example, then use your own manual for the controls.
The feed method matters as well. The Brother CS7000X-family manual warns against pushing or pulling fabric in ways that deflect the needle and calls for particular care during free motion. With regular feed, avoid fighting the machine to drag unsupported bulk along. For free-motion work, follow the instructions for intentionally moving the quilt under the needle.
Our walking-foot versus free-motion guide explains that feed-method choice. Whichever method you use, keep checking the bulk outside the small area being stitched.
Set up one manageable pass
Before your next quilting session, look at the route behind the needle and the resting place for the quilt on your left. Clear those surfaces, check their stability and height, then arrange the bulk for one stitching pass.
Stop when the quilt needs rearranging. A well-placed surface and a timely pause give you a practical way to manage the next section without trying to haul the whole quilt through at once.
Related posts
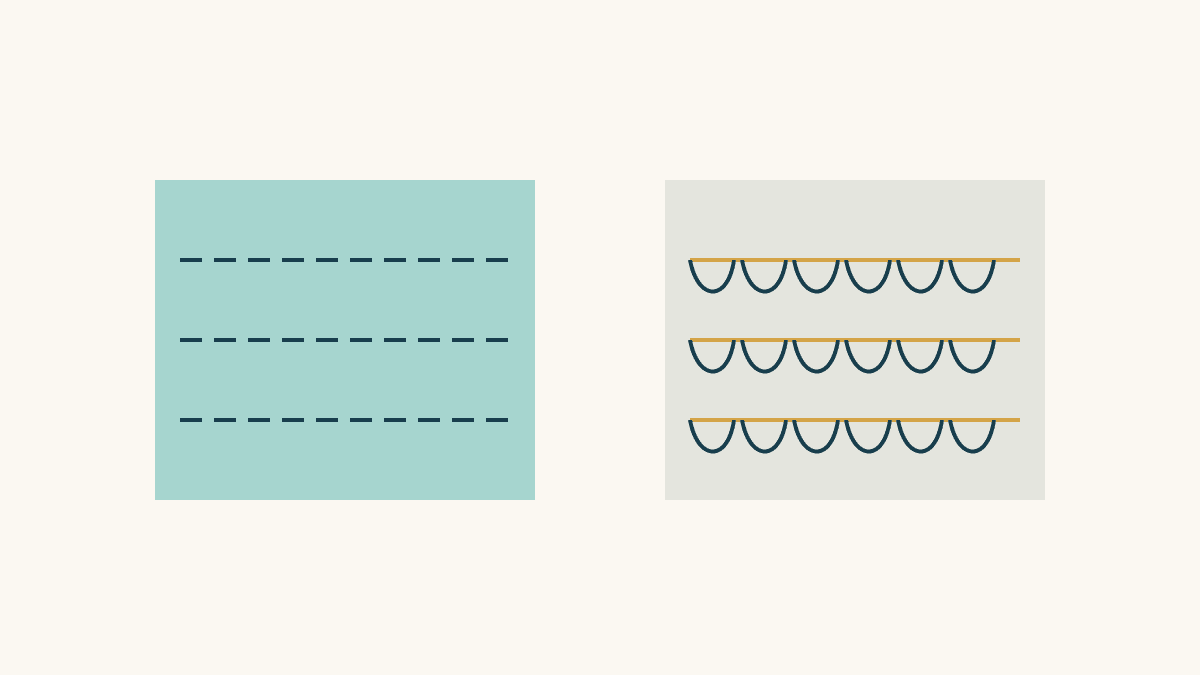
Quilting Tension Troubleshooting: Loops on the Back or Bobbin on Top?
Loops on the back usually mean loose upper tension; bobbin thread on top means it's too tight. Rethread first, then change one thing at a time on a labeled sample.
Walking Foot Compatibility: Check Before You Buy
A low-shank label alone does not establish fit. Use the exact machine model, manufacturer accessory list and part number before buying a walking foot.
Basting a Quilt on a Small Table, One Section at a Time
Keep a pinned overlap while you move the layers. Follow a five-position plan for a 48 x 60-inch top on a 30 x 40-inch table.