


Working in a Quilt Series: Change One Choice
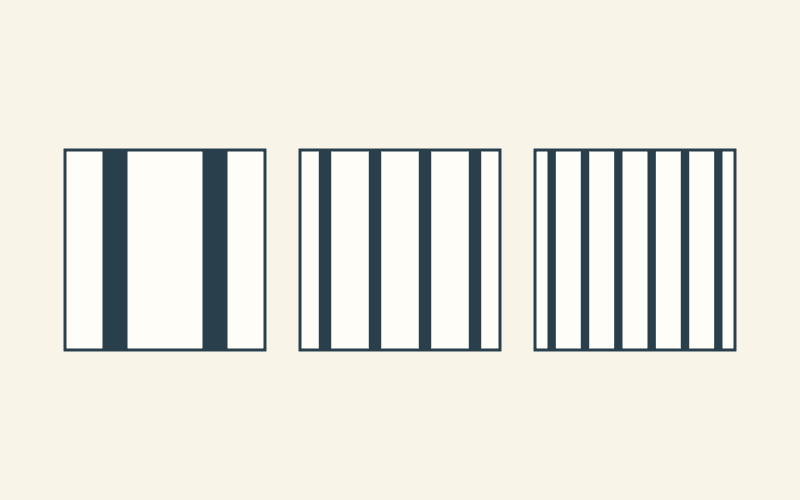
Choose one question, keep the important conditions steady and make several related studies before deciding what to develop. Write down what each version changes and what you notice. Working in a quilt series gives the next design a clear starting point instead of making every decision again.
The connection can be a subject, a technique, a shape or a question. Start with a group of studies that fits your question and the time you want to spend exploring it.
Give the series a question you can investigate
"Make three nice quilts" leaves almost every decision open. "How does repeat frequency change this composition when the colored area stays the same?" gives you something specific to compare.
In Create Whimsy's interviews about working in a series, fiber artists describe different connections between related works. Patricia Belyea discusses work evolving from earlier pieces and changing what she explores. A useful series can develop as you learn; it need not begin with every outcome planned.
Choose a question small enough that you can describe the difference between versions. Save other appealing changes for a later study rather than adding them all at once.
List the conditions you will keep
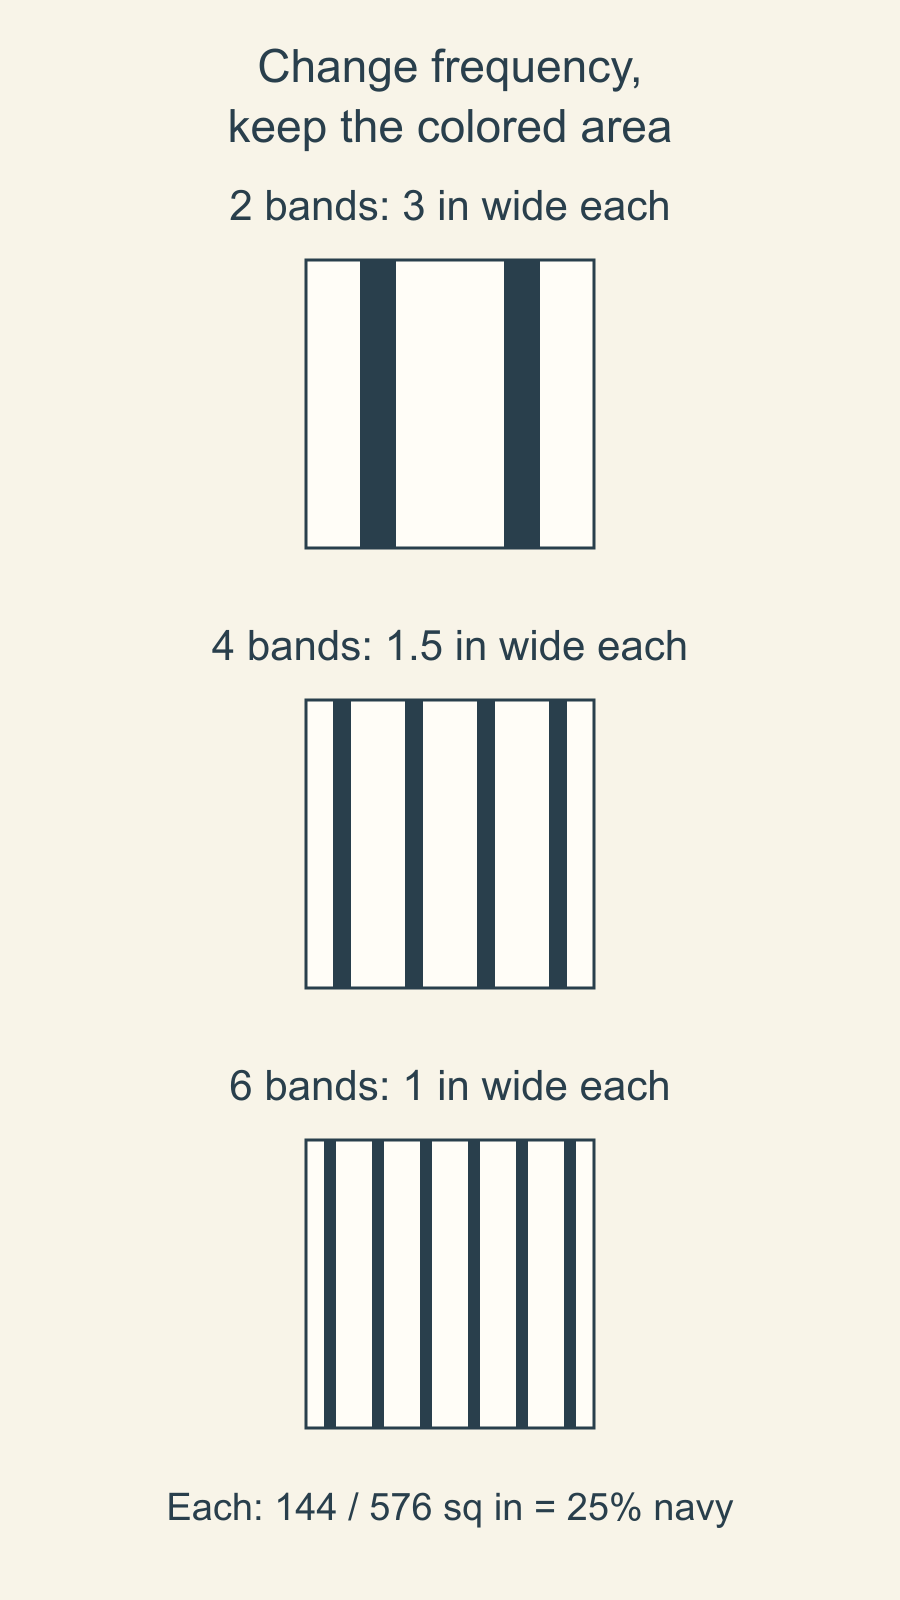
For our drawn example, keep a 24-by-24-inch square, navy and cream colors, vertical bands and a navy area of 25 percent. Change the number of repeated bands: two, four or six.
These are finished-space drawings that we have not sewn. They compare composition, with construction and seam allowances left for a later making plan.
The square contains 576 square inches. A quarter of that is 144 square inches of navy. Because every band runs the full 24-inch height, the combined band widths must total 6 inches: 144 divided by 24.
That gives three ways to distribute the same colored area:
| Number of bands | Width of each band | Combined band width |
|---|---|---|
| 2 | 3 inches | 6 inches |
| 4 | 1.5 inches | 6 inches |
| 6 | 1 inch | 6 inches |
Each version has 144 square inches of navy and 432 square inches of cream. The area check establishes what stays fixed; it does not give the drawing a visual-balance score.
Distinguish the chosen change from its consequences
Here the chosen parameter is repeat frequency. Band width, gaps and outside margins follow from the way we space those repeats. Name those derived changes too, so the comparison remains honest.
Divide the 24-inch width into equal cells, one per band. Center a stripe in each cell and let the stripe occupy one quarter of that cell's width.
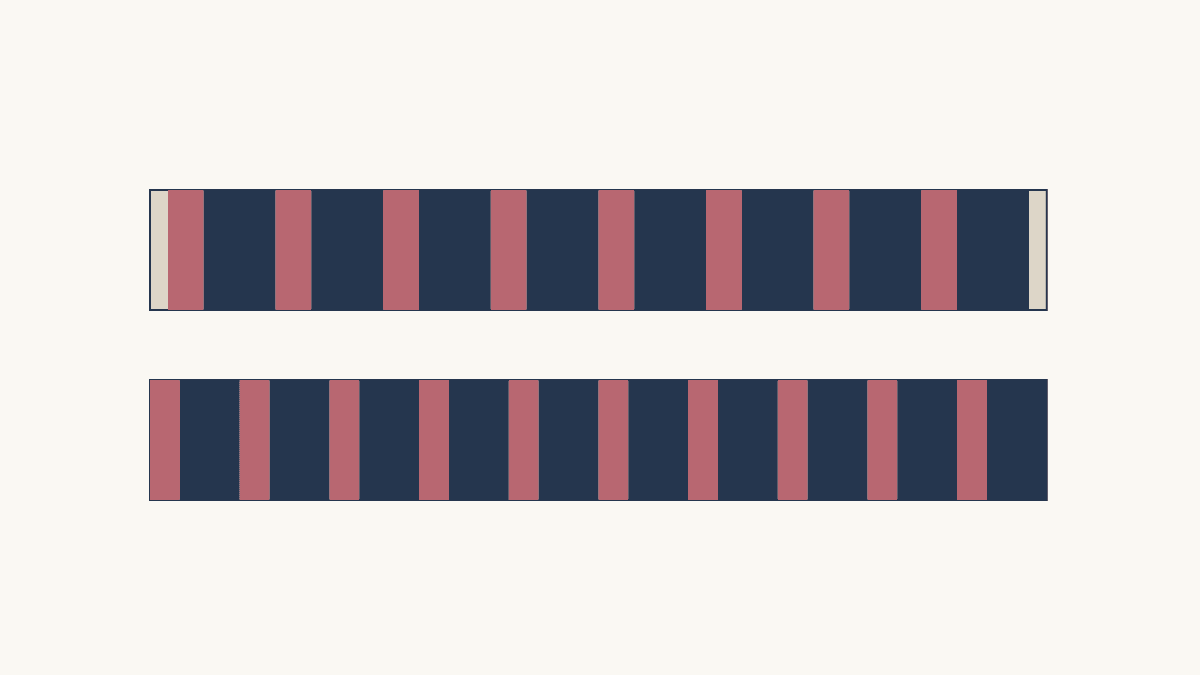
For two bands, each cell is 12 inches wide and its stripe is 3 inches wide. The first stripe begins 4.5 inches from the left edge and ends at 7.5 inches. The second runs from 16.5 to 19.5 inches. The outside margins are 4.5 inches each, and the gap is 9 inches.
For four bands, each cell is 6 inches wide and its stripe is 1.5 inches wide. The stripe starts are 2.25, 8.25, 14.25 and 20.25 inches. Each ends 1.5 inches after its start. Outside margins are 2.25 inches, with 4.5-inch internal gaps.
For six bands, the cells are 4 inches wide and the stripes are 1 inch wide. Starts are 1.5, 5.5, 9.5, 13.5, 17.5 and 21.5 inches. The outside margins are 1.5 inches, and internal gaps are 3 inches.
You can now describe the comparison precisely: the repeats become more frequent and the widths and spaces narrow, while footprint, orientation, colors and total colored area stay fixed.
Compare the drawings at the same scale
To try this on paper, draw three 6-inch squares: quarter-scale copies of the 24-inch studies. Divide them into two, four and six equal vertical cells, respectively. The cells will be 3, 1.5 and 1 inch wide.
Center a navy band one quarter of the cell width in each cell. That makes the paper bands 3/4 inch, 3/8 inch and 1/4 inch wide, respectively. Each paper square contains 9 square inches of navy out of 36, still 25 percent. These smaller measurements are for the paper copies; the design sizes above stay unchanged.
Put the studies beside one another at the same size. Give them simple labels so your notes identify the version you mean.
Ask questions that fit the purpose of the series. Which arrangement gives the rhythm you want? How strongly do you notice the outer margins? Which version would you choose for a broad view across a room, and which invites a closer look?
Record your own observations rather than treating those questions as results we measured. A screen drawing cannot establish the feel of a sewn quilt, thread texture or the appearance of your actual fabrics.
Elizabeth Barton's public Working in Series workshop description includes developing parameters, evaluating designs and critique. Its particular course scope is the provider's choice. Our three-band-frequency exercise is a separate drawing method for organizing one question.
Keep a decision log beside the studies
Write the question and held conditions at the top. Then give each study a brief record:
| Record | What you add |
|---|---|
| Version | A label that matches the drawing |
| Chosen change | What you deliberately varied |
| Derived changes | Widths, gaps or other values that follow |
| Observation | What you notice at the intended comparison size |
| Decision | Keep, revise or set aside, with a reason |
| Next question | One change worth exploring next |
A study you set aside can still answer the question. Keep the reason with it, so a later idea does not send you through the same comparison without learning from the earlier work.
Linda Steele's May 2020 account of working in a series describes arrangements she considered, rejected and revised within a related group of works. Those decisions belong to her experience, but her written reflection is a useful example of recording the choices behind the finished image.
Let the next question come from the comparison
Suppose you choose the four-band drawing for further study. Your next question might concern color contrast. Keep its frequency and geometry steady while you compare colors, and write that new question on a separate record.
Our color-theory guide helps name those color and value decisions. If you want a looser composition exercise, the improv-constraints article offers a different way to limit an open-ended design.
When you are ready to make a physical version, plan its construction and check an actual sample. Keep those observations separate from the drawing notes so the series records what you really learned at each stage.
Choose one question now and sketch three small studies at the same scale. Label what stays fixed, what you choose to vary and what follows from that choice. Finish by writing the question you would investigate next.
Plan your next quilt
Lay out blocks and try colors in QuiltLab's grid editor before you cut.
Free forever, no card needed.
Get quilting tips by email
QuiltLab updates, tips and quilting inspiration. Unsubscribe anytime.
Related posts
Large Star Quilt Planning: Choose the Star Before the Margins
Compare 36-inch and 48-inch stars on one quilt top, then check the center print, background and fabric-width constraints.
Nested Star Quilt Design: Keep Every Ring Visible
Compare three nested star sizes, choose contrast at each shared edge, and check which fabric survives in the narrowest ring.
Pieced Quilt Border Math: Fit Whole Motifs
Fit complete border motifs around a measured center, compare end caps with resizing, and keep repeat phase clear at the corners.