


Plan a Small Sewing Room Around One Quilt
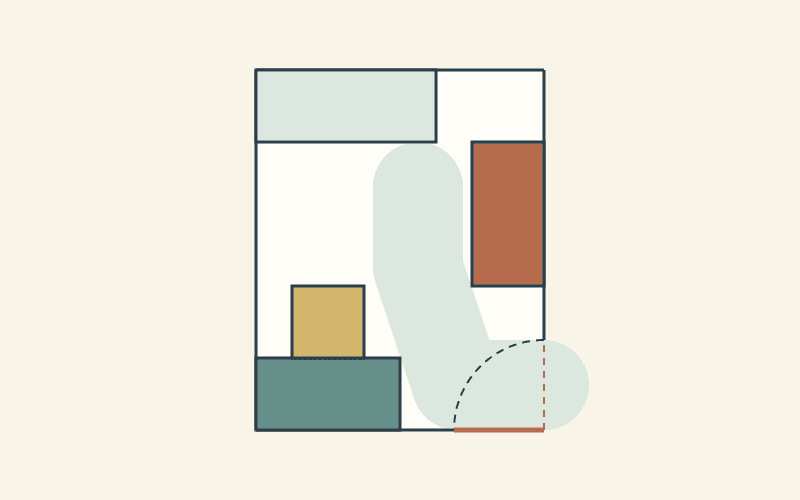
Start a small sewing room layout with your machine, chair and door, then place cutting and pressing where you can actually use them. Measure the working footprints and the movement between them before adding storage. For one quilter, a clear sequence of usable stations matters more than fitting every tool into the drawing.
Plan around the quilt you are making now. Piecing small units, supporting a large top and spreading fabric for cutting use the room differently. A layout that handles one task well may need a separate surface or another room for the next.
Measure the parts that move
Draw the room's inside dimensions and mark the door opening, hinge and swing. Add windows, fixed cabinets, radiators and other obstacles. Then measure the actual tables, machine accessories and chair in their working positions.
A tabletop rectangle leaves out open drawers, table feet, a pulled-back chair and a project hanging over an edge. Record those separately. Keep electrical outlets, cords, pressing equipment and light in the plan too, following the equipment's setup instructions.
In Sherri McConnell's small-space lesson, machine placement is planned together with cutting, pressing and nearby supplies. That is a useful starting checklist even when your room is shaped differently from her example.
If you are choosing a first kit, our beginner supplies guide helps separate the essentials from tools that can wait. A smaller active kit is easier to place than an entire imagined future studio.
Try an eight-by-ten-foot room on paper
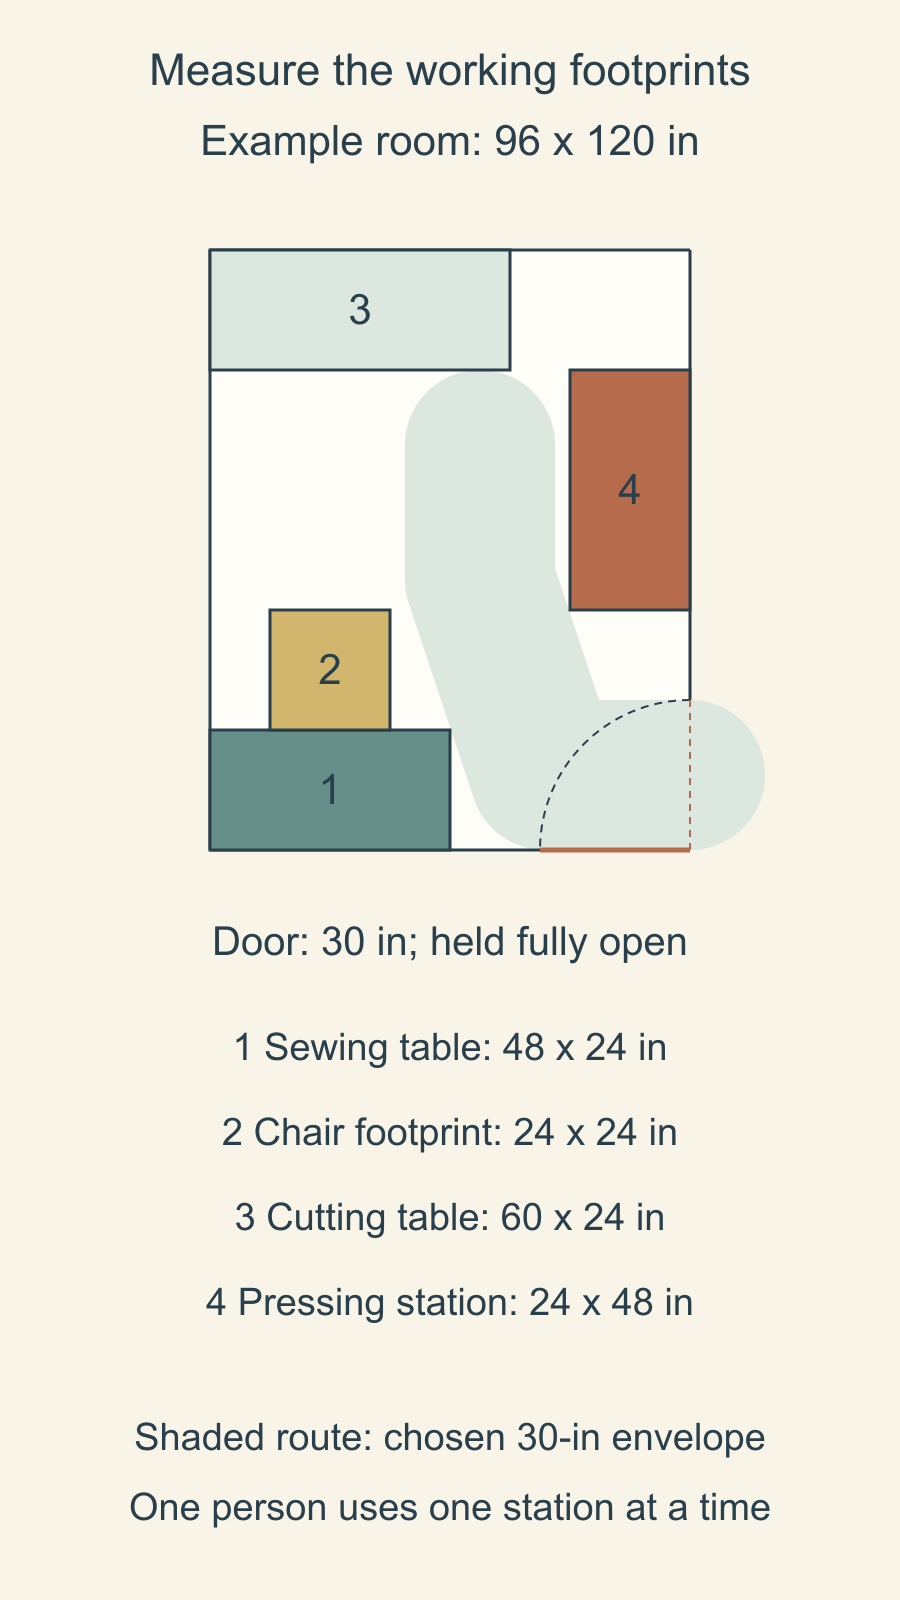
Our hypothetical room measures 96 by 120 inches, or 8 by 10 feet. The drawing uses the lower-left corner as the origin. East is right and north is up. The following nominal footprints don't overlap:
| Item | Footprint | Placement in the room |
|---|---|---|
| Sewing table | 48 by 24 in | Southwest corner |
| Chair in one working position | 24 by 24 in | Directly north of the sewing table |
| Cutting table | 60 by 24 in | Northwest corner |
| Pressing station | 24 by 48 in | East wall, starting 48 in from the south |
The chair occupies x=12 to 36 and y=24 to 48 inches. The cutting table occupies x=0 to 60 and y=96 to 120. The pressing station occupies x=72 to 96 and y=48 to 96. Those coordinates make the gaps checkable rather than relying on how roomy the sketch looks.
The 30-inch door is in the east wall's southern end. Its opening runs from the southeast corner 30 inches north. Hinged at that corner, it opens inward until its leaf lies along the south wall, from x=66 to 96. Even the full 30-by 30-inch box enclosing the door's swing contains no furniture footprint in this plan.
These are paper measurements, not a room trial. The drawing doesn't establish comfort, accessibility or safe equipment setup. The real chair motion, door thickness, drawer openings, reach, machine fit and pressing arrangement still need checking in the actual space.
Check a path instead of one gap
For this example, we chose a circular 30-inch-wide moving envelope to test the route from the open doorway into the room. Its center runs through these points, measured in inches from the lower-left corner:
(96,15) -> (67,15) -> (60,36) -> (54,54) -> (54,81)
The circle's radius is 15 inches. Along this drawn route, its center stays at least 15 inches from the furniture rectangles. The tight passes near the sewing and pressing corners are about 15.18 inches. At the final point, the center is 15 inches from the cutting table's south edge. The envelope therefore fits the nominal geometry, with tangency at the narrowest points.
Why include the corners? A gap can look wide enough when measured horizontally while a diagonal turn passes closer to a projecting table corner. Checking the whole segment catches that mistake. Add an actual moving chair or open drawer to the drawing and you may need to move the route or furniture.
Use a measured object or footprint relevant to your own situation when trying a room plan. The 30-inch choice here is an example value, not a general minimum. Keep the real exit usable while assessing the equipment and workflow.
Let stations share working space deliberately
In this plan, one person uses one station at a time. The standing area at the cutting table extends south into the open center. The pressing position sits west of its station and also uses part of that central space. Those working areas can overlap during separate tasks; they cannot all be treated as empty while someone is using them.
Sarah Joiner's RV and small-space sewing lesson describes batching tasks because her cutting mat, iron and machine couldn't all stay out together. Use that approach when your room works better as a sequence of setups. Finish the cutting stage, put its tools away, and set up the next task as the project requires.
Don't assume a compact room plan includes a surface for basting an entire quilt or spreading large yardage. Make those arrangements explicitly. For quilting at the machine, our quilt-weight support guide covers the additional support question.
Add storage where you use its contents
Put the active project's small tools near the station that uses them. Measure both the container and the opening it must pass through. A bin that fits on a shelf may still be awkward to remove when a table or chair is in front of it.
Erika Mulvenna's studio tour shows cutting tools and small rulers stored at the cutting station, with other supplies near pressing and sewing. Her shared-room arrangement also puts sharp tools away between uses. Borrow those relationships rather than copying the dimensions of a different room.
Walk through the work before adding storage
Tape out the main footprints before buying storage or moving heavy furniture. With the machine and iron off, try a short sequence using the supplies for your current project:
- Take the fabric bin off its shelf and find somewhere to set it while you work.
- Stand at the cutting surface with the mat and ruler in place. Check where the uncut fabric will rest.
- Sit at the machine, then pull the chair back far enough to stand and leave the station.
- Carry the pieces to pressing, then put the project and tools away.
Mark every footprint that changes during that sequence. If you must move a bin to pull back the chair, draw both positions. If the cutting mat must come off before pressing, give it a storage place that remains reachable in that setup.
Revise the paper plan from those observations and repeat the sequence. Add storage only after you can work through the tasks and put the room away again.
Plan your next quilt
Lay out blocks and try colors in QuiltLab's grid editor before you cut.
Free forever, no card needed.
Get quilting tips by email
QuiltLab updates, tips and quilting inspiration. Unsubscribe anytime.
Related posts
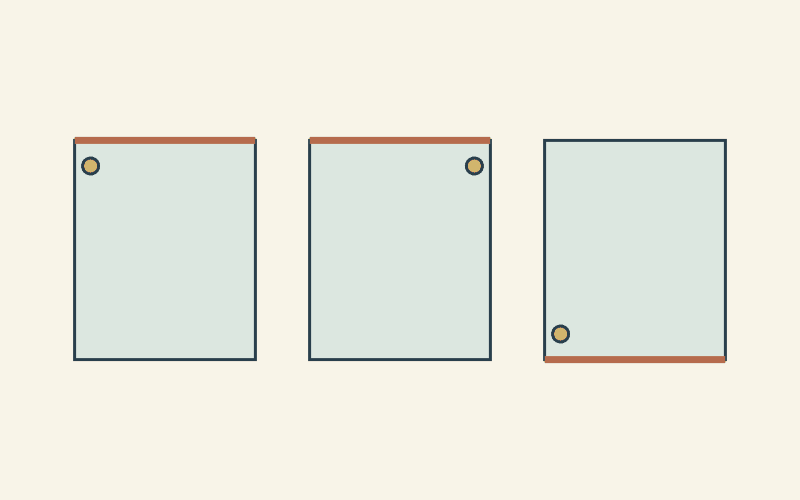
Mark the Top of a Directional Quilt Backing
Label the physical top of both quilt layers, compare two ways of turning the quilt, and give your quilter a clear directional backing note.
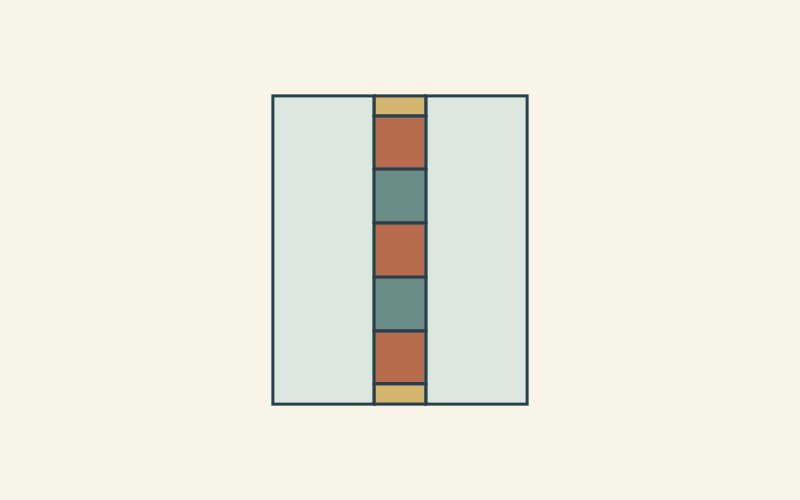
Design a Pieced Quilt Back with Leftover Blocks
Check a leftover-block stripe against backing margins, inherited seams and new half-inch joins before preparing the surrounding panels.
Check Batting Against Your Wall Quilt's Requirements
Write a wall-quilt batting brief, reject mismatches, check an exact spacing limit and keep unresolved material and support questions visible.