


Write a Quilt Pattern Fabric Requirements Table
Build the materials table from a checked list of cuts, a stated usable fabric width and a clear allowance for preparation or cutting. Keep the calculation beside the rounded amount. Another person should be able to follow each requirement back to the pieces it supplies.
A tidy table can still hide a wrong assumption. The useful check is whether the fabric can provide those particular pieces in the orientation your instructions require.
Name the fabric's job before naming the collection
Use role labels that survive a fabric substitution: background, accent, block centers or border. If you also call fabrics A and B, keep those letters consistent through the materials table, cutting list, diagrams and instructions.
Sherri McConnell's pattern-writing process at A Quilting Life includes deriving requirements from the actual cuts, checking the numbers and sewing her pattern. Her completed sewing belongs to her process; the arithmetic exercise below is a drawn document audit that we have not sewn.
This example starts with two entries in a hypothetical cut list:
| Fabric role | Pieces required | Raw cutting dimensions |
|---|---|---|
| Background | 54 | 4.5-inch squares |
| Accent | 24 | 3.5 x 6.5-inch rectangles |
These pieces do not describe a complete quilt pattern. They give us a small, repeatable way to audit a fabric requirements table. The dimensions already describe the raw cuts, so we do not add seam allowances again.
State the width your calculation uses
Write usable width, rather than copying the width on a shop listing. Your cutting plan needs the width remaining after any preparation and edge trimming it requires. A directional print may also limit which way a rectangle can turn.
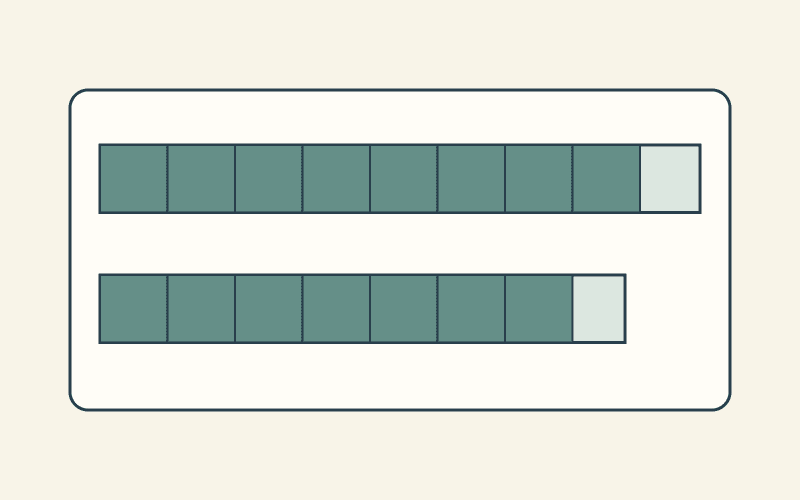
For the first calculation, assume 40 usable inches across the fabric. Place each 6.5-inch rectangle dimension across that width, with strips cut 3.5 inches deep. Keep that orientation explicit. A different arrangement is a different calculation.
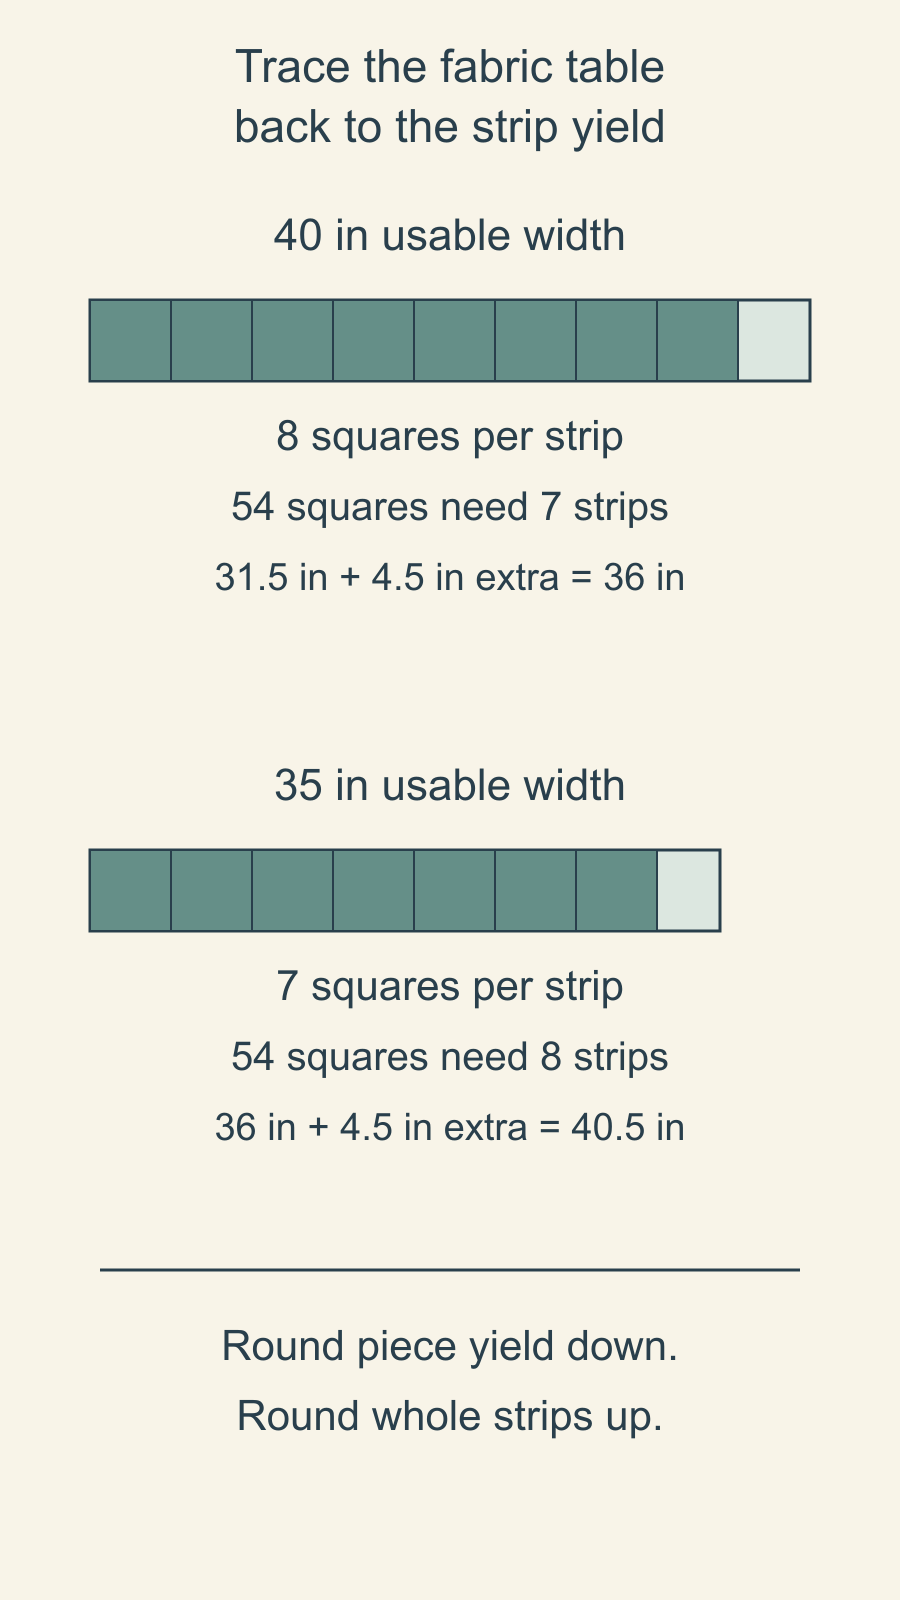
Cheryl Brickey's quilt-math lesson at Meadow Mist Designs works from whole-quilt piece counts to strip yields and lengths. Two rounding directions matter: round the pieces that fit across a strip down, then round the number of whole strips needed up.
Check the background row in three steps
First find the yield across one strip. Eight 4.5-inch squares occupy 36 inches of a 40-inch usable strip. A ninth would require 40.5 inches, so it does not fit. The four inches remaining across the strip do not provide another full square.
Next find the required number of strips. Six strips would supply only 48 squares. Seven supply 56, enough for the stated count of 54. The minimum fabric length is therefore seven times 4.5 inches: 31.5 inches.
Finally add the stated allowance and apply your rounding policy. For this example, the author chooses one additional 4.5-inch strip. That gives 36 inches, or 1 yard. The extra strip is a visible choice in this example, rather than a universal allowance for every pattern.
Keep all three numbers in your working notes: 31.5 inches from the required strips, 4.5 inches of chosen extra length and 36 inches in the table. If someone questions the requirement, you can investigate the relevant step.
Audit the accent without silently turning the pieces
With the rectangle's 6.5-inch side across the same 40-inch usable width, six rectangles occupy 39 inches. A seventh does not fit. Four strips provide the required 24 rectangles.
Each strip is 3.5 inches deep, so the minimum length is four times 3.5: 14 inches. This example adds one extra 3.5-inch strip, bringing the working amount to 17.5 inches.
Suppose the table rounds each fabric amount up to the next eighth yard. One eighth yard is 4.5 inches. The next such increment above 17.5 inches is 18 inches, or 1/2 yard.
Keep the cutting allowance separate from that final half-inch rounding difference. They answer different questions. One is a deliberate extra amount; the other comes from the unit in which you express the requirement.
If a proposed substitution requires the rectangles to face the other direction, return to the layout. Avoid carrying over the old amount while changing the cutting instructions beneath it.
Change the width and recalculate both roles
Now reduce the usable width to 35 inches while leaving the piece counts, cutting orientation and chosen extra strips unchanged.
Seven background squares fit across: seven times 4.5 is 31.5 inches. Eight would need 36 inches. Supplying 54 squares therefore takes eight strips, totaling 36 inches. Add the chosen 4.5-inch extra strip and the amount becomes 40.5 inches, or 1 1/8 yards.
For the accent, five rectangles fit across because five times 6.5 is 32.5 inches. Five strips supply 25 rectangles. Their minimum length is 17.5 inches; adding the chosen 3.5 inches gives 21 inches. Rounded up to the next eighth yard, that becomes 22.5 inches, or 5/8 yard.
| Usable width | Background amount in this example | Accent amount in this example |
|---|---|---|
| 40 inches | 1 yard | 1/2 yard |
| 35 inches | 1 1/8 yards | 5/8 yard |
The narrower fabric changes both rows, by different amounts. This is why a width note belongs beside the requirements, with a clear instruction about what readers should check when substituting fabric.
Keep the audit beside the published table
Your working record can include the role, source step, piece count, cut dimensions, orientation, usable width, strip yield, minimum length, extra length and rounding policy. The reader-facing table can be simpler, provided the assumptions needed to use it remain clear.
For each strip-cut row, first check that at least one piece fits across the usable width. Divide the piece count by the whole-piece strip yield and round up. Multiply that strip count by the strip depth, then add the chosen extra length. Apply purchase-unit rounding last. Keep the usable width and piece orientation with that calculation.
Cait Lisle's explanation of technical editing includes checking math and agreement between instructions and diagrams. Give an editor the underlying cut list and calculations, not just the final yardage column. A discrepancy is easier to resolve when its inputs are visible.
Our pattern-writing overview covers the wider development process. For a visual reminder that piece orientation affects yield, the fat-quarter cutting layouts compare cuts within a stated usable rectangle.
Choose one row in your next requirements table and trace it all the way back to its cuts. Then ask another person to repeat the calculation from your written assumptions. Fix any step they have to guess before freezing the table.
Plan your next quilt
Lay out blocks and try colors in QuiltLab's grid editor before you cut.
Free forever, no card needed.
Get quilting tips by email
QuiltLab updates, tips and quilting inspiration. Unsubscribe anytime.
Related posts
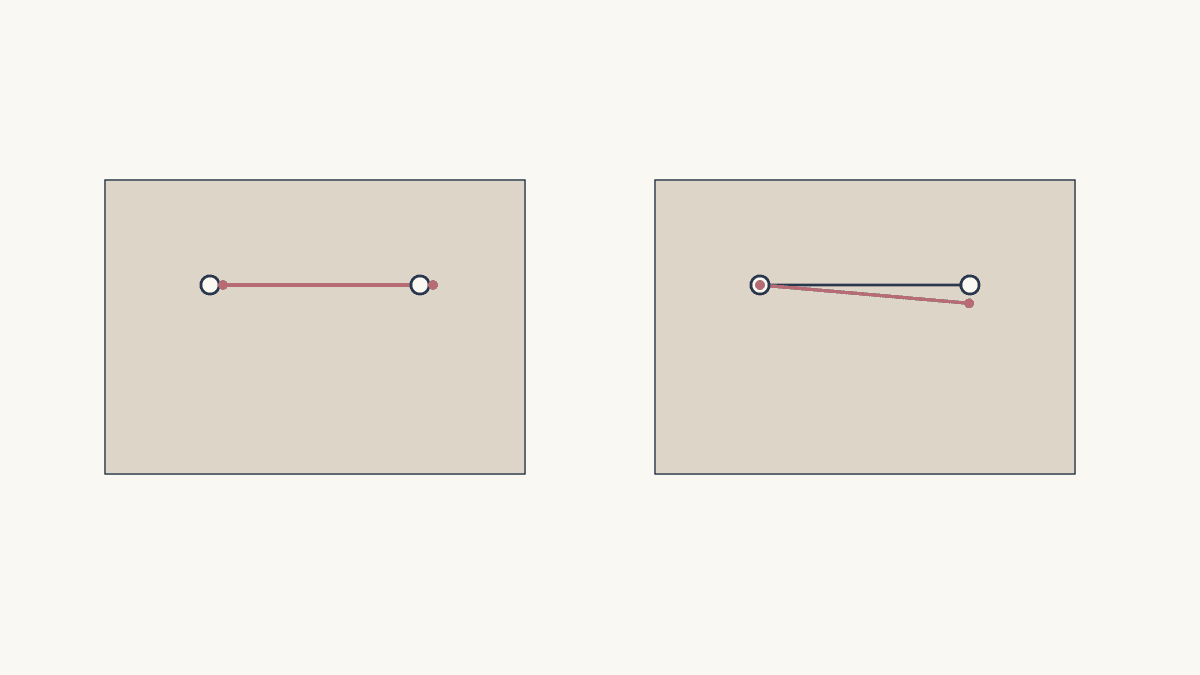
Centering Fussy Cut Motifs: Fix the Shift First
Use two print landmarks to tell a simple shift from a rotation or mismatched repeat before cutting the next batch.
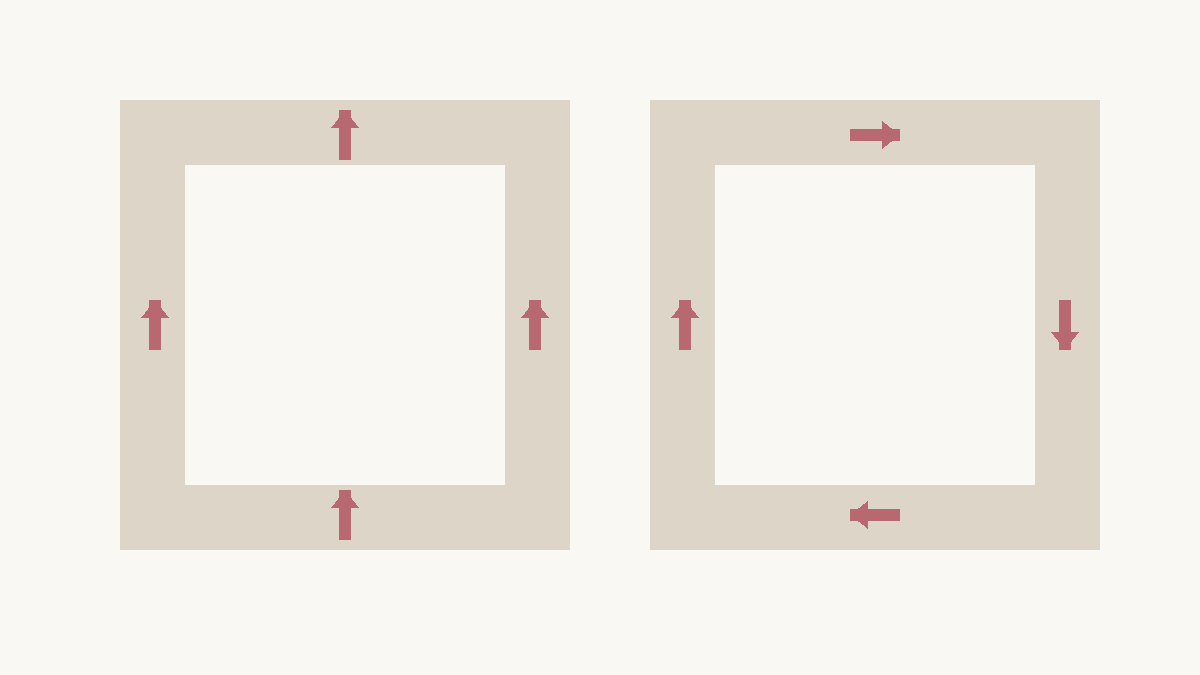
Directional Quilt Border Corners: Upright or Around?
Choose whether border motifs stay upright or turn around the quilt, then check every corner before cutting matching print bands.
Fussy Cutting Border Prints: Keep the Whole Band
Choose a border print by its finished visible band, preserve calm margins, and check repeat phase before cutting long strips.