


Quilt Fabric Show-Through: What Should You Check?
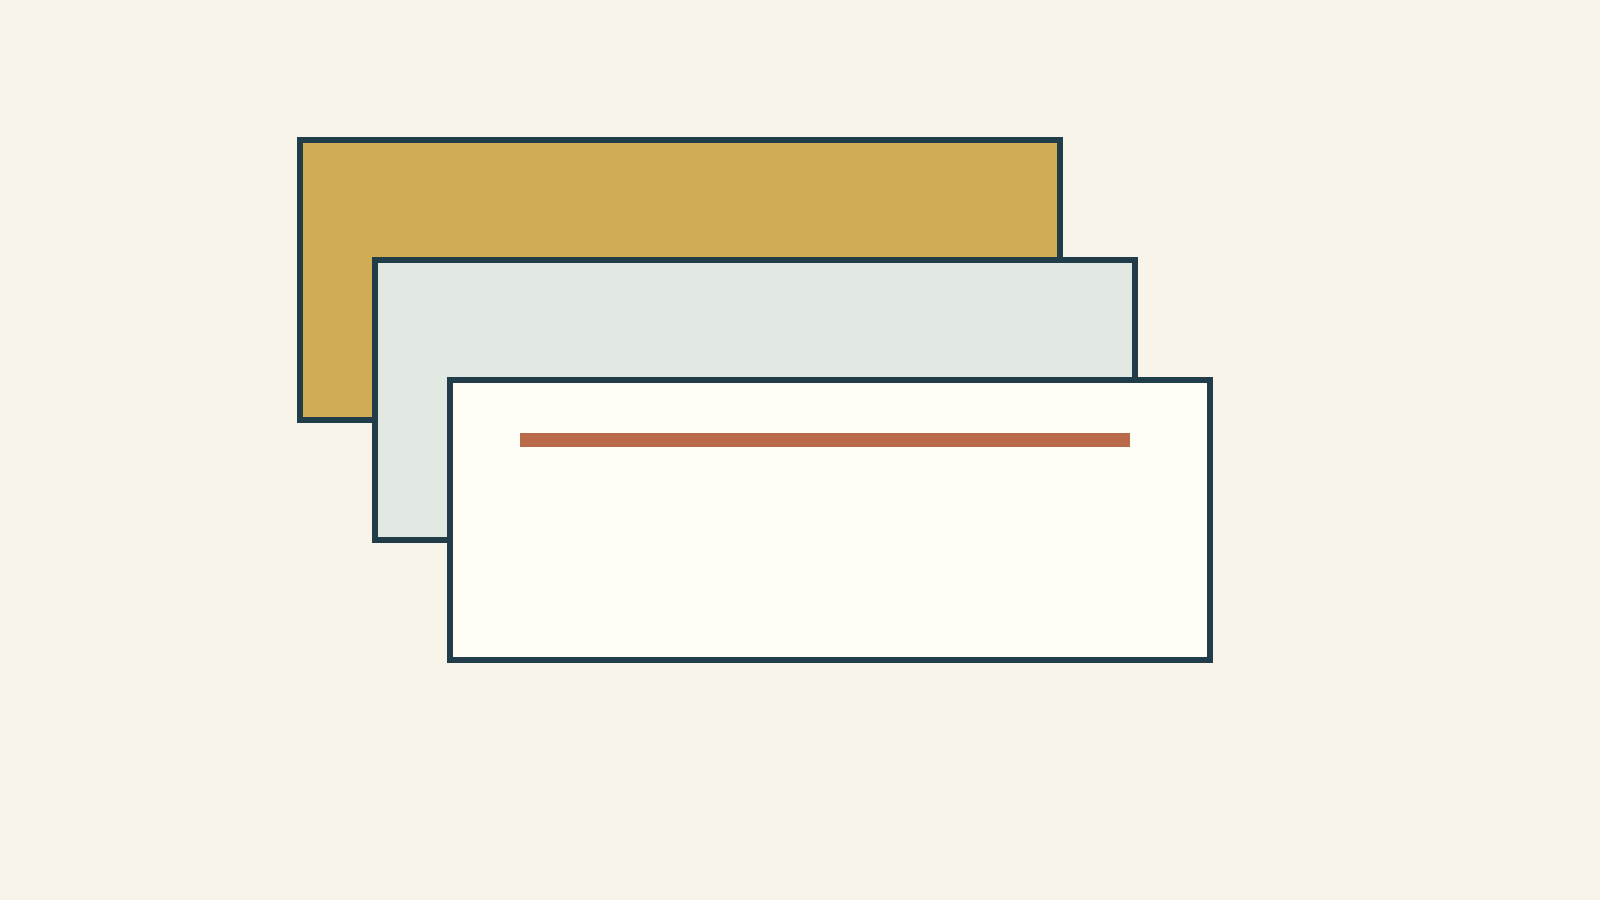
Before changing your batting, compare your light quilt fabric over the actual seams, batting and backing you plan to use. Keep the light and viewing position steady, then change one layer at a time. That small comparison helps you distinguish a dark seam allowance from a backing print or an overall color shift.
Start with the palest fabric and the highest-contrast join in your design. A broad white area may reveal something that disappears beneath a busy print. You want to notice it while changing a material or pressing choice is still practical.
What exactly is showing through?
Lay the top or a representative pieced sample flat and describe the visible shape. Avoid jumping straight from "I see gray" to "I need thicker batting."
| What you notice | First thing to inspect | Useful comparison |
|---|---|---|
| A narrow line following a join | Seam allowances beneath the light patch | The same join under the same layers |
| A recognizable backing motif | Printed backing behind the top | A plainer backing candidate |
| A broader change in the light fabric | The complete layer combination | Two batting candidates with the same backing |
| A mark only when held toward a window | Viewing conditions | The same sample laid flat in ordinary light |
These are starting questions, not diagnoses from a photograph. A phone may also change exposure between pictures. Keep a written observation beside each sample so the comparison does not depend on camera processing.
Dawn Cavanaugh discusses bulky intersections at APQS and notes that thinner fabric can allow seam allowances to shadow through. Her advice also connects pressing choices to bulk and accurate piecing. That is a reason to examine the join itself before changing the entire quilt sandwich.
Make a baseline you can return to
Use scraps from the actual fabrics, including the pale top and its dark neighbor. Include a representative seam rather than laying one loose rectangle over another. Place this sample over the proposed batting and backing.
Label that combination A. Write down the fabric identities, seam placement, batting and backing. If you have already washed any of them, record that too. Keep the same side facing up throughout the comparison.
Choose one viewing spot. Look at the sample from the front, laid flat, under the light in which you expect to judge the finished quilt. You can also look under other likely conditions afterward, but finish one comparison before moving everything to another room.
A pale top viewed against a bright window is a different situation from the same top on a bed. Neither observation needs to be ignored; they simply answer different questions. Record which situation matters for this quilt.
Change one thing, then return to A
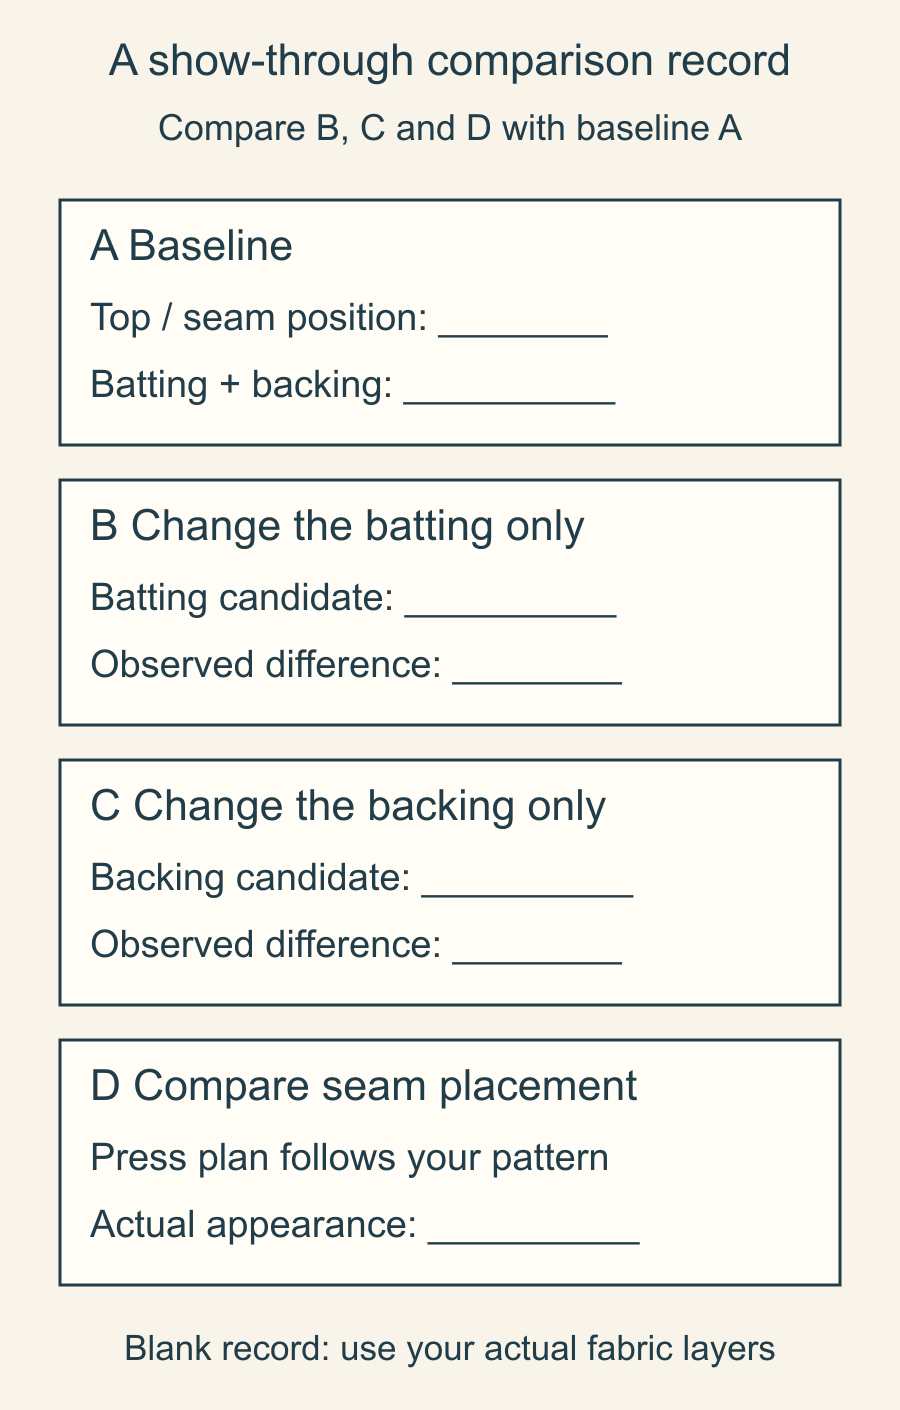
For B, keep the top, seam placement and backing from A. Replace only the batting with a candidate you are considering. Compare the light area and the join, then record what you actually see.
Put A back together before trying C. Keep its top, seams and batting, and change only the backing. Choose a candidate you would realistically use. If the proposed backing has a dark motif, include that motif beneath the same light patch during the comparison.
Return to A again before D. Here the question is seam placement. Follow your pattern's construction and pressing requirements when preparing a comparison seam. Record which allowance lies behind the pale patch and whether the join still meets properly.
The reset matters. If you move directly from B's different batting to C's different backing, you have changed two layers. You may like the new combination without knowing which change helped.
Keep promising combinations together and label them. Once you have isolated a useful change, compare the complete preferred combination with A. This final check catches interactions that a single-layer comparison might miss.
Check the backing before buying another batting
Julie Baird's answer about backing fabric shadowing through a quilt top recommends trying the actual sandwich before choosing a different batting. Her discussion is especially useful when the backing's print is the visible problem.
Ask whether you would still choose that backing if its motif remained faintly visible from the front. A different backing may serve the design better than trying to hide a strong print with another layer. Keep intended care, availability and the quilt's feel in the decision too.
Batting choice has several jobs. Appearance is one; thickness, intended use and the manufacturer's quilting requirements are others. Our batting loft guide covers that separate choice. An opacity comparison alone does not settle all of it.
Keep a pressing change compatible with the block
Moving a seam allowance away from a pale patch can sound like an easy fix. First check what that allowance does at the next intersection. A change that improves one light square may interfere with nesting or add bulk elsewhere.
Use the pattern's instructions and inspect one real join before applying a new press plan throughout the top. The seam-pressing guide explores those construction tradeoffs in more detail.
Kathy K. Wylie's shadowing discussion includes lining advice for applique. That context matters: an applique remedy is not automatically a step to insert into every pieced block. Choose a method that belongs to your construction, and test it there.
If the top is already assembled, diagnose the visible layer before taking seams apart. You may decide that the faint line is acceptable, or that a backing change is enough. Avoid turning a small appearance concern into widespread unpicking without a clear reason.
Decide what is good enough for this quilt
Write a short decision beside the chosen sample. For example: "The backing motif is no longer distracting when the sample lies flat; the seam line remains visible at close range." That is a useful decision format for your own observations, not a result we measured.
Keep the sample with the material notes. If someone else will quilt the top, show them the actual combination and ask about their material requirements before purchasing replacements. A photo can explain the concern; the layers explain what produced it.
Your next step is one labeled comparison using your palest patch and the proposed backing. Once you can name the layer that changes the appearance, you can make a smaller, more deliberate choice.
Plan your next quilt
Lay out blocks and try colors in QuiltLab's grid editor before you cut.
Free forever, no card needed.
Get quilting tips by email
QuiltLab updates, tips and quilting inspiration. Unsubscribe anytime.
Related posts
How to Choose Longarm Quilting Designs
Turn your preferred texture, thread and focal areas into a clear brief that a longarm quilter can discuss and confirm.
How to Choose Quilt Batting Loft for the Texture You Want
Compare flatter and puffier batting with a four-sample plan that keeps fabric and thread steady while you change quilting density.
Fabric Grain Explained: Which Way Should You Cut?
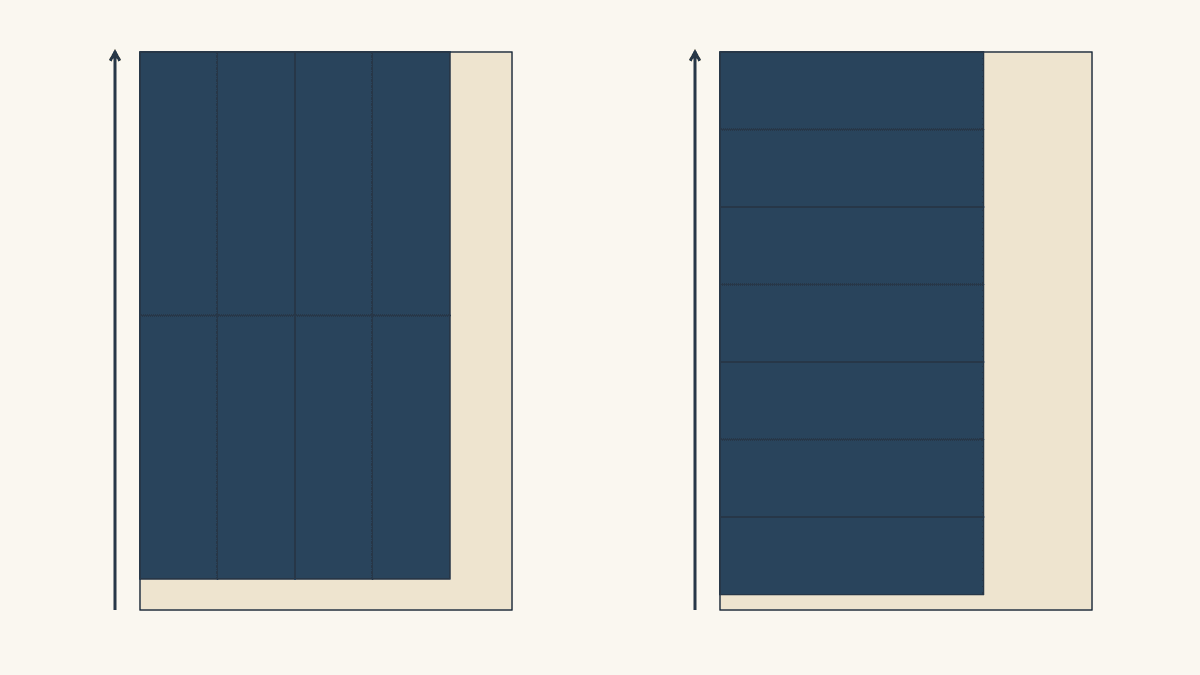
Mark lengthwise, crosswise and bias edges before cutting. Compare two rectangle layouts and see how turning a triangle moves its bias edges.