


How to Write a Quilt Pattern: Pages, Diagrams and Testing
A quilt design shows what you want to make. A pattern must explain how someone else can make it without guessing. Learning how to write a quilt pattern means turning your decisions into a sequence of measurable, repeatable instructions, then checking that sequence with fabric and another reader.
Start with one design and one finished size. Build the document around its construction order, rather than writing a cover first and squeezing the instructions into the remaining pages. The page plan and quantity audit below are original teaching examples; they are not a sewn or tested quilt pattern.
Define the pattern before laying out its pages
Write a short specification you can refer to throughout the project:
- Intended reader and assumed skills.
- Finished quilt size and finished block size.
- Construction method for each unit.
- Seam allowance and measurement units.
- Fabric roles, orientation rules and substitutions.
- What the pattern includes: the top only, or also backing, quilting and binding guidance.
These choices prevent inconsistencies. A pattern written for rotary-cut patches needs different information from one using foundation papers. A directional background may need more fabric than a non-directional solid. Changing a triangle method halfway through writing can change the cutting sizes even when the finished unit stays the same.
Sherri McConnell's pattern-writing guidance at A Quilting Life includes finished sizes, materials, cutting information, block steps and assembly instructions. Use those as checks on completeness, then decide how much technique explanation your particular reader needs.
If you are still deciding the layout, start with the Quilt Editor guide. Freeze the design you will document before calculating its quantities. Keep later design changes in a revision list so you know which instructions and diagrams need updating.
Give each page a job
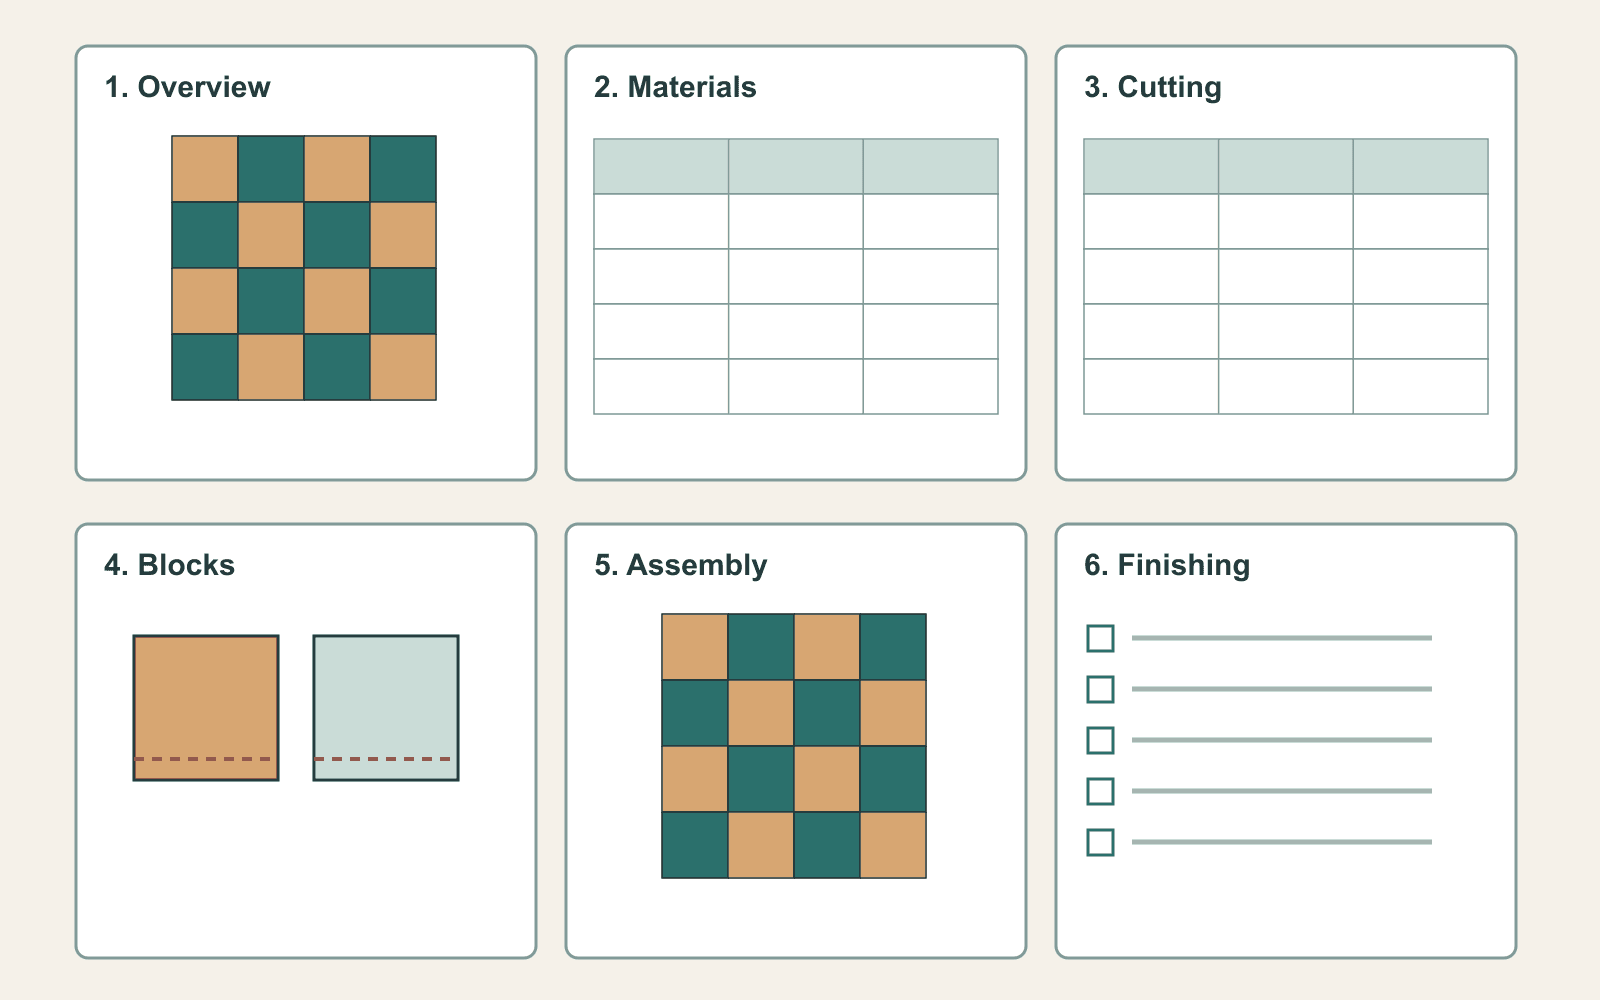
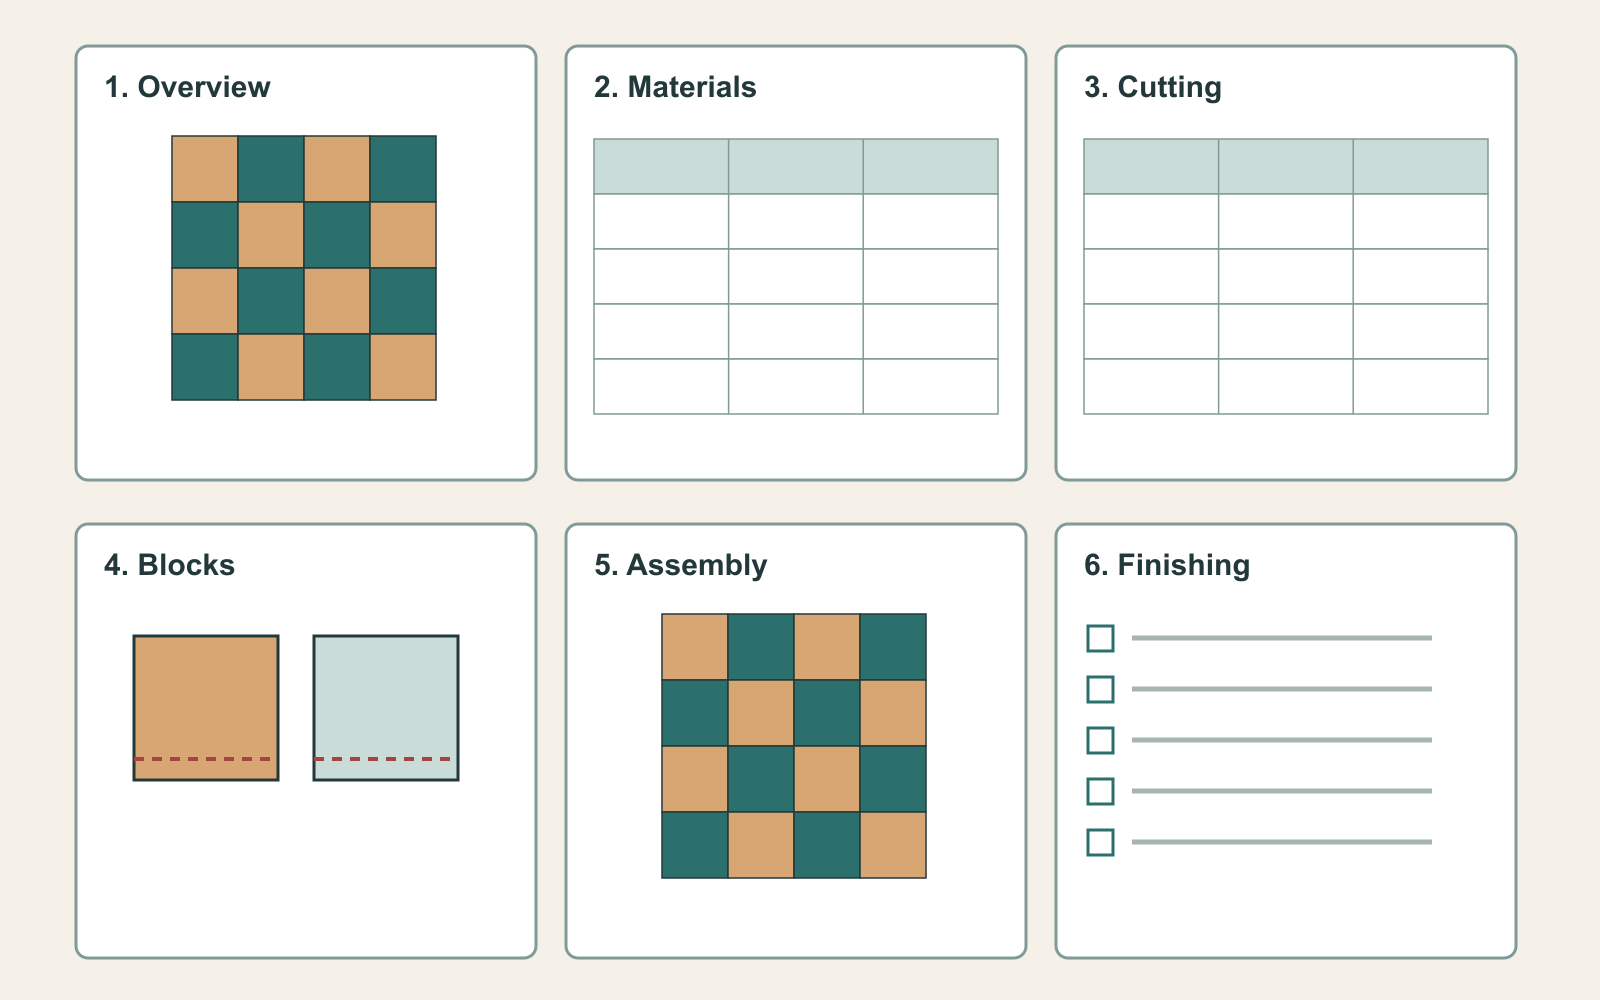
A small pattern might fit this six-page plan. It is a planning aid, not a required page count.
| Page | Main job | Reader should be able to answer |
|---|---|---|
| 1 | Cover and overview | What am I making, and how large is it? |
| 2 | Materials and assumptions | Which fabrics, tools and methods do I need? |
| 3 | Cutting and labels | Which pieces do I prepare and how many? |
| 4 | Unit and block assembly | What do I sew next, and how do I check it? |
| 5 | Quilt assembly | Which blocks go in each row and orientation? |
| 6 | Finishing and reference | What remains, and where are corrections recorded? |
Put a diagram beside the instruction it explains. Avoid a page break between an action and its measurement checkpoint. If the cutting information needs two pages to remain legible, give it two pages; a compact document that forces readers to hunt for quantities is less useful.
Keep layout, mathematical review and sewing checks as separate stages. Cait Lisle's technical-editing description includes reviewing fabric quantities, diagrams, assembly instructions and clarity. A page that looks complete can still contain an incorrect quantity or an ambiguous action.
Audit quantities before calculating fabric purchases
Work from the smallest repeated unit outward. For a count-only example, imagine a borderless layout with 4 columns and 6 rows of 9-inch finished Nine Patch blocks. Each block contains nine squares, each finishing at 3 inches.
The layout contains 4 x 6 = 24 blocks and finishes at 36 x 54 inches. The patch inventory must therefore total 24 x 9 = 216 squares. Suppose every block uses five dark squares and four light squares:
| Role | Pieces per block | Blocks | Total pieces |
|---|---|---|---|
| Dark | 5 | 24 | 120 |
| Light | 4 | 24 | 96 |
| Both roles | 9 | 24 | 216 |
Cross-check the same information from the assembly side: six rows of four blocks gives the same 24-block total. Each row finishes at 36 inches; six 9-inch rows give 54 inches. These independent routes catch errors such as writing instructions for 20 blocks while the layout shows 24.
This inventory still does not establish yardage. The designer must choose cut sizes and a cutting method, then draw a usable-width cutting layout. Strip piecing, individually cut squares and directional fussy cuts can produce different fabric requirements for the same 216 finished patches. Add borders, backing and binding as their own calculations, with explicit assumptions.
Keep a calculation sheet outside the customer document with the formulas, usable width, rounding and additional allowance you used. The published materials table should state a purchase amount the tested cutting plan can support, rather than a theoretical area of fabric.
Write steps a reader can check
Use one main action per numbered step. Identify the pieces, state their orientation, give the action, and finish with a checkpoint when the unit changes size or shape.
Compare these two instructions:
- Vague: "Join the pieces to make the block."
- Specific structure: "Arrange the labeled units as shown in Figure 3. Join the units in each row, keeping the marked top edges upright. Press in the directions shown. Check the row dimensions before joining the rows."
The second version still needs your design's labels, dimensions and pressing choices. Its value is the order of information. A reader knows which pieces are involved, how they face and when to stop and measure.
Distinguish finished dimensions from unfinished dimensions every time it matters. Finished describes a piece's visible contribution after surrounding seams; unfinished describes the current unit with its outside allowances still present. Never put a finished-size label beside an intermediate unit without saying what it measures.
Keep labels stable. If the cutting table calls a piece A, its diagram and assembly instructions should also call it A. Decide whether "row" means a row inside a block or a row of blocks, then clarify it where either interpretation is possible.
Draw the action, then the result
A cover image communicates the overall design. A sewing diagram communicates a decision or an action. Separate those jobs.
For a layered sewing step, show which fabric faces up, where the pieces align, which line is stitched and which line is cut. For an assembly diagram, show orientation and placement. For a measurement check, identify the exact edges being measured.
Carli Marsico's diagram guidance at Guilty Quilty Studio explains why outlines, visible layering and intermediate dimensions improve instructional clarity. Give your diagrams a consistent key and use labels as well as color, so a black-and-white printout remains usable.
QuiltLab's Diagram Editor lets you add elements, lines and labels and reuse diagrams in Pattern Builder. Follow the Diagram Editor guide to edit a diagram frame and save it. Those drawing tools help you explain a method; the designer still verifies that the method and the pictured dimensions agree.
Build the document in Pattern Builder
Open Pattern Builder and use File > New Pattern for a fresh document. Name it in the toolbar. Use Insert for text, images and tables; Insert > Asset opens the library for adding a saved diagram. Select a frame to edit its layout in the sidebar. Choose File > Page size before polishing the layout, because that setting applies to all pages.
The Pattern Builder guide covers these controls, saving and PDF export. Arrange your page plan first, then place the checked instructions and diagrams. Fill materials and cutting tables from your own verified calculation sheet.
Use Print preview and the Review tab to inspect the document. The Layout status button reports layout issues; export readiness is checked separately. These checks can flag document problems such as unavailable assets, overflowing text or low-resolution images. They do not prove that a fabric requirement is sufficient or that a seam sequence works.
Choose File > Export PDF, wait for the download and open the actual file. Look for clipped table cells, missing labels, diagrams that became too small and instructions stranded on another page. Saving the document and downloading a PDF are separate outcomes.
Write and export a pattern in QuiltLab →Add pages and frames, review the document, save it and download a PDF.Test the instructions, then check the exported version
Begin by sewing a representative unit from the written instructions, then the block. Resolve mistakes before asking someone to repeat them across a quilt. For a complete pattern, make the complete sample using the stated cutting plan and record what you change.
Ask an independent reader to follow the same draft without informal explanations. Give them a version identifier and request notes on quantities, unclear labels, checkpoints and places where the drawing disagrees with the text. A proofreader can catch wording; a mathematical review can catch counts; a sewing test can expose construction problems. Each contributes different evidence.
Maintain a simple revision log:
| Version | Change | Checks to repeat |
|---|---|---|
| 0.1 | First complete draft | Math, instructions and representative sewing |
| 0.2 | Changed a unit method | Cut sizes, quantities, diagrams and sewing |
| 0.3 | Increased text frame size | PDF export, page flow and print readability |
Finally, print the final exported PDF at the intended page size. If it contains a full-size template, include a measured scale-check shape and verify it on paper; a diagram labeled "not to scale" serves a different purpose. Record the version and date in the pattern itself and provide a way for readers to find corrections.
Keep writing, export and release as separate milestones. You can begin the document in QuiltLab and review its PDF before deciding whether to use the paid pattern-publishing feature. Check current access options, and release your construction instructions only after the calculations, sewn sample and final document have all been checked.
For the diagram stage of the page plan, use sewing diagrams that show the next action. It separates fabric state, seam lines and labels, then checks the illustration inside the exported document.
Related posts
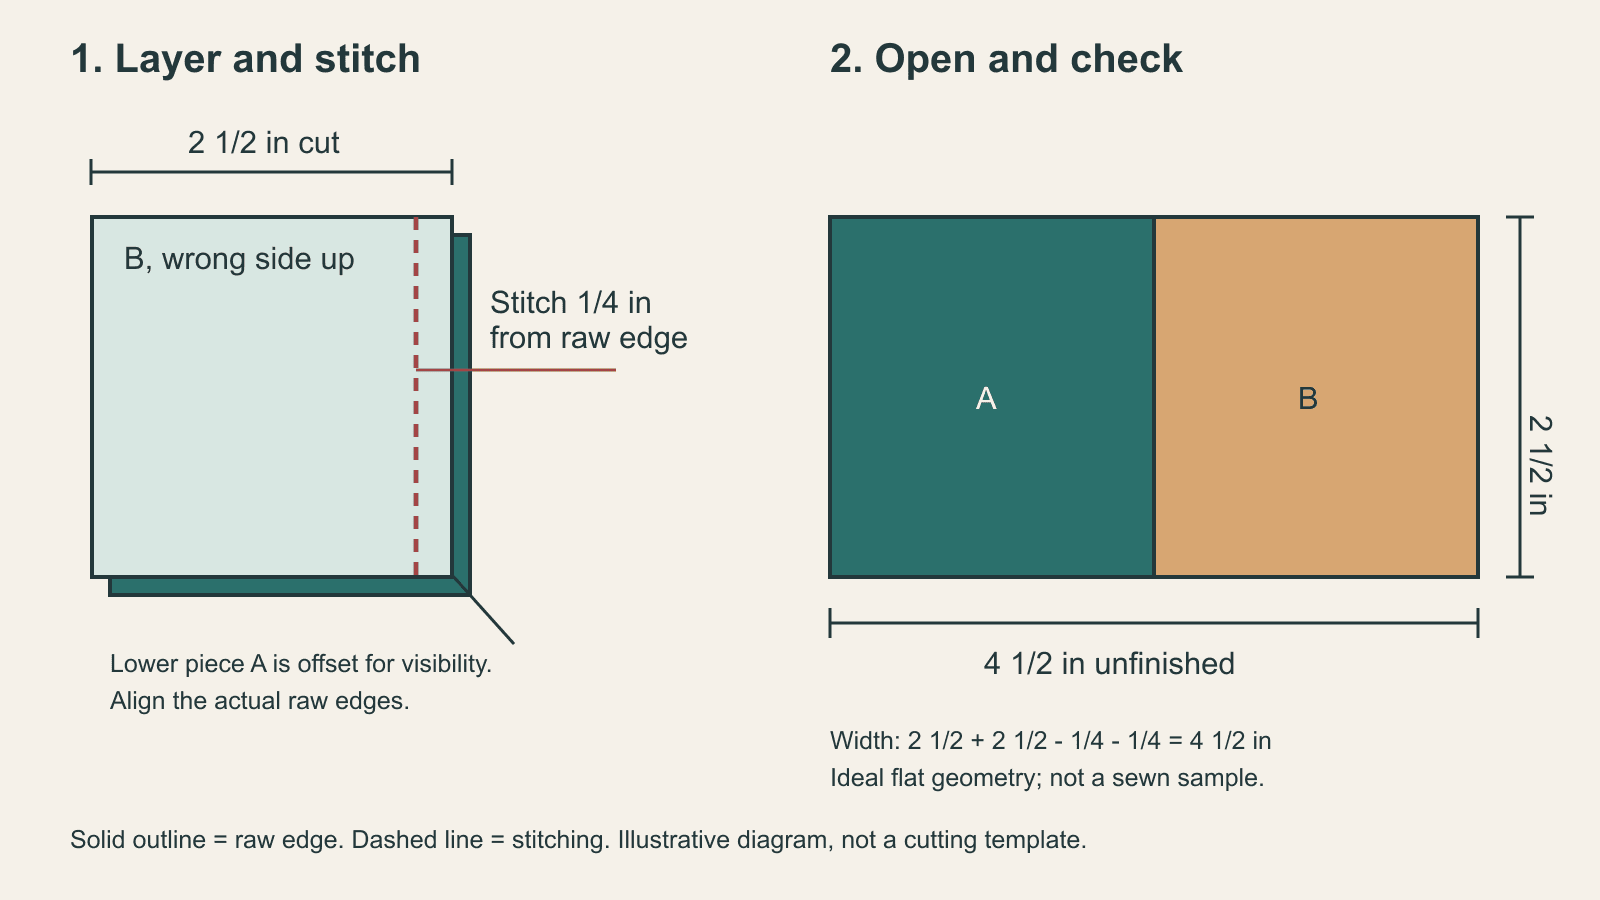
Draw Quilt Pattern Sewing Diagrams That Show the Next Action
Make sewing steps easier to follow with clear fabric orientation, distinct line styles, stable labels and measurable checkpoints.
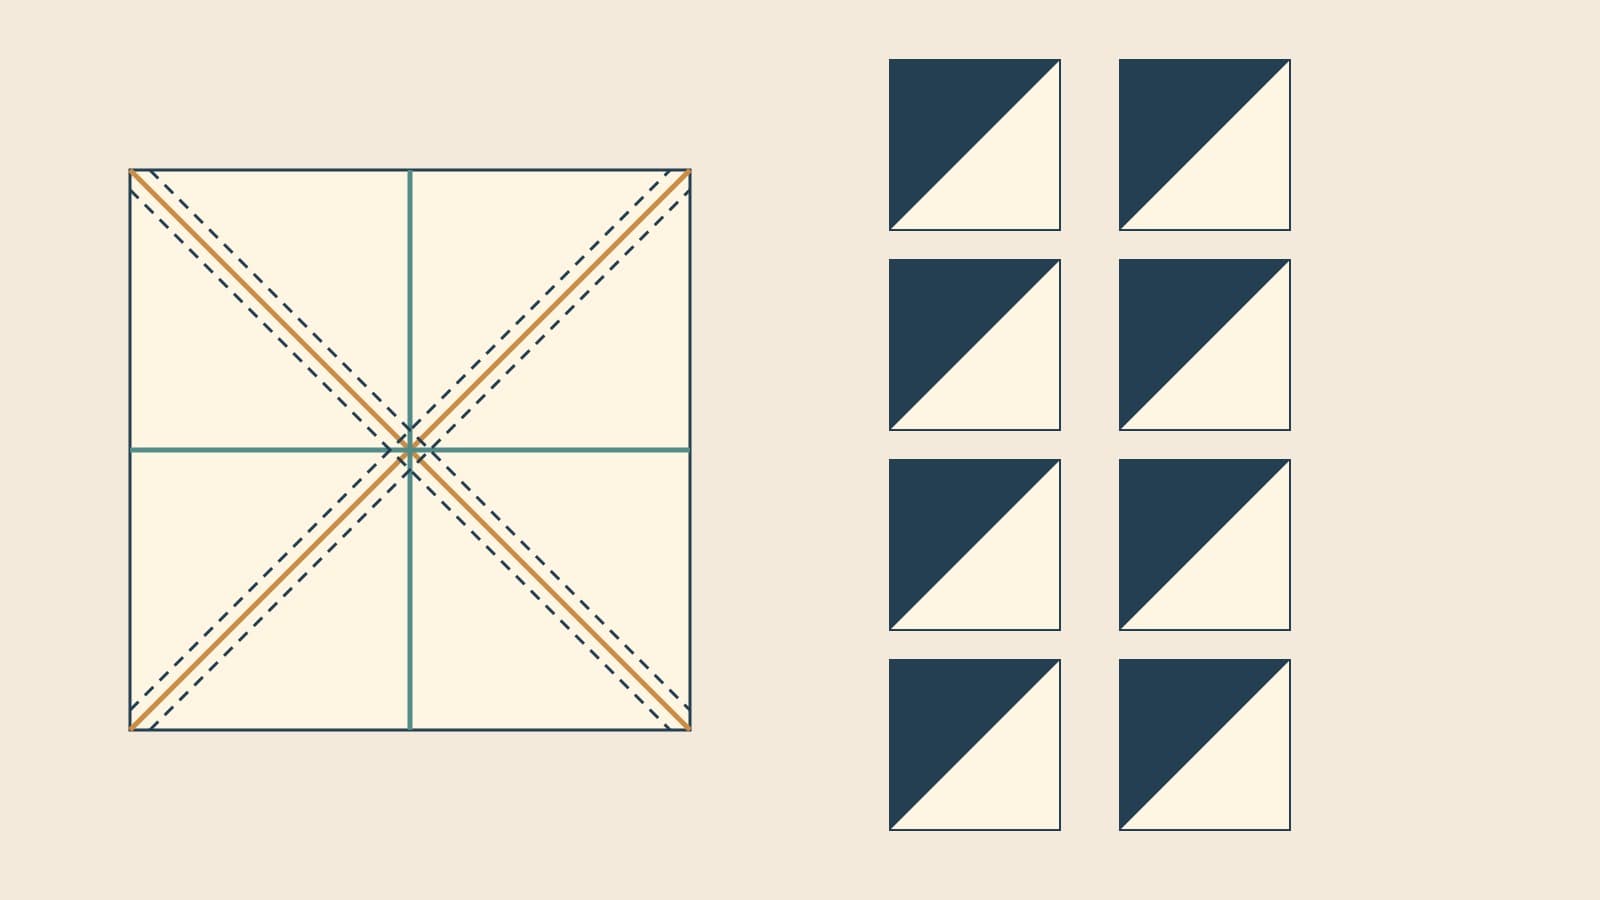
Eight at a Time Half Square Triangles: Batch Math
Plan eight-at-a-time half-square triangles with an oversized starting-square rule, a clear cutting sequence, and a 54-unit color-pair example.
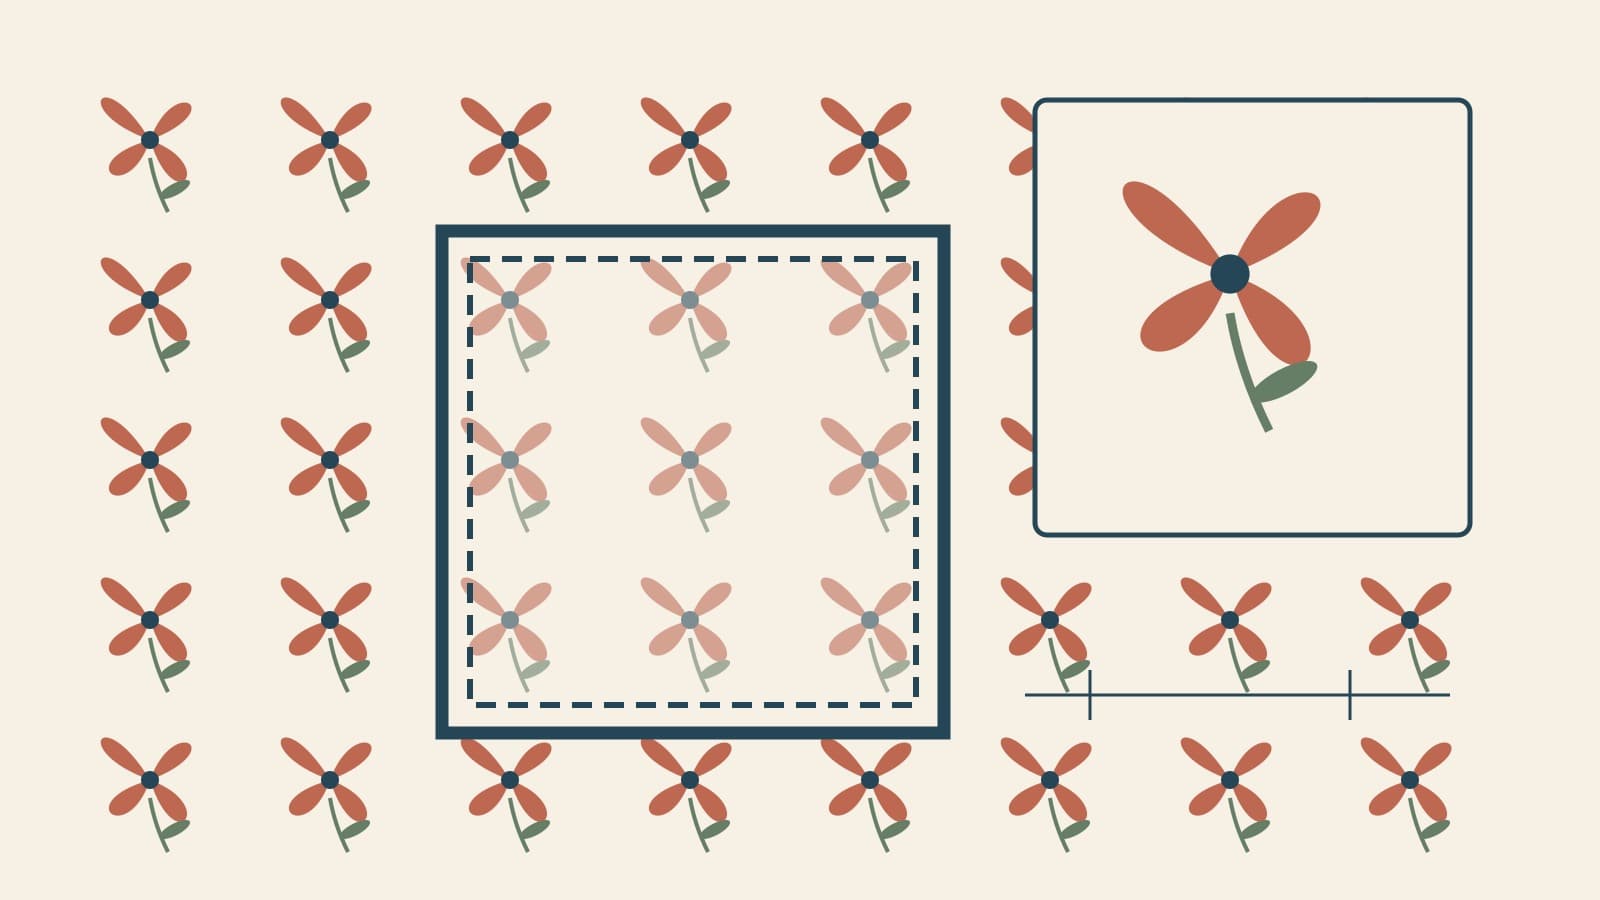
Fussy Cutting: Plan the Motif Before You Cut
Frame the print, protect the seam allowance and count usable repeats. A four-inch square example, plus a QuiltLab preview before you cut.