


How to Make a Scrappy Quilt Look Planned
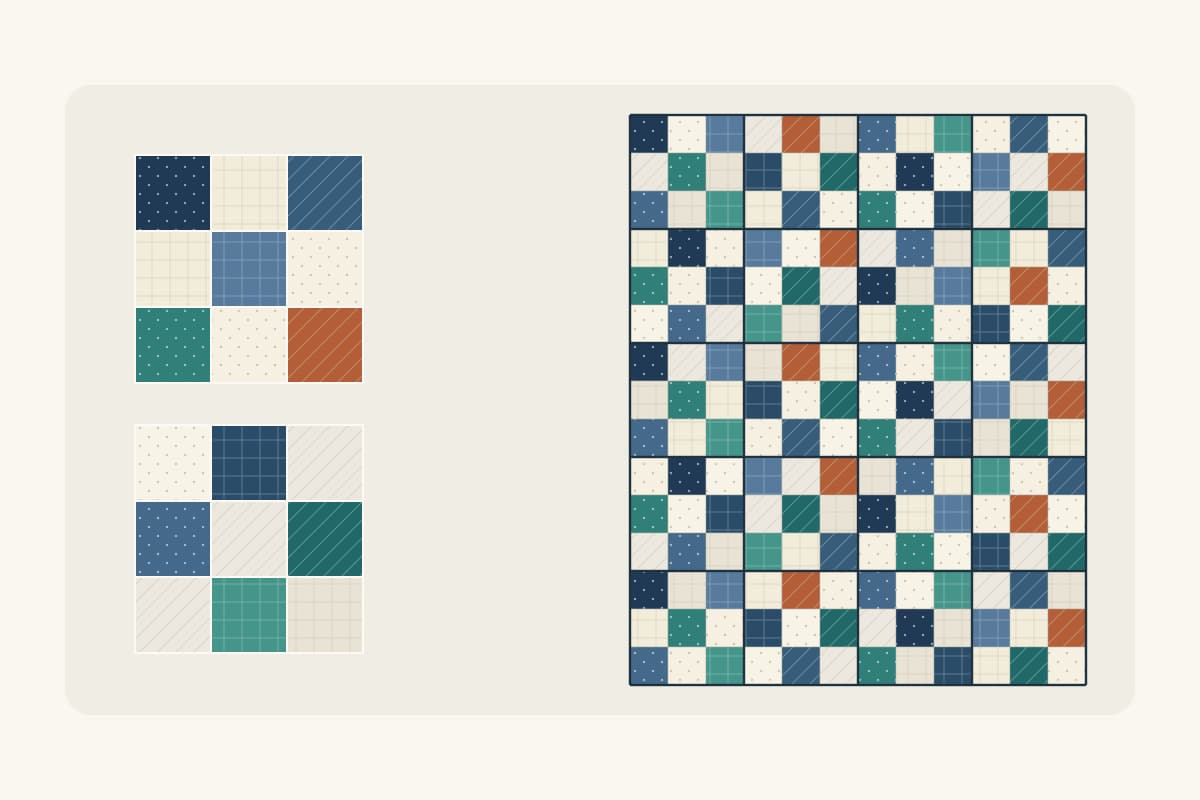
Learning how to make a scrappy quilt starts with deciding which decisions will stay consistent. You can change the prints in every block while keeping a repeated contrast, shape or placement rule. That small amount of structure helps unrelated leftovers read as one quilt.
Here is a controlled-scrappy process with an original 36 x 45 inch finished plan. It uses twenty nine-patch blocks and 180 squares. The counts and drawings are checked planning examples; they are not a sew-tested pattern or evidence that your own scraps will supply the quilt.
Choose two rules before choosing every fabric
Write a short brief for the quilt. For this example: blue, teal and a little rust alternate with light prints; all patches finish at 3 inches. The colors may vary within those groups, but every fabric has a role.
You could instead keep one background fabric constant, repeat a particular print family, or use the same block throughout. Start with two constraints rather than trying to coordinate everything at once.
Kris Driessen, writing as Phoebe Moon, explains the distinction between a broadly scrappy quilt and a controlled-scrappy quilt with a theme or focus. The useful choice is how much control you want. A completely mixed quilt is valid too; this method is for the reader who wants a repeatable plan.
Keep scraps that contradict the brief for another project. Using leftovers does not require putting every leftover into this particular top.
Assign fabrics to roles, then check them together
Make two temporary piles for this project: accents and lights. Hold each candidate against its likely neighbors. A cream fabric with large navy flowers may behave like an accent in some cut squares, even though most of the yardage is cream.
Thimbles and Needles illustrates controlled-scrappy fabric pairings with a busy feature print next to a simpler coordinating print. Apply that idea at the actual patch size: place a 3-inch square window over a candidate and inspect several areas of the fabric.
For this plan, an accent must remain distinct from a light across a shared edge. Check the fabric pieces together in consistent light, then step back. If a pair merges, change the fabric's role or replace one member. The broader explanation of value, saturation and print scale belongs in Color Theory for Quilters.
This is a project-specific selection pass. You do not need to cut or reorganize your entire scrap collection first.
Work out the blocks and patch counts
A nine-patch has three rows of three equal squares. With 1/4-inch seams, cut each square 3 1/2 inches to obtain a 3-inch finished patch. Across one block, three cut squares total 10 1/2 inches; the two joining seams consume 1 inch. The block therefore measures 9 1/2 inches unfinished and 9 inches finished.
Make two role arrangements:
- A: accents at the four corners and center; lights at the four edge positions.
- B: lights at the four corners and center; accents at the four edge positions.
Use ten of each. Arrange them alternately in four columns and five rows, starting A-B-A-B in the first row and B-A-B-A in the second. Because each block contains an odd number of patches per side, reversing the roles in neighboring blocks continues the light/accent checkerboard across the joins.
| Block type | Blocks | Accent squares | Light squares |
|---|---|---|---|
| A: accent corners and center | 10 | 50 | 40 |
| B: light corners and center | 10 | 40 | 50 |
| Total | 20 | 90 | 90 |
Four 9-inch finished blocks give 36 inches across; five give 45 inches down. Before the outside seam allowances are consumed, the assembled top should measure 36 1/2 x 45 1/2 inches. These dimensions exclude borders, backing, batting and binding.
Turn the counts into a sample fabric pull
The example uses nine accent prints and five light prints:
| Role | Sample selection | Squares from each | Total squares |
|---|---|---|---|
| Blue accents | 5 prints | 10 | 50 |
| Teal accents | 3 prints | 10 | 30 |
| Rust accent | 1 print | 10 | 10 |
| Lights | 5 prints | 18 | 90 |
This gives 90 accents and 90 lights. Rust occupies only 10 of the 180 patches, about 5.6% of the top's finished patch area. It can act as a small repeated accent without needing to match every blue.
Equal counts per print are an example, not a requirement. If one blue yields only six usable squares, another blue can supply the other four. Update the tally so the role totals still reach 90 each. Do not count stained areas, selvages or a narrow offcut as a complete square.
Keep square edges aligned with the fabric's lengthwise and crosswise grain where the scrap allows. This example assumes sound woven quilting cotton; stretchy garment scraps and mixed materials need a different preparation plan. Press candidates before measuring, and reserve extra usable fabric for your first block and possible miscuts. The table is the exact design requirement, not a cutting-waste allowance.
Spread distinctive prints across the whole top
Lay out several blocks together before sewing. Yvonne Fuchs of Quilting Jetgirl contrasts random placement with controlled distribution in her Signal Trace example. Her process checks which background and accent prints recur across the blocks. That distribution principle is useful here without reproducing her pattern.
Place the rust squares first. Spread ten across the five block rows rather than using them all in the first two blocks. Then distribute the strongest blue and the busiest light print. Fill the remaining positions with quieter candidates.
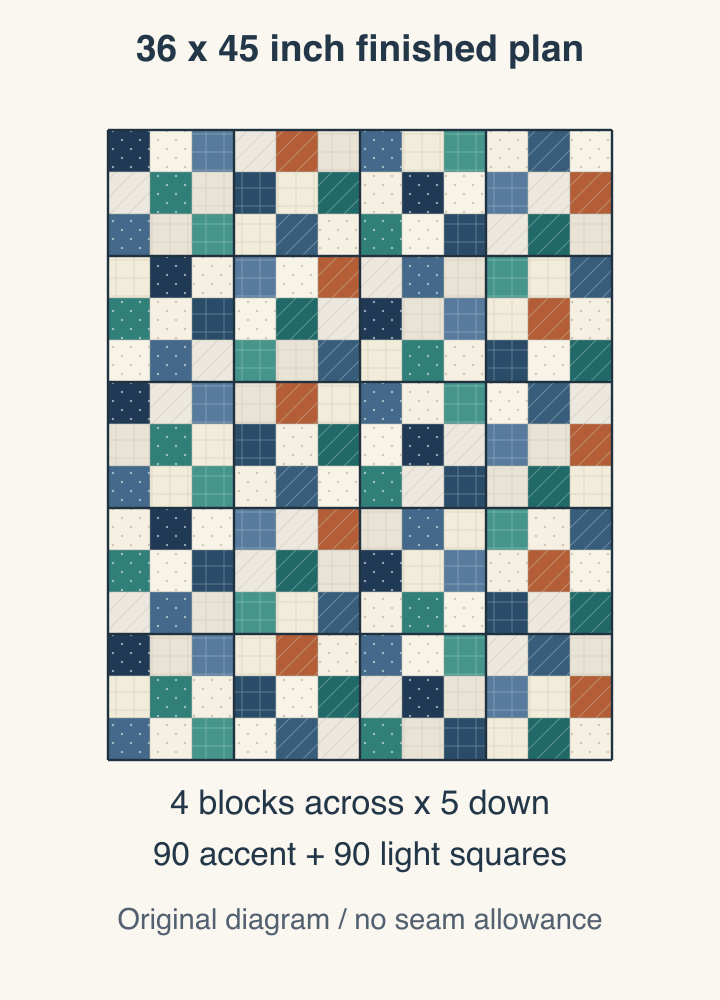
The map demonstrates one distribution of the sample counts. Your fabrics can occupy different positions. At the block scale, check contrast; at the top scale, check for accidental clusters. Swap two same-role squares when a distinctive print collects in one corner. The swap changes placement while preserving every cutting count.
Audition scraps physically or in QuiltLab
A floor, table or design wall lets you inspect the actual fabrics. Photograph the arrangement before collecting the pieces, and label the block rows so the placement survives the trip to the machine.
For a digital audition, the published Swatch Editor guide explains File > Upload Image, preparing the dimensions and saving a named swatch. Use your own straight-on fabric photograph and record the measured area it represents. Wait for Saved before relying on it later.
The Block Editor guide describes selecting pieces and changing their fabric. Use that to compare fabric roles in a block. A screen mockup helps you inspect a choice; your physical fabric still decides color, usable area and cutting suitability. Keep the patch tally separately rather than treating the preview as proof of sufficient yardage.
Test one of each block before cutting everything
Sew one A and one B block using the intended fabrics, seam allowance and pressing method. Measure both before making the remaining eighteen. If a block is smaller than 9 1/2 inches unfinished, check the cut squares and seam allowance before trimming every other block to match the error.
Join squares into rows, then join the three rows. Decide how to press adjacent seams so their intersections can align. Keep labels on the blocks through assembly, and recheck the photographed layout after joining each row.
If the preview feels too busy, replace a busy light with a quieter light. If rust draws attention to only one corner, redistribute it. If the checkerboard disappears, repair the local contrast before adding more colors. Each fix answers a specific problem while keeping the two-role plan intact.
The final pre-cut check is short: twenty blocks, ten of each arrangement, ninety squares in each role, and enough extra material to test the construction. Once that is settled, use the backing and binding calculation guide for the separate finishing quantities, with the overhang your quilting method requires.
Related posts
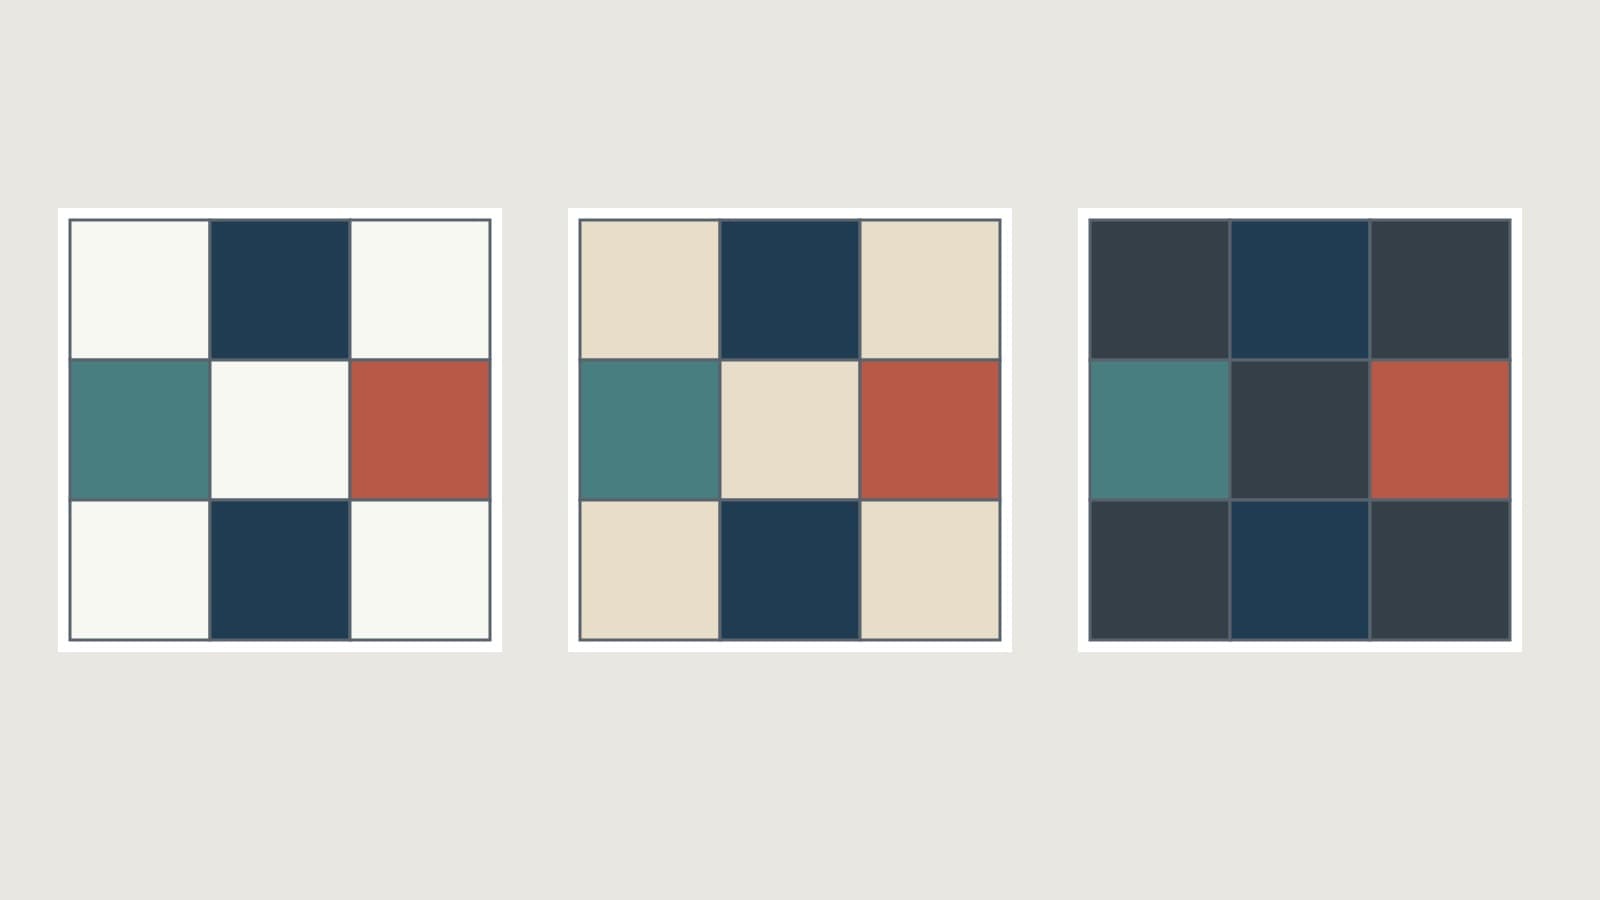
How to Choose Background Fabric for a Quilt
Compare contrast, undertones and print density, then test your background in the right proportion with a checked nine-patch example.
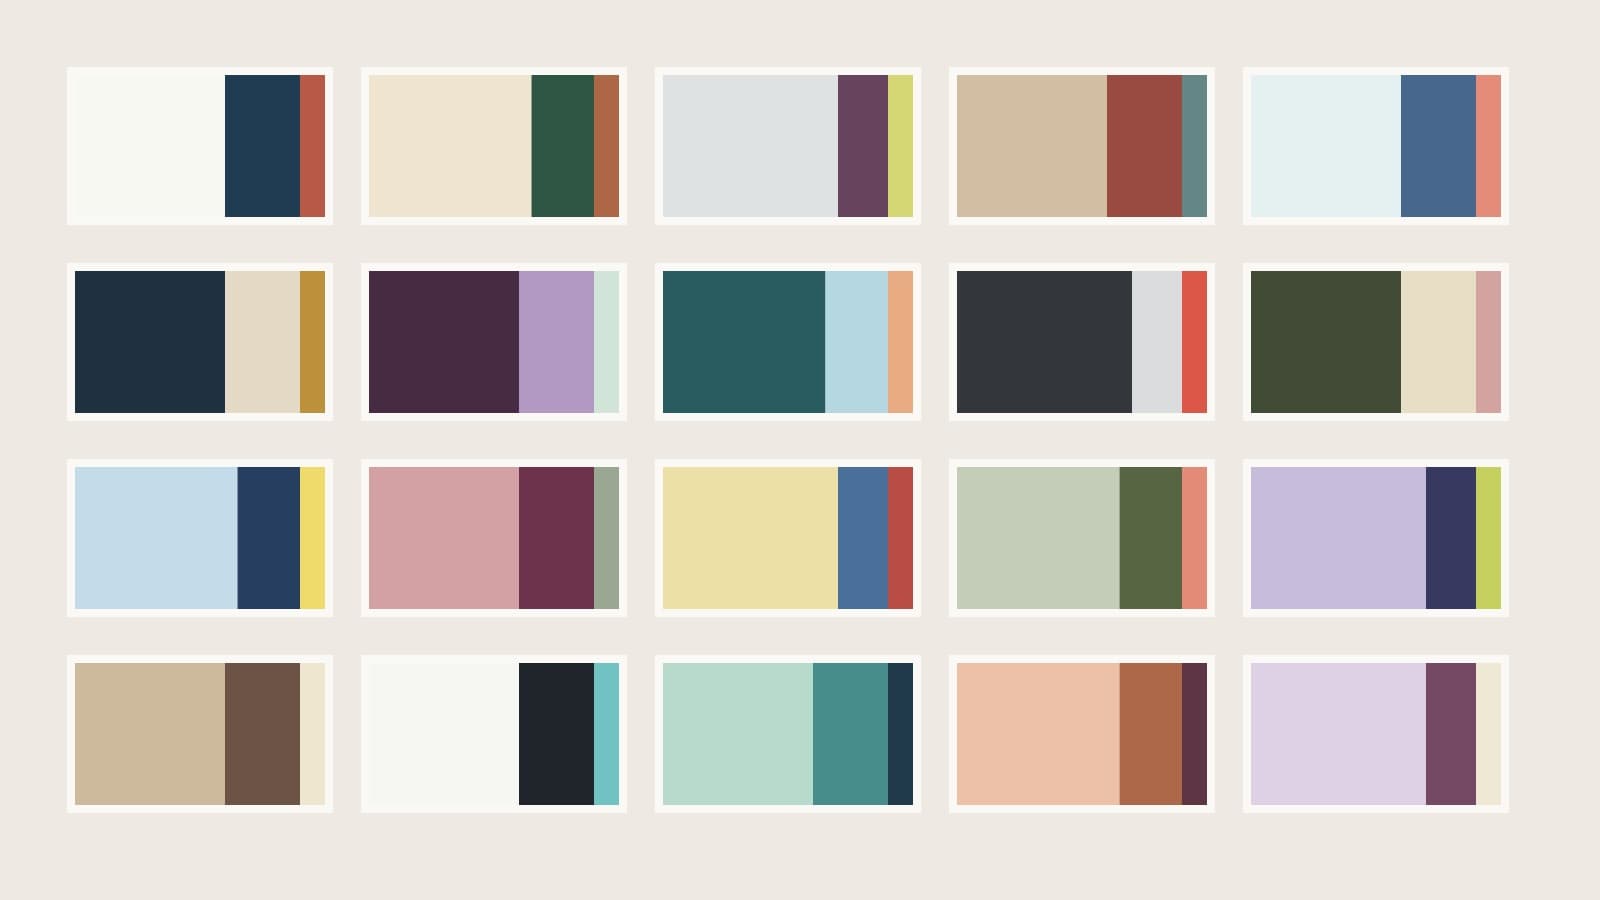
Quilt Color Combinations: 20 Palette Plans
Twenty quilt palettes with background, support and accent roles, checked area proportions and placement notes to help you choose fabrics.
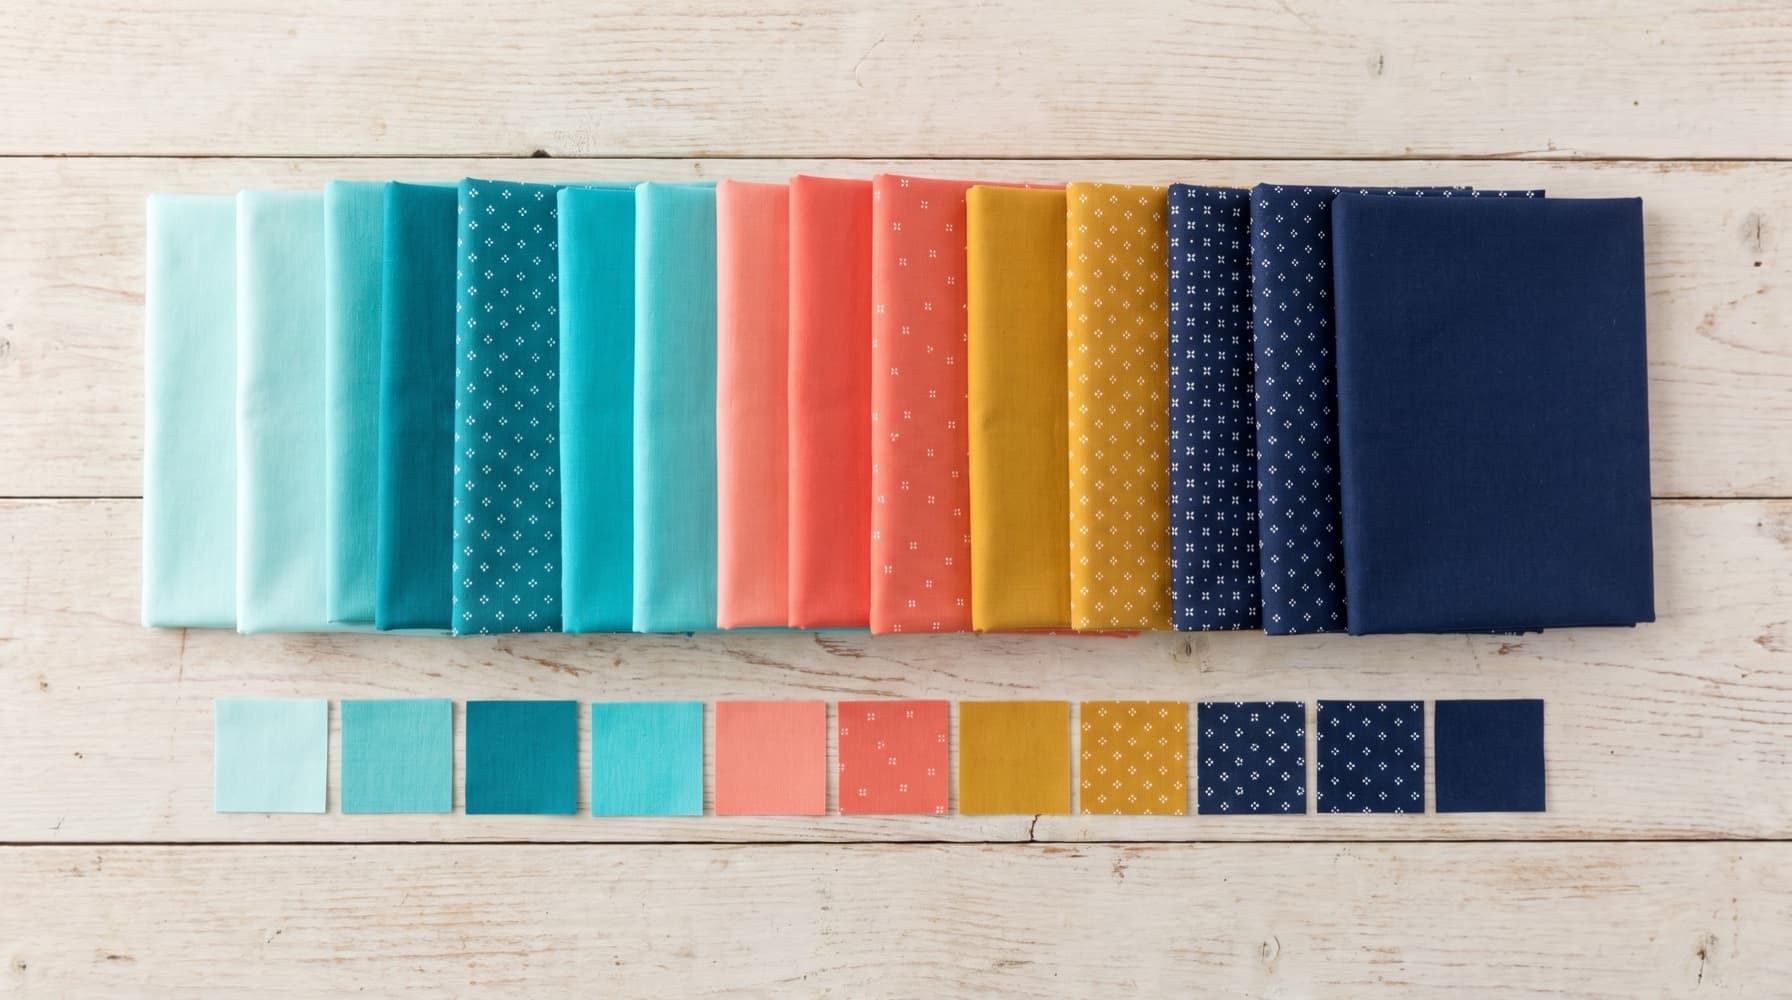
Color Theory for Quilters: Value, Hue and Choosing Fabrics That Work
Most quilt color problems are value problems. This guide covers the four properties of fabric color, the classic schemes, and a fabric-pull process you can use on your next project.