


How to Design a Quilt: Size, Layout, Blocks and Fabric
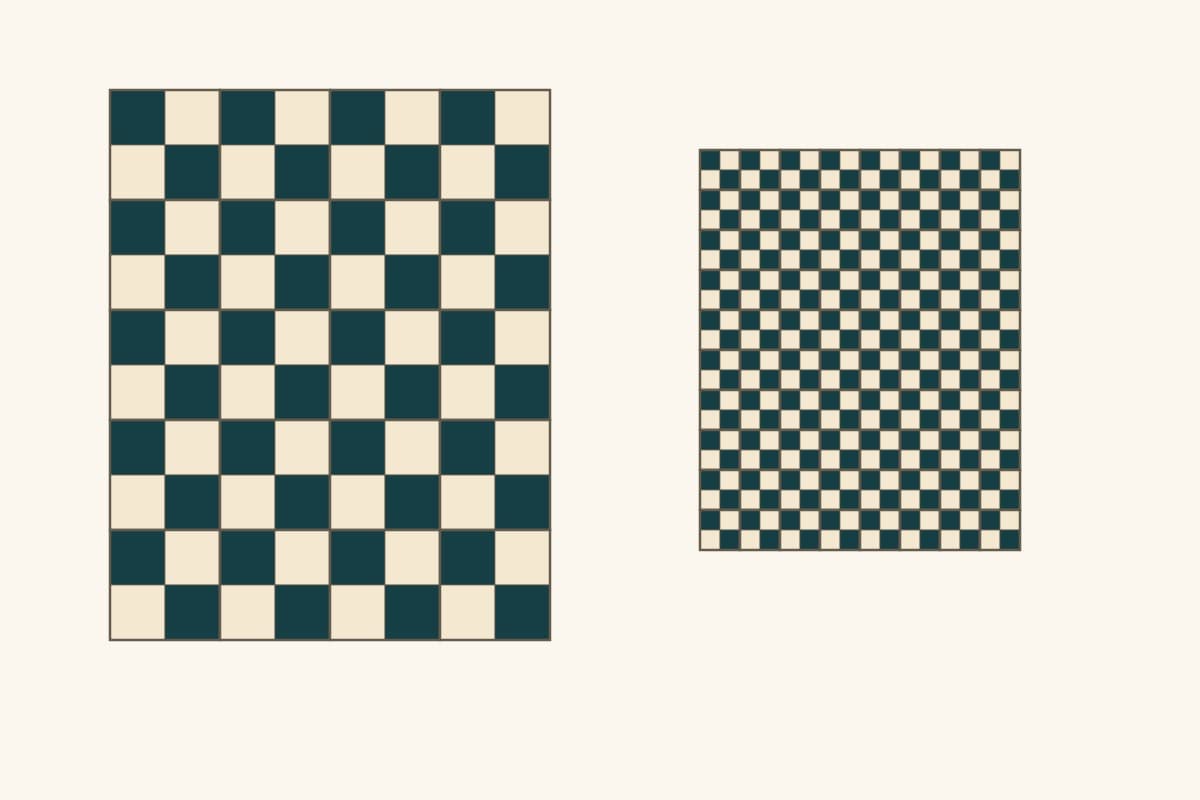
Learning how to design a quilt starts with a few decisions you can measure: what it needs to cover, how many blocks you want to sew, and which fabrics should carry the design. Choose those before drawing every patch. A pretty sketch becomes a workable quilt when its dimensions, construction and fabric requirements agree.
This guide works with graph paper or a computer. We'll plan an original 48 x 60-inch throw, compare three ways to divide it into blocks, and check a two-color option before cutting. It's a design study, not a sewn or tested pattern.
Give the quilt a job and a finished size
Write down its purpose in one sentence. For example: "A washable sofa throw, approximately 48 inches wide and 60 inches long, with repeated squares and a strong dark-light pattern." That sentence prevents a small throw from becoming a large bed quilt just because another row looks attractive.
Measure what matters for your project. For a bed quilt, use the actual mattress width, length and desired side drop rather than relying only on the bed's name. For a wall hanging, measure the available space and consider the hanging method. For a throw, decide whether the recipient wants something compact or enough length to cover their legs.
Jodie Tang's planning lesson at Joz Makes Quilts starts with purpose and size before design and fabric. She also describes the practical difficulty of quilting a large first project on a small machine. Your available quilting setup belongs in the design brief.
Distinguish your planned finished dimensions from the unfinished top's raw edges and from its measurements after quilting and washing. The 48 x 60 inches here describes the planned finished layout. Physical fabric, seam accuracy and quilting can affect the eventual result; a computer drawing is not a shrinkage guarantee.
Choose the amount of repetition you want to sew
For a straight rectangular setting with no sashing or border:
- Quilt width = number of columns x finished block width.
- Quilt height = number of rows x finished block height.
- Block count = columns x rows.
Here are three layouts that meet the same 48 x 60-inch target:
| Finished block | Columns x rows | Blocks | Finished quilt |
|---|---|---|---|
| 12 x 12 inches | 4 x 5 | 20 | 48 x 60 inches |
| 6 x 6 inches | 8 x 10 | 80 | 48 x 60 inches |
| 8 x 10 inches | 6 x 6 | 36 | 48 x 60 inches |
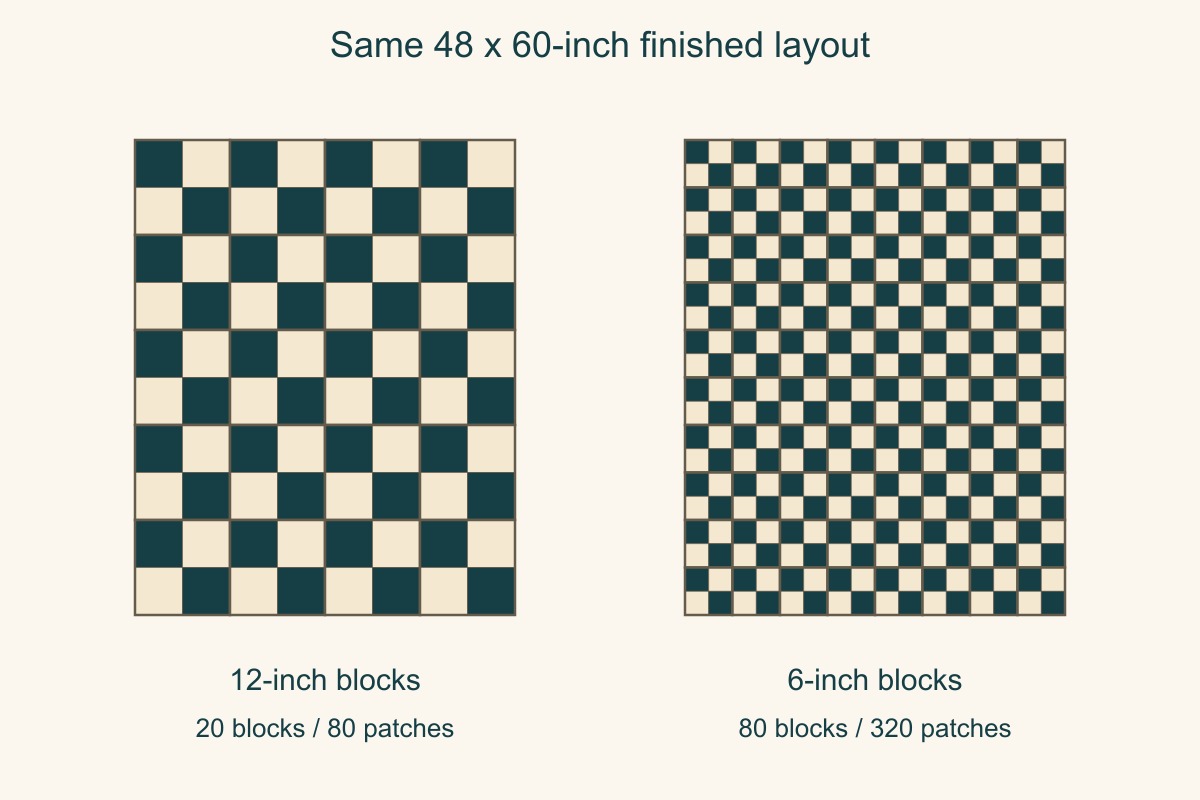
The first two can use the same Four Patch geometry at different scales. A Four Patch has four square patches, so the 12-inch version contains 80 patches across the quilt; the 6-inch version contains 320. Their individual squares finish at 6 and 3 inches respectively. The smaller block changes both the visual rhythm and the amount of piecing, while the outer dimensions stay the same.
The rectangular option is a different design opportunity, not permission to stretch any square block. If you choose it, design the block at an 8:10 proportion and check its patch dimensions and construction again. A circle stretched into an oval or a square stretched into a rectangle may change the motif you wanted.
For our example, choose twenty 12-inch Four Patches. Bigger patches will leave more room for a print and keep the initial patch count manageable. Your quilt may need a different compromise; the table makes that decision visible.
Sketch finished geometry at one consistent scale
On paper, label the scale before you draw: "One grid square = 3 finished inches." Our 48 x 60-inch layout then occupies 16 squares across and 20 down. Each 12-inch block occupies a 4 x 4 area; each 6-inch patch occupies a 2 x 2 area.
Draw the whole quilt's outline first, divide it into blocks, then divide one block into patches. Keep seam allowances out of this design drawing. Alicia of Sew What, Alicia? explains this distinction in her quilt-design guide: the drawn pieces represent finished geometry, and cutting measurements come later.
Mark separate block outlines even when neighboring patches have the same color. This helps you see where a design joins, which seams need to meet, and whether a large shape is one piece or several pieces that only look continuous.
If you want a border, add it deliberately to the arithmetic. A 3-inch finished border around all four sides adds 6 inches to both quilt dimensions: our 48 x 60 center becomes 54 x 66. To retain the original target, you'd need a smaller center. Avoid drawing the target size first and then adding borders without revisiting it.
Assign fabric roles before naming colors
For the Four Patch study, start with two roles:
- Dark: the two diagonal squares in each block.
- Light: the other two squares, providing separation.
Twenty blocks need 40 dark patches and 40 light patches. Keep that count on the sketch. If you substitute several prints for one role, their values still need to serve that role; five attractive fabrics that all read as medium value may erase the pattern.
Begin with two small fabric samples and view them together from several feet away. Then try the chosen print inside the proposed patch size. A large flower may fit within a 6-inch patch and be cut apart in a 3-inch patch, even though both versions use the same block geometry.
The American Patchwork & Quilting editors describe a useful finished-size fabric mockup: place fabric on a drawn block to judge the design before sewing. Treat those allowance-free mockup pieces as visual samples, not pieces to sew into the quilt.
Our color theory guide goes further into value, hue and fabric selection. Use actual cloth alongside the screen; a digital preview cannot promise an exact color match.
Check the design across the whole quilt
One attractive block does not tell you how twenty will interact. Sketch at least a 2 x 2 group, then the full layout. Look for the shapes made where blocks meet.
Try two versions of this study: repeat every Four Patch in the same orientation, then rotate alternate blocks a quarter turn. In the first arrangement, dark squares maintain a small checkerboard across block boundaries. In the second, some dark squares meet into larger areas. Decide whether you want a consistent rhythm or a stronger secondary pattern.
Review three things separately: the arrangement in plain light and dark, the actual fabric print, and the outer silhouette. Changing all three at once makes it hard to identify why an option works. Keep a dated photo or labeled sketch of each candidate so you can return to the preferred one.
Use QuiltLab to check the measured layout
In QuiltLab, start a Grid quilt in the Quilt Editor. In Properties, Layout shows finished dimensions along with block dimensions, rows, columns and orientation. For the chosen example, use Standard orientation, 12-inch block width and height, four columns, five rows and no border. The center arithmetic is 4 x 12 by 5 x 12, or 48 x 60 inches.
Choose a saved block from the library to place in the layout. If you need a custom Four Patch, draw its pieces in the Block Editor, check each piece's measurements, assign fabric and save it. The Block Editor guide explains that workflow.
The Standard grid does not have a sashing, cornerstone or alternate-row stagger control. A sketch that requires those features needs a different supported workflow or a separate manual plan; selecting On Point rotates the setting and does not stagger rows.
Check your layout in the Quilt Editor →See the published controls for grid dimensions, borders, block placement and saving.Keep the scope of the preview clear. QuiltLab shows finished geometry; it does not automatically calculate your pieced quilt's yardage or generate its cutting list. For a complete product walkthrough with manual fabric arithmetic, use our first-quilt tutorial.
Turn the selected design into a construction plan
Make a separate list of piece types, finished dimensions and quantities. For our square-only Four Patch, 6-inch finished squares become 6-1/2-inch cut squares when using 1/4-inch seam allowances on all sides. There are 40 of each fabric role. That rule applies to these squares and rectangles; triangle starting sizes depend on the construction method.
Work out fabric requirements from a cutting layout, usable fabric width and the actual cloth you intend to use. Include the border, backing, binding, any directional-print constraints and an allowance for trimming or mistakes. Counting colored areas on the drawing is not a yardage calculation.
Finally, sew one representative block before batch cutting. This Four Patch should measure 12-1/2 inches unfinished after its internal seams are sewn. Check the seams, pressing, print direction and dark-light effect. If something needs changing, revise the design and cutting notes together, then make the remaining blocks from the corrected plan.
A design is ready to proceed when you can explain its purpose, finished measurements, repeat count, fabric roles and assembly method, and a physical sample supports your calculations. Save that plan with the chosen layout so the decisions stay useful at the sewing table.
For the next planning step, design an individual block on a finished grid, then compare Log Cabin layouts or sampler settings. Use the border-width study to decide how much frame the center needs.
Related posts
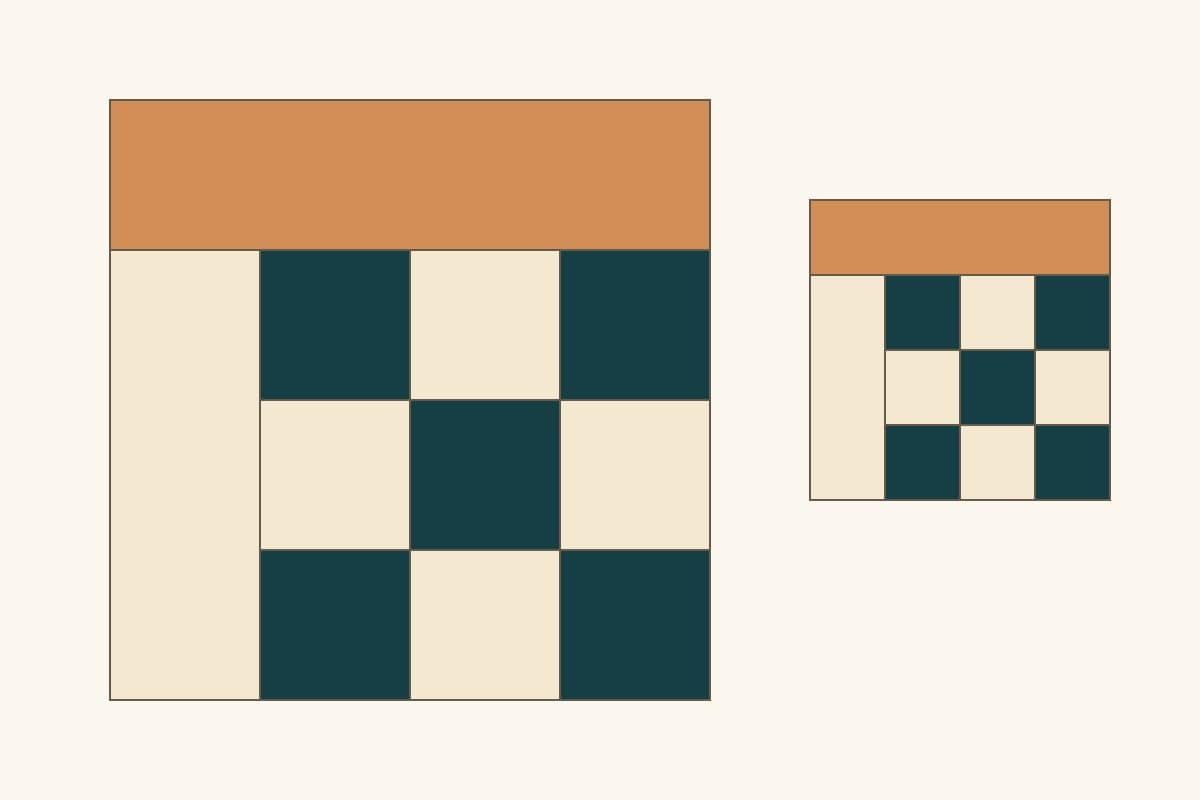
How to Design a Quilt Block: Grids, Units and Measurements
Draw an original block on a grid, check its assembly order, and turn finished measurements into a manual cutting plan with an 8-inch example.
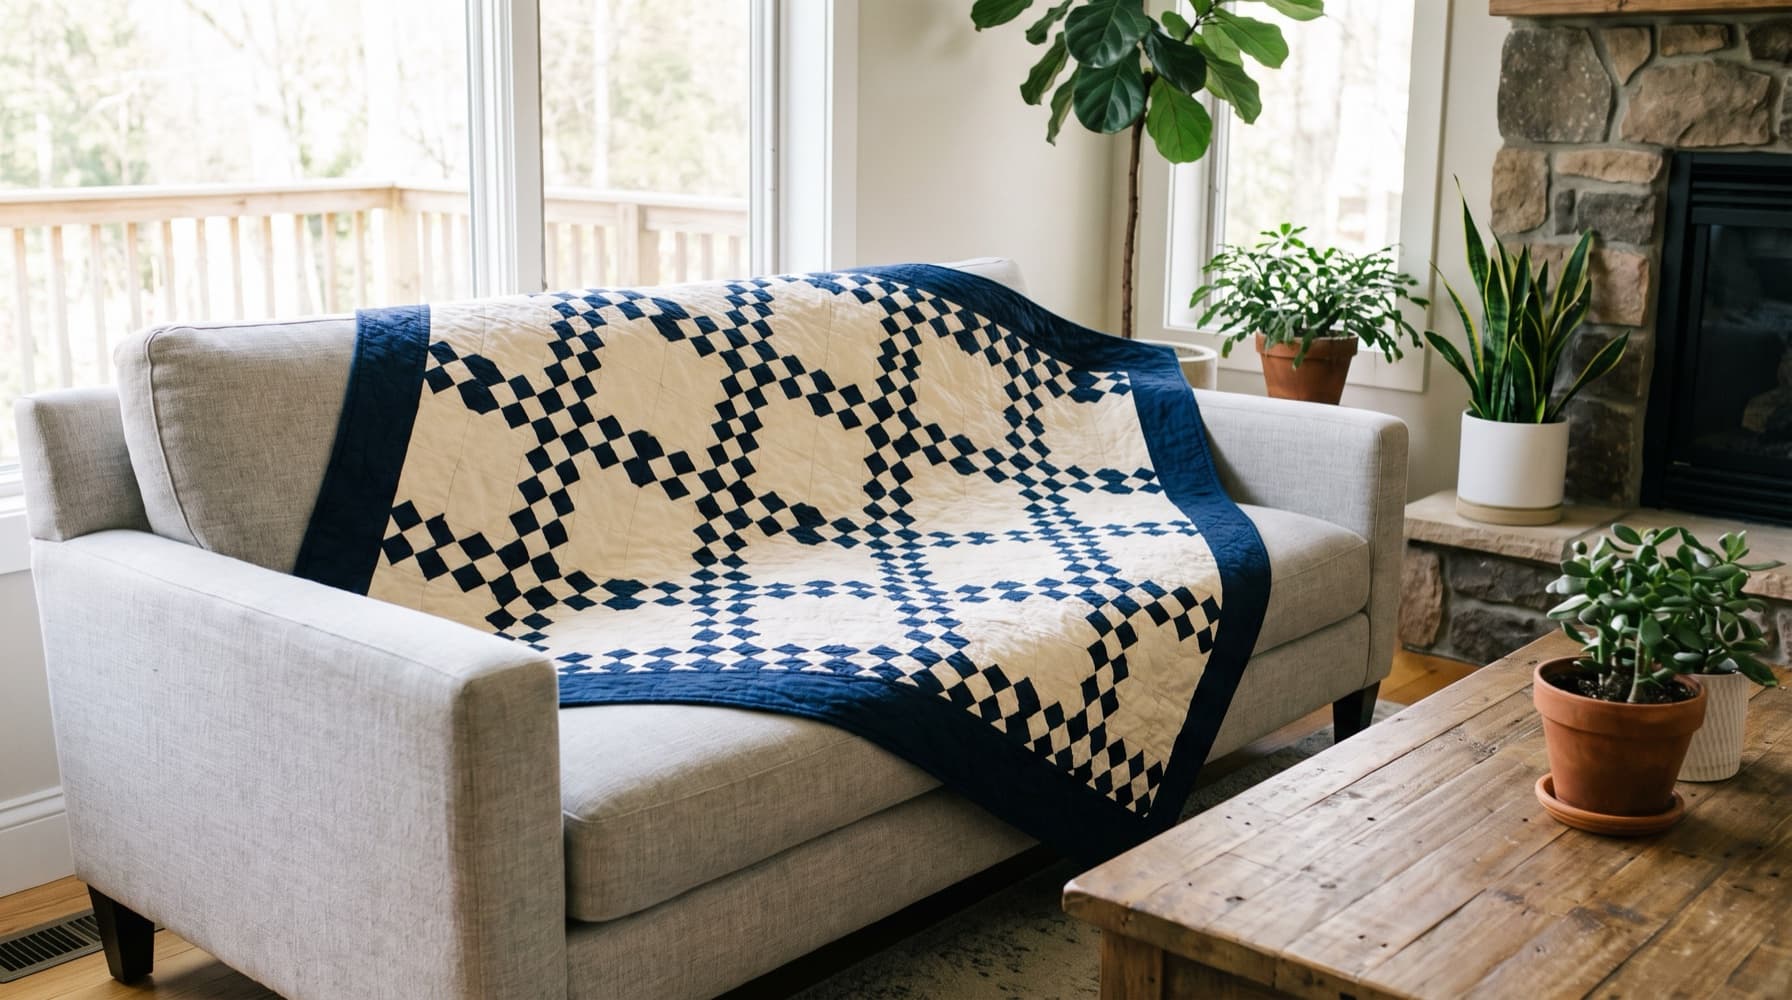
Design Your First Quilt in QuiltLab: A Nine Patch Chain Throw, Step by Step
Draw a 12-inch Nine Patch, alternate it with plain blocks to make a classic chain throw, add a border, and turn QuiltLab's finished measurements into a cutting plan.
Getting Started with QuiltLab: What Each Tool Does and Where to Begin
QuiltLab is a browser-based studio for designing quilts. Here's what each tool does, how they fit together, and where to start depending on what you want to make.