


Sampler Quilt Layouts: Plan Before Block One
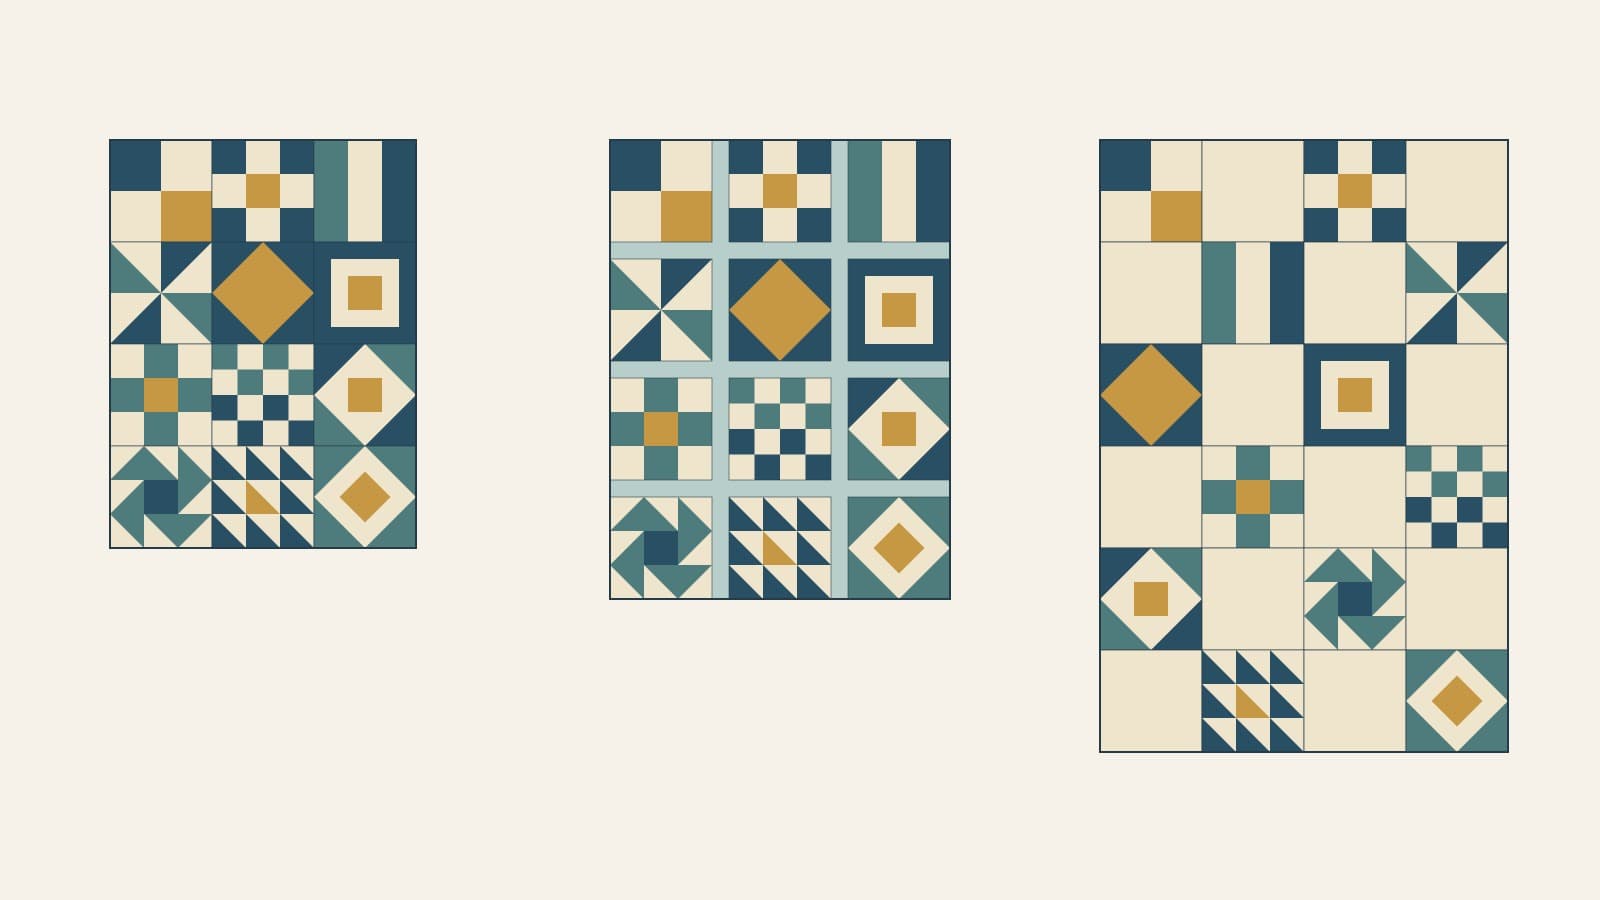
Sampler quilt layouts are easier to choose when you know the block count, finished size and setting before sewing the first block. The blocks can show different techniques and shapes while still sharing measurements and a few deliberate fabric decisions.
Our original example uses twelve blocks, each finishing at 12 inches square. A direct 3-by-4 set makes a 36 x 48-inch center. Two-inch internal sashing makes it 40 x 54 inches. Alternating the twelve sampler blocks with twelve plain blocks in a 4-by-6 grid makes 48 x 72 inches. Compare those outcomes before treating sashing or plain squares as a last-minute addition.
Start with a common finished block size
The simplest measured sampler uses blocks with the same finished width and height. Carolyn Gibbs's block-planning guide discusses consistent size alongside the differences between centered, directional and other block geometries.
For our example, write 12 inches finished at the top of the plan. With quarter-inch outer seams, the completed loose block should measure 12 1/2 inches unfinished before it is joined to its neighbors. Those two labels describe different stages of the same block.
Check every selected block pattern for its stated size. A tutorial for a 12-inch unfinished block will finish at 11 1/2 inches, so it will not match this plan. Resizing can require recalculating the individual patches; changing a label does not change the fabric.
Different internal grids can still produce the same outside size. A block based on three divisions might use 4-inch finished units, while four divisions might use 3-inch units: 3 x 4 = 12 and 4 x 3 = 12. Their internal seam locations differ, even though their outside edges can join. Use each block's actual construction instructions for its patches.
Mixed-size samplers need another setting plan to reconcile their edges. This comparison uses a common block size throughout, so no filler strips or irregular gaps are needed to make the block footprints agree.
Choose what the twelve blocks will share
Decide on a small set of common features before picking every fabric. Useful choices include a consistent background, a limited palette, or one accent appearing in several blocks. They do not have to make every block identical.
In Carolyn Gibbs's fabric-planning discussion, she compares repeating the same fabrics with using a controlled palette. She also explains how a shared background can make a later sashing choice easier.
Our diagrams repeat navy, teal, gold and cream across twelve different schematic motifs. They show a setting decision, not twelve sew-tested block patterns. The gold accent connects the examples, but the amount of dark fabric varies. That variation is useful to consider when assigning positions.
Check background at the outside edges too. A block may have a light center yet carry dark patches to its edges. Beside dark sashing, those edge patches may blend into the frame; beside a plain light block, they may stand out. Compare the actual block outline with the proposed neighboring fabric before making the whole set.
Compare three settings at the same scale
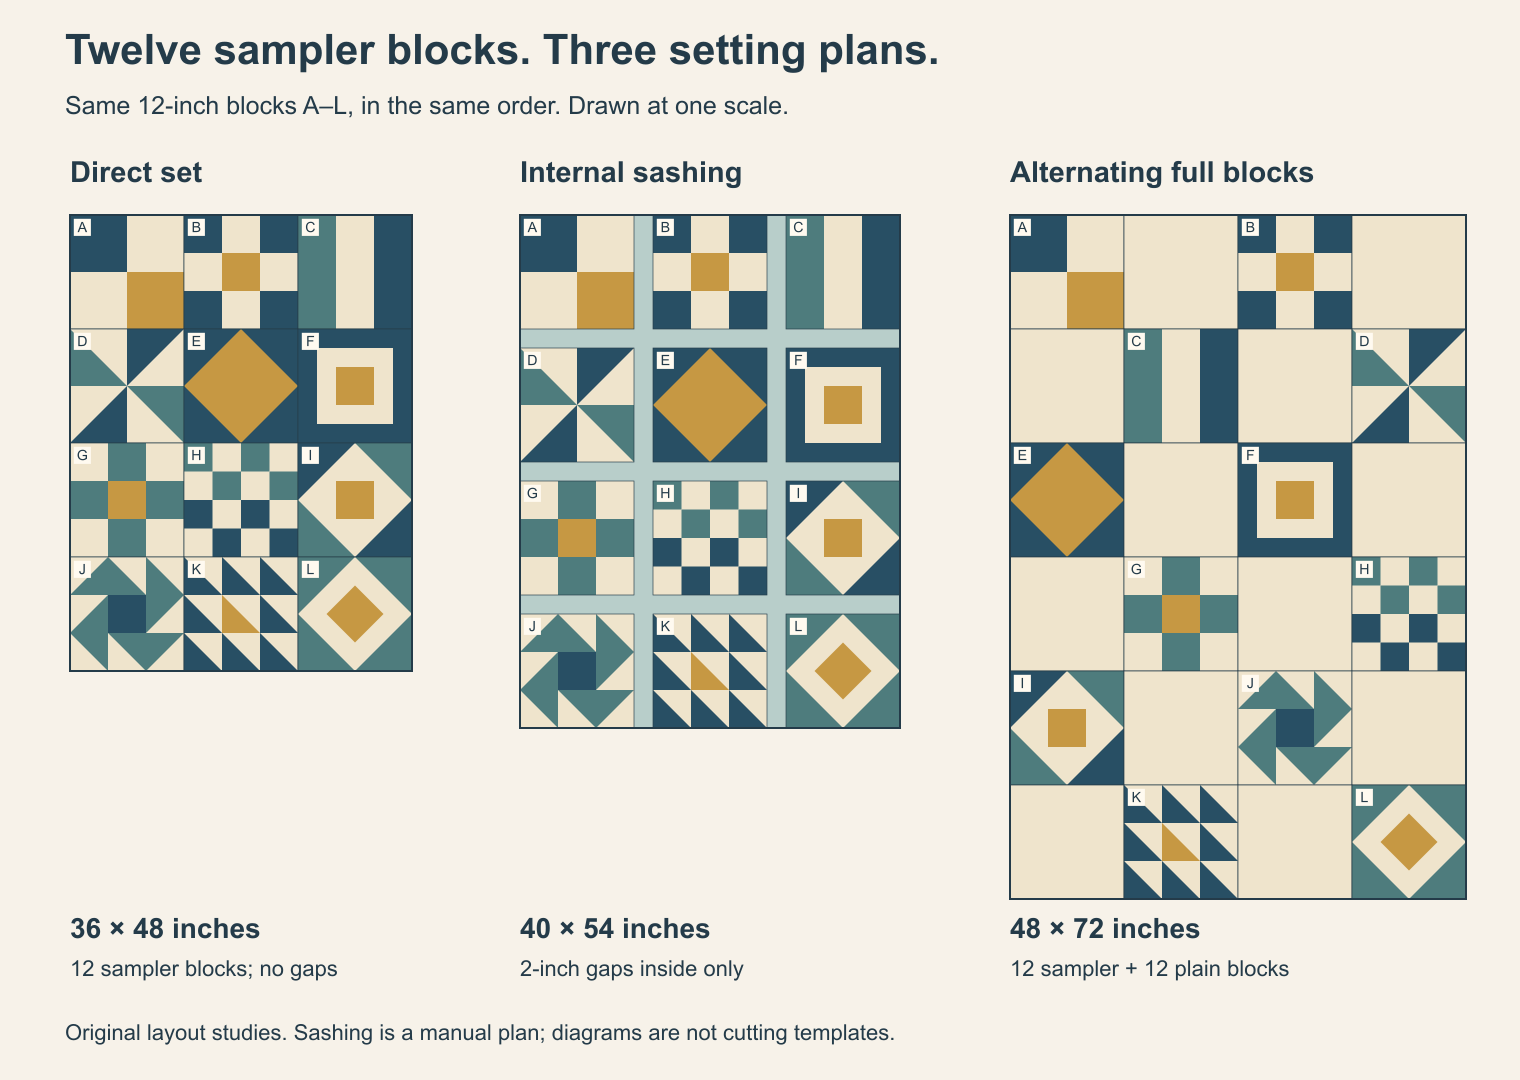
Direct set: let neighboring blocks meet
Arrange the blocks in three columns and four rows. The finished center is:
- Width: 3 x 12 = 36 inches.
- Height: 4 x 12 = 48 inches.
- Block count: 3 x 4 = 12.
This setting uses the fewest additional pieces and puts the sampler designs beside each other. It also makes their edge interactions visible. A repeated line may cross a seam into the next block, or two dense blocks may read as one crowded area.
Start with this arrangement even if you expect to add spacing. It gives you a baseline for judging what the setting changes. Melissa Mortenson's Polka Dot Chair layout guide also starts with a direct set and shows ways to enlarge or separate sampler blocks.
Internal sashing: separate the blocks
Our second plan keeps the same three columns and four rows but inserts 2 inches of finished sashing between blocks, with no sashing around the outside edge.
There are two gaps across three columns, and three gaps down four rows:
- Width: (3 x 12) + (2 x 2) = 40 inches.
- Height: (4 x 12) + (3 x 2) = 54 inches.
The sashing provides a repeated frame between the different motifs. The sampler block count remains twelve. The finished center grows by 4 inches in width and 6 inches in height because the number of gaps differs in each direction.
These are finished setting dimensions, calculated manually. They are not cut lengths or fabric yardage. Adding an outer frame would increase them again; it is not included in the diagram. Choose a construction method for the sashing before calculating its pieces and allowances.
Alternate full blocks: enlarge the field
The third plan uses four columns and six rows, alternating sampler and plain blocks like a checkerboard. Every position is still a 12-inch finished square.
The grid has 4 x 6 = 24 positions. Twelve hold sampler blocks and twelve hold plain blocks. Its finished center is 4 x 12 = 48 inches wide and 6 x 12 = 72 inches high.
This creates larger areas of quiet fabric while keeping the same twelve sampler designs. It also changes the quilt's proportions substantially: a 36-by-48 center has become a 48-by-72 center. Check that the larger result suits the intended use before deciding that more space is automatically better.
Plain blocks are fabric, not holes in the quilt. With quarter-inch seams, a plain square for this example would be cut at 12 1/2 inches to finish at 12 inches, matching the unfinished sampler blocks. Our count and alternating arrangement are original; use the chosen assembly instructions to plan the actual cutting and sewing.
Assign positions before making the whole set
Label your planned designs A through L, then write a first arrangement. Our direct-set example reads:
A B C
D E F
G H I
J K L
The letters identify blocks, not their sewing sequence. You can make them in the order that suits your skills and supplies, while preserving their planned positions.
For each block, record four things:
| Record | What to write | Example |
|---|---|---|
| Size | Finished and unfinished dimensions | 12 inches / 12 1/2 inches |
| Position | Row and column in the chosen setting | E: row 2, column 2 |
| Direction | Which edge belongs at the top | C: stripes vertical |
| Visual weight | How much dark or busy fabric it carries | H: many small contrasting checks |
Inspect the arrangement as a whole. In our study, B, H and K have many small contrasting units, while A and C have fewer large shapes. If the busy motifs feel concentrated, exchange positions and compare again. If a directional block points away from its intended neighbor, record the corrected orientation before sewing rows.
Keep the original position map when comparing settings. A through L remain in the same reading order in all three diagrams. That lets you see what the setting itself changes without also rearranging the blocks. Once you choose a setting, make a second map if you want to refine their positions.
Preview the same-size Grid in QuiltLab
The Quilt Editor guide explains Grid layouts and finished measurements. For the direct-set example, choose Grid, then use Properties > Layout to set a 12-inch block width and height, three columns and four rows. The quilt top measures 36 x 48 inches; any existing borders affect the overall measurement separately.
Arrange your available block designs according to the position map. Use the finished 12-inch size in the layout; keep the 12 1/2-inch unfinished requirement in your construction notes. A digital preview does not establish that a sewn block meets its required measurement.
The internal-sashing drawing above is a manual setting plan. QuiltLab does not provide a documented sashing or cornerstone control for this Grid workflow. The product example also makes no mixed-size layout claim. Keep those separate paper calculations with the design, rather than treating empty Grid cells as dimensioned sashing.
Before cutting the full project, settle the setting, common size and background plan, then make and measure a representative block. Revisit the position map as the real blocks arrive. When all twelve are ready, check their unfinished dimensions and orientations against that saved plan before joining the rows.
If one block needs resizing, the block-design guide explains how to scale finished geometry before recalculating cut sizes. After choosing the setting, compare border widths and multiple-border plans around the resulting center.
Related posts
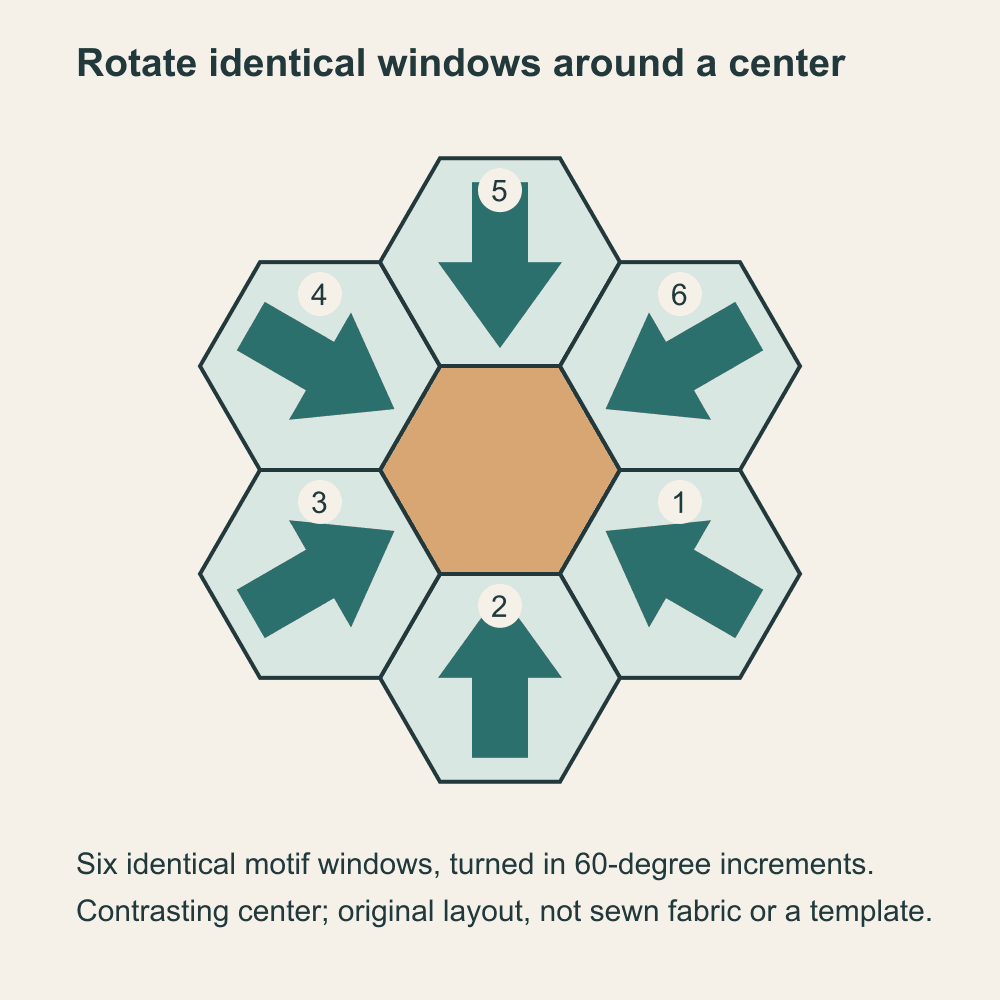
Fussy Cutting Hexagons: Plan Repeats for a Rosette
Count six matching motifs, record their orientation and preview a hexagon rosette before cutting the fabric.
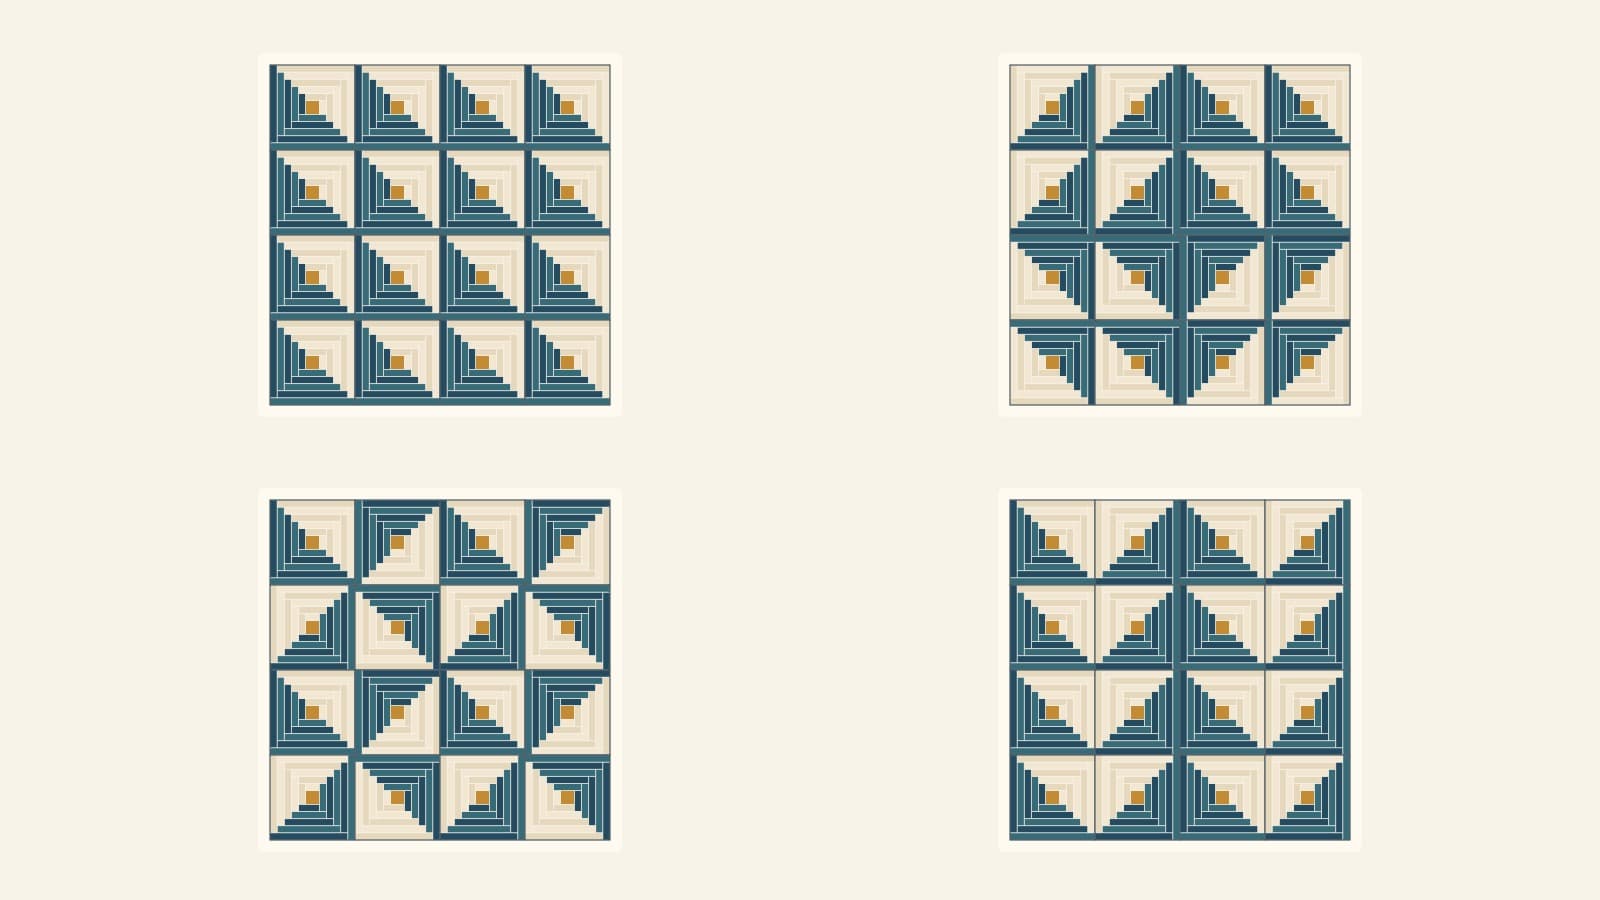
Log Cabin Quilt Layouts: Four Rotation Plans
Compare Barn Raising, Straight Furrows, pinwheels and chevron rows using the same sixteen blocks and an original dark-corner orientation key.
Half-Square Triangle Quilt Layouts: One Block, Many Quilts
One half-square triangle, seven named layouts. How to orient each unit, plus a 48-inch 8 × 8 you can try in QuiltLab before you sew.