


How to Plan Sampler Quilt Fabric Placement
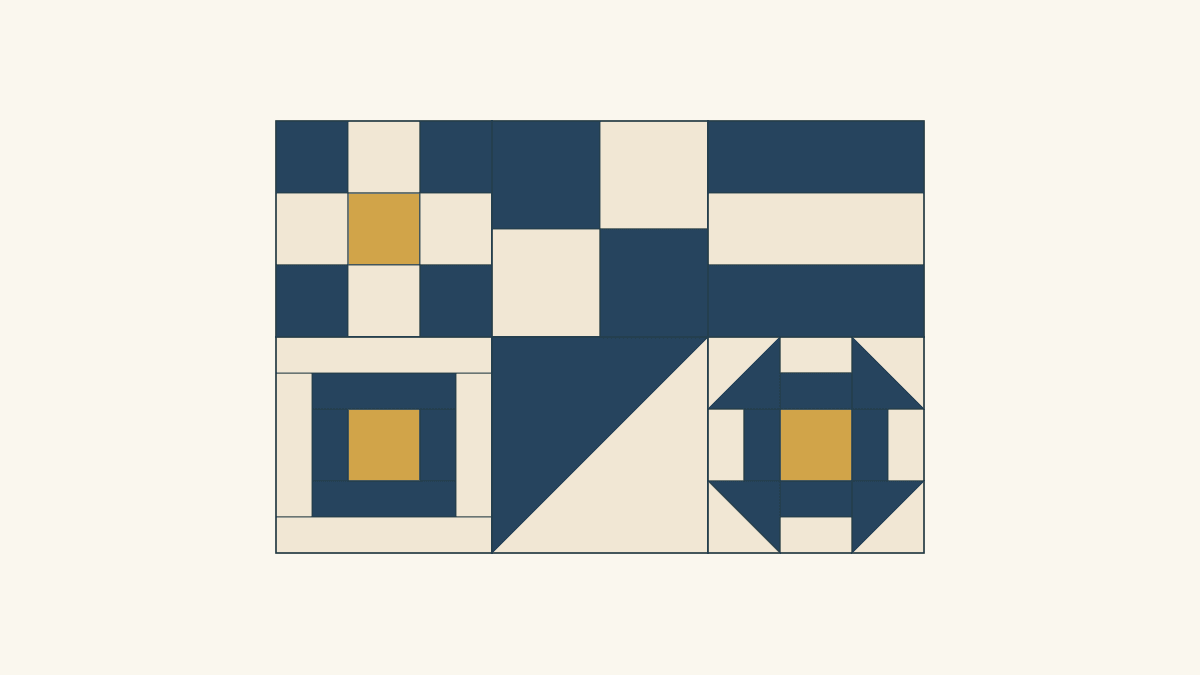
Give a repeated fabric the same visual job across your sampler: let it draw the main motif, surround that motif, or supply a small accent where the block has a suitable piece. For a first plan, keep the background consistent and use one darker fabric for the main shapes. Check each block's geometry before deciding where that fabric belongs.
Putting navy somewhere in every block is a start. Putting it in the shapes you want to recognize gives the repetition a clearer purpose. We'll compare those two choices across six different blocks, keeping their sizes and positions fixed.
Read the fabric roles in each block
Start with the block patterns. Mark the shape you want to see: a frame, diagonal, chain, set of rails or another motif. Then identify the pieces around it. A center square may be an accent in one block, while another block has no separate center at all.
In Carolyn Gibbs's sampler fabric-planning lesson, the same light fabric serves as background and the dark fabric as main focus across different blocks. That is a useful default when you want the blocks to look related. You can use a controlled set of prints in those roles instead, provided the important neighbors remain distinct.
Pat Sloan's fabric-selection discussion for The Splendid Sampler explains why a sampler doesn't have a universal one-to-one placement guide. Each block is different. Translate the role into the actual pieces rather than searching for an identical position in every block.
Write a short instruction for the repeated fabric: Navy draws the main geometric motif; cream surrounds it. Add an optional accent only after those two jobs work.
If you still need to choose the block sizes or setting, start with our sampler layout overview. Here, those decisions stay fixed so we can inspect fabric placement.
Keep six geometries and their positions fixed
Our study uses six blocks, each 12 inches finished, in three columns and two rows:
A B C
D E F
The finished top is 36 x 24 inches before borders or sashing. Every block occupies 144 square inches, for 6 x 144 = 864 square inches altogether.
- A, Nine Patch: nine 4-inch finished squares.
- B, Four Patch: four 6-inch finished squares.
- C, Three Rails: three horizontal rails, each 4 x 12 inches finished.
- D, framed center: a 4-inch center, a 2-inch-wide inner frame, then a 2-inch-wide outer frame.
- E, diagonal half: two triangles dividing one square along its diagonal.
- F, Churn Dash: a three-by-three arrangement of corner triangle units, split side units and a center square.
We drew these finished-geometry studies and haven't sewn them. Use your chosen patterns for cut sizes, allowances and assembly; the drawings explain fabric assignments.
Compare presence with a repeated job
In the first map, navy appears in every block but keeps changing jobs. It is a small center in A, D and F, one quadrant in B, one rail in C and half of E. Gold draws several of the larger motifs instead.
In the second map, navy takes the main geometric motif in each block. Cream remains the surrounding fabric. Gold marks the actual center squares in A, D and F; B, C and E use no gold. There is no need to add a piece just to make every block contain all three colors.
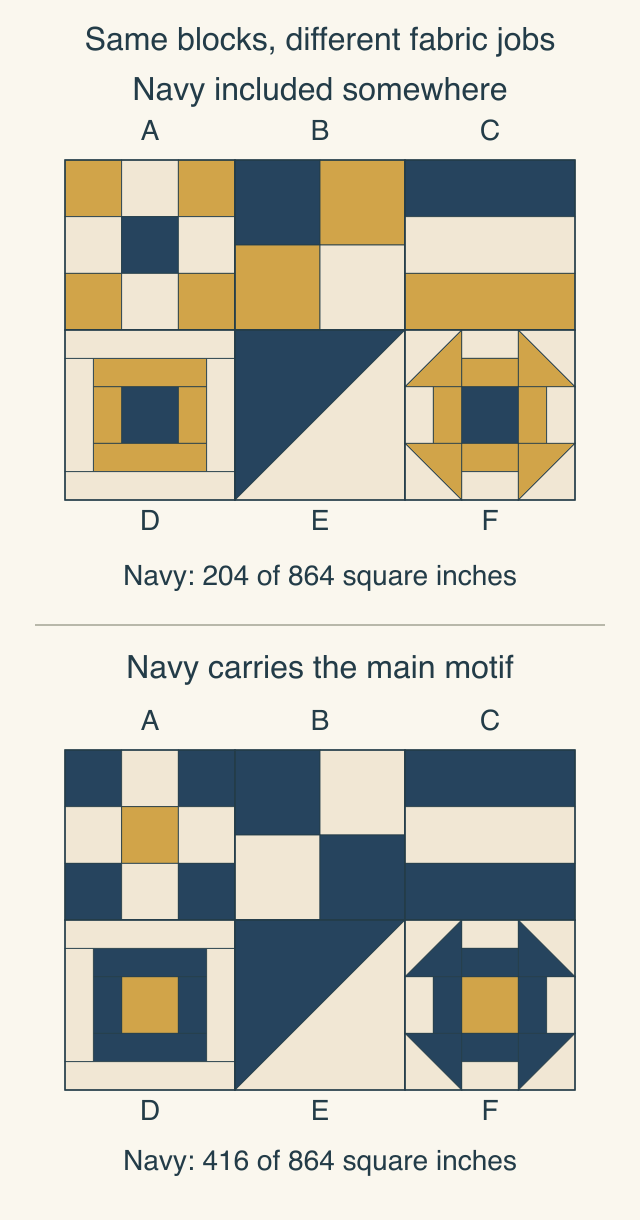
Neither map is a universal right answer. Choose the second when you want navy to carry a recognizable structure across the sampler. Keep the first if you prefer its gold motifs and varied navy placements. The useful change is making that choice deliberately.
Leila Gardunia's value, scale and placement lesson shows repeated colors in her State Fair Sampler and discusses checking contrast within blocks. Our next step is to turn that general repetition idea into a role and area record for each block.
Count how much the role uses
The same job doesn't require the same amount. Navy can draw a small frame or a broad rail. This is the navy ledger for the two maps:
| Block | First navy area | Revised navy area | Navy's revised job |
|---|---|---|---|
| A: Nine Patch | 16 sq in | 64 sq in | Four corners |
| B: Four Patch | 36 sq in | 72 sq in | Opposite quadrants |
| C: Three Rails | 48 sq in | 96 sq in | Two outside rails |
| D: framed center | 16 sq in | 48 sq in | Inner frame |
| E: diagonal half | 72 sq in | 72 sq in | One diagonal half |
| F: Churn Dash | 16 sq in | 64 sq in | Pieced frame |
| Total | 204 sq in | 416 sq in | Same fabric, repeated job |
You can check the larger changes directly. A's four navy squares cover 4 x 4 x 4 = 64 square inches. C's two navy rails cover 2 x 4 x 12 = 96. D's inner frame covers the difference between its 8-inch outside square and 4-inch center: 8 x 8 - 4 x 4 = 48.
E stays unchanged because its navy already fills the intended shape. A useful comparison doesn't require changing a block that is doing the job you want.
The initial navy, cream and gold areas are 204 + 364 + 296 = 864 square inches. The revised areas are 416 + 400 + 48 = 864. Navy grows from about 23.6% to 48.1% of the top. Gold shrinks to 48/864, about 5.6%.
That increase matters when auditioning fabrics. Show more navy in the revised fabric pull rather than keeping three equal folded swatches. These are finished areas, not yardage: the patterns' cuts, allowances and usable fabric widths determine how much cloth to obtain.
Inspect the seams between blocks
A shared role can connect motifs across a block boundary. In the revised map, A's upper-right navy corner meets B's upper-left navy quadrant along 4 inches of their shared vertical seam. The navy reads as one connected region there.
Elsewhere, the background connects. E's right edge and F's left edge are cream along their full 12-inch shared seam. The line in our drawing identifies the block boundary; using the same cloth on both sides may make that boundary much less noticeable.
Look at these joins before sewing. Do you like the dark connection? Do you want the cream field to flow between the blocks? Repeating a role doesn't automatically give every block a separate frame.
If separation is the problem, the alternate-block comparison addresses that different decision. Finish judging the fabric map before changing both the setting and the colors.
Transfer the role map to your fabrics
Choose one candidate for navy's job and one for cream's. They need not be literal navy and cream; the words identify roles in this study. Place the actual fabrics beside each other at the edges that draw the motif.
Fold prints down to the finished piece size. A mark that looks quiet across a yard may fill a small center square. Check more than one area of a print before assigning the whole fabric to a role. For the broader distinction between hue, value and print scale, use our color-theory overview.
Gardunia also recommends a sketch or software mockup followed by checking actual fabric. Keep that second step: a screen study helps with placement, while cloth samples show the color and printed marks you will sew.
For each block, record:
- The motif and the pieces that make it.
- The repeated fabric's job and approximate finished area.
- The fabric touching its most important edge.
- Whether the block has a suitable accent piece.
- The pattern's unfinished measurement to check after sewing a sample.
Sew one representative block before preparing the full sampler. Choose one with a critical small piece or close-value pairing, rather than automatically choosing the easiest block. Confirm the placement and measurement against its own pattern.
Save the assignments before making the set
You can use the Block Editor to draw pieces and change the fabric of selected pieces. Keep each block's role note beside the study so a later fabric substitution preserves the decision.
Start with six block sketches from your own sampler. Mark the repeated job, leave unsuitable accent positions empty, and inspect the neighboring edges. Then prepare the first block with a clear reason for every fabric placement.
Related posts
Monochromatic Quilts: Choose Prints That Stand Apart
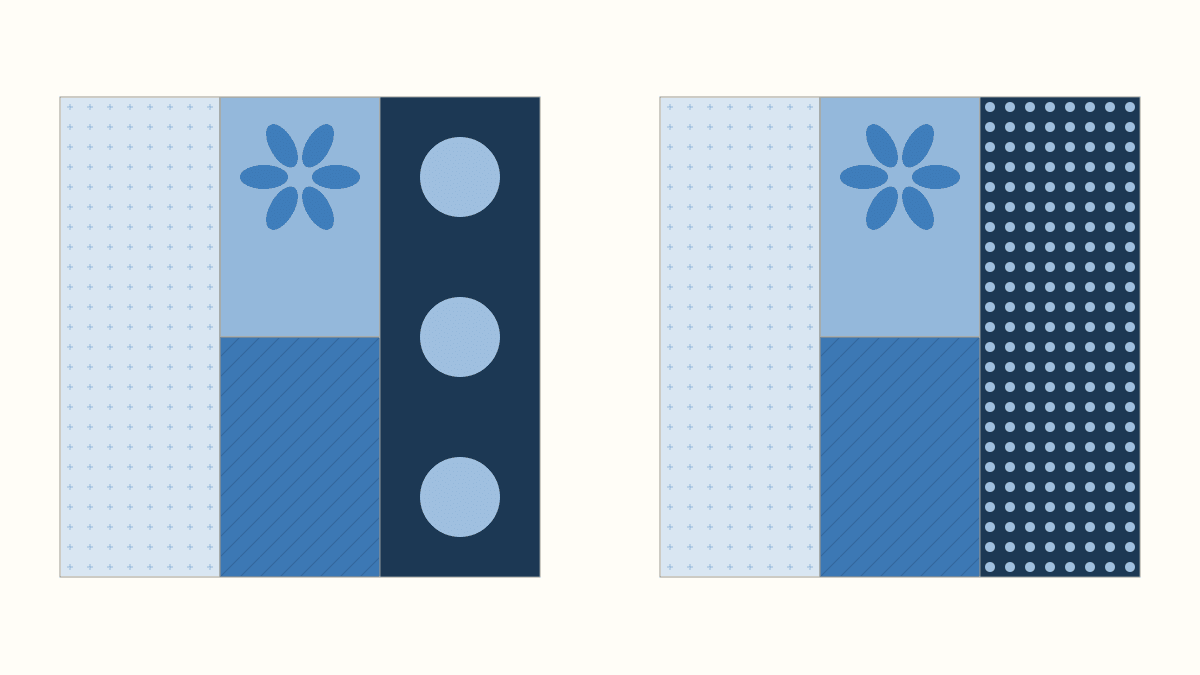
Choose four blue prints by their jobs, then compare value and print scale separately. An equal-coverage dot swap shows why both matter.
Mixing Fabric Collections for Quilts? Give Each Print a Job
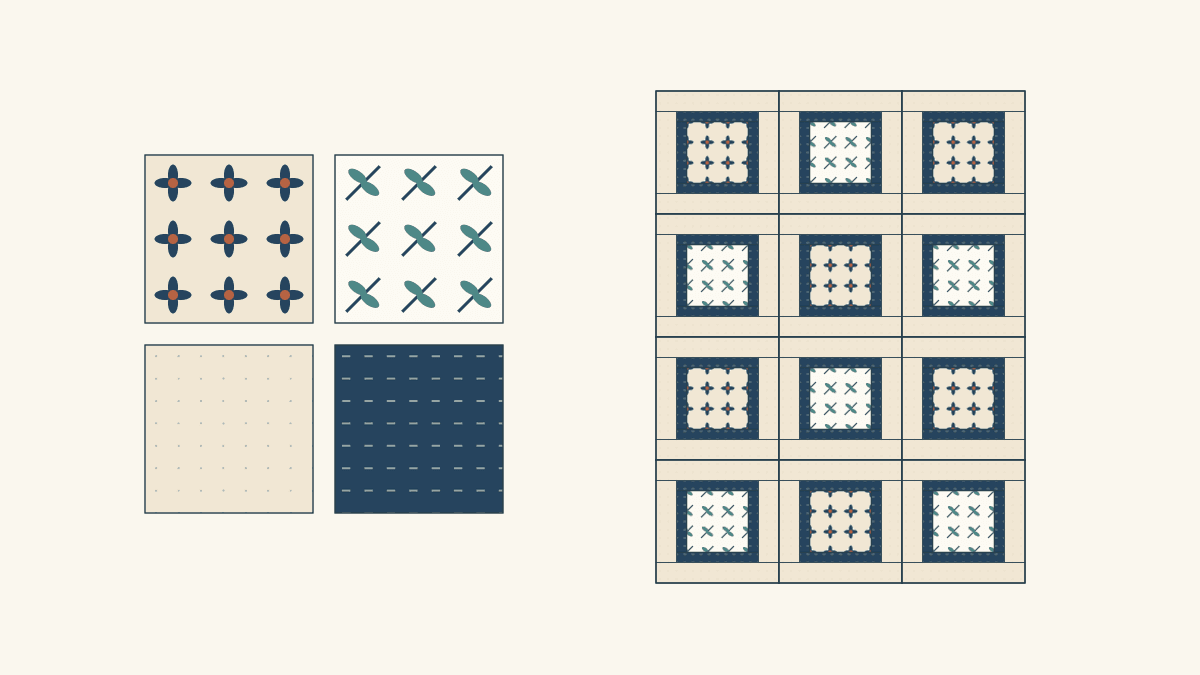
Choose an anchor print, keep useful pieces from two collections, and repeat a bridge fabric. A four-role worksheet shows what to leave out.

Freezer Paper Foundation Paper Piecing or Sew-Through?
Compare sewing through a foundation with sewing beside folded freezer paper, using one simple unit and a realistic plan for sixteen repeats.