


Planning a Bed Quilt That Fits Your Bed

Measure the dressed bed before choosing a pattern. For the quilt width, add the mattress-top width + left drop + right drop. For its length, add the mattress-top length + foot drop + any extra cloth needed around the pillows. Measure each allowance for the way you want the quilt to sit.
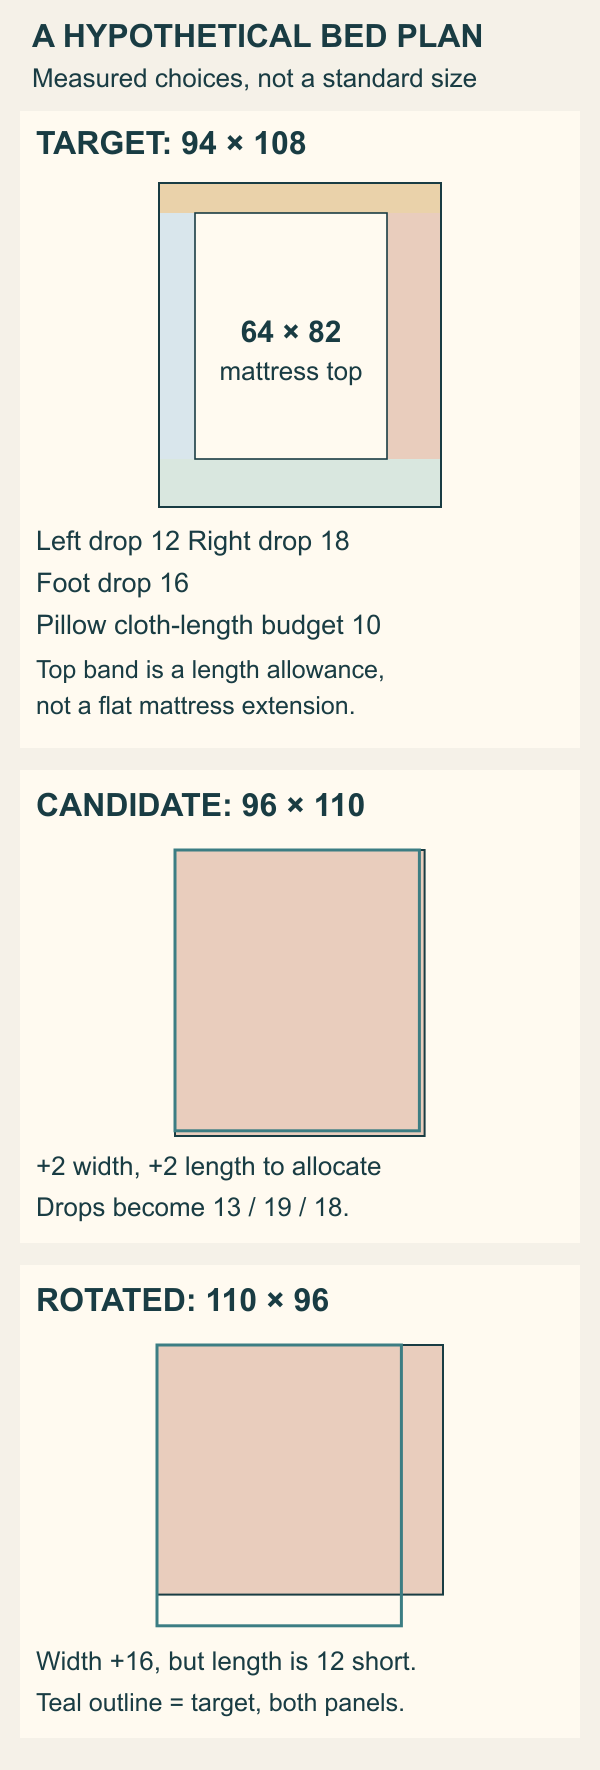
The hypothetical worksheet below turns a 64 x 82-inch mattress top into a 94 x 108-inch target. We will check a 96 x 110-inch candidate in both orientations, allow for floor clearance and place its focal motif over the mattress.
Measure the bed as it will be dressed
Put the intended mattress pad, sheets, blankets and pillows in place before measuring. The American Quilter's Society's bed-measuring guide recommends measuring the prepared bed and considering its position, visible edges and any bed skirt. A footboard, side rail or wall can change which overhang is useful.
Measure the mattress's top width and top length, stopping at its edges. Write width across the bed and length from head to foot. Keep those two numbers separate from the drops, even if the quilt will be tucked in.
Then measure from the mattress's top edge down to the intended lower edge of the quilt on each side and at the foot. If both sides differ, record left and right separately rather than doubling one convenient number. Define left and right consistently in your sketch; our example views the bed from the foot, looking toward the head.
A drop measured from the top edge already includes the vertical distance past the mattress's thickness. Do not add mattress depth again. For a tucked foot, follow the path the cloth will take around and under the mattress rather than treating it as a free-hanging edge.
Give the pillows their own length decision
Pillows placed on top of the quilt do not require extra quilt length just to cover them. Covering the pillows or folding a tuck around them does. Rachel LaBour's bed-planning article at Stitched in Color suggests measuring with pillows in place, letting the tape follow the path the quilt would take, and comparing that distance with the plain mattress length.
For our hypothetical cover-over-pillows arrangement, suppose that cloth path from foot to head measures 92 inches, while the mattress top is 82 inches long. The difference is 92 - 82 = 10 inches of additional cloth length. This example covers the pillow contours; it does not include an additional tuck under them.
Represent those 10 inches as a separate length allowance on the worksheet. Drawing a band above the mattress rectangle is a bookkeeping device: it does not mean that the physical mattress is 10 inches longer or that the cloth will lie flat beyond the headboard.
Charts use particular assumptions. The APQS quilt-size reference PDF uses a 20-inch allowance in its pillow-tuck examples, alongside sizes without that addition. That differs from our measured pillow-covering allowance because it represents a different arrangement. Use a chart to check which assumptions you still need to measure, rather than inheriting its pillow number automatically.
Build the hypothetical target from separate choices
Here are the worksheet's inputs:
| Item | Hypothetical measurement | What it means |
|---|---|---|
| Mattress top | 64 x 82 inches | Width across, length head to foot |
| Left / right drop | 12 / 18 inches | Deliberately unequal visible overhangs |
| Foot drop | 16 inches | Free-hanging cloth at the foot |
| Pillow cloth addition | 10 inches | Measured path difference, no extra tuck |
The flat finished-size budget is:
Width = mattress width + left drop + right drop = 64 + 12 + 18 = 94 inches.
Length = mattress length + foot drop + pillow addition = 82 + 16 + 10 = 108 inches.
Each allowance has one job. There is no second side-drop addition in the length calculation, and the pillow path difference is counted only once. Keep this annotated sketch even after choosing a pattern; it explains where a small dimensional difference could go.
If you need a quick comparison with commonly listed dimensions, the quilt size chart provides reference ranges. This worksheet answers the later fit questions that a size name cannot settle: unequal edges, floor constraints, pillow treatment and placement of the design on the mattress.
Check floor clearance before accepting extra size
Overhang needs a limit as well as a preference. For the freely hanging edges in our example, suppose the distance from the mattress top to the floor is 26 inches, and the desired minimum clearance is 6 inches. A simple vertical budget allows at most 26 - 6 = 20 inches of drop.
The initial drops leave 14 inches at the left edge, 8 inches at the right and 10 inches at the foot: respectively, 26 minus 12, 18 and 16. All exceed the requested clearance in this simplified plan.
These are nominal vertical checks. Corners, bulky bedding and the way cloth drapes can place the edge differently; check the actual arrangement before committing. A footboard or tucked edge needs its own path check rather than this free-hanging calculation. The useful constraint is explicit: an extra inch is not automatically welcome everywhere.
Compare the same candidate in both orientations
Suppose a pattern lists 96 x 110 inches finished. Our pattern-reading guide helps identify that finished measurement rather than confusing it with cutting dimensions or an unfinished top.
Placed 96 inches across and 110 inches head to foot, the candidate exceeds the target by 2 inches in width and 2 in length. One possible allocation is:
- Split the extra width evenly, making the left drop 13 inches and the right 19.
- Keep the 10-inch pillow allowance and put the extra length at the foot, making its drop 18 inches.
The resulting floor clearances are 26 - 13 = 13, 26 - 19 = 7, and 26 - 18 = 8 inches. All still exceed the six-inch minimum. That arrangement leaves the requested clearance at every checked edge.
Rotate the candidate and it becomes 110 inches across by 96 head to foot. Compared with the target, it is 16 inches wider but 12 inches shorter. Extra width cannot supply the missing length. With the original pillow and foot choices unchanged, this orientation fails the length check.
Also inspect directional blocks, printed motifs and any label before treating rotation as an available option. A rectangular dimension may fit while the intended design faces the wrong way. If you choose to change the layout, the pattern-enlargement guide addresses that separate construction decision.
Place the motif over the mattress, not automatically at quilt center
Unequal side drops shift the mattress within the flat quilt footprint. In the 94-inch target, its center is 12 + 64 / 2 = 44 inches from the left quilt edge. The quilt's midpoint is 94 / 2 = 47 inches. A focal motif intended for the mattress center would therefore sit 3 inches left of the quilt midpoint in this plan.
For the 96-inch candidate after allocating the extra inch to each side, use the revised left drop: 13 + 32 = 45 inches from the left edge. The quilt midpoint is now 48, so the offset remains three inches. The 44-inch and 45-inch locations belong to different plans; do not mix them on one drawing.
Mark the head edge and the mattress-top boundaries before deciding where a medallion, large print or central row belongs. A motif centered on the whole flat quilt can appear displaced on the bed when the two drops differ. Our quilt-design planning guide connects that placement choice with the rest of the composition.
Keep your measurements with the pattern
Record the target, candidate orientation, allocated drops, pillow method, clearance limit and motif location together. Also record whether dimensions refer to the intended finished quilt before or after its planned care. Fabric, batting, quilting and laundering can affect physical size; a single percentage does not guarantee the result for every project.
Put the tape measure on your dressed bed now. Record the two top measurements, three drops, pillow choice and minimum floor clearance. Use those numbers to try a pattern in both orientations, and keep the annotated sketch with its instructions. Recheck the fit on the actual bed as the quilt takes shape.
Related posts
Choosing Quilt Block Size: Which Size Fits Your Quilt?
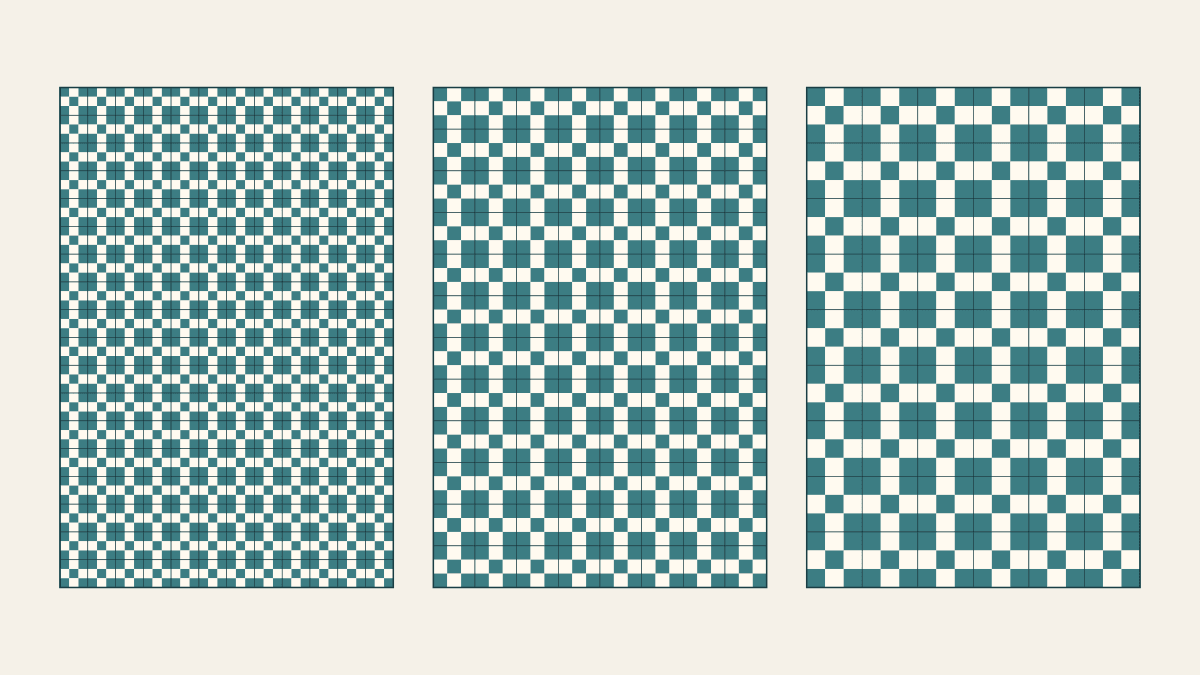
Compare three Nine Patch scales for one quilt footprint, count the joining work for a stated method, and audition prints at patch size.

How Long Does It Take to Make a Quilt? Work Out Your Own Time
A simple throw often takes two to four weeks of spare-time sewing. Here's how to time one batch of blocks and turn it into hours and a finish date.
How to Make a Quilt Pattern Smaller Without Losing the Center
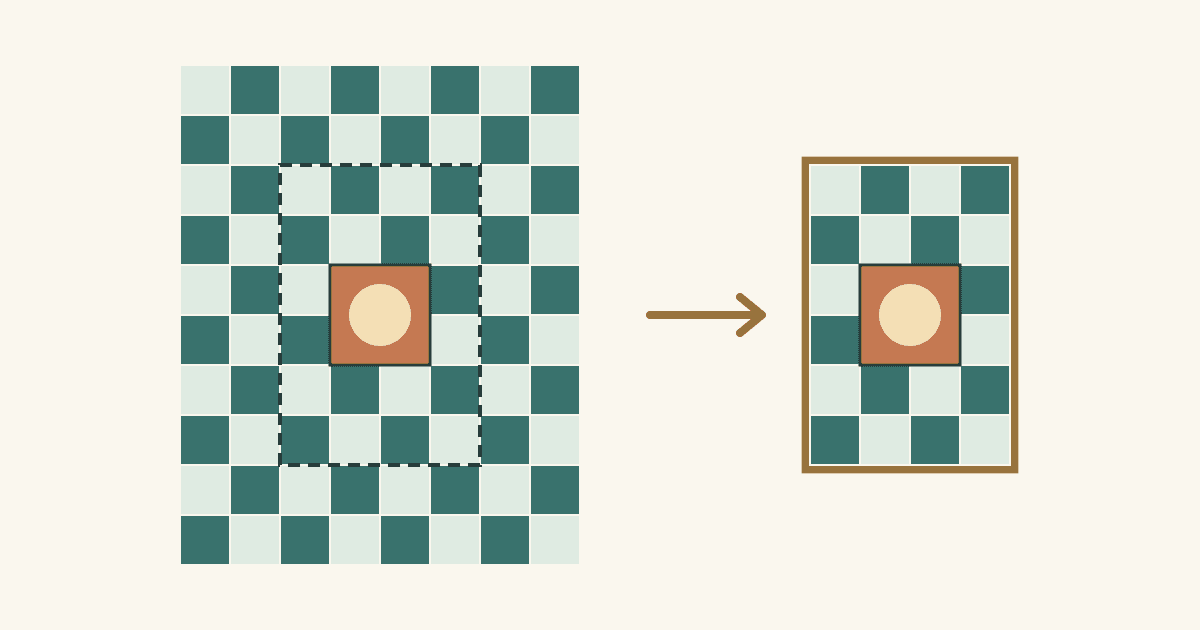
Drop whole rows and columns first. Here's how we'd shrink a 48 x 60-inch throw to a 26 x 38-inch wall quilt and keep its 12-inch center.