


Log Cabin Strip Width: How Wide Should Logs Be?
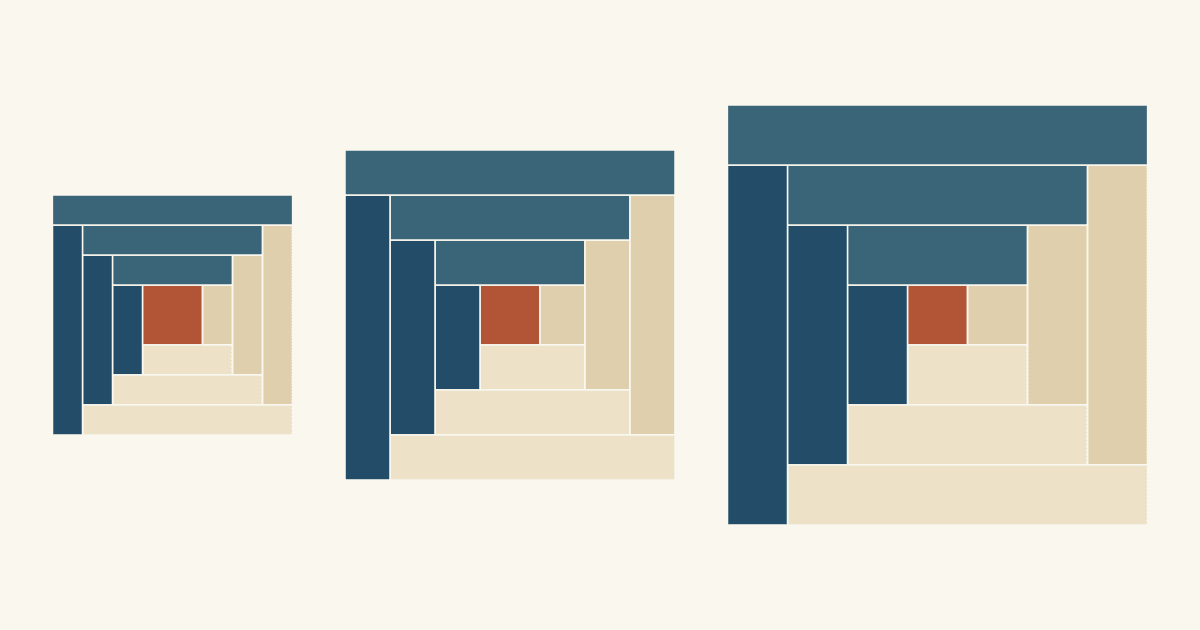
Most Log Cabin patterns cut strips 1 1/2 to 2 1/2 inches wide, so the logs finish 1 to 2 inches wide. Rebecca Bryan's beginner Log Cabin uses 1 1/2-inch strips, and Lee Heinrich's Log Cabin lesson at WeAllSew uses 2 1/2-inch jelly roll strips. For a first Log Cabin, start with 2 1/2-inch strips. The block grows quickly, you sew fewer seams, and a slightly off seam matters less on a wider log.
Go narrower when you want a smaller block, more rounds, or a center that stands out. The rest of this article shows what changes when you do, with the numbers for each width.
Cut width and finished width
Patterns give strip widths as cut sizes. Each log loses a 1/4-inch seam allowance on both long edges, so:
Cut width = finished width + 1/2 inch.
| Cut strip | Finished log |
|---|---|
| 1 1/2 inches | 1 inch |
| 2 inches | 1 1/2 inches |
| 2 1/2 inches | 2 inches |
When you read "two-inch logs," check which one the pattern means. A 2-inch cut strip finishes at 1 1/2 inches; a 2-inch finished log starts as a 2 1/2-inch strip. Write both numbers in your notes.
What changes when only the log width changes
A complete round is four logs, one on each side of the block, added in the same direction all the way around. Epida Studio's Log Cabin tutorial walks through that spiral order. Each complete round adds one log width to every side, so the block grows by twice the log width.
That gives a simple sizing formula for a square Log Cabin with equal logs:
Finished block = finished center + (2 x rounds x finished log width).
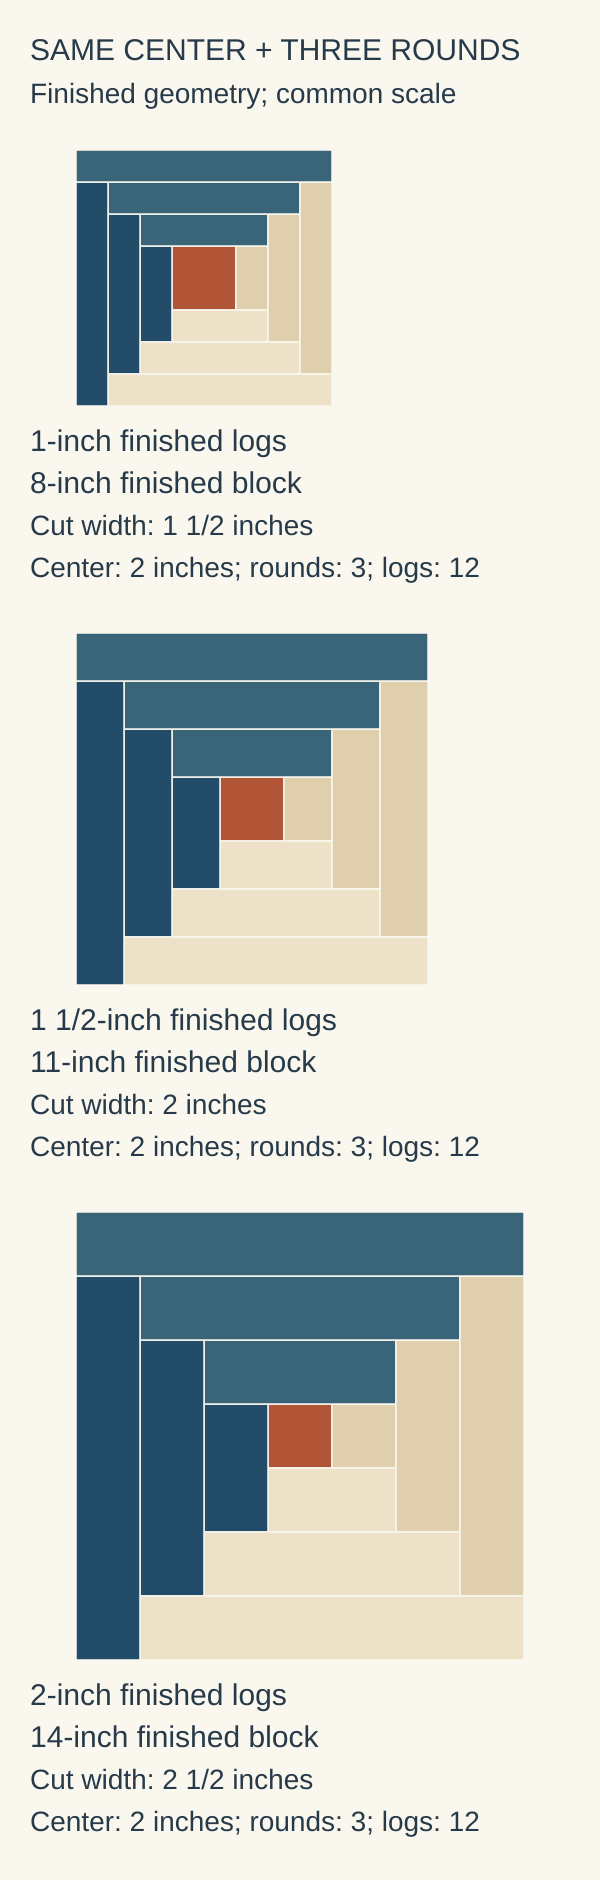
Here's what happens with a 2-inch finished center and three rounds, changing only the log width:
| Finished log | Cut strip | Finished block | Unfinished block |
|---|---|---|---|
| 1 inch | 1 1/2 inches | 2 + 6 x 1 = 8 inches | 8 1/2 inches |
| 1 1/2 inches | 2 inches | 2 + 6 x 1 1/2 = 11 inches | 11 1/2 inches |
| 2 inches | 2 1/2 inches | 2 + 6 x 2 = 14 inches | 14 1/2 inches |
Every version has 12 logs plus the center, so 13 pieces and 12 seams. Wider logs make a bigger block from the same work.
Two published blocks match these rows. Heinrich's block, with a 2 1/2-inch cut center and 2 1/2-inch strips, measures 14 1/2 inches after three rounds. Christine Mann's strip-pieced Log Cabin at New Quilters uses the same center with 2-inch strips and finishes at 11 inches.
Narrow logs make the center stand out
The center stays 2 inches wide in all three blocks, but the logs around it grow. Measured across the block, the center takes up:
- 25% of the 8-inch block,
- about 18% of the 11-inch block,
- about 14% of the 14-inch block.
By area the gap is wider. The 4-square-inch center covers about 6% of the 8-inch block, 3% of the 11-inch block and 2% of the 14-inch block.
So with 1-inch logs, the center reads as a clear spot of color. With 2-inch logs, the logs carry the design and the center becomes an accent. If you're showcasing a fussy-cut motif in the center, either use narrower logs or make the center bigger.
When you compare blocks on screen, keep them at the same scale, as in the diagram above. If you shrink each block to fit the same thumbnail, the centers look different sizes even though they're all 2 inches.
How to hit a target block size
Center, rounds, log width and block size are linked. Pick three and the formula sets the fourth.
Say you want a 12-inch finished block with a 2-inch center and three rounds. The log width would have to be (12 - 2) / 6 = 1 2/3 inches, cut at 2 1/6 inches. No ruler makes that easy.
Keep 1 1/2-inch logs instead and you'd need (12 - 2) / 3 = 3 1/3 rounds. That's not a whole round. Three rounds give 11 inches and four give 14.
The easiest fix is usually the center. Work the formula backward:
Center = target block - (2 x rounds x log width).
- 1 1/2-inch logs, three rounds: 12 - 9 = a 3-inch finished center (cut 3 1/2 inches).
- 2-inch logs, two rounds: 12 - 8 = a 4-inch finished center (cut 4 1/2 inches).
- 1-inch logs, four rounds: 12 - 8 = a 4-inch finished center (cut 4 1/2 inches).
Each of these finishes at exactly 12 inches with ruler-friendly cuts. A bigger center also changes the proportions above, so check that you still like the balance.
Wider logs mean fewer seams for the same size
At a fixed number of rounds, the seam count doesn't change with log width. The difference shows up when you fix the block size. Here's a 14-inch finished block with a 2-inch center:
| Finished log | Rounds | Logs | Total pieces |
|---|---|---|---|
| 1 inch | 6 | 24 | 25 |
| 1 1/2 inches | 4 | 16 | 17 |
| 2 inches | 3 | 12 | 13 |
The 1-inch version needs twice as many logs as the 2-inch one. Across the middle of the block, it also has 12 seams side by side against 6. A seam that runs a thread too wide repeats at each of them, which is why narrow logs reward an accurate quarter inch.
How long that takes depends on your cutting method, pressing and experience, so we won't guess at hours. If you like the look of narrow logs, budget for the extra cutting and sewing.
The same thinking applies to the whole quilt. Sixteen 8-inch blocks and sixteen 14-inch blocks make very different quilts. Decide whether you're matching a finished quilt size or a block count first. For setting the blocks, see our Log Cabin layout guide.
Sew one block before cutting them all
Make one block with your real fabric and measure it after pressing. Check that the logs stay parallel and the block is square. Thread and the fold at each pressed seam take up a little width, and that adds up over 12 seams. Epida Studio's tutorial suggests measuring after your first join, before you add the rest. Fix your seam first; changing the log width won't fix a seam that wanders.
Look at your prints through the finished window, too. A 2-inch cut strip shows only 1 1/2 inches once it's sewn. A motif that fills the cut strip may lose its edges in the seams.
Plan your block in QuiltLab
Pick a center, a finished log width and a round count, and run the formula. Then draw the block in the Block Editor: select a piece to set its width and height in inches, and assign your fabrics to the light and dark logs. Block sizes there are finished sizes, so add the 1/2 inch to each log width when you cut.
To see the block at quilt scale, place it in a Grid layout in the Quilt Editor. The Layout panel shows the finished quilt size as you change the rows and columns. Try the same design with narrow and wide logs and keep the version whose center reads the way you want.
Draw your Log Cabin in the Block Editor →Draw pieces, set their sizes and assign fabricsIf you want to compare more than one placement of light and dark in a pair-based block, our guide to Courthouse Steps color placement builds on the same measurements.
Related posts
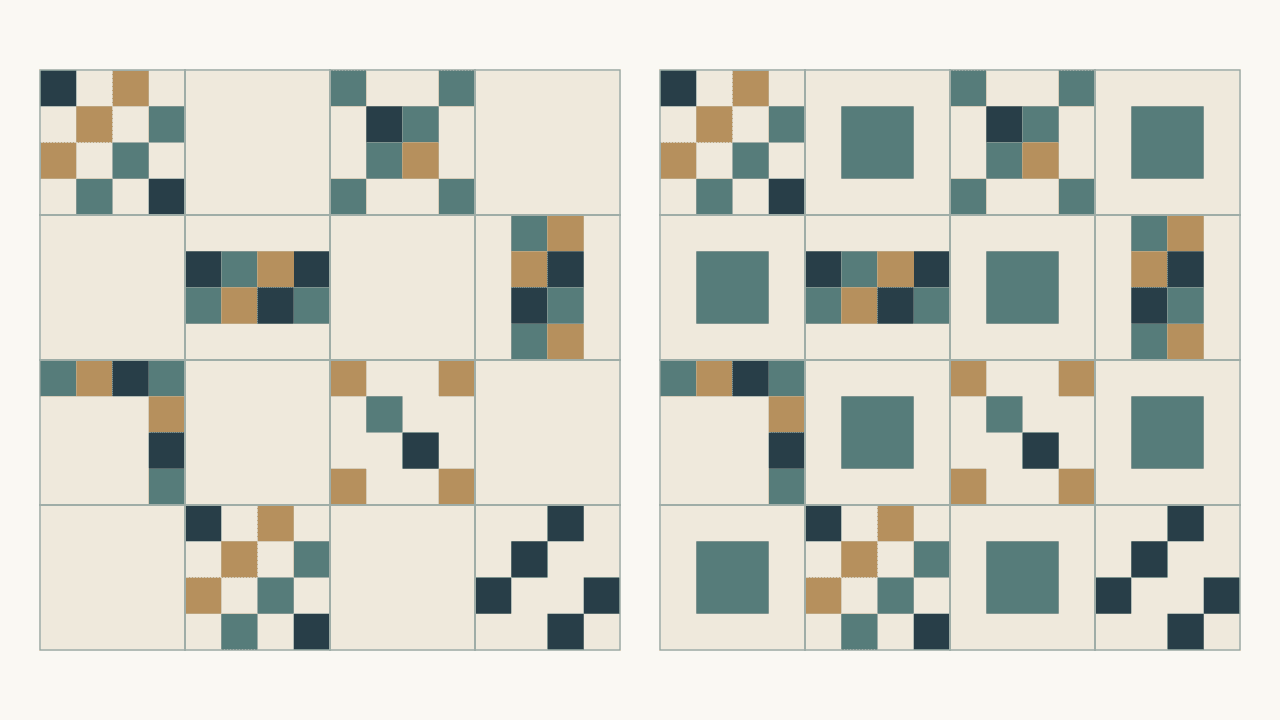
Alternate Blocks for Sampler Quilts: Plain or Pieced?
Plain alternate blocks give a busy sampler room to breathe; a simple repeated block adds rhythm. See how each changes your block count and quilt size.
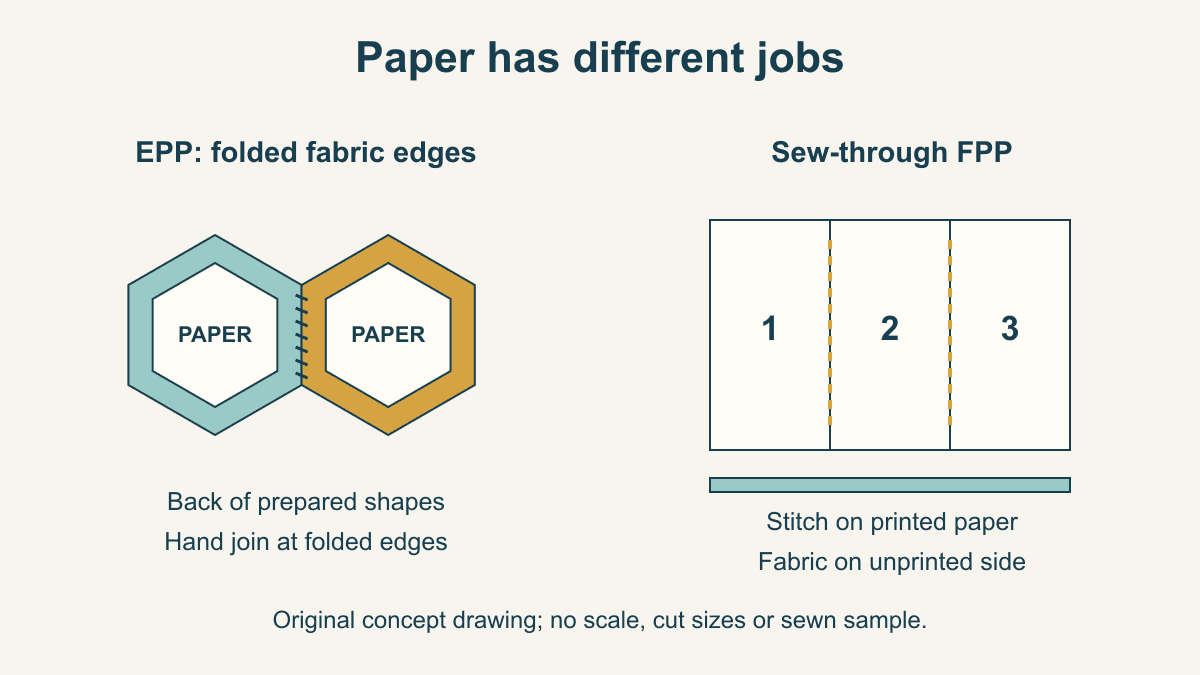
English vs Foundation Paper Piecing: Which Should You Try?
Compare what the paper does, where stitching happens and which project brief suits EPP or sew-through FPP before choosing a pattern.

How to Keep a Quilt Materials Record Before the Labels Are Gone
Record each fabric, batting and thread with its exact product name, label photo and care directions, so anyone can see how to look after the quilt.