


Courthouse Steps Color Placement: Where Do Lights and Darks Go?

The usual Courthouse Steps color placement puts light fabric on one pair of opposite sides and dark fabric on the other: say, light above and below the center and dark at the left and right. Both versions in Rachel's guide to Courthouse Steps at Wooden Spoon Quilts work this way. She calls the one with light strips beside the center a "spool," and shows the dark sides merging when the blocks sit next to each other. For most Courthouse Steps quilts, start with that placement. It's what makes the block read as Courthouse Steps.
The main alternative colors the block by rounds: a light inner round and a dark outer round. That turns each block into nested frames. Below, we compare both on the same 10-inch block, measure how much of each color you need, and show what happens when four blocks meet.
How Courthouse Steps is built
Courthouse Steps grows in pairs. You sew strips to two opposite sides of the center, then to the other two sides, and repeat. Elizabeth DeCroos's Epida Studio tutorial adds the top and bottom first, then the sides. A Log Cabin adds one log at a time around the center instead.
To talk about placement, it helps to name each pair by position:
- C is the center.
- H1 is the first top-and-bottom pair; H2 is the second.
- V1 is the first left-and-right pair; V2 is the second.
The names stay with the position, whatever fabric you put there. That makes it easy to say exactly what changed when you swap fabrics.
The block: 10 inches, 2-inch strips
Both maps use the same block. It has a 2-inch finished center and two rounds of 2-inch finished strips, and it finishes at 10 inches square. It's built like this:
- Center plus H1 above and below: 2 x 6 inches.
- Add V1 to each side: 6 x 6 inches.
- Add H2 above and below: 6 x 10 inches.
- Add V2 to each side: 10 x 10 inches.
All sizes here are finished. Add your seam allowances when you cut, or follow the cutting chart in your pattern.
Equal strip widths don't mean equal amounts of color. Here's the visible area of each pair:
| Pair | Each strip | Strips | Area |
|---|---|---|---|
| H1 | 2 x 2 inches | 2 | 8 square inches |
| V1 | 2 x 6 inches | 2 | 24 square inches |
| H2 | 2 x 6 inches | 2 | 24 square inches |
| V2 | 2 x 10 inches | 2 | 40 square inches |
The center adds 4 square inches, for a total of 8 + 24 + 24 + 40 + 4 = 100, the full 10-inch square. The outer side pair, V2, covers five times the area of H1. A bold fabric in V2 will dominate the block; the same fabric in H1 is a small accent.
Map 1: color by pairs
This is the placement from the opening, with light pairs above and below and dark pairs at the sides:
- H1 and H2: cream.
- V1 and V2: navy.
- C: coral.
Navy builds stepped columns on the left and right. Cream fills the steps above and below the center. The coral center marks the middle without competing with them.
The vertical pairs cover 64 square inches and the horizontal pairs cover 32. So navy takes 64% of the block, cream 32% and coral 4%. That's the visible finished area; yardage also depends on seam allowances and how you cut.
For a lighter quilt, swap the cream and navy. Rachel's guide shows that reversing values turns one version into the other, so the light sides merge instead of the dark.
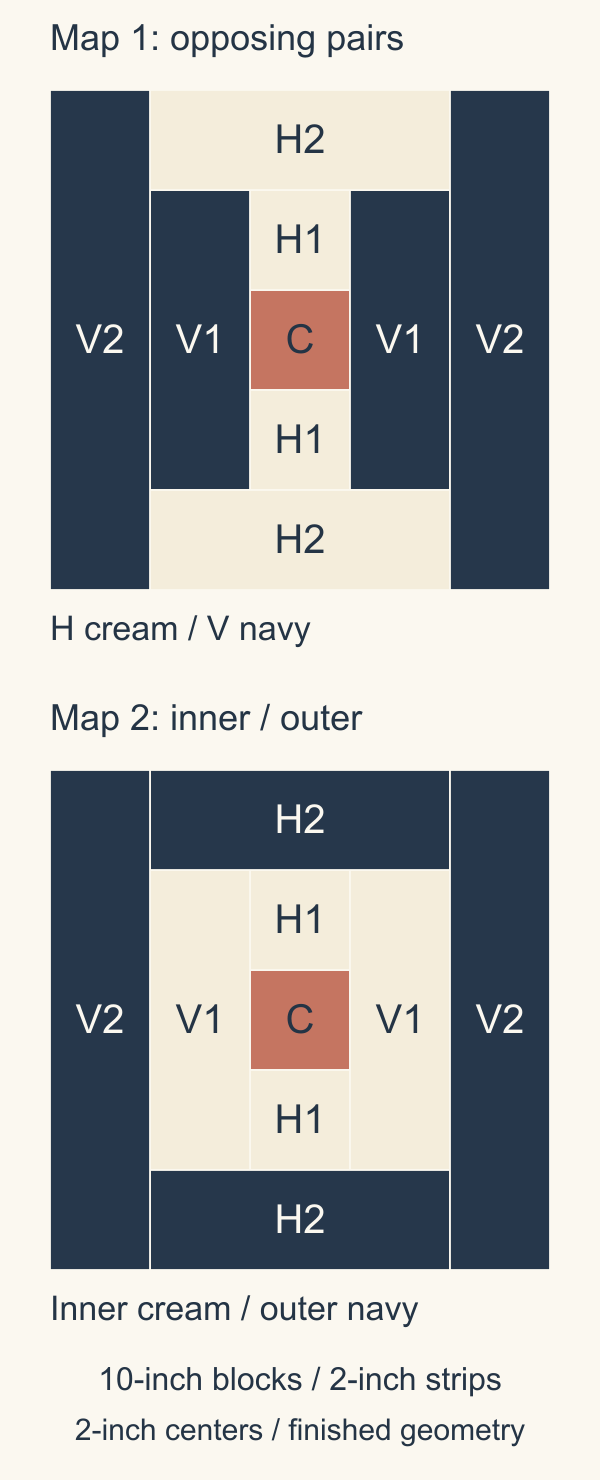
Map 2: color by rounds
Keep the same three colors and assign them by round:
- H1 and V1: cream.
- H2 and V2: navy.
- C: coral.
Now the inner strips make a cream frame around the center, and the outer strips make a navy frame around that. The block reads as nested squares. The stepped look of Courthouse Steps mostly disappears.
The color totals don't change. The inner pairs cover 8 + 24 = 32 square inches and the outer pairs cover 24 + 40 = 64. Both maps use 64% navy, 32% cream and 4% coral. Any difference you see comes from where the navy sits.
The edge is the giveaway. Map 2 is navy all the way around, so each block looks enclosed. Map 1 alternates navy sides with cream top and bottom, so the block stays open.
What happens when four blocks meet
The real test is the repeat. Set four identical blocks in two rows of two, all facing the same way, with no sashing. Each study is 2 x 10 = 20 inches square.
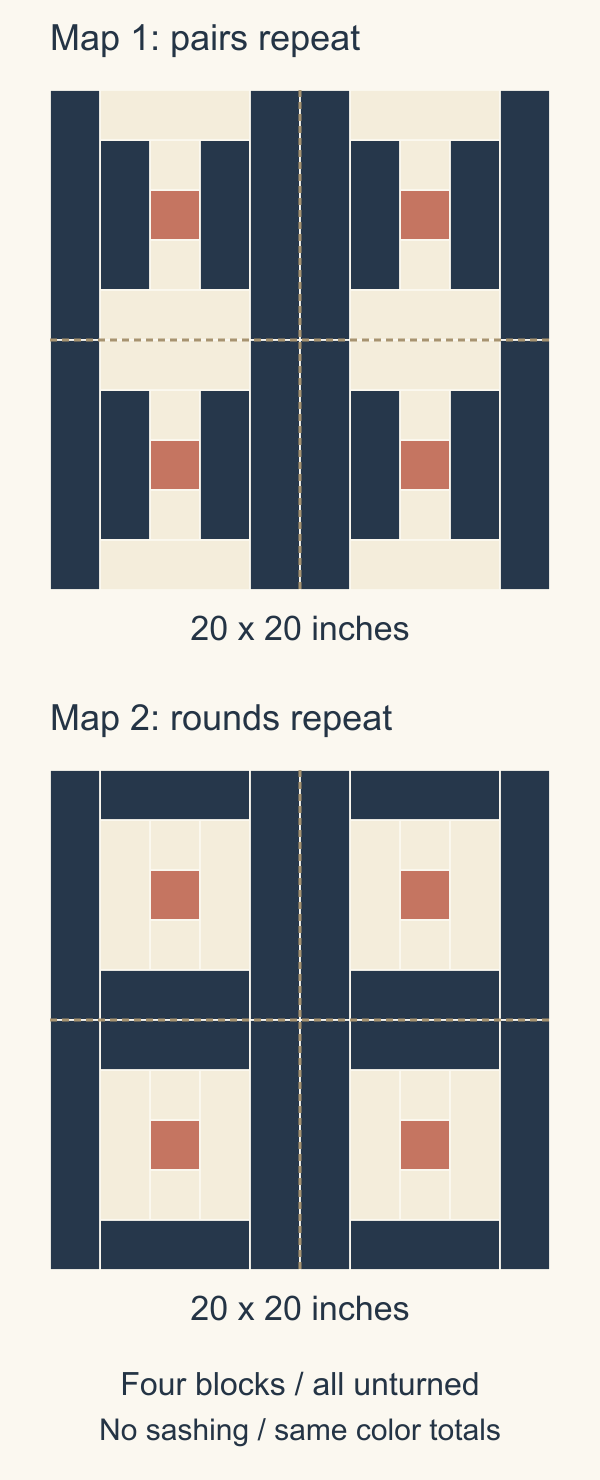
Map 1 makes columns. Where two blocks meet side by side, their navy V2 strips sit together. Two 2-inch strips make a 4-inch navy column, and it runs unbroken from the top of the quilt to the bottom. The cream H2 strips meet the same way across the horizontal seam, making cream bars between the columns. This is the merging Rachel describes for the spool version.
Map 2 makes a grid. The navy outer frames meet at every seam, both across and down. You get a navy lattice with each coral center sitting inside its own cream frame. It can look like sashing, even though there isn't any.
Orientation matters here. Meghan Buchanan's Courthouse Steps quilt at Then Came June planned matching fabrics to connect across neighboring blocks and kept every block facing the same way. Turn a Map 1 block a quarter turn and its navy columns become rows, so the columns break up.
Choose fabrics for each role
A role can hold more than one fabric. For Map 1, several dark blues could fill V1 and V2 while a few pale prints fill H1 and H2. The block still reads as Courthouse Steps as long as every dark is clearly darker than every light.
Audition your fabrics in roughly the right proportions. In these maps the dark covers twice the area of the light. A small navy swatch next to a large cream one will mislead you.
Then step back, or take a grayscale photo, and check the one boundary that matters. In Map 1 it's the cream steps against the navy sides. In Map 2 it's the cream inner frame against the navy outer frame. Our color and value guide explains why value carries that contrast more than hue does.
Watch large prints. Two strips cut from the same print can show different values, which can make one side of a pair look lighter than the other.
Plan your Courthouse Steps in QuiltLab
Write down your role map: C, H1, V1, H2 and V2, with a fabric for each. Mark which edge is the top.
Then draw the 10-inch block in the Block Editor. It's nine pieces: the center and eight strips. Select each piece to set its size and assign its fabric, then save the block. In the Quilt Editor, place it in a Grid layout of two columns and two rows to check the joins. Raise it to four by four for a 40 x 40-inch top before borders, still with every block facing the same way.
Set your blocks in the Quilt Editor →Arrange blocks in a measured grid and see the finished sizeIf you want to change the strip width or center size, our guide to Log Cabin strip width shows how each choice changes the block size.
Related posts
Sawtooth Star Color Placement: Which Part Should Be Dark?
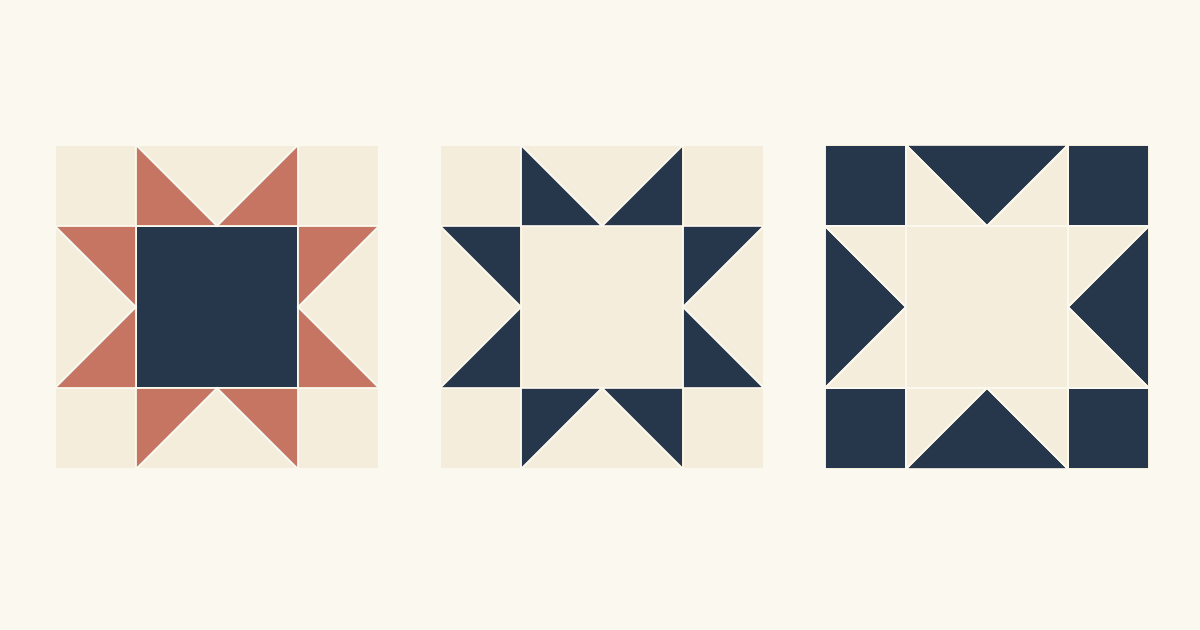
Most Sawtooth Stars use one fabric for the center and points on a contrasting background. See three placements on one 12-inch star and what each changes.
How Secondary Patterns in Quilts Form
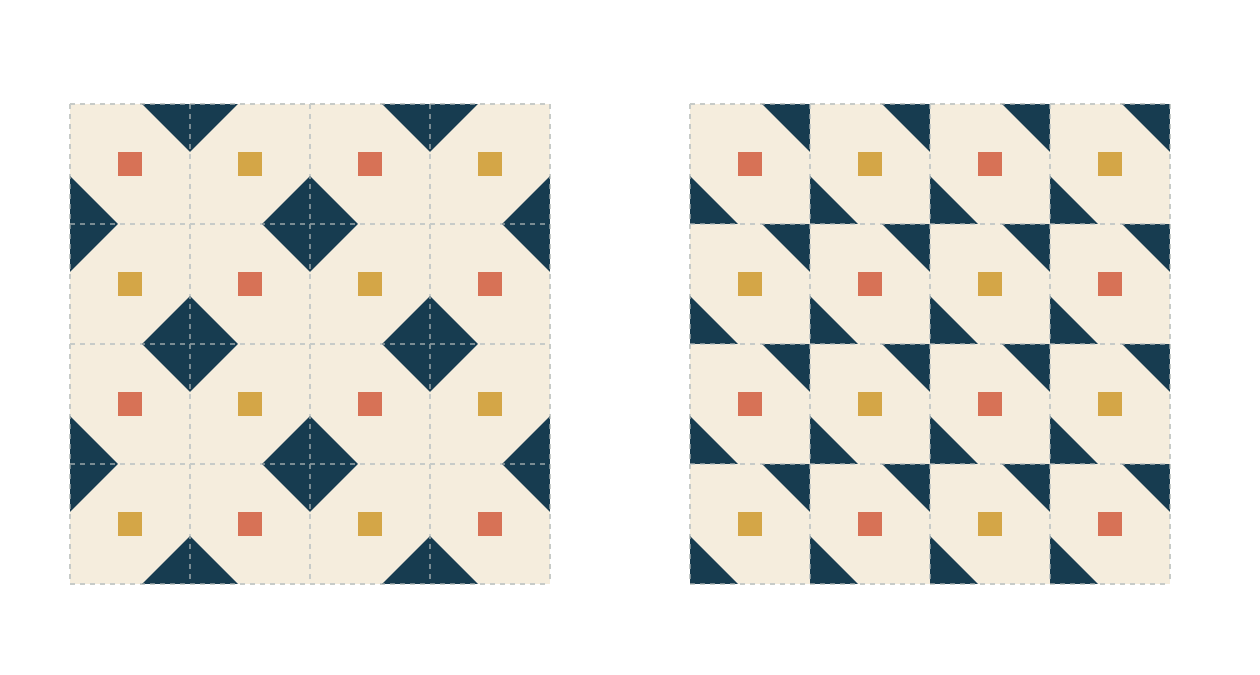
Compare two alternating-block studies and trace the corner pieces that create a larger motif across four block boundaries.
Improv Quilt Design Constraints: Three Limits
Start an improv study with a shape vocabulary, three fabric roles and a finished envelope, then explore several original compositions.