


How to Write a One-Page Quilt Design Brief
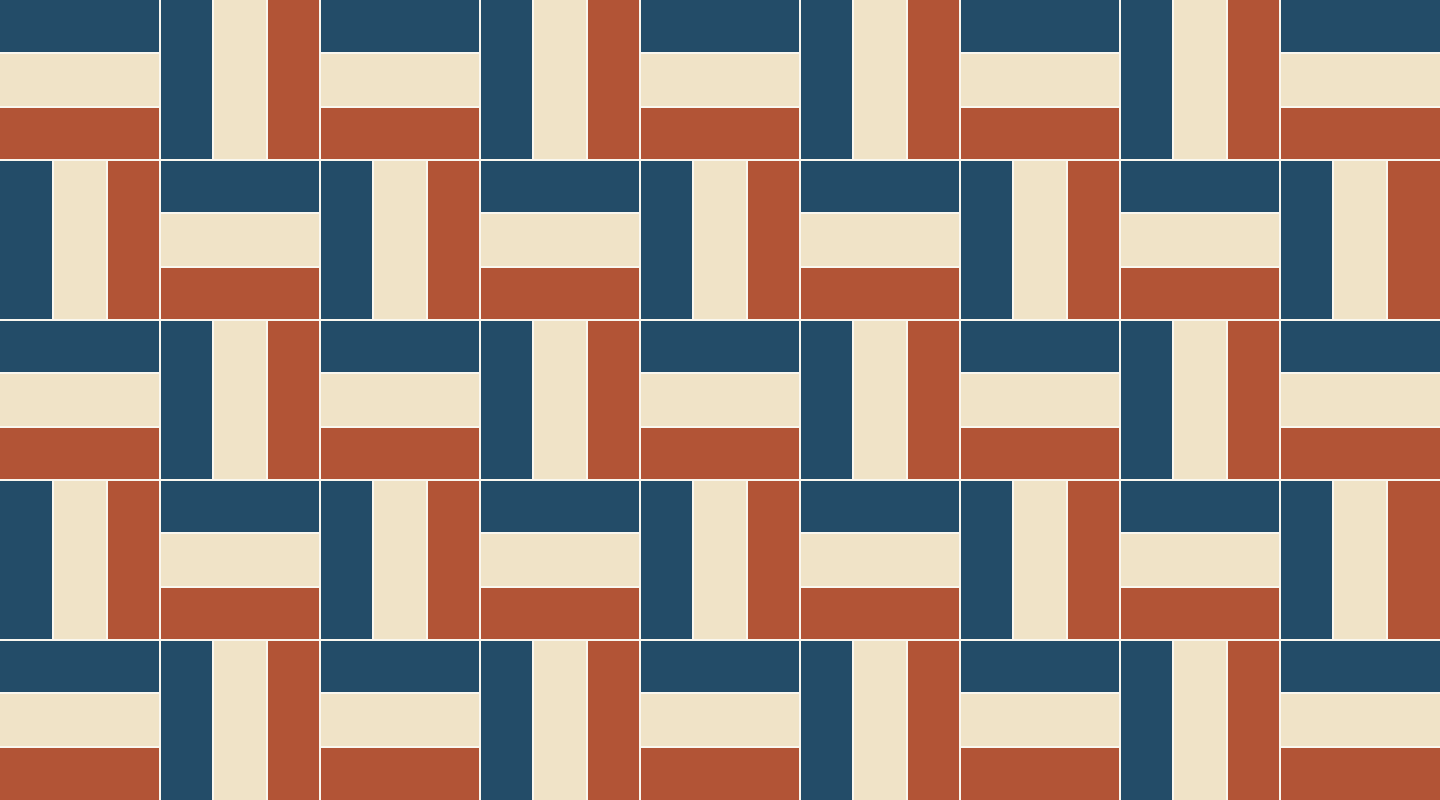
A quilt design brief is one page that says what the quilt is for, how big it will be, how the blocks are laid out, what each fabric does and how you'll finish it. Decide purpose and size first, then the design, then the fabric. That's the order Jodie Tang uses in her planning lesson at Joz Makes Quilts, and it works for almost any quilt.
Writing those answers down does one useful thing. The next fabric or block you fall for has to fit the plan, or give you a good reason to change it.
Below is a worksheet you can copy, then a worked example: a 45 x 60-inch sofa throw made from twelve Rail Fence blocks. We drew the worksheet and the throw for this article; they haven't been sewn.
Start with the quilt's job
Write one sentence that names the person or place, the practical need and one look you want. For our throw: a sofa throw for a reader who wants her legs covered, easy home washing, and broad bands of blue, cream and rust.
That sentence settles a lot. A wall piece, a throw that gets washed every month and a bed quilt can share a palette and still need different sizes, batting and finishes. Rebecca Bryan's graphic-design lesson for quilters makes the same point: think about what you're making and how people will use it. You'd make an art quilt differently from a quilt for a new baby.
If the quilt is a gift, ask about use and care before you treat a guess as settled. For a surprise, write the guess down: "Care preference not confirmed." Future you will thank you.
Mark each choice Fixed, Flexible or Verify
You don't need every detail decided. You do need to know which details are. Put one of three marks beside each line:
- Fixed: changing it would change the quilt's job or something you agreed with the recipient.
- Flexible: several choices would do the job equally well.
- Verify: you still need a measurement, a fabric audition, a sample block or a label check.
For the throw, leg coverage and the 45 x 60-inch size are Fixed. The exact blue print is Flexible. Quilting spacing sits under Verify until you've read the batting label.
Fixed doesn't mean frozen. It means a change needs a written reason and a check of everything that depends on it.
Size has a practical limit too. Tang suggests a smaller first quilt partly because it's much easier to machine quilt yourself on a basic sewing machine. If you plan to quilt at home, put your machine on the brief before you commit to a top it can't handle.
Copy this one-page worksheet
Use a notebook page, a document or the printable sheet below. Keep cut sizes and sewing steps on their own pages; the brief just names them.
| Brief field | Record this | Check before cutting |
|---|---|---|
| Purpose and user | Use, place, care preference | Confirm with the recipient or mark it |
| Finished footprint | Width x length; orientation | Measure the bed, sofa or wall |
| Design structure | Block, setting, repeat count | Sketch the whole top |
| Fabric roles | Background, contrast, accent | Audition real fabric at patch size |
| Construction approach | Pattern or method | Sew and measure one sample block |
| Finish and care | Quilting method, edge, label | Read batting, fabric and service rules |
| Open decisions | What's missing and the next step | Settle anything that affects early cuts |
| Revision triggers | What would reopen a choice | Update every number that depends on it |
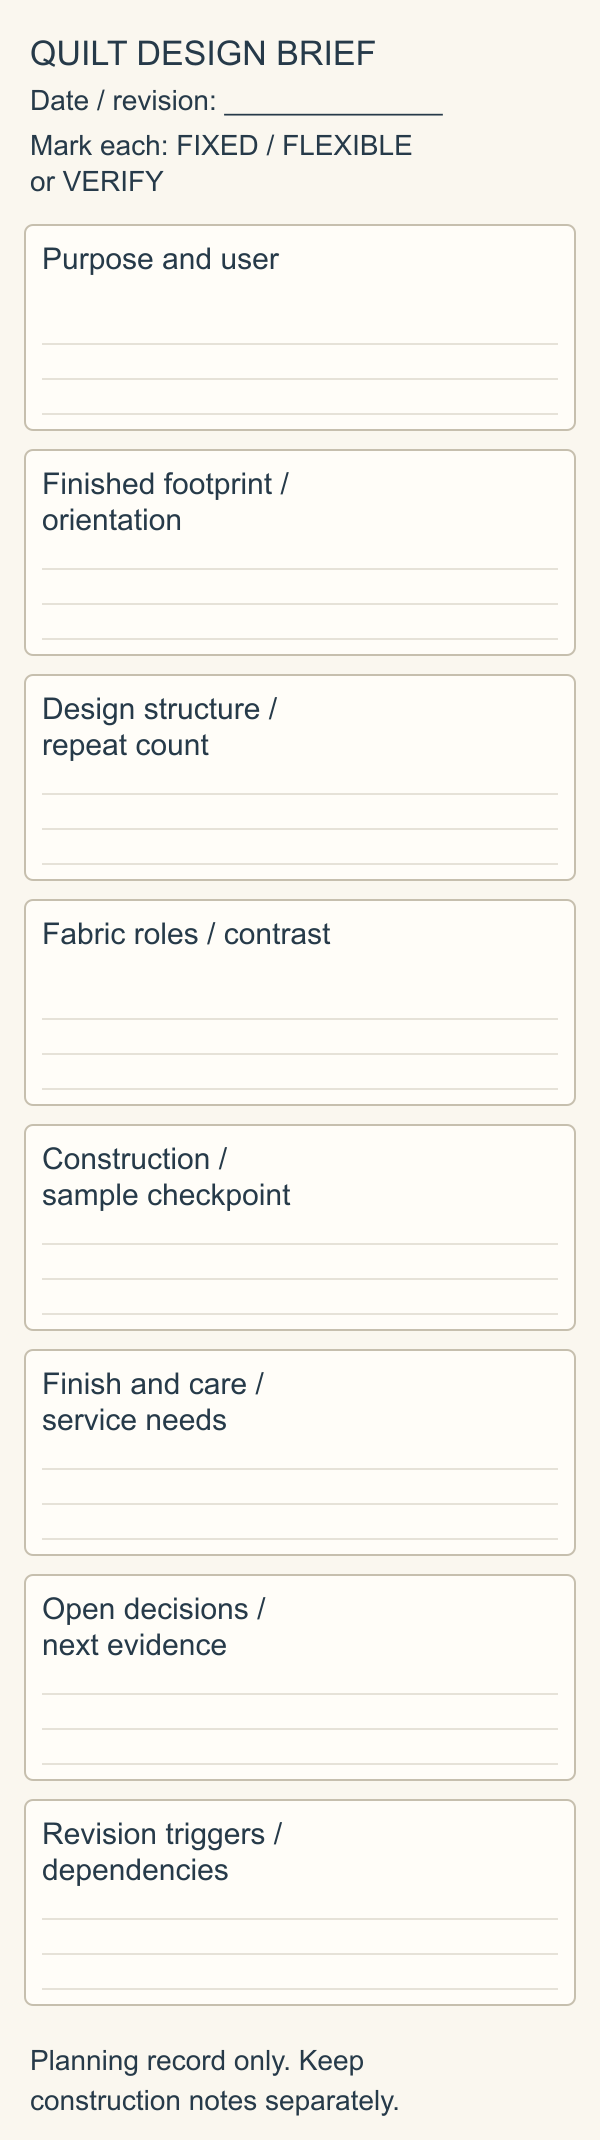
Describe fabrics by role before you name brands. "Light background that stands apart from both darks" tells you whether a substitute will work. A fabric name on its own doesn't.
Fill in the structure with numbers
Our throw uses twelve 15-inch finished Rail Fence blocks, set three across and four down, with no sashing or border. Each block has three bars, each 5 x 15 inches finished. The blocks alternate between horizontal and vertical bars.
Check the math before anything else:
- Width: 3 x 15 = 45 inches.
- Length: 4 x 15 = 60 inches.
- Blocks: 3 x 4 = 12.
- Bars: 12 x 3 = 36, so 12 blue, 12 cream and 12 rust.
These are finished sizes. Seam allowances, spare fabric, backing, batting and binding go in your cutting plan.
Write down why you chose this structure. Here it's wide bars that show off a print, and nothing but straight seams. If a print gets lost in a 5-inch bar, change the fabric before you redesign every block.
The whole structure fits on one line of the brief: 45 x 60; 3 x 4 blocks; 15-inch Rail Fence; 36 bars; no border; alternating direction. For choosing blocks and sketching a whole top, see our guide to designing a quilt.
Give each fabric a job
In the throw, cream separates the darker bars. Blue is the strongest dark. Rust is the warm contrast. Blue and rust don't need to be equally dark, but both should stand clear of the cream at 5 inches wide.
Write the role first, then pick prints to fill it. To audition, cut a 5 x 15-inch window in paper and lay it over the real fabric. Look at the overall effect and at the part of the print that will actually show.
The American Patchwork & Quilting editors' drafting guide suggests a similar fabric mockup with finished-size pieces. Those pieces have no seam allowance, so keep them for auditions only. Our color-theory guide covers value and print scale in more depth.
The fabric line on our brief reads: Verify blue/cream contrast and rust print scale with real fabric. Prints flexible within each role. Yardage not worked out yet.
Note construction and finishing
Name the pattern or method you'll follow, then set a checkpoint. For the throw: straight-seam three-bar block; sew one and measure it before batch cutting. With 1/4-inch seams, an unfinished block should measure 15-1/2 inches square.
Drawings show finished sizes. Seam allowances belong in the construction plan, and triangle units need their own math. Don't copy a number from a drawing into a cut-size column just because both are in inches.
Finishing decisions can reach back into earlier ones. Note whether you'll quilt it yourself or send it out, how you'll finish the edge, and what goes on the label. Read the batting and fabric instructions. If you're using a longarm service, ask for its backing and prep requirements before you buy backing.
For our throw, straight-line quilting and a bound edge are preferences. Spacing waits on the batting label. "Machine washable" stays under Verify until you've chosen the materials. If you're deciding how to quilt it, compare walking-foot and free-motion quilting.
Decide in advance what reopens a choice
A revision trigger is a concrete event that makes reopening a choice worth it. Good triggers:
- The recipient needs more length.
- A fabric fails the contrast audition.
- The sample block doesn't measure what the plan says.
- The longarm quilter needs a different backing size.
Say the recipient asks for 75 inches of length. Add one row of blocks and the layout becomes 3 x 5: 45 x 75 inches, 15 blocks and 45 bars. Each color now needs 15 bars, three more than before. Update the layout, counts, cutting and finishing in one pass, then check you have enough fabric.
A new palette you happen to love isn't a trigger. Save it on a separate page for the next quilt.
Your next step: audition the fabric and sew one block
Finish the brief with the one action that could still change your cutting. For the throw, that's audition the three fabrics, then sew and measure one block. Date the sheet, and give each later change a one-line reason.
You can check the layout on screen before you cut. Draw the three-bar block in the Block Editor, once with horizontal bars and once with vertical ones. Then set them in a Grid quilt in the Quilt Editor, three columns by four rows of 15-inch blocks. The Layout panel shows the finished size beside its heading, so you can confirm 45 x 60 and try a fifth row in a few clicks. Screen color is only approximate, so still audition the real cloth.
Quilt Editor: arrange blocks and fabric →Set rows, columns and block size, and read the finished dimensionsRelated posts
Choosing Quilt Block Size: Which Size Fits Your Quilt?
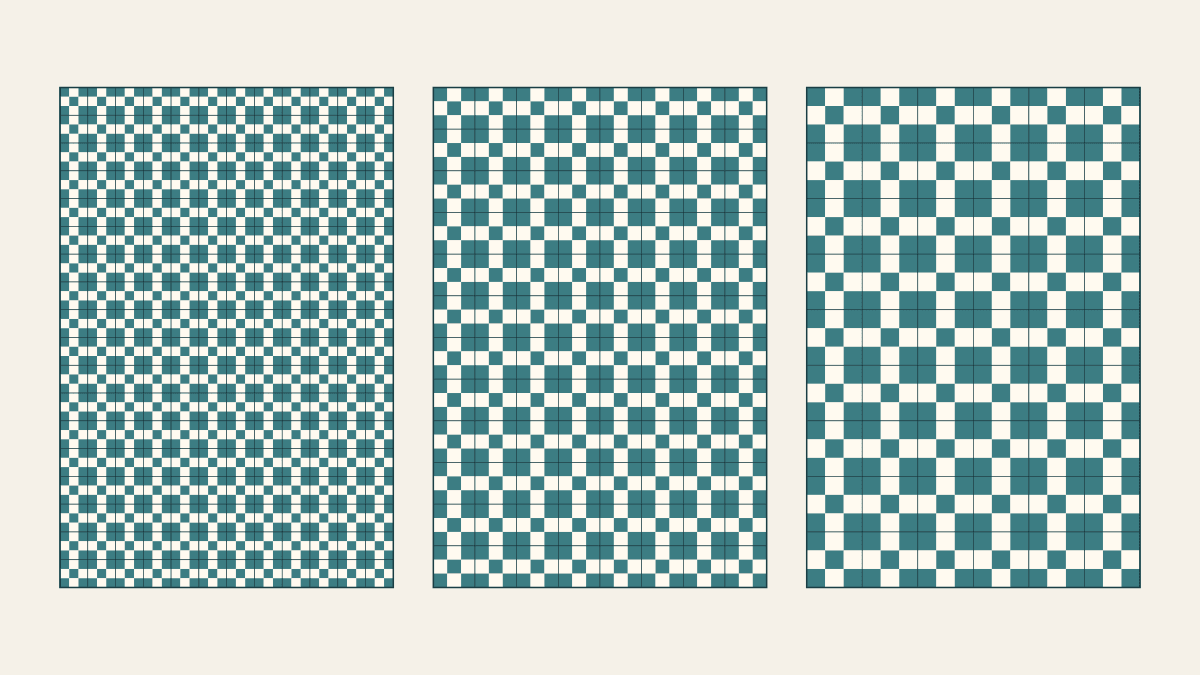
Compare three Nine Patch scales for one quilt footprint, count the joining work for a stated method, and audition prints at patch size.
How Long Does It Take to Make a Quilt? Work Out Your Own Time
A simple throw often takes two to four weeks of spare-time sewing. Here's how to time one batch of blocks and turn it into hours and a finish date.
How to Make a Quilt Pattern Smaller Without Losing the Center
Drop whole rows and columns first. Here's how we'd shrink a 48 x 60-inch throw to a 26 x 38-inch wall quilt and keep its 12-inch center.