


What to Write in a Quilt Project Reflection

A good quilt project reflection answers three questions while the quilt is still fresh: what happened, what it means and what you'll do next. Teachers call this the "What? So What? Now What?" cycle, as York University's guide to reflection explains. For a quilt, that means writing down the planned and finished size, what worked, what didn't, and one change to try on the next quilt.
Keep it short. A handful of useful lines beats a page that scores every seam. The rest of this guide shows what to record, how to keep facts apart from guesses, and a four-column log you can copy.
Start with what the quilt was for
Write one sentence about the quilt's job. A sofa throw, a wall quilt seen from across the room and a gift with a fixed date have different priorities. Judge the finish against that job.
Quilter and designer Sherri McConnell builds reflection into her quilting planner, alongside goals and works in progress. She asks what you enjoyed and where you want to focus next. That belongs in the log too. A process you loved may be worth repeating even if it took longer than planned.
Add the basics that tie the notes to the quilt: a project number, the pattern or design credit, the finish date and who worked on it. Mary M. Covey's record-keeping post suggests numbering each project, photographing it and writing down the story behind it.
If you never wrote a plan, say so: "planned size from memory." A remembered target is still useful, but it shouldn't pass for a dated plan when you compare finishes later.
Keep facts, observations and guesses apart
A fact is something you measured or counted, with how you measured it. An observation is what you saw or felt: a bulky intersection, a print that blurs from across the room, a quilt that fought you under the machine. A guess is your idea about why.
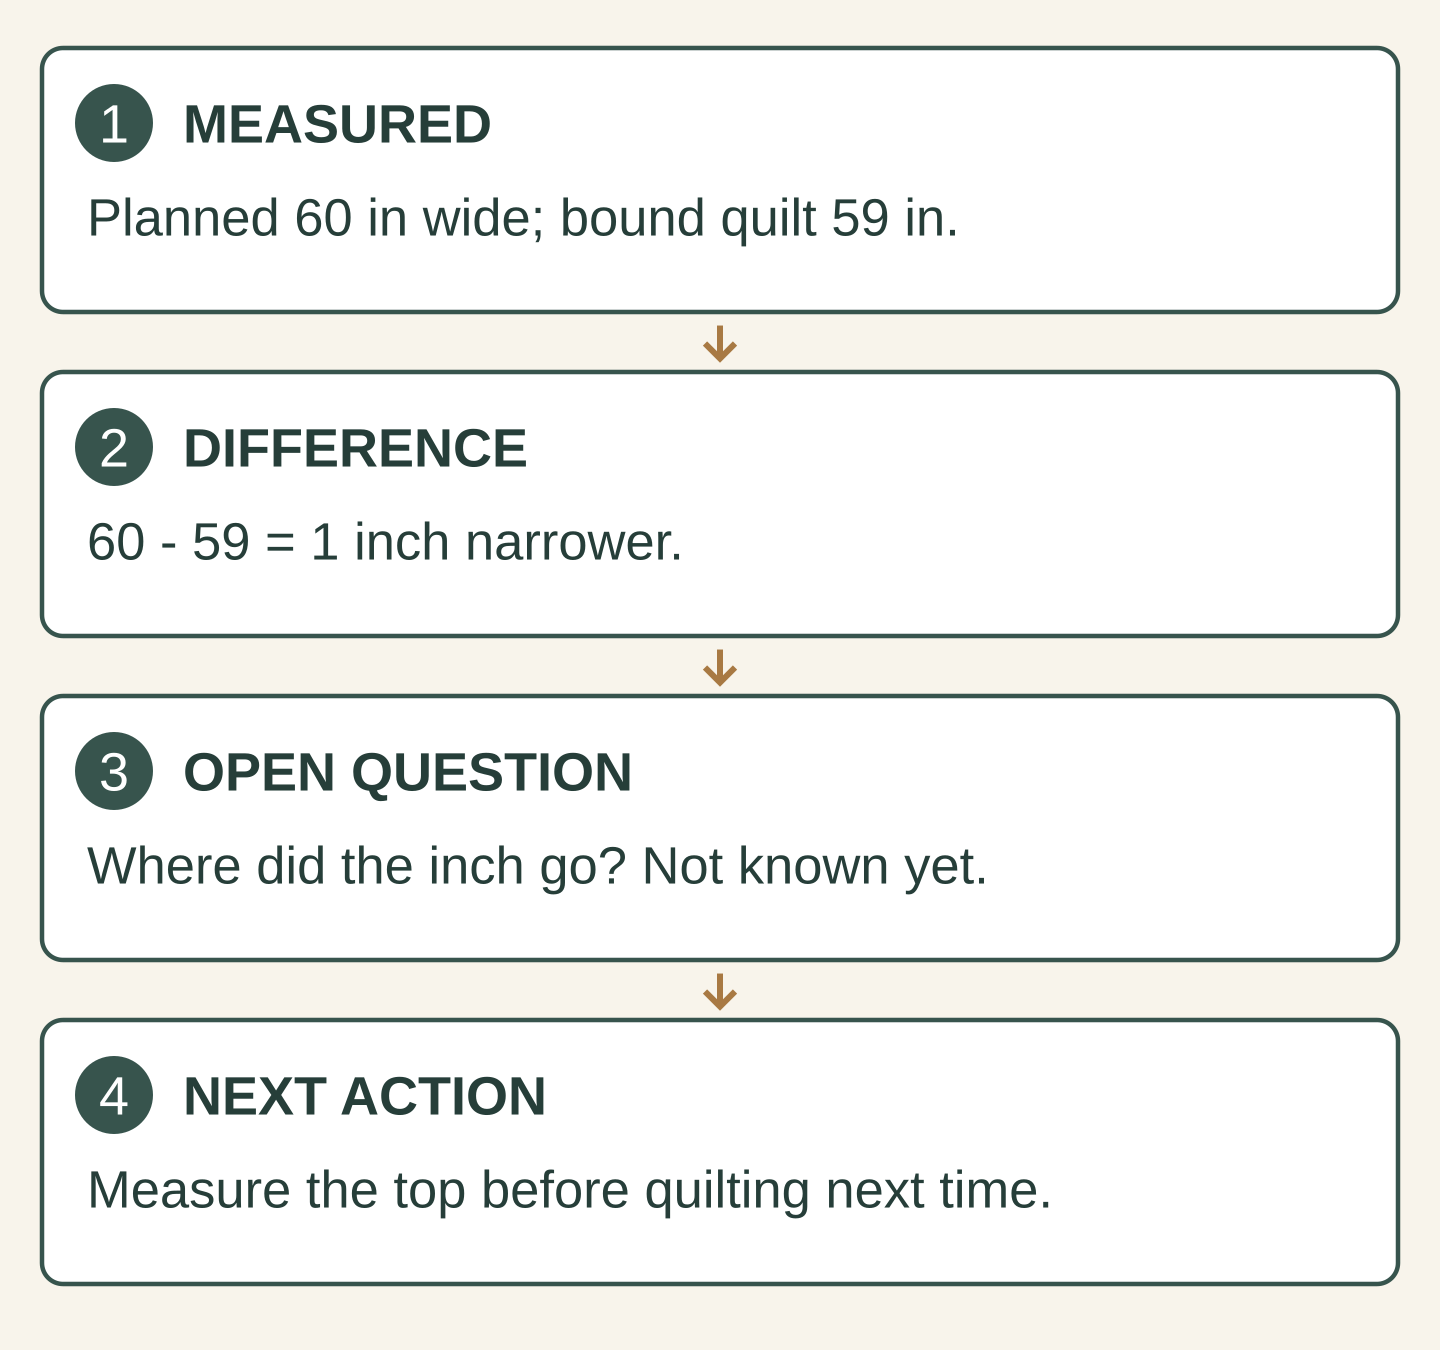
"The finished quilt measured 59 inches wide" is a fact. "The batting shrank it" is a guess. To know that, you'd need to separate batting, quilting, pressing, seams and measuring. The log can hold the question until you have that evidence.
Next to each entry, note where it came from: a photo, a cutting note, a measured sample or the maker's instructions. If you didn't check something, write "memory" or "not measured." Future you will thank you.
Measure at named stages
Write down when you measured as well as the number. The planned finished size, the pieced top, the quilted top, the bound quilt and the quilt after washing are different stages. Comparing numbers from two stages without saying which can send you hunting for a problem that isn't there.
Lay the quilt flat and measure width and length through the middle and near both edges. If they differ, record all of them. Don't stretch the quilt to match the plan.
Here's a made-up example to show the arithmetic:
| Stage | Width | Length | Source |
|---|---|---|---|
| Planned finished size | 60 inches | 72 inches | Plan |
| Bound, before washing | 59 inches | 70 inches | Tape measure |
| Difference from plan | 1 inch smaller | 2 inches smaller | 60 - 59; 72 - 70 |
The quilt came out 1 inch narrower and 2 inches shorter than planned. Those numbers tell you there's a gap. They don't tell you where it came from, how much washing will change it, or how much bigger to make the next top.
So the useful next step is to add the missing stage: "Measure the top before quilting next time." The next finish then shows whether the size changed during piecing or during quilting.
If the quilt had to fit a bed, go back to the size decisions in how to design a quilt. What matters is whether it fits the bed. Missing the exact number by an inch may not matter at all.
Name the technique moment
"Piecing was hard" is hard to act on. "I lost track of which way the blocks faced when joining the last two rows" points to a fix: label the rows and take a photo of the layout before you sew.
Record what helped, too. If a layout photo saved you when blocks got shuffled, keep the habit and note when it paid off. If you didn't keep notes while sewing, write what you remember and label it as memory.
Take two photos: a close-up of the detail and a whole-quilt view. A close-up can make a small flaw look big, and a full view can hide the spot you want to study. You need both.
Keep taste separate from rules. "For gifts I prefer fewer tiny pieces" is a useful planning note. "Small pieces are always a mistake" is more than one quilt can prove. For unit sizes and block math on the next design, see how to design a quilt block.
Tie material notes to evidence
Keep fabric, batting and thread details in your materials record. In the reflection, note only what matters for the next decision, and point to the fuller record.
After the first wash, add a care note. Date it and say what you did and what you measured.
When you want to know how a material behaves, make a sample. Hobbs recommends making samples with its Heirloom Premium 80/20 batting to see how it needles and launders before using it on a project. "Make and wash a sample with this batting" is a strong next action. Report what the sample shows only after you've made it.
This log is for quilts you've just made. For an heirloom or older quilt, don't test anything on the quilt itself. At the National Quilt Museum, Gerald E. Roy advises asking a reputable textile conservator before washing an important family or historic quilt.
Copy the four-column finish log
Copy these prompts into a notebook or document. Fill in only the rows that taught you something.
| Topic | What happened (evidence) | What it means or asks | Next-project action |
|---|---|---|---|
| Intended use | Did the quilt do its job? | Which requirement mattered? | Keep or change it |
| Size | Measurements, stage and date | Which stage is missing? | Add that measurement |
| Technique | One helpful or hard moment | Is the cause known or guessed? | Try one named change |
| Materials | Product record and sample notes | What is still untested? | Make a sample or ask the maker |
| Planning | Dated decisions or session notes | What could happen earlier? | Add one checkpoint |
| Enjoyment | What you liked or would skip | Did it suit this project? | Keep it or rethink it |
If you logged sewing sessions, say what the total includes: cutting, pressing, setup, breaks. If you didn't, label the number as an estimate. The calendar span from start to finish isn't the hours you sewed.
End with repeat, change and investigate
Close the log with three short lines:
- Repeat: one choice your own experience supports.
- Change: one action you can describe clearly.
- Investigate: one question this quilt couldn't answer.
For the size example: repeat the project number and photos, change the routine by measuring the top before quilting, and investigate where the inch went. The next quilt may use different batting or denser quilting, so it needs its own measurements.
Your next step
Save the log with a whole-quilt photo and the notes it cites. Before you start the next related quilt, read the change you chose and decide whether it still applies. Then write the new quilt's planned size down before you cut.
If you plan the next quilt in QuiltLab's Quilt Editor, Properties shows its finished dimensions beside the Layout heading. Borders you add count toward the overall size. Copy that size into your log as the planned stage. The Quilt Editor guide covers layout, borders and reopening saved quilts.
Related posts
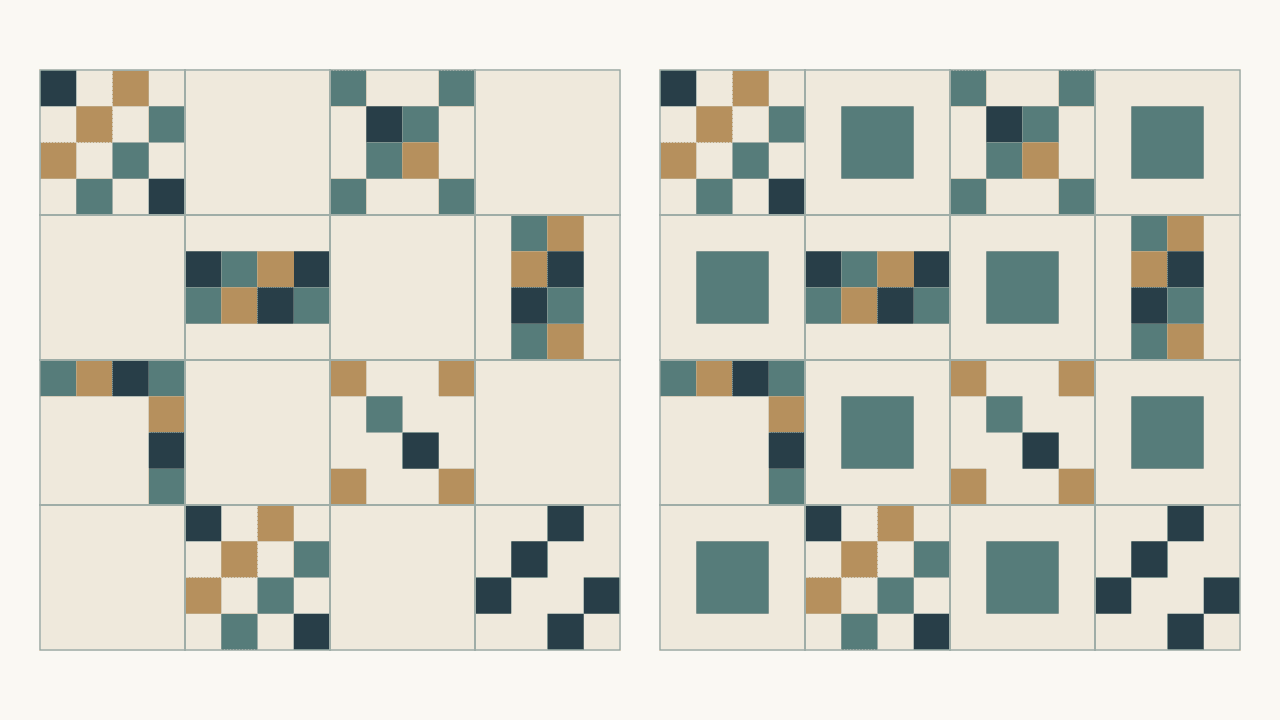
Alternate Blocks for Sampler Quilts: Plain or Pieced?
Plain alternate blocks give a busy sampler room to breathe; a simple repeated block adds rhythm. See how each changes your block count and quilt size.
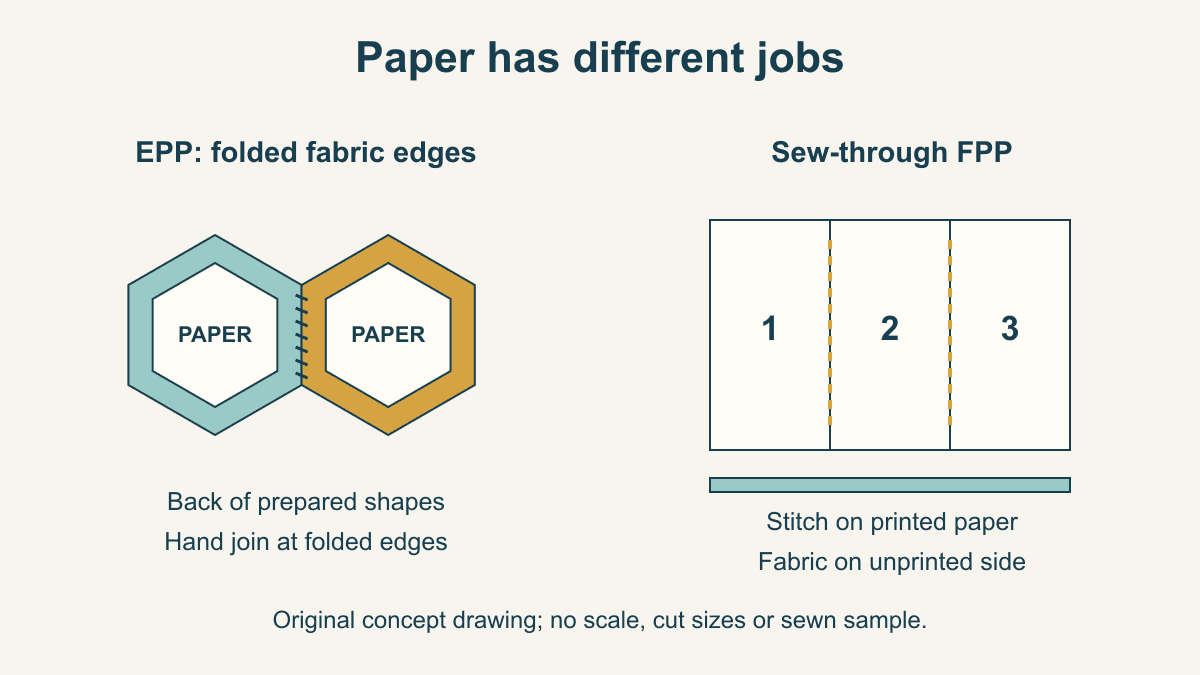
English vs Foundation Paper Piecing: Which Should You Try?
Compare what the paper does, where stitching happens and which project brief suits EPP or sew-through FPP before choosing a pattern.
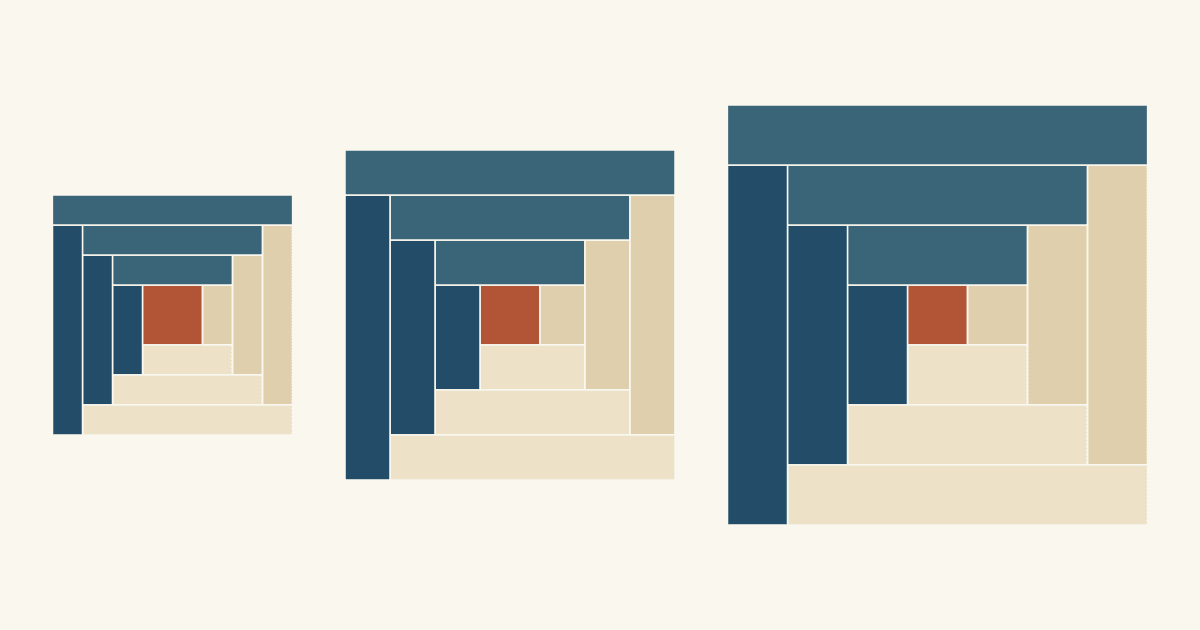
Log Cabin Strip Width: How Wide Should Logs Be?
Most Log Cabin strips are cut 1 1/2 to 2 1/2 inches wide. See how each width changes block size, the center's weight and the number of seams.