


How to Design a Quilt Block: Grids, Units and Measurements
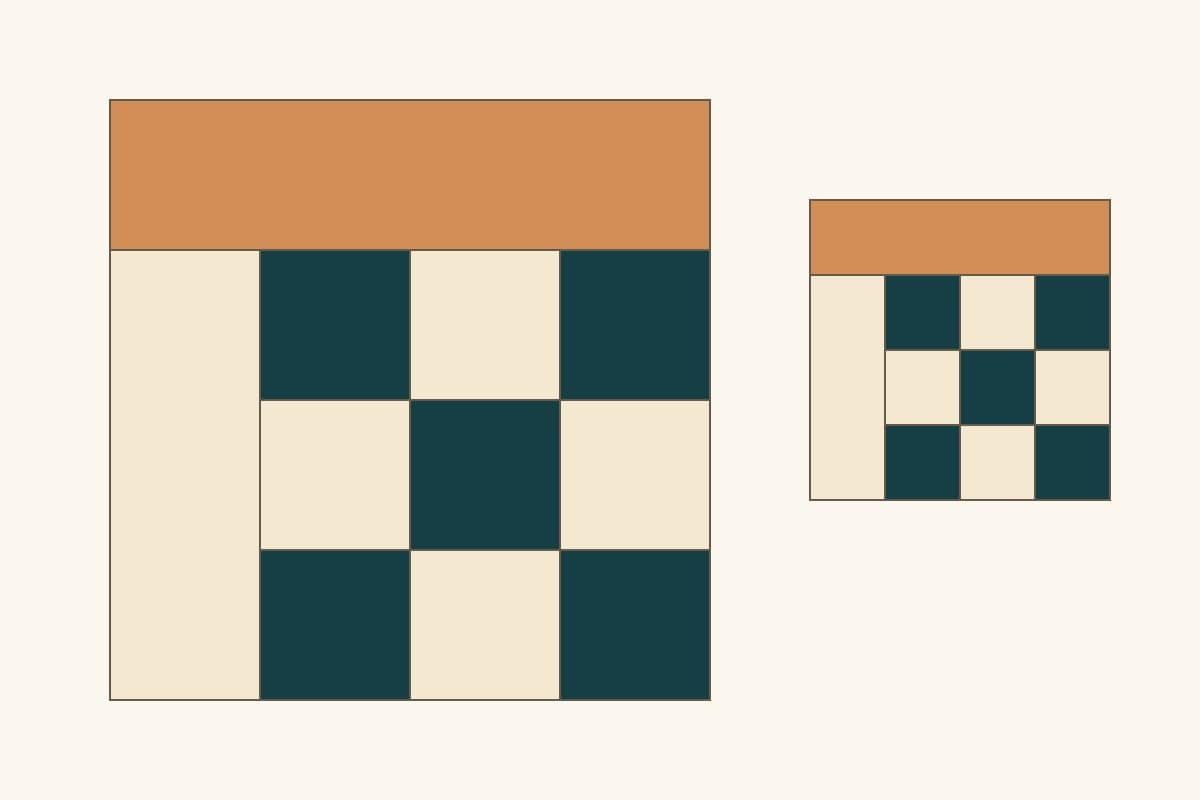
Knowing how to design a quilt block means connecting three things: the picture, the measurements and the order in which you can sew the pieces. A grid helps you connect them. Start with finished geometry, choose a block size that gives practical patch dimensions, and add seam allowances only when you make the cutting plan.
We'll work through an original 8-inch block with eleven pieces: a checkerboard, a side bar and a top bar. All its patches are squares or rectangles, and all seams can be sewn straight across. The example is a checked design study, not a sew-tested pattern or a full-size cutting template.
Choose a grid before choosing tiny measurements
A block grid describes proportions. A Four Patch begins on a 2 x 2 grid; a Nine Patch begins on a 3 x 3 grid. You can subdivide cells or merge several into one rectangle. A grid line is a planning guide, not necessarily a seam.
The American Patchwork & Quilting drafting guide explains how grid-based blocks can be drawn at finished size before adding allowances. It also notes that curves and unusual shapes can call for other construction methods. This square-and-rectangle exercise deliberately stays on a simple grid.
For a square block, divide its finished width by the number of grid units across:
Finished grid unit = finished block width / units across.
| Grid | Finished block | Finished grid unit | Practical implication |
|---|---|---|---|
| 3 x 3 | 9 inches | 3 inches | Equal square patches are straightforward. |
| 3 x 3 | 10 inches | 3-1/3 inches | Repeated thirds complicate rotary cutting. |
| 4 x 4 | 8 inches | 2 inches | Useful for our square-and-bar study. |
| 4 x 4 | 12 inches | 3 inches | Same proportions, larger patches. |
The 10-inch Nine Patch is mathematically possible. The point is to recognize the fraction before cutting, and choose another size or construction approach if it makes the project awkward. Rounding every 3-1/3-inch unit to a convenient mark changes the block's overall size.
Divide the block into units you can assemble
Draw an 8-inch square divided into four columns and four rows. Each cell represents 2 finished inches. Now replace some of those cells with larger pieces:
- Merge the four cells in the top row into one top bar, 8 x 2 inches finished.
- Merge the three remaining cells in the left column into one side bar, 2 x 6 inches finished.
- Keep the lower-right 3 x 3 area as nine separate squares, each 2 x 2 inches finished.
There are eleven pieces, not sixteen: two bars plus nine squares. The area check is 16 square inches for the top bar, 12 for the side bar and 36 for the checker, totaling 64. That matches the 8 x 8-inch block. The shapes share edges and fill the block without overlapping.
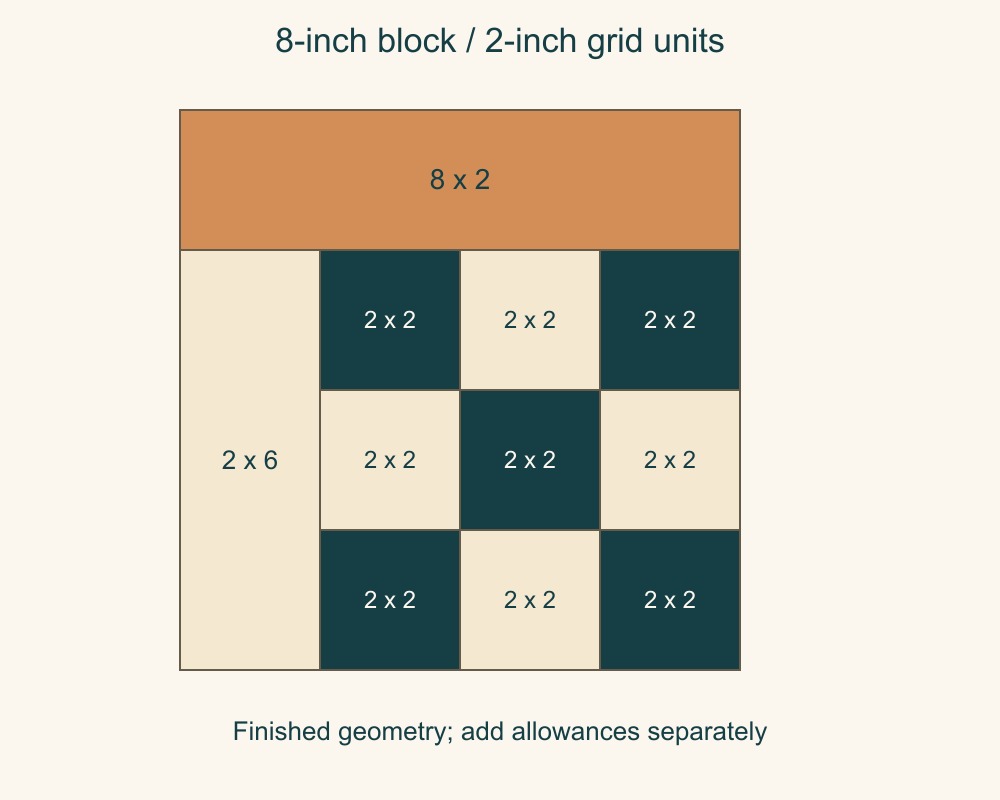
Use two values in the checker: five dark squares in its corners and center, and four light squares between them. Give the bars a distinct role, perhaps a medium accent above and a light background at the side. Keep the first mockup plain enough to see the geometry before trying directional prints.
Julie Baird's grid-unit drafting lesson at Generations Quilt Patterns separates identifying a grid from identifying the larger units inside it. That distinction matters here: the nine small squares first make a larger checker unit, and the bars are added around that unit.
Check the sewing order while the block is still a drawing
Trace complete straight seams on the sketch. Our checker can be sewn as three rows of three squares. Those rows join into one square unit. Then the side bar joins to the left edge, and the top bar joins across the full width.
That gives four useful stages:
| Stage | Finished geometry | Expected unfinished size |
|---|---|---|
| Each checker row | 6 x 2 inches | 6-1/2 x 2-1/2 inches |
| Complete checker | 6 x 6 inches | 6-1/2 x 6-1/2 inches |
| Checker plus side bar | 8 x 6 inches | 8-1/2 x 6-1/2 inches |
| Complete block | 8 x 8 inches | 8-1/2 x 8-1/2 inches |
These checkpoints assume accurate 1/4-inch seams. For example, three 2-1/2-inch cut squares total 7-1/2 inches before sewing. Two joining seams each consume 1/2 inch across the pair of pieces, leaving a 6-1/2-inch unfinished row.
If a different design leaves a seam ending in the middle of another patch, stop and investigate how to construct it. It may need a partial seam, a Y-seam, a subdivision or a different technique. A line on a screen does not establish that a block can be assembled in ordinary rows.
Draw the finished pieces in QuiltLab
Open the Block Editor and start a new block. Set its width and height to 8 inches. Use a 2-inch grid spacing and enable grid snapping to match the four-unit sketch.
In the Draw panel, choose Rectangle and draw the top bar across the full width of the block, one grid unit high. Use Select and check Shape Dimensions: its Width (in) is 8 and Height (in) is 2. Draw the side bar below it, 2 inches wide and 6 inches high. Then draw the nine 2-inch squares in the remaining area.
Choose Rectangle again whenever the editor returns to Select. Keep the pieces aligned to their intended grid intersections. Setting a piece's width and height checks its size; also check its position so that it meets its neighbors without a gap or an overlap.
Select a piece before assigning its fabric or changing its measurements. For this solid-color mockup, open Fabric > Colors and use the color presets to give the checker its alternating dark and light fills, then assign the bars. Use Rename block to name the design. Choose Save, enter its name and optional description in the Save Block dialog, then choose Save Block and wait for Saved. The published Block Editor guide explains drawing, fabric assignment, saving and using a block in a quilt.
Draw and save your block →Use the Block Editor's published drawing, measurement and fabric controls.If you photograph your own fabric, set the photographed area's real measurements in the Swatch Editor before judging print scale. See the Swatch Editor guide. Even with correct scale, compare the actual cloth alongside the digital preview before committing to a fabric choice.
QuiltLab's drawing represents finished geometry. For this example, draw 2-inch squares, not the 2-1/2-inch squares you will cut. The editor does not generate a cutting chart or yardage estimate for your new pieced block.
Add seam allowances in a separate cutting plan
For these squares and rectangles, adding 1/4 inch to both opposing edges adds 1/2 inch to each finished dimension. Here is the manually calculated plan for one block:
| Piece | Quantity | Finished measurement | Cut measurement |
|---|---|---|---|
| Checker squares | 9: five dark, four light | 2 x 2 inches | 2-1/2 x 2-1/2 inches |
| Side bar | 1 | 2 x 6 inches | 2-1/2 x 6-1/2 inches |
| Top bar | 1 | 8 x 2 inches | 8-1/2 x 2-1/2 inches |
Write the fabric role beside every line. If the side bar uses the same light fabric as four checker squares, it still needs its own line because its shape and cut size differ.
Do not use the square-and-rectangle rule to choose starting squares for half-square triangles, quarter-square triangles or Flying Geese. Their extra fabric and trimming requirements depend on the construction method. Choose a verified method before adding those units to your design; the Half-Square Triangle block reference is one place to start.
Resize the finished design, then recalculate the cuts
To make this study finish at 12 inches, multiply its finished dimensions by 12 / 8 = 1.5. The grid unit becomes 3 inches. The checker becomes 9 x 9 inches, the side bar becomes 3 x 9, and the top bar becomes 12 x 3.
The cut squares are now 3-1/2 inches. The side bar is cut 3-1/2 x 9-1/2 inches; the top bar is cut 12-1/2 x 3-1/2 inches. The eleven-piece count and assembly order remain the same.
Notice that multiplying the original 2-1/2-inch cut square by 1.5 gives 3-3/4 inches, which is wrong for this plan. You scale finished geometry and then add the seam allowance again. You do not enlarge the seam allowance along with the design.
Make a sample and check the block in repetition
Alicia of Sew What, Alicia? recommends a test block before cutting the whole quilt. Use that sample to check the sizes above, pressing direction, fabric value and whether the top bar looks balanced with the checker.
Then arrange four block drawings in a 2 x 2 group. Compare repeating the same orientation with rotating some blocks. The top and side bars may form a secondary frame when neighboring blocks meet. Look for that effect before multiplying your piece count for a full quilt.
Keep the corrected drawing, cutting table and sample measurements together. Once those agree, the design is useful beyond the screen: another block can be made from the same instructions, and a larger layout can be planned without confusing finished sizes with raw edges.
Once the block dimensions hold in a sample, use our whole-quilt planning guide to choose its repeated layout. For a block containing triangle units, the two-at-a-time HST guide works through starting squares and trimming separately from finished geometry.
Related posts
How to Design a Quilt: Size, Layout, Blocks and Fabric
Plan a quilt you can actually make: choose its finished size, compare block counts, assign fabric roles and check the design before cutting.
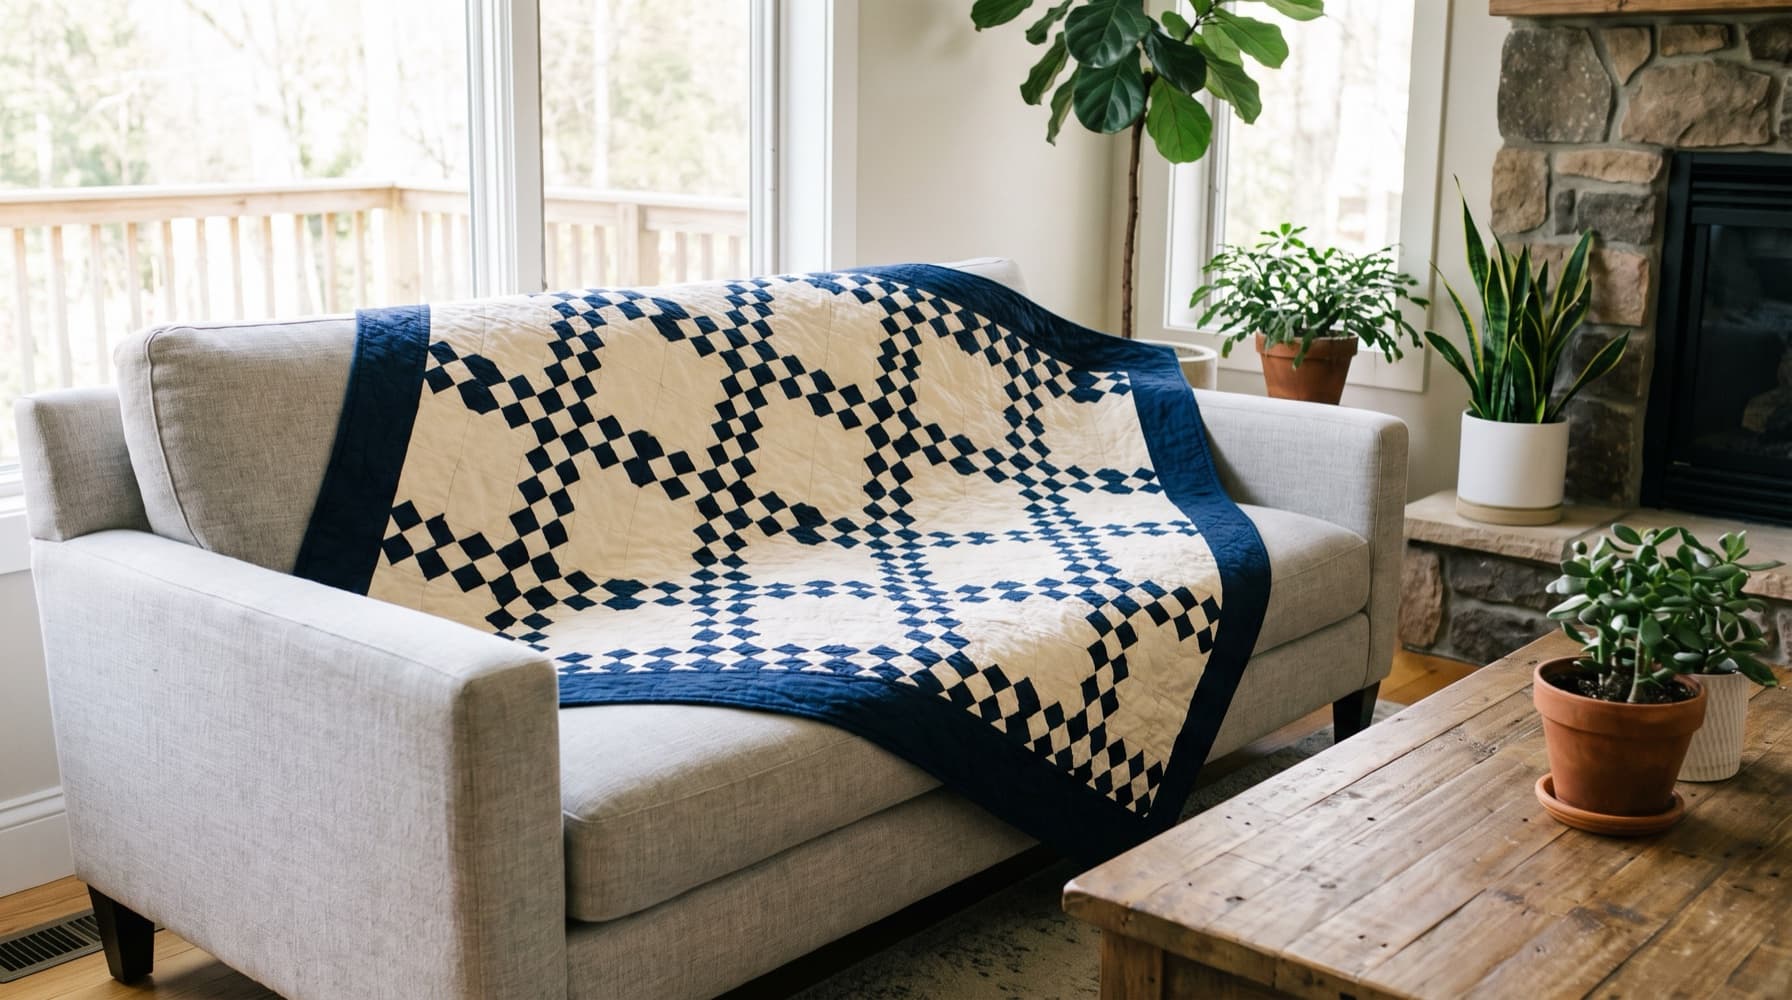
Design Your First Quilt in QuiltLab: A Nine Patch Chain Throw, Step by Step
Draw a 12-inch Nine Patch, alternate it with plain blocks to make a classic chain throw, add a border, and turn QuiltLab's finished measurements into a cutting plan.
Getting Started with QuiltLab: What Each Tool Does and Where to Begin
QuiltLab is a browser-based studio for designing quilts. Here's what each tool does, how they fit together, and where to start depending on what you want to make.