


How to Turn a Photo into an Applique Pattern
To turn a photo into an applique pattern, simplify it into a few large fabric shapes, trace their outlines, and decide how those shapes will overlap. For a first project, choose one clear subject and plan raw-edge applique: you can cut the visible outlines without turning a seam allowance under every edge.
Start with a flower, a house or a simple profile that fills the frame. The goal is a fabric interpretation you can cut and attach. A useful digital trace gives you shapes to review; your construction plan supplies the scale, edge treatment and transfer direction.
Choose the subject you want to keep
Use a photo you took or have permission to reproduce. Save the unchanged file before cropping or adjusting it.
Look for the outer contour and two or three large light-and-dark areas. Ask what makes the subject recognizable: a roofline, a pet's ears or the outline of a flower. Keep those features, then decide which background objects and small highlights you can leave out.
Art quilter Leni Levenson Wiener's photo-collage tutorial begins with a single pear. She simplifies the photograph into color regions, refers back to the photo for fabric choices, and uses value to give the shapes dimension. That is a useful starting approach even if you eventually choose a different transfer or stitching method.
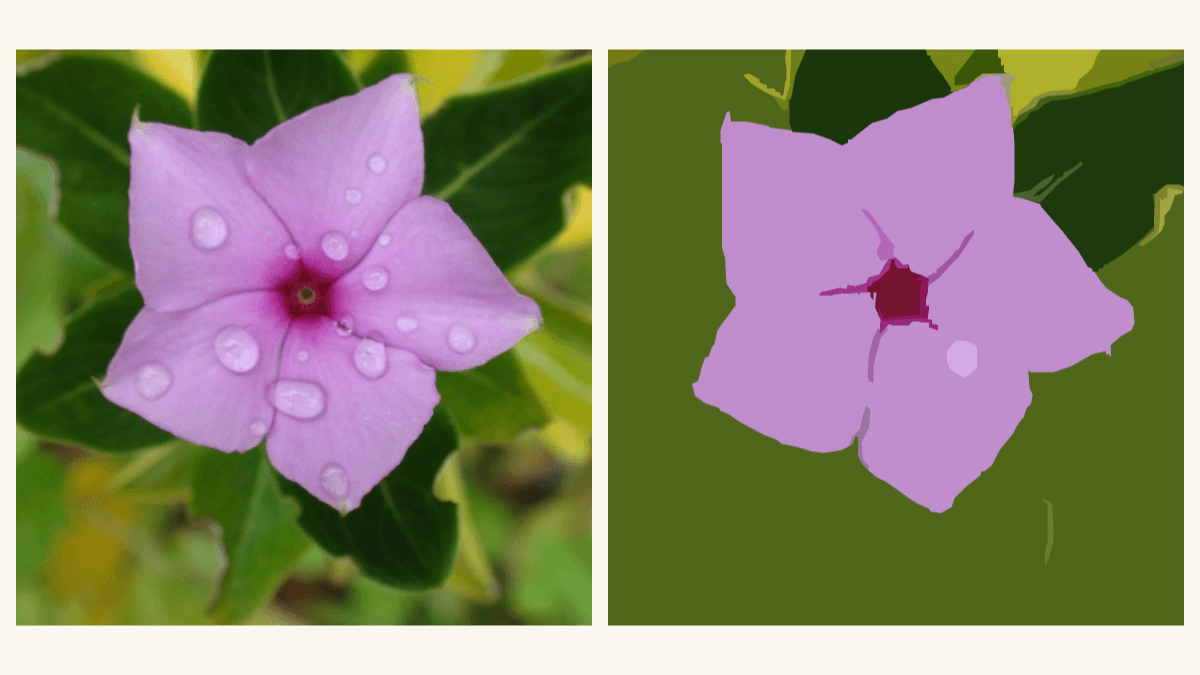
Our example uses Morning Flower from Wikimedia Commons, credited on its current file page to Velatrix and released under CC0. The original upload and structured creator record name Nicolas M. Perrault. We cropped the photograph to a square and resized that crop outside QuiltLab; we did not remove its background.

The pink petals, dark center and green surroundings give us three broad fabric roles. The water droplets and small leaf highlights are optional details for a first interpretation.
Try the photo trace in QuiltLab
Sign in and open the Quilt Editor. From File > New Quilt, choose Photo Mosaic, then create the quilt. The Quilt Editor guide introduces this design mode. Applique tracing requires paid access; check current access and limits before relying on it.
- In Properties > Settings > Image, choose Upload Image. Wait for the image to load.
- Under Pattern, select Applique.
- Review Tracing Settings. Color precision changes how many color variations the tracer detects; Path smoothing changes the outlines. Min region area (px) and Corner threshold (deg) also affect the result.
- Choose Trace Image and let it finish. If you change the settings later, the action becomes Re-trace Image. Wait for the operation to complete before inspecting or exporting the new result.
- Save the quilt, wait for Saved, and reopen it to check the selected result. The saving and recovery guide explains the destination checks.
For our recorded October 15 production run, we used a 768 x 768-pixel crop. Before switching to Applique, we set a nominal 12 x 12-inch layout in Squares mode: 4-inch blocks, three columns and three rows. The successful trace used Color precision 6, Path smoothing 0.5, Min region area 100 and Corner threshold 60. These describe this example, rather than settings that suit every photo.
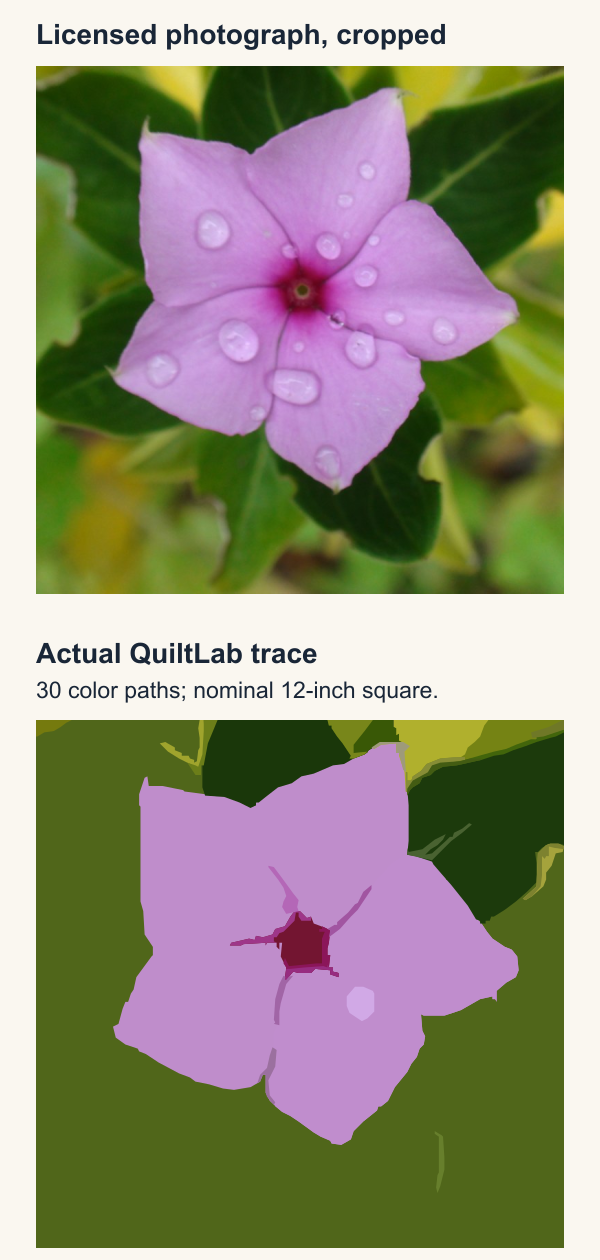
The downloaded SVG contained 30 color paths, with one path in each color. The flower remained recognizable, but narrow center lines and background slivers still needed review. The displayed Maximum colors setting was 16; this trace returned 30 colors. Check the actual traced result rather than treating that setting as an applique color ceiling.
One later retrace timed out in production. If a retrace fails, preserve the source and last checked export, and confirm which result you are viewing before continuing. An existing ready preview can remain visible while a replacement is processing or has failed.
Turn the traced regions into a fabric plan
Begin with the largest useful shapes, then add details that earn their cutting and stitching work. You do not need thirty fabrics just because a trace contains thirty color paths.
For this flower, a practical first paper plan would use:
| Fabric role | Shape to draw on the master | Decision before cutting |
|---|---|---|
| Background | One square field | Keep or omit the separate leaves |
| Flower | One broad outer silhouette | Smooth tiny jagged sections |
| Center | One compact dark shape | Place it over the flower |
That three-role plan is a proposed manual simplification of the pictured trace. It is not a second QuiltLab export. Draw the simplified master yourself, keeping the photograph beside it to judge the contour and center position.
Wiener's method builds a whole-subject foundation before layering smaller shapes over it. For our plan, the flower can similarly remain one continuous piece beneath the dark center. Draw the center's placement line on the paper master, while keeping the underlying flower intact there. Avoid turning every touching color boundary into two edges that must meet perfectly.
Number the proposed pieces in placement order: background, flower, center. If you add a leaf, decide whether it goes behind or in front of the flower before tracing its template. Record that decision on the master instead of relying on memory at the ironing board.
The guide's color-key percentages describe shares of traced path counts, not measured fabric area. In our result, a single background path and a small detail each contributed one of thirty paths. The background also extends beneath later shapes. Those figures cannot tell you how much fabric to buy.
Choose the edge method before adding allowances
For the raw-edge study recommended here, your visible flower outline is also its intended fabric edge. Decide how you will secure that edge, and try the method on the intended fabric before preparing the whole image.
Nancy Scott's raw-edge fusible applique lesson explains preparing finished-size shapes, fusing them and securing the edges with stitching. Follow the instructions for your chosen fusible, fabric and stitch rather than applying a general pressing recipe.
If you prefer turned-edge applique, the drawn line represents the finished shape. Add the allowance required by your chosen turning method outside it. Keep that added cutting boundary distinct from the visible contour. The ordinary square-piecing rule of adding half an inch to a dimension does not supply an allowance around an irregular applique shape.
Set transfer direction and physical scale
Choose which side of the fabric receives the traced pattern. Drawing onto paper-backed fusible attached to the fabric's wrong side reverses an asymmetric design when viewed from the front. Pellon's manufacturer directions explicitly call for reversed artwork on the backing when needed to preserve the final orientation.
Mark a small arrow on the master to show the direction the flower should face. Make a separate reversed transfer copy if your method requires it, and keep the master in the intended finished orientation. A different method, such as a template applied to the fabric's right side, needs its own direction check.
In QuiltLab Settings, choose Preview & export applique guide. In Applique Guide Preview, choose Export to PDF. Our actual guide had three pages, including two continued color-key pages. It is a scaled overview, not a full-size cutting template; the separate SVG also needs an explicit physical-size decision.
Our SVG measured 384 x 384 units. To use that square as a 12-inch master, set its physical width and height to 12 inches in a suitable vector or page-layout program. The relationship is 384 / 12 = 32 units per inch. A 64-unit check square would therefore represent 2 inches at that chosen scale.
Add a labeled 2-inch check square to the template document. Print at the intended scale, measure the square with a ruler, and check a second known span on the design before cutting. If the document spans several pages, confirm the tile alignment too. A correct screen size alone does not check the physical print.
Make one shape before committing the fabric
Place the background, flower and center fabrics together. Compare them through paper windows or rough paper shapes at the intended size. Keep enough contrast between the center and petals for that small shape to read clearly.
Then transfer and prepare one representative flower section using your chosen method. Check the edge, overlap and measured size before repeating the process. Keep the source photo, simplified master, transfer copy and checked export together so each file has a clear job.
If you would rather build the picture from square patches, continue to our photo-mosaic tutorial. For applique, your next step is the three-shape paper master: decide what stays, mark what overlaps, and check its printed scale before reaching for the fabric scissors.
Related posts

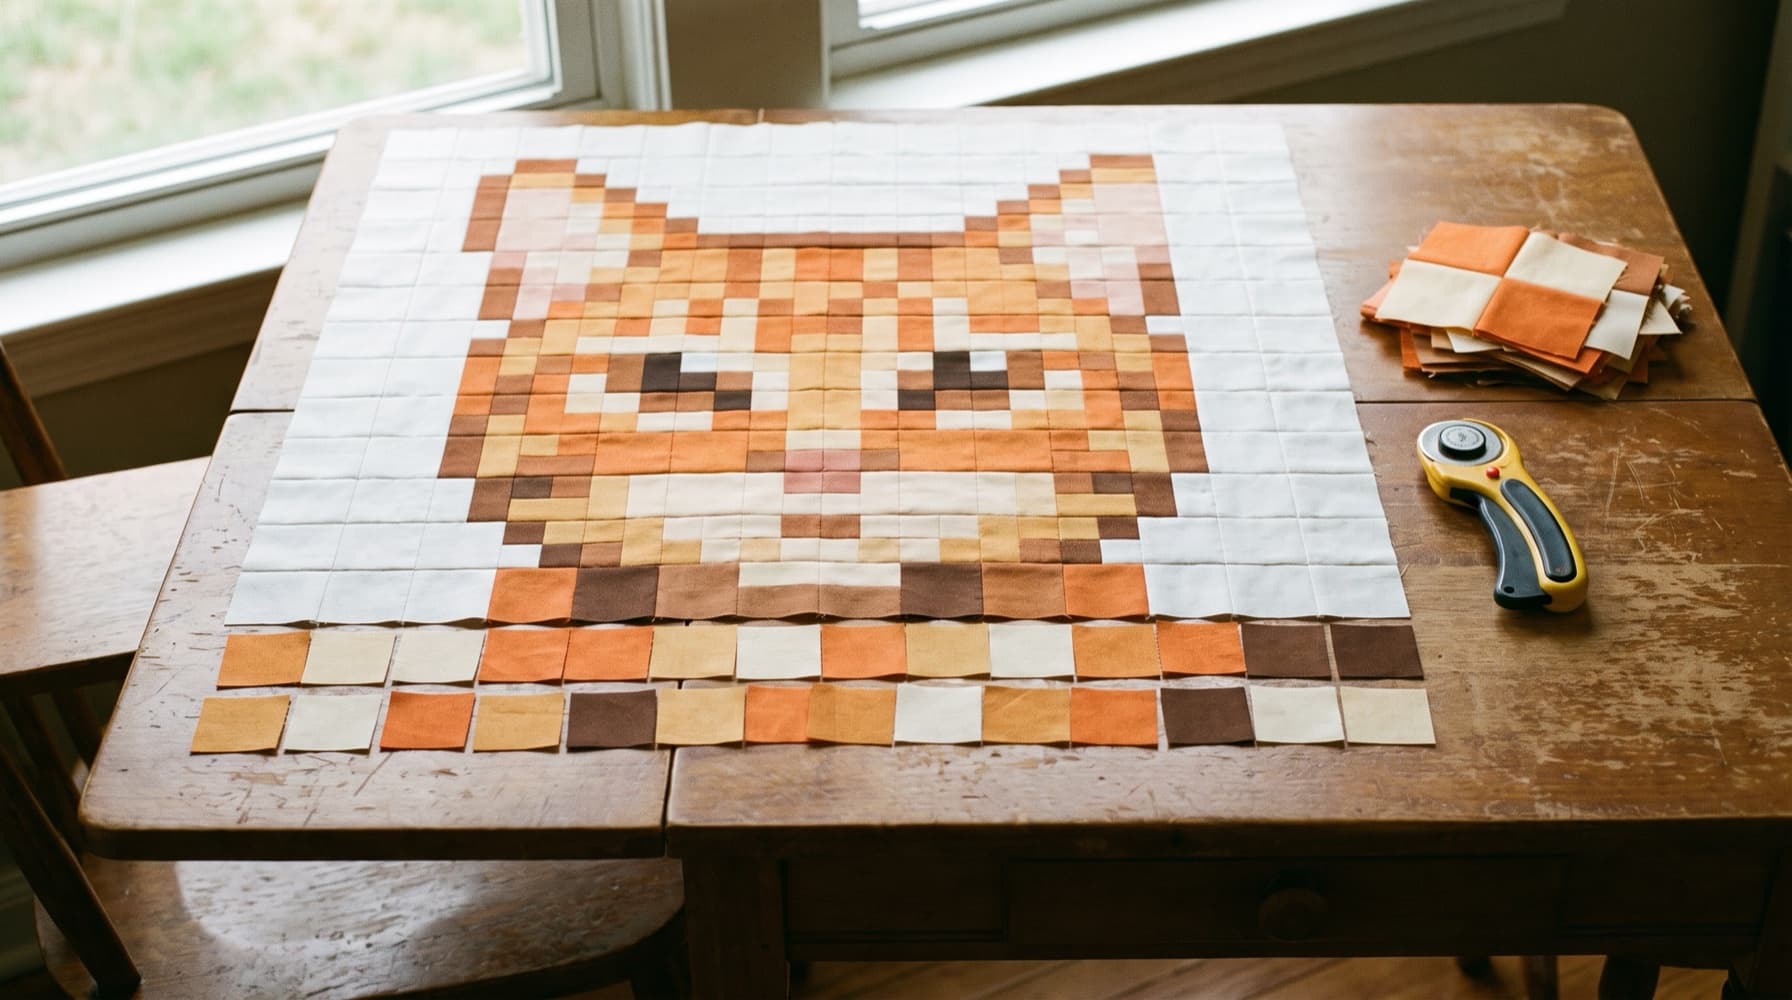
Make a Pixel Art Quilt from a Small Chart
Keep a sprite's proportions, choose finished square sizes, and check the actual conversion for lost details before cutting fabric.
How to Make a Photo Quilt with Pieced Squares
Choose a clear photo, check your mosaic and color key in QuiltLab, calculate square cuts and fabric, then sew one measured section at a time.
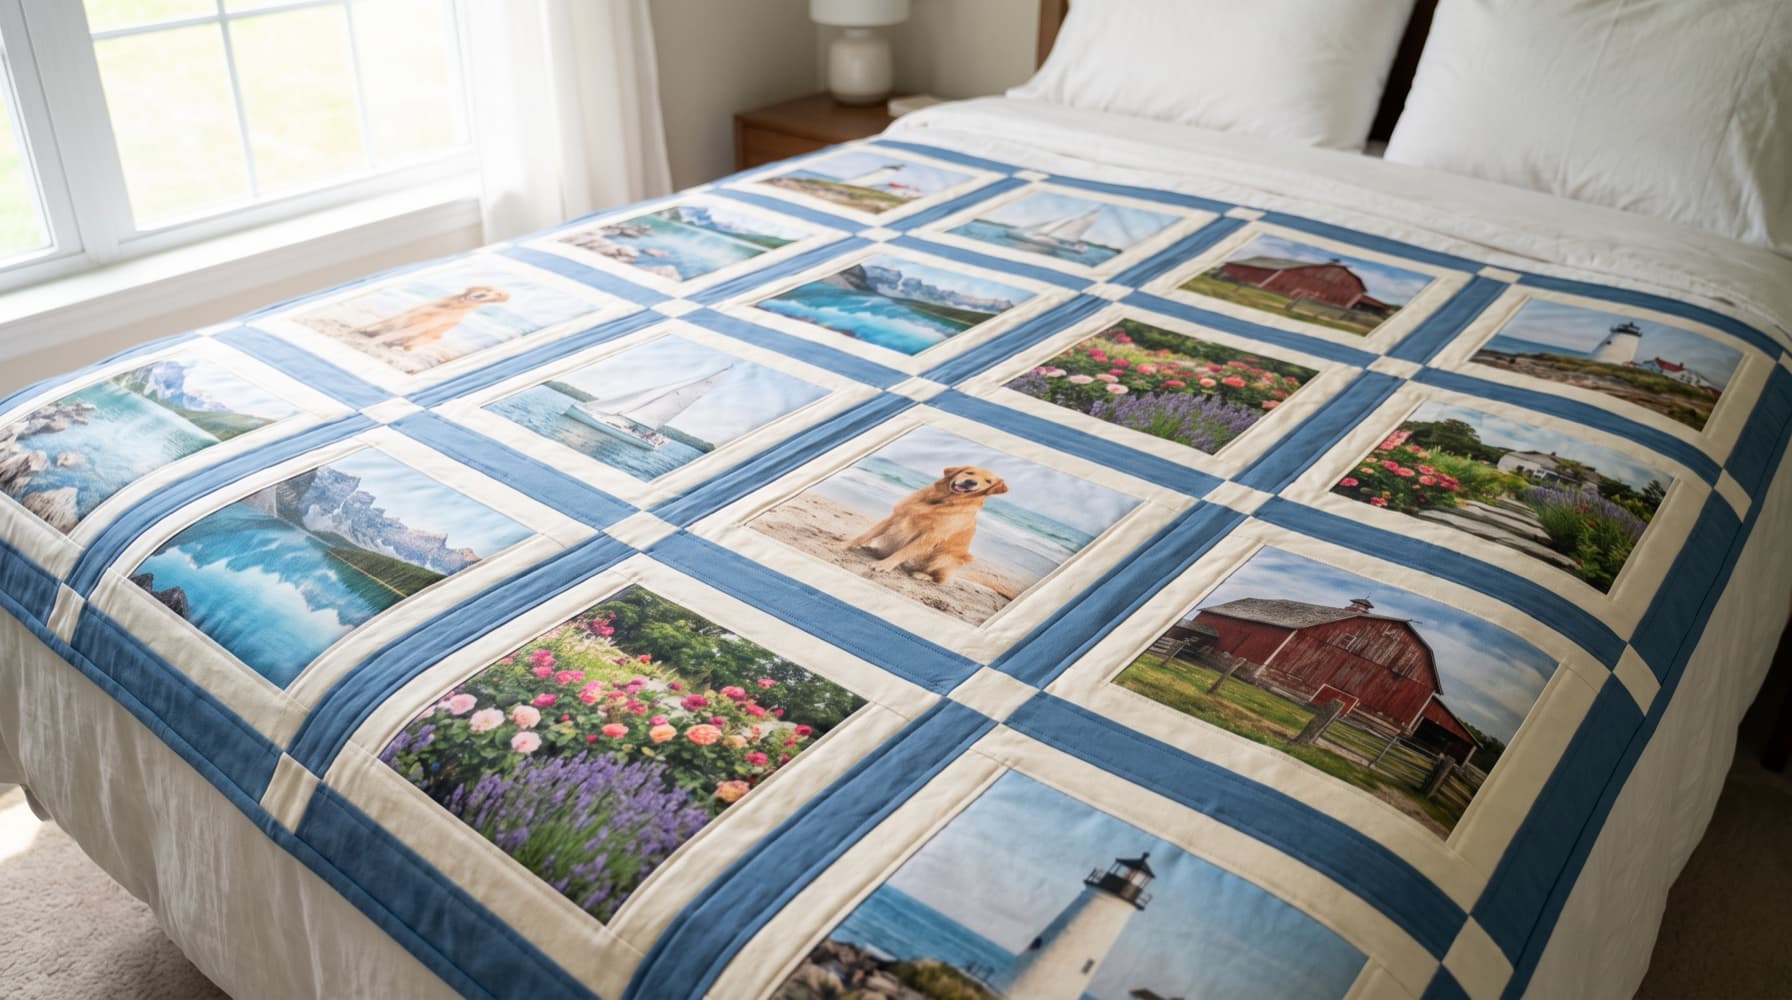
7 Photo Quilt Ideas and the Best Way to Make Each One
There are three ways to put a photo in a quilt, and each suits different pictures. Here are seven project ideas matched to the right technique, with layout sizes you can use.