


Make a Pixel Art Quilt from a Small Chart

For a first pixel art quilt, start with a small chart you drew or have permission to use. Keep one chart cell for each planned fabric square, and choose the square's finished size before cutting. Our 12-column by 8-row fish chart would finish at 24 x 16 inches with 2-inch squares, before borders.
A conversion tool can help you preview the design, but inspect the result against that chart. In our QuiltLab example, the fish's outline survived at the full grid size while its one-cell eye merged into the body. Here is how to catch that change before it becomes a missing detail in your quilt.
Start with a chart whose cells you can count
Pixel art begins with deliberate squares. A one-cell eye, a stepped roof or a gap between two shapes may carry much of the picture. Choose a small subject with an outline you can recognize before adding shading.
Amy Smart's pixelated heart quilt shows how ordinary patchwork squares can make a graphic image. Her advice to use graph paper and a calculator when resizing is useful here: count the grid first, then decide how large each square should become.
Draw your own sprite, or choose artwork with permission for your intended use. A favorite game character found through image search is not automatically a pattern you may reproduce. Keep the source and its permission record together.
For this example, we drew a fish on a 12 x 8-cell chart with three flat colors:
| Source-chart role | Planned squares | Position to check |
|---|---|---|
| Cream background | 54 | Empty space around the fish |
| Teal body and tail | 41 | Stepped outline and tail connection |
| Navy eye | 1 | Row 4, column 4 |
Count rows from the top and columns from the left. The total is 54 + 41 + 1 = 96 squares, including the background. That last point matters: empty-looking cells still occupy fabric positions in a rectangular quilt.
Preserve the grid's proportions when you enlarge it
The fish chart is three units wide for every two units high: 12 / 8 = 1.5. If all finished patches are square, that proportion stays the same at any scale.
| Finished square | Fish field, before borders | Total squares | Nominal cut square |
|---|---|---|---|
| 1 inch | 12 x 8 inches | 96 | 1-1/2 inches |
| 2 inches | 24 x 16 inches | 96 | 2-1/2 inches |
| 3 inches | 36 x 24 inches | 96 | 3-1/2 inches |
These cuts allow a nominal quarter-inch seam on each opposing edge. Enlarging each square changes the field size without adding positions. By contrast, squeezing the chart into a square field with rectangular patches changes the fish's proportions.
For a first small wall piece, try the 2-inch option on paper. Make a 2-inch square window and compare your intended fabrics through it. A busy print can hide an eye that looked clear as a solid screen color. Our solid-fabric matching guide explains how to compare digital candidates with physical samples.
Prepare a clean sprite image
Keep a copy of the cell chart. Export a clean image with flat fills, a deliberate background and no selection outlines, labels or surrounding screenshot controls.
If your image editor offers nearest-neighbor enlargement, it can expand each source cell into a larger rectangle without adding blended edge pixels. We expanded our 12 x 8 chart by a factor of 32, producing a 384 x 256-pixel PNG. That preparation preserved the authored input cells; the QuiltLab conversion still made its own color choices.
Check the exported image itself. Confirm the width-to-height ratio, the full outline and the one-cell details. Give the file a name that distinguishes it from a later edited version, so you can compare the right source with the right result.
Compare the actual QuiltLab output with the chart
Sign in to QuiltLab, then open the Quilt Editor, create a Photo Mosaic and upload the sprite. The Quilt Editor guide introduces this mode; our photo-mosaic tutorial covers the complete setup and save workflow.
For our October 15 production check, we chose Squares, Fidelity, Stretch and Maximum colors: 4. Both source and quilt had the same 3:2 ratio. We generated these two grids at the same nominal 12 x 8-inch footprint:
| Setting | Full chart grid | Coarser grid |
|---|---|---|
| Finished patch | 1 x 1 inches | 2 x 2 inches |
| Block size | 4 x 4 inches | 6 x 4 inches |
| Block columns x rows | 3 x 2 | 2 x 2 |
| Actual patch columns x rows | 12 x 8 | 6 x 4 |
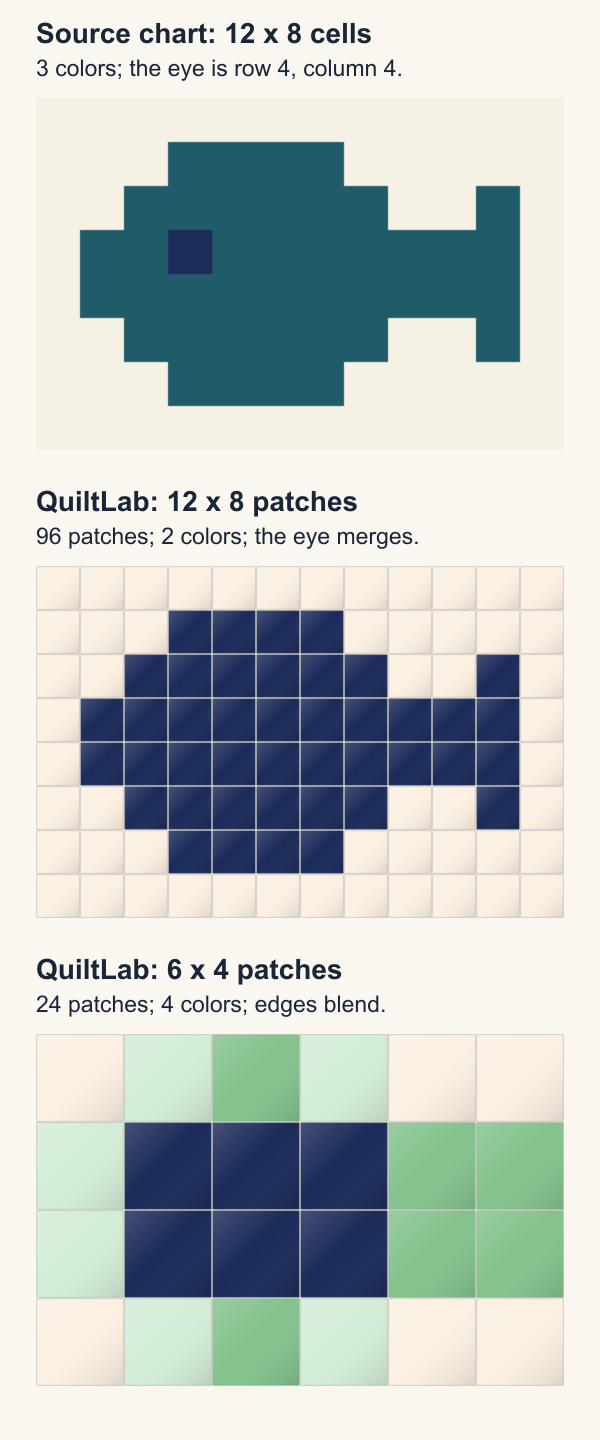
The 12 x 8 result contained 96 patches. We checked all 96 foreground/background positions against the source: the silhouette matched. The output used 54 cream patches and 42 navy patches, so the eye no longer differed from the body. The source's three colors had become two.
The 6 x 4 result contained 24 patches, one quarter as many positions. It used four colors, with six patches of each. Intermediate colors appeared along the boundary, and the narrow tail detail lost its cell structure. Increasing the finished patch size at a fixed footprint had reduced the number of places available to describe the fish.
For this sprite, keep the full chart grid. If the separate eye matters, use the checked three-color source chart for your manual fabric plan. A faithful cell-and-color copy is not guaranteed by matching the input and output grid dimensions.
Choose which version you will actually sew
Put the source beside the generated result and identify the design you prefer. Use one version consistently for the layout and color counts.
If you sew our source-chart version, the fabric plan has 54 background, 41 body and one eye square. If you choose the actual full-grid QuiltLab result, its color key has 54 cream and 42 navy patches. Mixing the first version's picture with the second version's counts leaves you without a separate eye piece.
Missouri Star's pixel-quilt guide emphasizes clear value differences and keeping rows in order. Apply that advice to the details you want to preserve. Compare the eye fabric directly against the body fabric, then check the tail against the background at the planned finished size.
In Settings, choose Preview & export block guide. In Block Guide Preview, choose Export to PDF. Our full-grid PDF had one page; the coarse version had two, with its fourth color on the second page. Read every page and confirm dimensions, patch count and color key. The guide's scaled overview is a placement reference, rather than a full-size cutting template.
Save the selected design and reopen it before leaving the editor. See saving and recovery for the destination checks, and current access and allowances for uploads and exports.
Sew one measured section before cutting the batch
For the 2-inch finished-square source plan, a row of twelve 2-1/2-inch cuts should measure 24-1/2 inches unfinished after joining and pressing. Twelve cuts total 30 inches; eleven joins consume a nominal half inch each, leaving 24-1/2 inches. The final outside seams account for the remaining half inch.
Check your seam setup on a small sample first. American Patchwork & Quilting's seam guide explains why the pressed fold affects the measured result and how a sample exposes that difference.
Before you cut the rest, place the eye, body and background fabrics on the chart. Confirm the eye's row and column, the tail's direction and your chosen finished square size. Then keep that checked chart beside the QuiltLab preview as you work through the first section.
Related posts
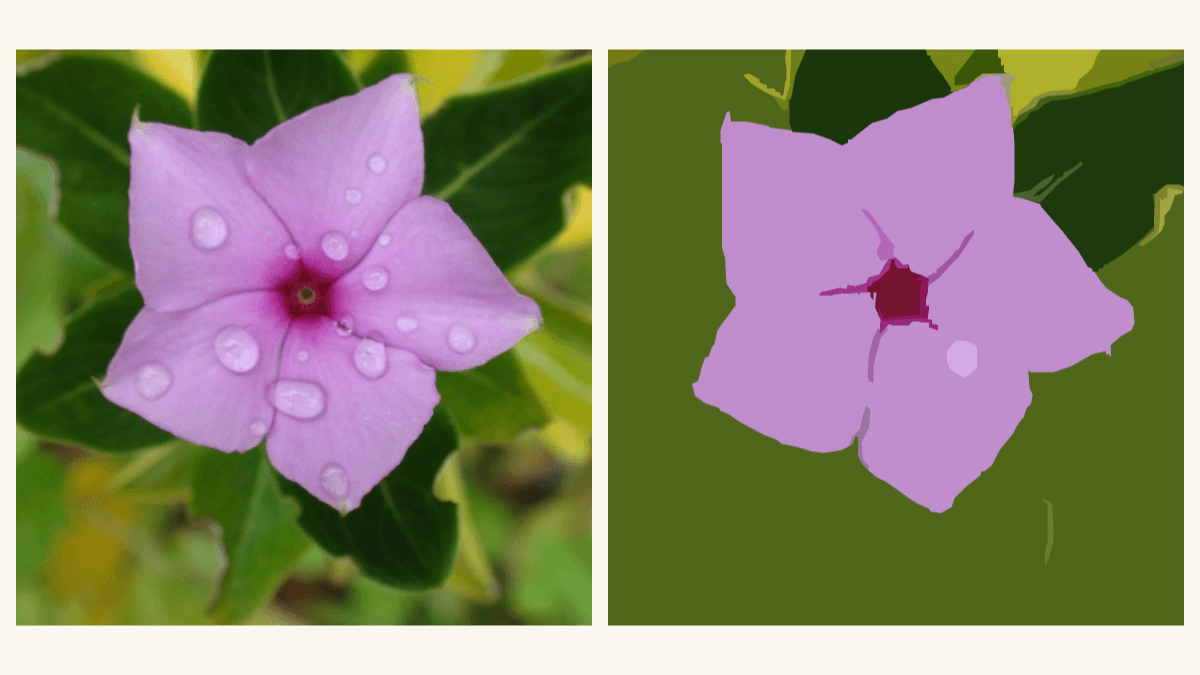
How to Turn a Photo into an Applique Pattern
Choose clear fabric shapes from a photo, inspect a real QuiltLab trace, and settle scale, overlap and transfer direction before cutting.
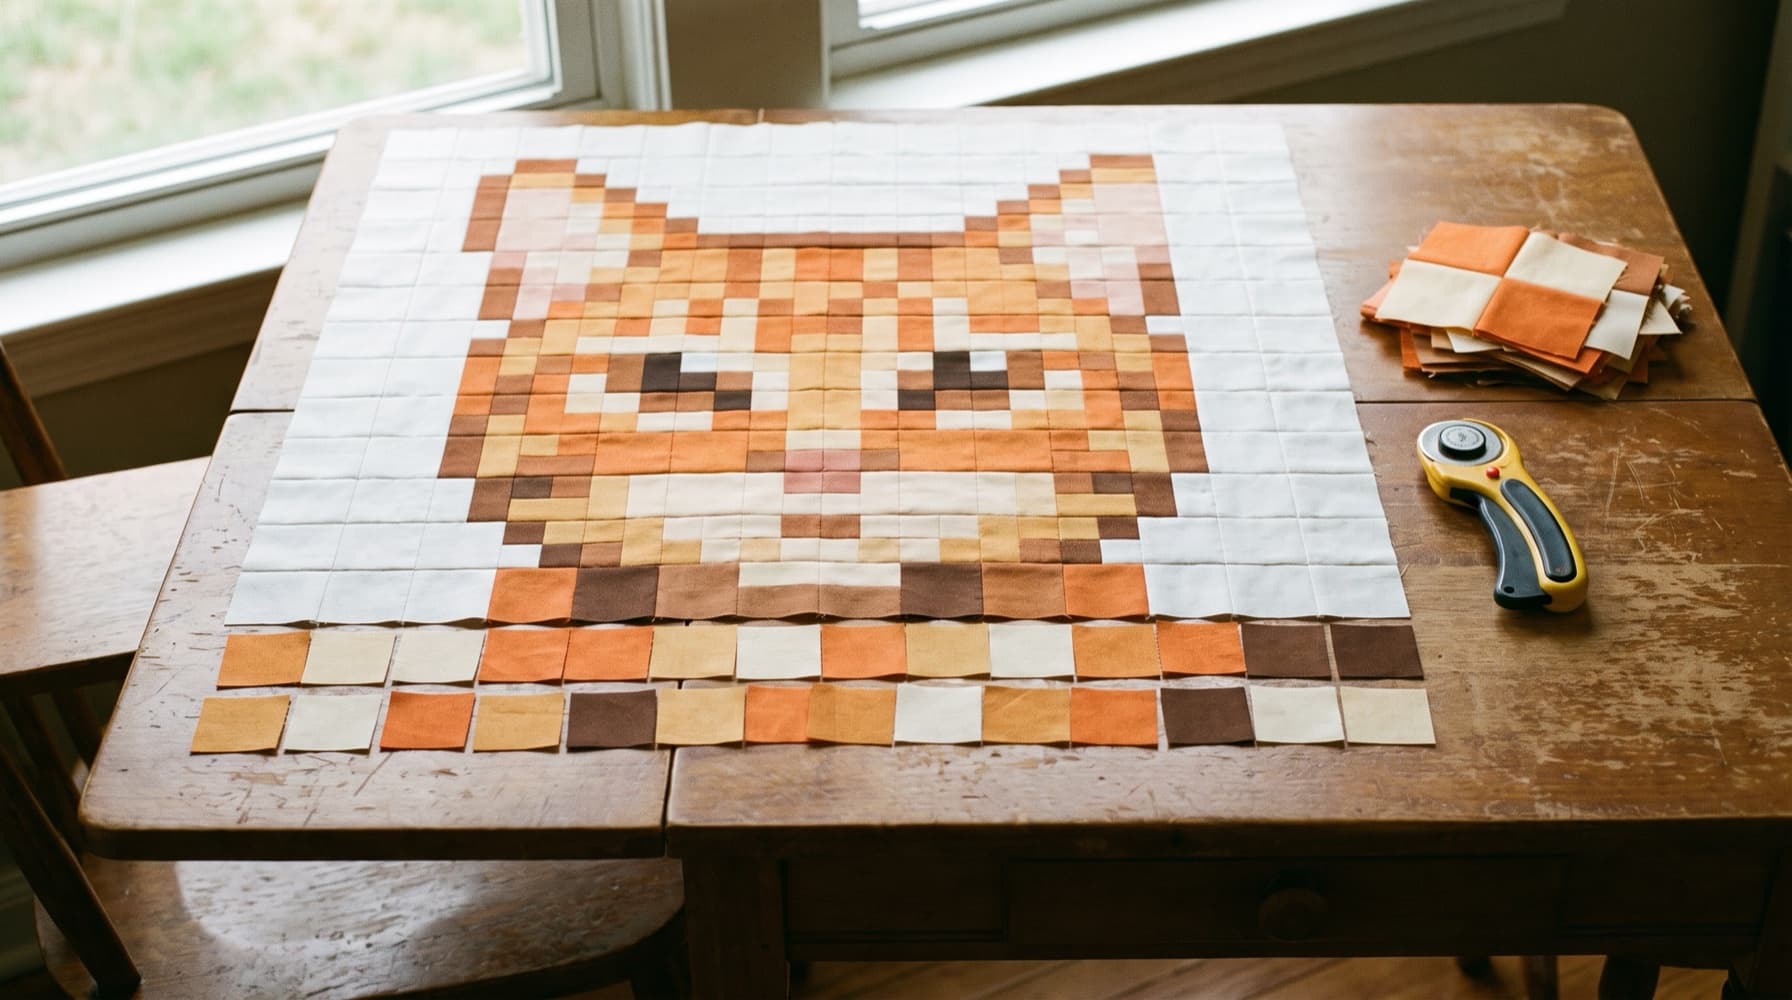
How to Make a Photo Quilt with Pieced Squares
Choose a clear photo, check your mosaic and color key in QuiltLab, calculate square cuts and fabric, then sew one measured section at a time.
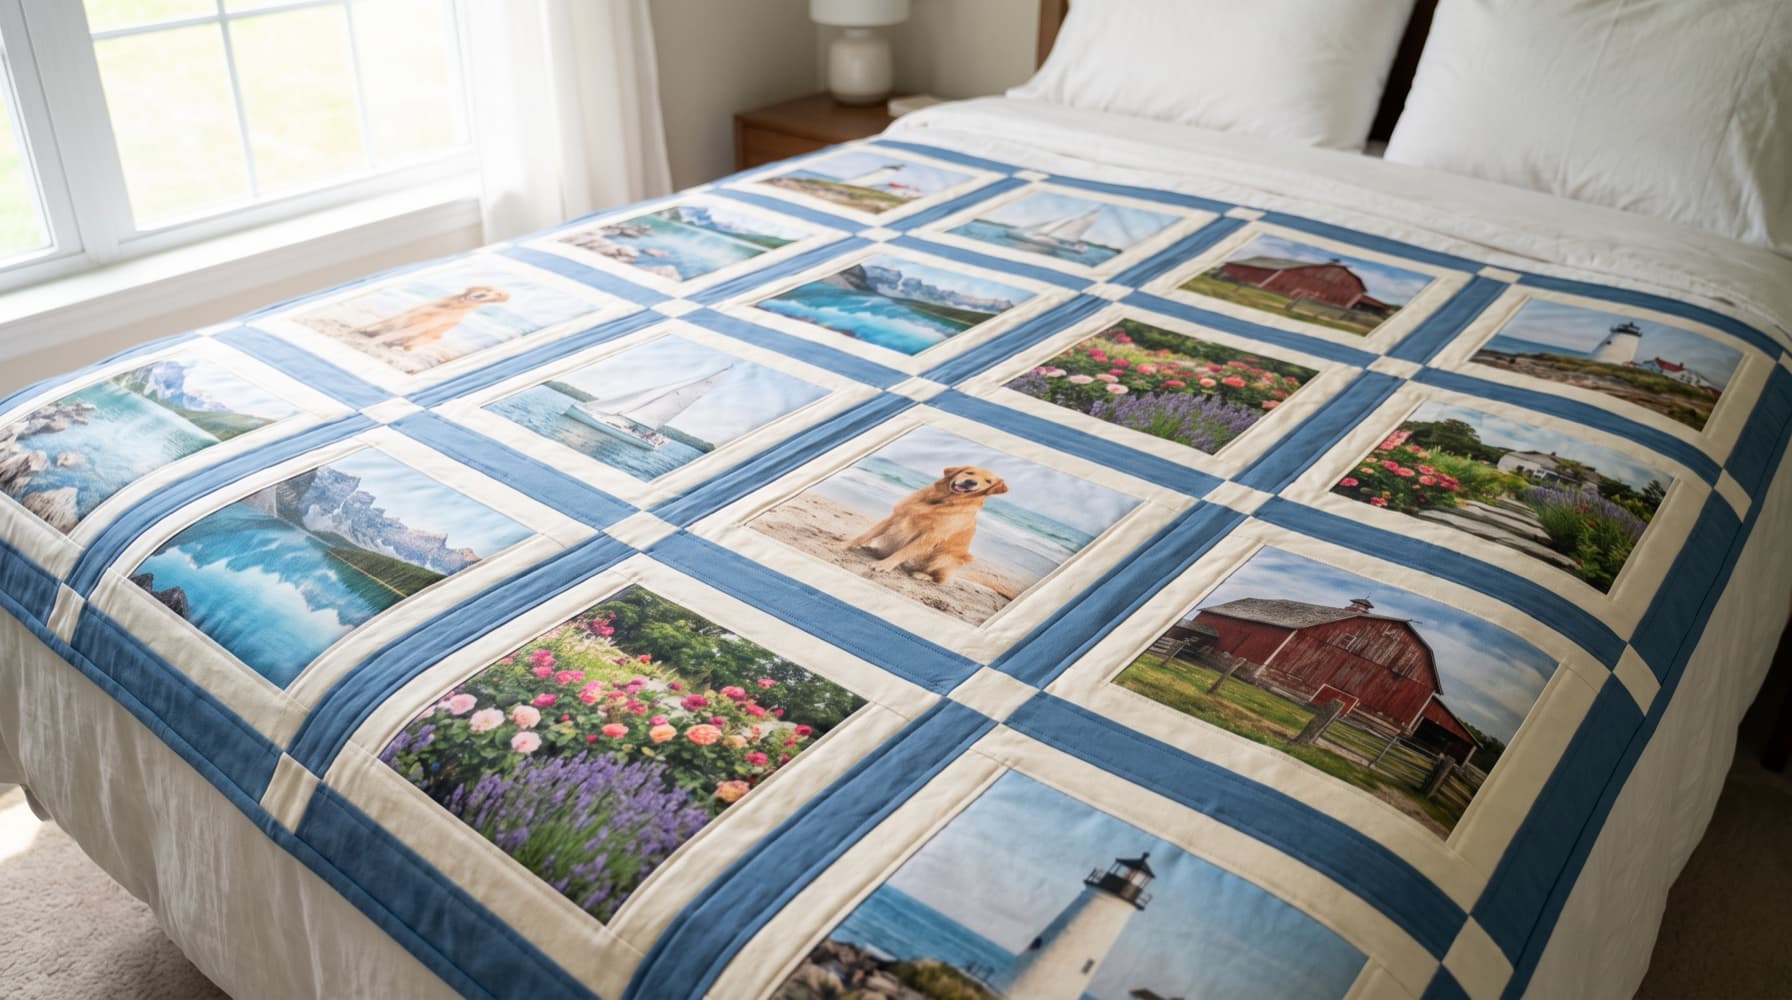
7 Photo Quilt Ideas and the Best Way to Make Each One
There are three ways to put a photo in a quilt, and each suits different pictures. Here are seven project ideas matched to the right technique, with layout sizes you can use.