


Quilting Supplies for Beginners: Buy First, Add Later
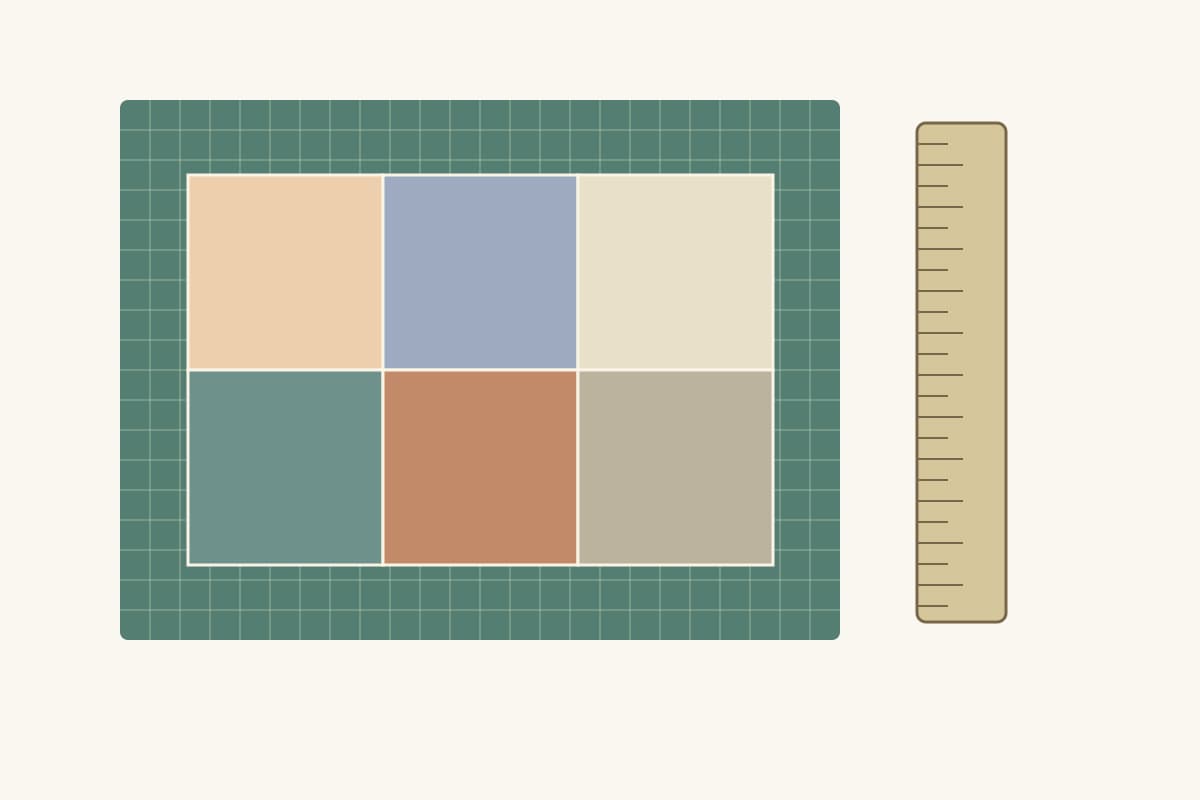
The useful list of quilting supplies for beginners depends on the first project and who will finish it. Machine-piecing a small patchwork top requires cutting, measuring, stitching and pressing equipment. Quilting its three layers adds another set of decisions. Buy for those tasks in order.
This guide uses manufacturer instructions and expert teaching resources, then applies them to an original six-patch practice project. It is a planning method, not a hands-on tool comparison. The drawings are original diagrams; no sewn sample or product testing is claimed, and the links here are not affiliate links.
Start with the pattern and finishing plan
Choose a small pattern with clear cutting sizes, seam allowances and finishing instructions before shopping. Read the complete supply list. A class may provide cutting or pressing equipment, and a borrowed machine may already include the foot, bobbins and seam ripper you need.
National Quilters Circle's beginner supply guide advises buying for the first quilt. Use that principle to decide whether an item belongs in your basket now.
Write down three answers: the planned top size, the piecing method, and whether you will quilt it yourself or send it to someone else. A longarm service's backing requirements control that purchase; a domestic-machine practice piece has different handling needs. A full-size throw is not necessary to find out how your cutting and seams behave.
Gather the core kit by task
| Task | Start with | Check before buying |
|---|---|---|
| Cut patchwork | Rotary cutter, compatible blade and rotary cutting mat | Blade guard operation; mat fits the work surface |
| Measure pieces | Clear quilting ruler with the pattern's increments | Required cut width, length and readable markings |
| Sew the top | Working machine, compatible bobbins, thread and needles | Your machine manual and included accessories |
| Press | Iron and heat-safe pressing surface | Fabric care and iron instructions |
| Hold and correct | Pins or clips, thread scissors and seam ripper | What you already own or can borrow |
| Make the sandwich | Backing, batting and a chosen basting method | Size, quilting spacing and finishing method |
| Finish the edge | Binding material and the pattern's finishing tools | Buy the amount the actual project needs |
A 45 mm rotary cutter is a practical starting size for ordinary straight patchwork. Handle shape and blade replacement matter more than collecting several sizes immediately. The rotary cutter guide covers the separate tool-selection question.
Read the cutter's instructions before use, keep fingers clear of the cutting path, and close or retract the blade when you set it down. OLFA's official FAQ recommends replacing a blade when it stops cutting effectively, including skipping threads or requiring excessive pressure. It does not prescribe a universal number of cutting hours.
Buy a ruler and mat that work together
For the 6 1/2-inch square cuts in the practice project below, choose a rectangular ruler at least 6 1/2 inches wide. Creative Grids' 6 1/2 x 24 1/2-inch ruler is one manufacturer example with half-inch markings for strip cuts. A 6-inch-wide ruler cannot measure that full cut width directly. Required cut width and length both decide the ruler size.
An 18 x 24 inch mat is a useful size to consider for yardage. These tool dimensions are not mandatory for every beginner. A project using smaller precut pieces may work with a shorter ruler and smaller mat; check its actual cutting sizes first.
Here is the fit calculation. Suppose your fabric has 40 usable inches across its width after selvages are excluded. Fold that width once, keeping the fabric aligned, and the cutting path spans 20 inches. A 24 1/2-inch ruler and the 24-inch mat axis cover that path. An 18-inch cutting axis does not cover it in one continuous cut.
The mat's entire 18 x 24 inch footprint needs firm support. That is only the mat footprint: allow additional room for your hands, ruler and cutter, and check that the fabric stays supported during the cut. Measure the table and the tools' actual dimensions before ordering. A large mat hanging off a small table does not create a larger supported cutting surface.
Sherri McConnell's measuring and cutting advice distinguishes ruler measurements from mat alignment. Read the cutting size on the ruler rather than switching measurement references between cuts. Press out wrinkles first so a hidden fold does not shorten a patch.
Compare sizes in the ruler and cutting mat guides. Keep pressing on a separate heat-safe surface: OLFA specifically warns against ironing on its rotary mats and instructs owners to store them flat.
Check the existing machine before replacing it
For ordinary machine-pieced patchwork, start by checking that your machine makes a consistent straight stitch on the chosen fabric. Follow its manual for threading, bobbin type, needle system and presser-foot attachment. A foot sold as universal still needs a model compatibility check.
A quarter-inch guide foot can help with piecing, but the accessory name does not prove the seam is correct. Sew a sample, press it and measure the result. Use the pattern's allowance and the setup your machine supports.
If you will quilt straight lines through all three layers, check the machine's supported feeding setup and whether a compatible walking foot or integrated feed accessory is needed. Buy for that finishing method rather than buying every quilting foot at the outset. Free-motion work uses a different setup and deserves its own practice session.
The quilting machine buying guide covers machine specifications and purchase decisions. It is useful when you have identified a limitation in the machine you can access, rather than simply because you are beginning.
Use a small project to expose supply gaps
Here is an original shopping-and-practice case: six 6 1/2-inch cut squares, arranged in two columns and three rows. With 1/4-inch seams, each patch finishes at 6 inches. The nominal finished plan is 12 x 18 inches.
The unbound top measures 12 1/2 x 18 1/2 inches: two cut squares lose 1/2 inch at their join, while three lose 1 inch across two joins. This example checks simple straight cutting and seams without requiring specialty templates.
| Material | Example quantity | What it covers |
|---|---|---|
| Top fabric | Six usable 6 1/2-inch squares, plus practice offcuts | The six-patch top and a seam test |
| Backing | One 18 x 24 inch piece | 2 3/4 inches beyond each raw top edge when centered |
| Batting | One 18 x 24 inch piece | The same illustrated margin; confirm product and method |
| Thread and binding | Quantities for the selected finishing instructions | Stitching and the final edge treatment |
The margin is measured against the unfinished top, not the nominal finished plan: 18 minus 12 1/2 is 5 1/2 inches, divided between two sides. Likewise, 24 minus 18 1/2 is 5 1/2 inches. The result is 2 3/4 inches on every side.
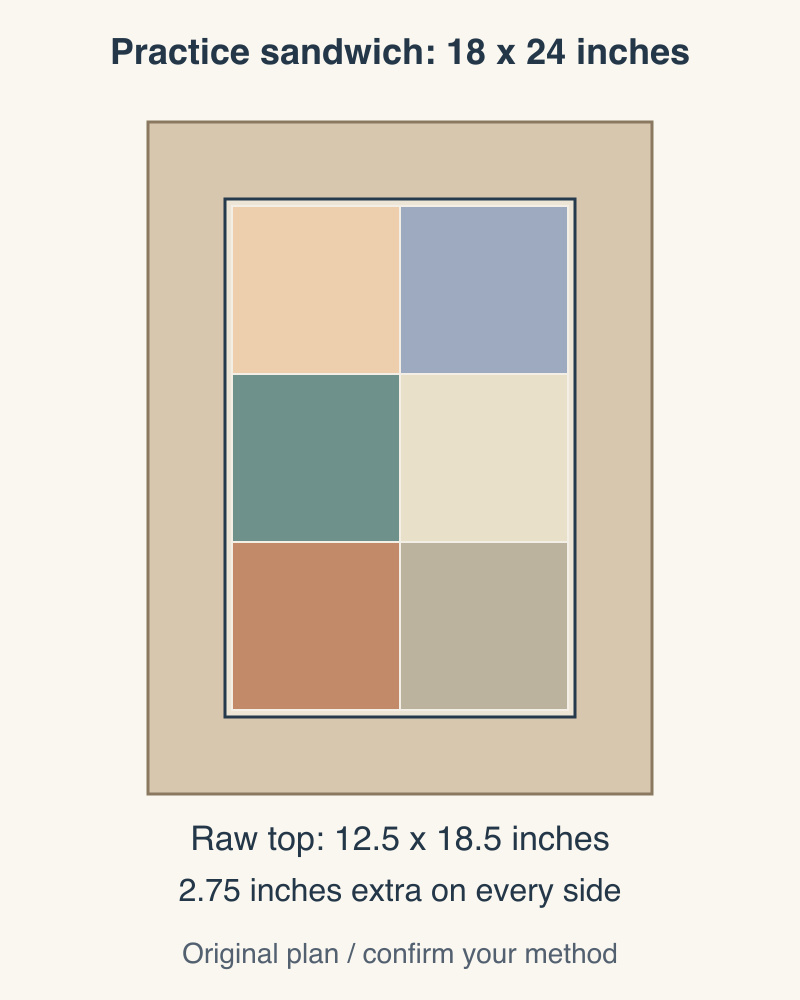
This table is not a complete sew-tested pattern. Choose a finishing tutorial for basting, quilting and binding, and follow its material allowances. For larger quilts, use the separate backing and binding calculation guide rather than scaling this practice sandwich by guesswork.
Choose batting after choosing how to quilt
Read the exact batting label for fiber content, care, shrinkage and maximum quilting distance. Then compare those instructions with the quilting lines you intend to sew. Do not assume every cotton batting behaves alike.
The Warm Company's FAQ gives different prewashing and shrinkage guidance for Warm & Natural and Warm & White. That is a useful reminder to keep the package instructions with the project, rather than apply a single internet rule to every product. The batting guide helps orient the material choice; the selected manufacturer's current instructions decide its use.
Choose one basting method supported by your finishing tutorial. If you use an adhesive, follow that product's instructions. If you use pins, check that you can remove them as you sew. A new basting product is not a substitute for practicing on the small sandwich.
Defer tools that solve a later problem
Specialty triangle rulers, rotating mats, die cutters, large ruler sets and free-motion accessories can wait until a pattern or technique gives them a specific job. Sherri McConnell's beginner resources connect tools with skills such as measuring, strip sets and seam accuracy. Use that skill-to-tool connection to decide the next purchase.
Before the first shopping trip, mark each item already owned, borrow, buy now or later. Before cutting, check the pattern against the ruler, mat and fabric. Before quilting, recheck the batting instructions and the machine's supported setup. That sequence turns a long supply list into a kit you can explain and use.
When you want to plan a larger project, the first quilt design walkthrough separates finished layout measurements from the cutting quantities you work out yourself. Set the project first; let the project determine the supplies.
Related posts
How Much Fabric for Quilt Backing and Binding?
Work out quilt backing and binding yardage from your finished size, with the arithmetic shown for five example quilts on 42-inch fabric and 108-inch wideback.
The Best Sewing Machines for Quilting in 2026: Five Picks for Every Budget
Compare five quilting machines by workspace, included accessories and the jobs you sew, with a practical dealer test and a total-cost worksheet.
Easy Quilt Blocks for Beginners: A Four-Block Practice Path
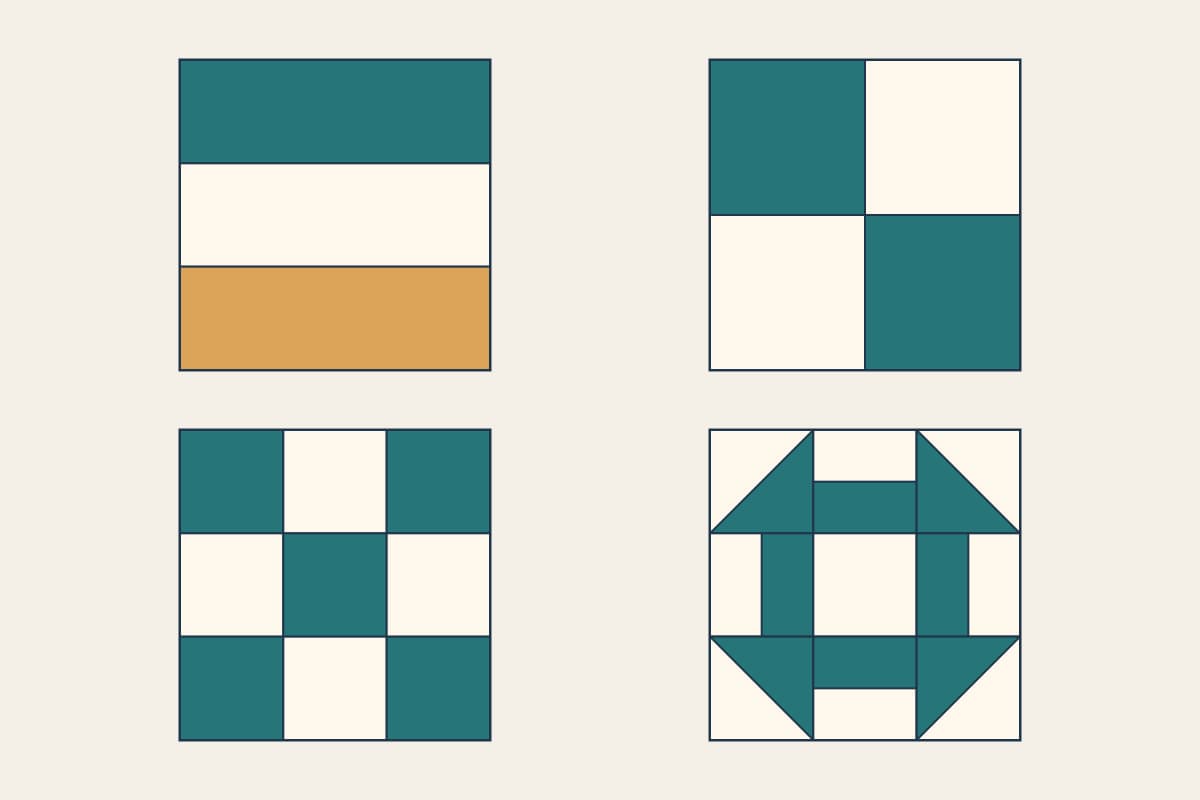
Choose your first quilt blocks by the skills they add: straight strips, one seam crossing, a nine-patch grid, then Churn Dash units.