


Check Batting Against Your Wall Quilt's Requirements
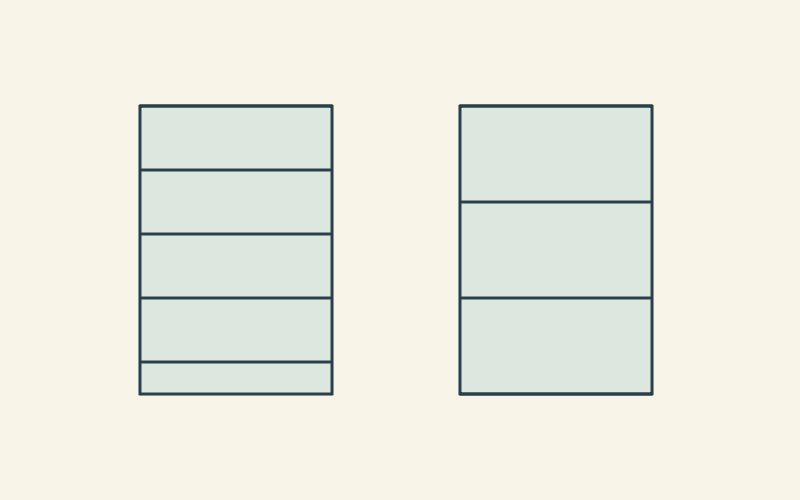
For a flat, finely pieced wall quilt, begin with a low-loft batting whose directions fit your quilting plan. Write your wall quilt batting requirements beside it: desired relief, widest quilting gap, fabric colors and expected handling.
A wall-hanging label alone doesn't settle the choice. A batting intended to emphasize quilting may suit one wall piece and overwhelm another. Use a short requirements sheet to reject clear mismatches and identify what you still need to check.
Describe the particular wall quilt
Our example is a proposed 24-by-36-inch wall quilt with a dark navy background and small light patches. The maker wants modest surface relief and plans horizontal quilting with no gap wider than eight inches. The piece may be folded briefly for transport. Its eventual support and cleaning method still need confirmation.
These facts have different jobs. The desired relief is a preference. The maximum quilting gap must fit the exact batting's directions. Background color is something to check with the actual sandwich. The unknown support method remains an unanswered question, even if the product sheet looks promising.
| Requirement | What to record | What it decides |
|---|---|---|
| Modest relief | A description or reference sample | Which lofts to consider first |
| Eight-inch maximum gap | The widest planned unquilted span | Whether the stitching plan fits the label |
| Navy with light patches | Actual fabric scraps | What shows through or changes the appearance |
| Brief folded transport | Expected handling | Which recovery questions to ask |
Keep the dimensions with this sheet, but don't treat them as a batting purchase size. A quilting service may need extra material beyond the top. Ask for that separately.
Reject the mismatch before comparing favorites
Stephanie Hackney's batting-selection lesson for Hobbs uses intended finish, fabric color and care to narrow the field. Her flat, finely pieced wall-quilt example rules out loftier choices before settling on candidates. The useful habit is starting with the outcome, rather than deciding every wall quilt needs the same material.
Apply that approach to our navy study. If the maker firmly wants a thin profile, a product described as weighty loft belongs lower on the list, even when its maker also recommends it for wall hangings. If a product's care requirements conflict with the intended fabric or finishing materials, resolve that conflict before buying a large piece.
Avoid ranking candidates by one flattering word. “Stable,” “soft,” “low loft” and “good for wall hangings” answer different questions. Write the exact product and version beside the claim. A product-family name can cover several lofts and colors.
Check two exact product sheets
Hobbs Thermore's current product page describes a 100% polyester batting with approximately 1/16-inch loft and a nine-inch quilting-distance limit. Those specifications make it a candidate for our thin-profile, eight-inch-gap brief. They do not settle how our fabrics, stitching and support will behave together. Hobbs also recommends making samples before a major project.
If another reference gives ten inches for Thermore, keep the current exact product page and your package together and resolve the difference before proceeding. The current page checked for this article gives nine. Don't extend that value to every Hobbs or polyester batting.
Quilters Dream Poly's product page separates Request, Select and Deluxe lofts. It describes Deluxe as weighty and includes wall hangings among its uses. That is a useful counterexample to the idea that every wall quilt calls for the thinnest batting. For our stated preference, compare the individual lofts rather than choosing Deluxe from the application name alone.
Audit the widest gap in the drawing
For the 36-inch-tall example, proposed horizontal quilting lines at 0, 8, 16, 24, 32 and 36 inches create gaps of eight, eight, eight, eight and four inches. The largest is eight. On paper, that stays within the cited nine-inch Thermore limit.
A different plan with lines at 0, 12, 24 and 36 inches has three 12-inch gaps. It exceeds that limit by three inches. You would need to change the stitching layout or choose a suitable different product before continuing.
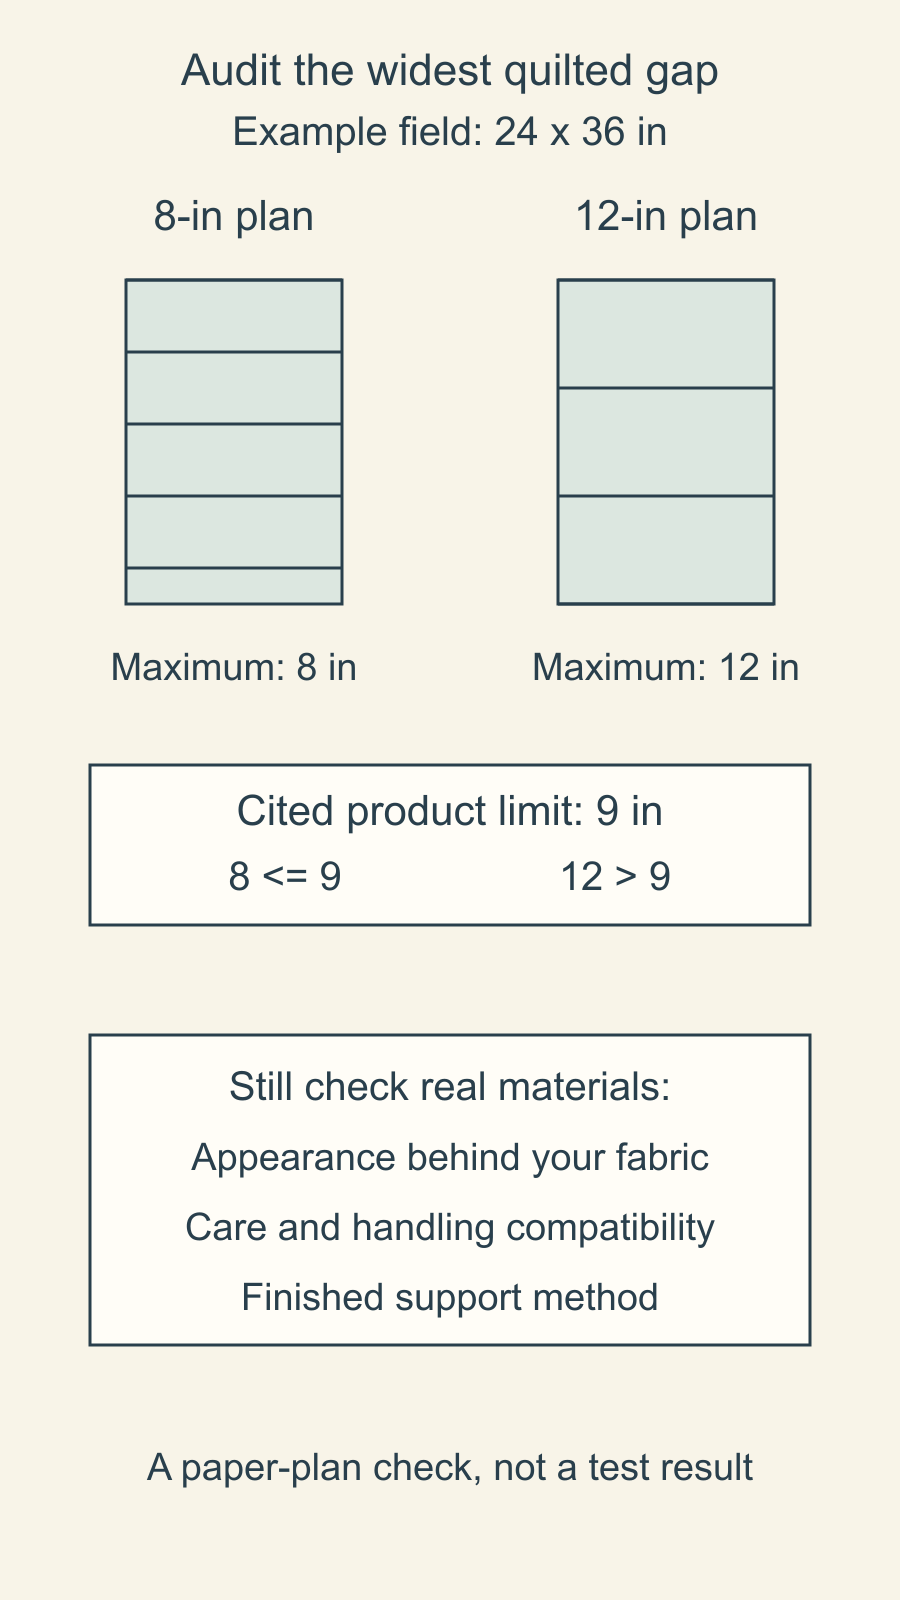
The drawing includes boundary lines for this calculation. Your actual quilt needs its real stitched boundaries and all open areas checked. A dense motif in one corner doesn't resolve a larger empty area elsewhere. Our quilting-distance guide explains that fuller audit. These drawings are planning examples; we haven't quilted or hung the sample.
Keep unknowns visible
Make three result columns on your requirements sheet: supported by the current label, needs an actual-material check, and unresolved. That prevents a promising specification from turning every row into an assumed pass.
The proposed Thermore study would read:
| Supported on paper | Check with materials | Still unresolved |
|---|---|---|
| Approximate 1/16-inch loft; eight-inch gap below the nine-inch limit | Appearance behind navy and pale scraps | Support, care compatibility and transport response |
Do not use the batting's fiber content as a hanging-load calculation. The top, backing, embellishments and finishing method also contribute to the finished object. Likewise, a maker's statement about its batting shrinking or resisting creases isn't a guarantee about every fabric in the completed quilt.
If the look of relief is your main uncertainty, our loft comparison covers that separate choice. Keep the sample question specific: what do you still need to learn about this exact candidate and this project?
Save the decision with the package
Photograph the product label and note the version, color, spacing limit and care directions. Add the actual stitching plan and the outcome of any material sample you make. Our materials-record guide gives those notes a place after the packaging is gone.
Before committing the wall quilt, resolve the open requirements rather than adding more candidates indefinitely. Choose the product that meets the brief, revise the brief when your preferences change, and confirm the support and care plan for the finished piece.
Plan your next quilt
Lay out blocks and try colors in QuiltLab's grid editor before you cut.
Free forever, no card needed.
Get quilting tips by email
QuiltLab updates, tips and quilting inspiration. Unsubscribe anytime.
Related posts

Plan a Small Sewing Room Around One Quilt
Draw a measured small sewing room with machine, chair, cutting and pressing footprints, then check door swing, movement and storage.
Mark the Top of a Directional Quilt Backing
Label the physical top of both quilt layers, compare two ways of turning the quilt, and give your quilter a clear directional backing note.
Design a Pieced Quilt Back with Leftover Blocks
Check a leftover-block stripe against backing margins, inherited seams and new half-inch joins before preparing the surrounding panels.