


How to Prepare a Quilt for Longarm Quilting
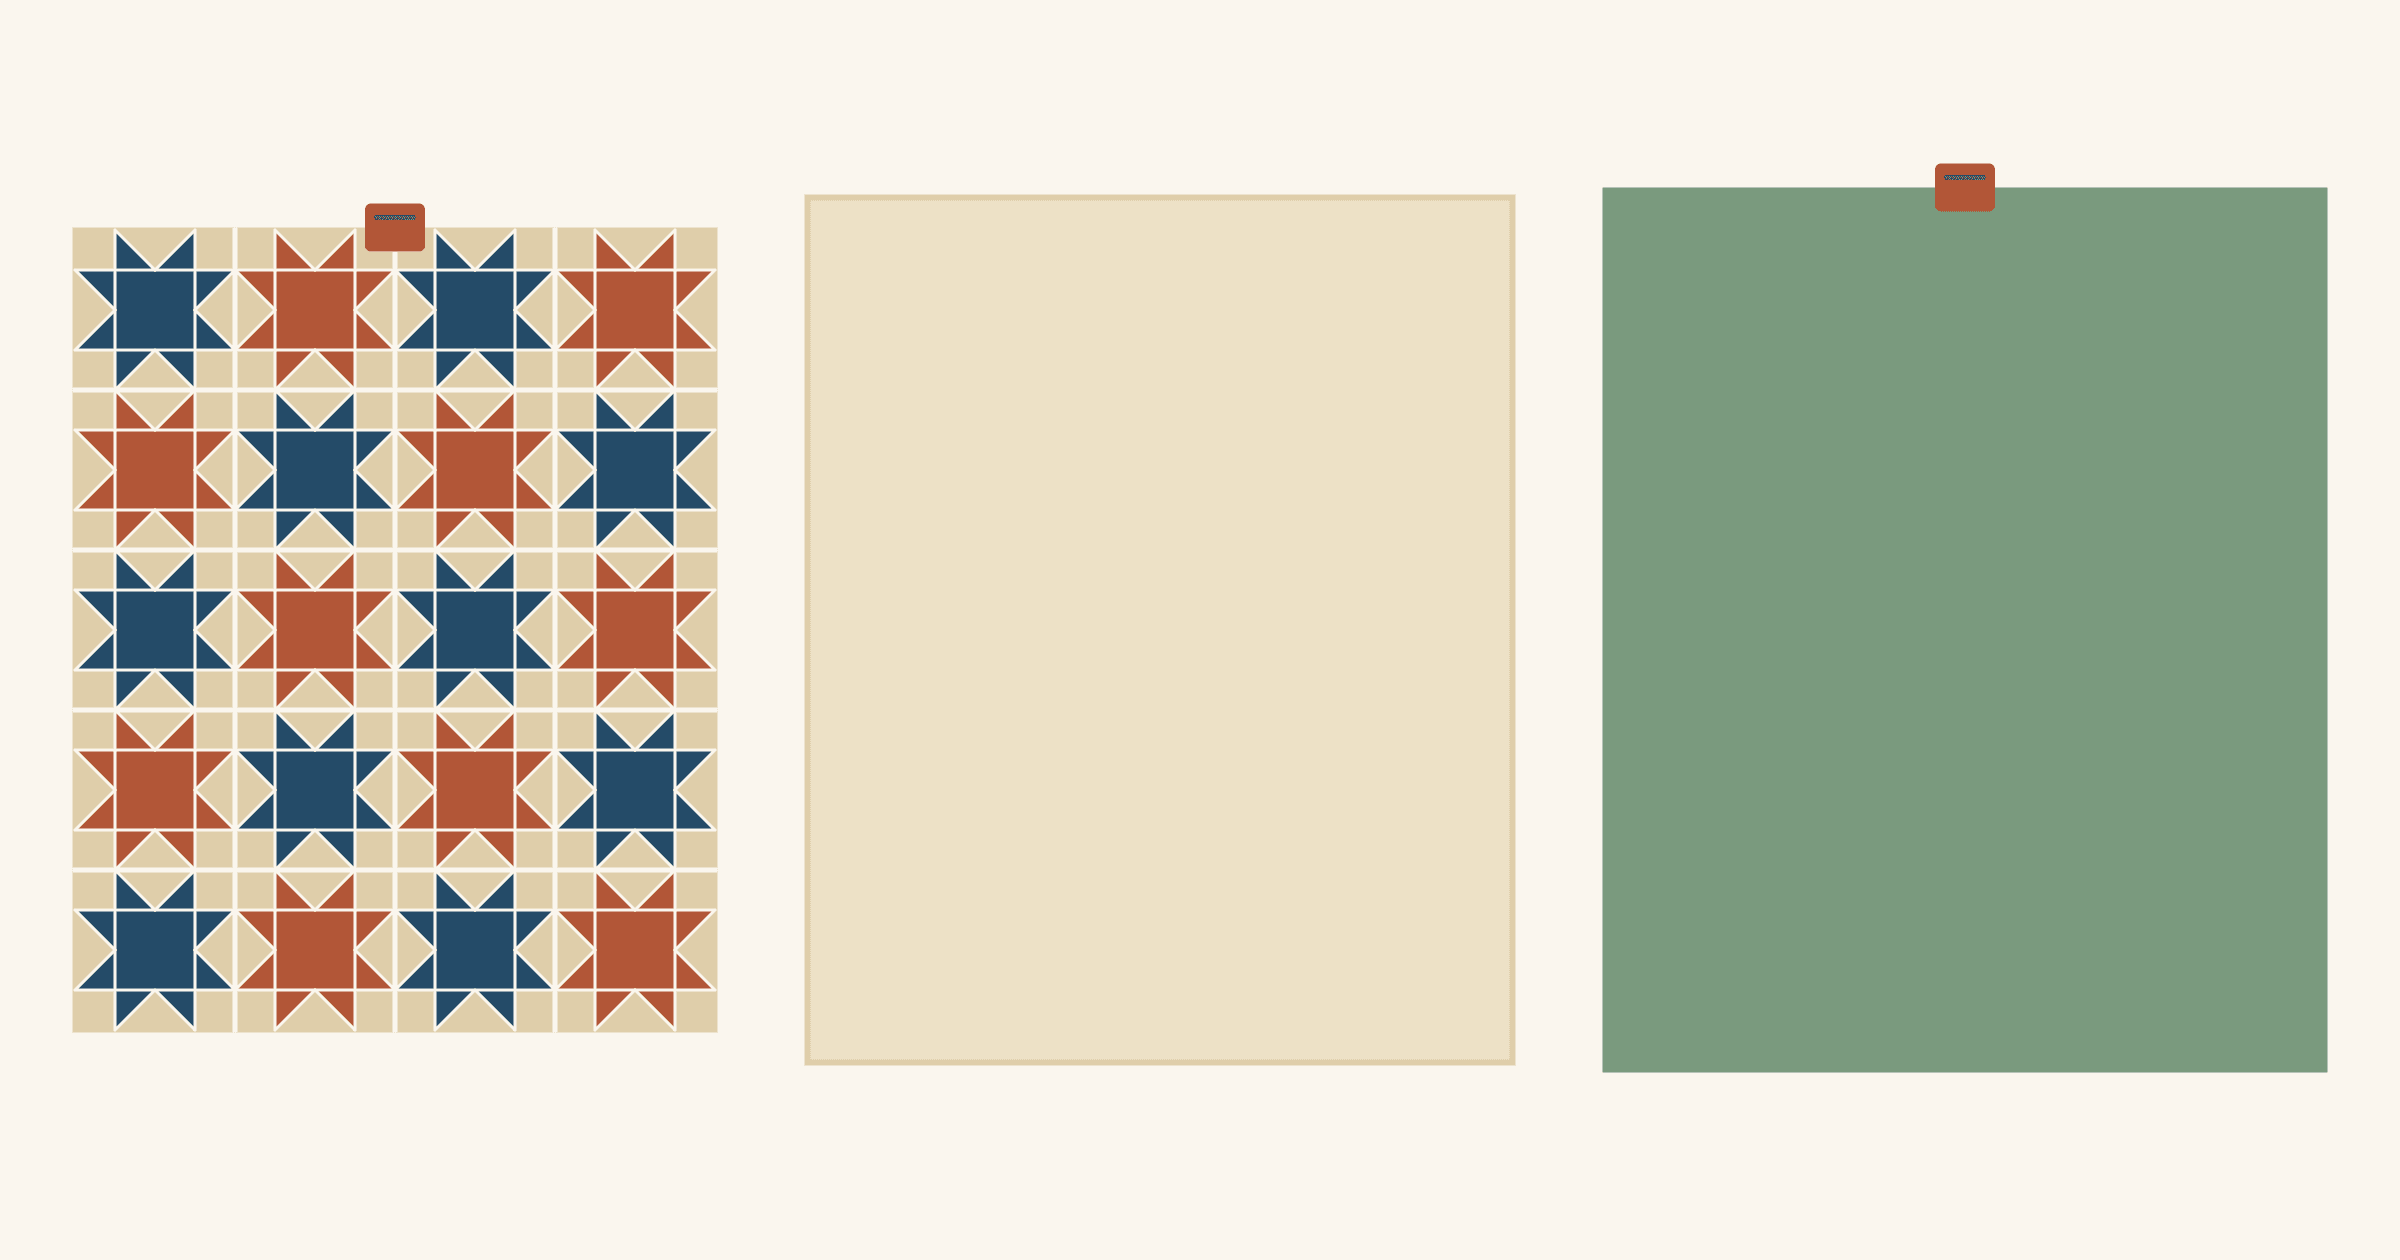
To prepare a quilt for longarm quilting, press the top and the backing, clip loose threads, mend any open seams and trim the edges straight. If seams run out to the edge, stay-stitch 1/8 inch in from it. Make the backing at least 4 inches larger than the top on every side, the general rule in OLFA's guide to preparing a quilt top; some longarm quilters ask for 6 to 8. Then fold the top, batting and backing separately. A longarm frame loads each layer on its own, so don't baste or pin them together.
That's the common list. The list that counts is your quilter's. Services differ on backing margins, selvages, batting and how to mark the top edge. Ask for the service's prep sheet before you trim, buy or piece anything, and build your checklist from it. Below are the usual checks with the reason for each, then one quilt top checked against two published service sheets.
How does a longarm frame hold the layers?
On a longarm, the backing goes on the frame first. Christine Baker, a pattern designer who quilts on a Gammill, walks through the loading in her QUILTsocial guide. The backing is pinned to fabric leaders on two rollers, and clamps on the sides pull it taut. The batting is smoothed over it. Then the top is laid on and basted along its top and sides, and the quilter rolls the quilt forward as each section is done.
That's where the extra backing goes. Baker says it needs at least 3 inches on every side just for the leaders and clamps. Keelyn of The Night Owl Quilts, a longarm quilter writing for Bear Creek Quilting Company, asks for 6 to 8 inches on every side. She uses that margin to test her thread tension, and without it her machine can knock the clamps off during ruler work.
The quilter lines up and secures the layers on the frame, so pins and basting only get in the way.
Check the quilt top
Spread the top on a bed or the floor and go over the front and the back.
- Press it. Press the seams flat and the way you planned them. Keelyn puts it plainly: wrinkly fabric that gets quilted is still wrinkly, just quilted.
- Clip threads. Trim loose threads on the back, especially behind light fabric. Keelyn warns that stray threads behind white sashing can show through as stripes.
- Mend open seams. Look for gaps and for seams sewn too narrow. Cotton Cuts' prep list warns that a seam 1/8 inch or narrower can pull apart under the frame's tension.
- Trim the edges straight. Use a long ruler and a rotary cutter. Leave 1/4 inch beyond any points, as Cotton Cuts advises, so the binding doesn't cut them off.
- Stay-stitch the edge. Sew around the top 1/8 inch from the raw edge with a long stitch. OLFA calls this especially necessary when the top has no border or a pieced one, because it keeps the seams along the edge from opening. Keelyn bastes the top to the backing at 1/4 inch, so a 1/8-inch line sits outside hers, and the binding hides both.
- Look for fullness. A ripple in a border or a bubble in the middle won't lie flat. Bear Creek's service sheet, compared below, warns that fullness can end up quilted in as pleats. If your borders wave, measuring the center before cutting borders heads it off on the next quilt.
- Hold the extras. Sew on buttons, beads and charms after quilting. Bear Creek also asks you to wait to cut a scalloped edge until the quilting is done.
- Note any stains. Tell the quilter about a mark you already know about, so nobody is surprised later.
Measure the top you actually sewed
A pattern's finished size is a starting point. OLFA suggests laying a tape measure through the middle of the top in both directions and using those numbers for the backing and batting.
Here's the example used in the rest of this article. Twenty 16-inch Sawtooth Star blocks, set 4 across and 5 down, finish at 64 x 80 inches. The top you hand over is a little bigger. Its outer edges still carry a 1/4-inch seam allowance, so a perfectly pieced top measures 64 1/2 x 80 1/2 inches from raw edge to raw edge. Your tape may read a bit more or less. Use what it reads.
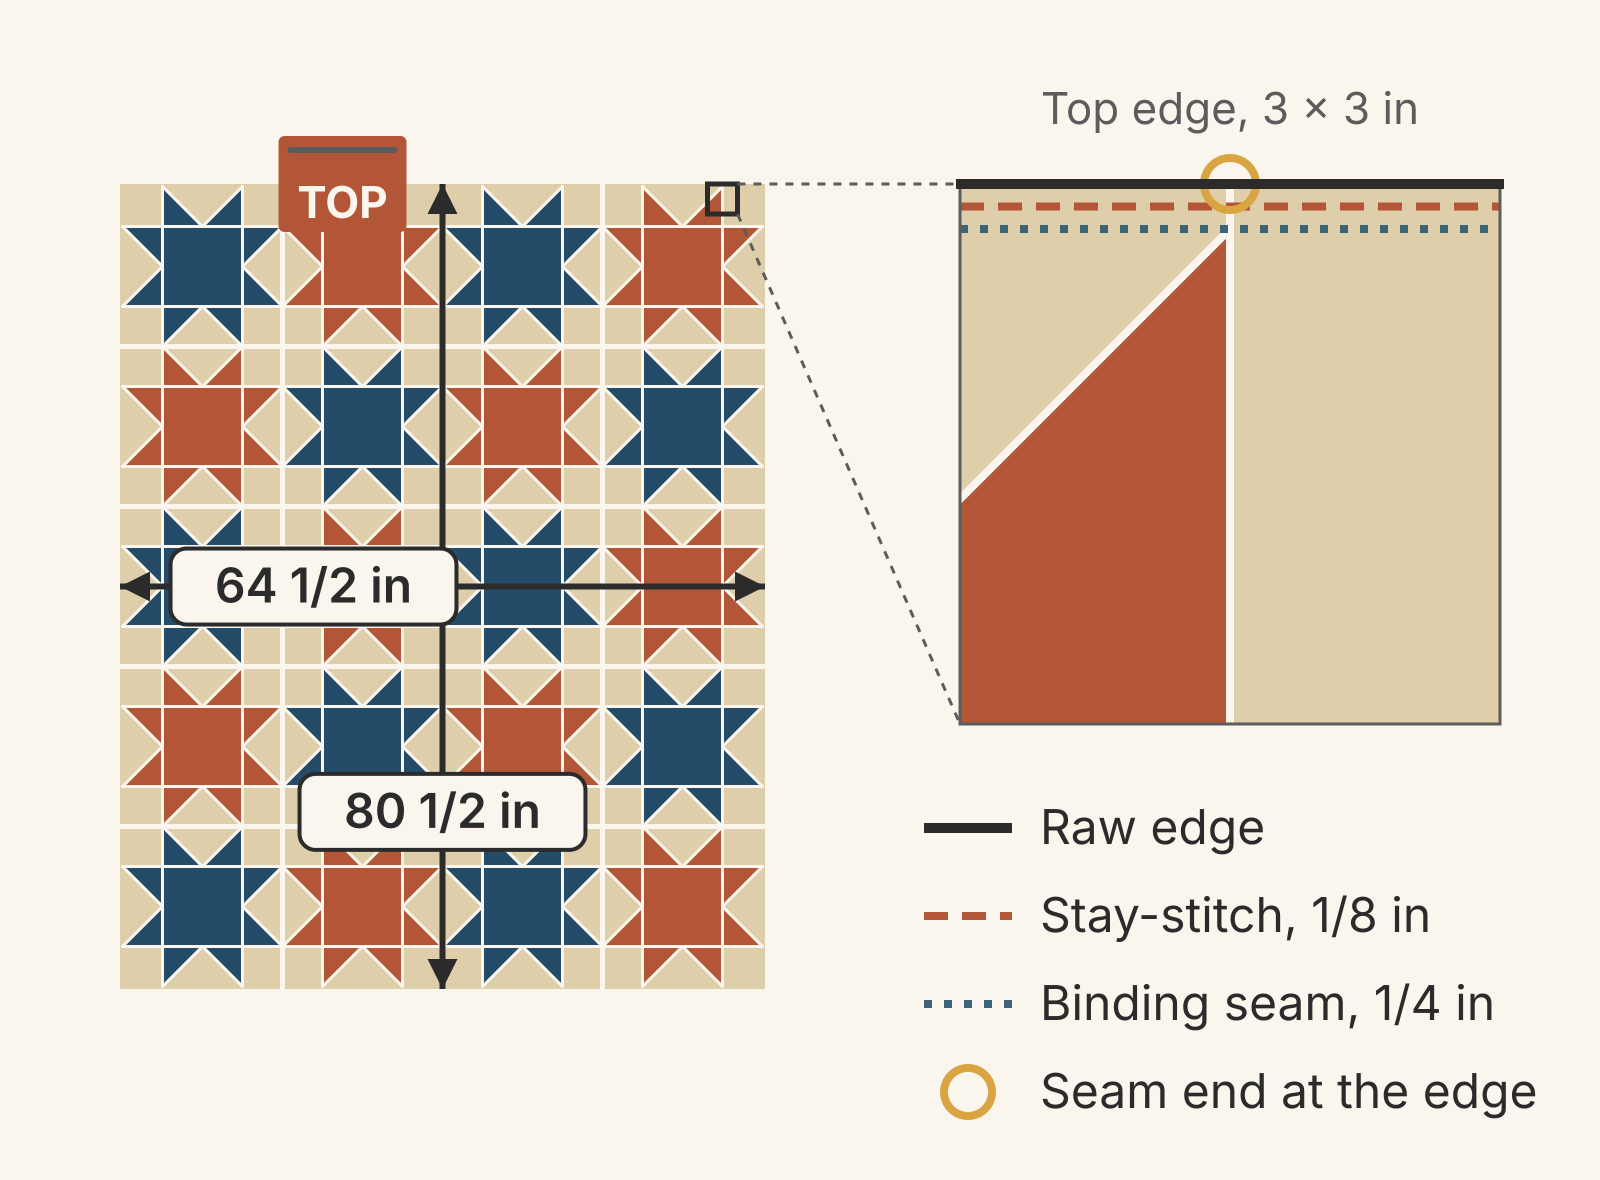
These blocks run right out to the edge with no border. Seams meet the raw edge every 4 to 8 inches all the way around, which is the case both services below ask you to stay-stitch.
Check the backing and batting
- Size it to your quilter's number. Add their margin to each side of the measured top. Our backing and binding yardage guide turns that size into yardage.
- Square and press it. Baker says to square and press every backing, especially a 108-inch wide back, which often comes off the bolt with deep creases.
- Keep selvages out of seams. Baker sews backing seams at 1/2 inch, presses them open and cuts the selvages off the seam edges. Selvages don't stretch like the rest of the fabric, she explains, so they have no give on the frame. She leaves the outer selvages on because they're handy for pinning to the leaders. Our backing seam guide shows whether the seam should run across the backing or down it.
- Prewash to match. Bear Creek asks you to prewash the backing if you prewashed the fabrics in the top. Our guide to prewashing quilt fabric covers when to wash and when to skip it.
- Sort out the batting. Many services sell batting or include it. If you bring your own, it needs to be larger than the top too. OLFA suggests opening a packaged batting a few days early so its folds can relax. Our batting guide compares materials by loft, warmth and shrinkage.
- Mark the top edge. Pin a tag marked "Top" to the top edge of both the quilt top and the backing. Cotton Cuts uses a square of fabric and a safety pin, because sticky notes fall off. It matters most when the top, the backing print or the quilting design runs one way.
One top, two service sheets
Here's the 64 1/2 x 80 1/2 inch top checked against two published sets of rules, both read in October 2026. Bear Creek Quilting Company is a fabric shop with a longarm service, and it says its list covers its own service only. Gather Here, a shop in Cambridge, Massachusetts, posts its rules for edge-to-edge quilting.
| Check | Bear Creek | Gather Here |
|---|---|---|
| Backing margin | At least 4 in per side | 4 to 6 in per side; 6 in for a wide back |
| Selvages | No need to remove them | Never inside a seam; fine on the outer edges |
| Batting | Included in the service | Buy it there, or bring it 3 to 4 in per side |
| Top edge | A pinned note if anything is one-way | A safety pin on the top and on the backing |
| Edge seams | Baste 1/8 in if pieced to the edge | Stay-stitch 1/8 in if the outer edge is pieced |
| Pins and basting | None between the layers | None between the layers |
Each margin goes on both sides of the top, so 4 inches per side adds 8 inches to each dimension: 64 1/2 + 8 = 72 1/2, and 80 1/2 + 8 = 88 1/2. Six inches per side adds 12, for 76 1/2 x 92 1/2. Gather Here wants the larger margin on wide backs because they're often wound unevenly on the bolt and lose fabric when squared. Bear Creek is fine with a bigger backing, though it may ask to trim one that's much bigger.
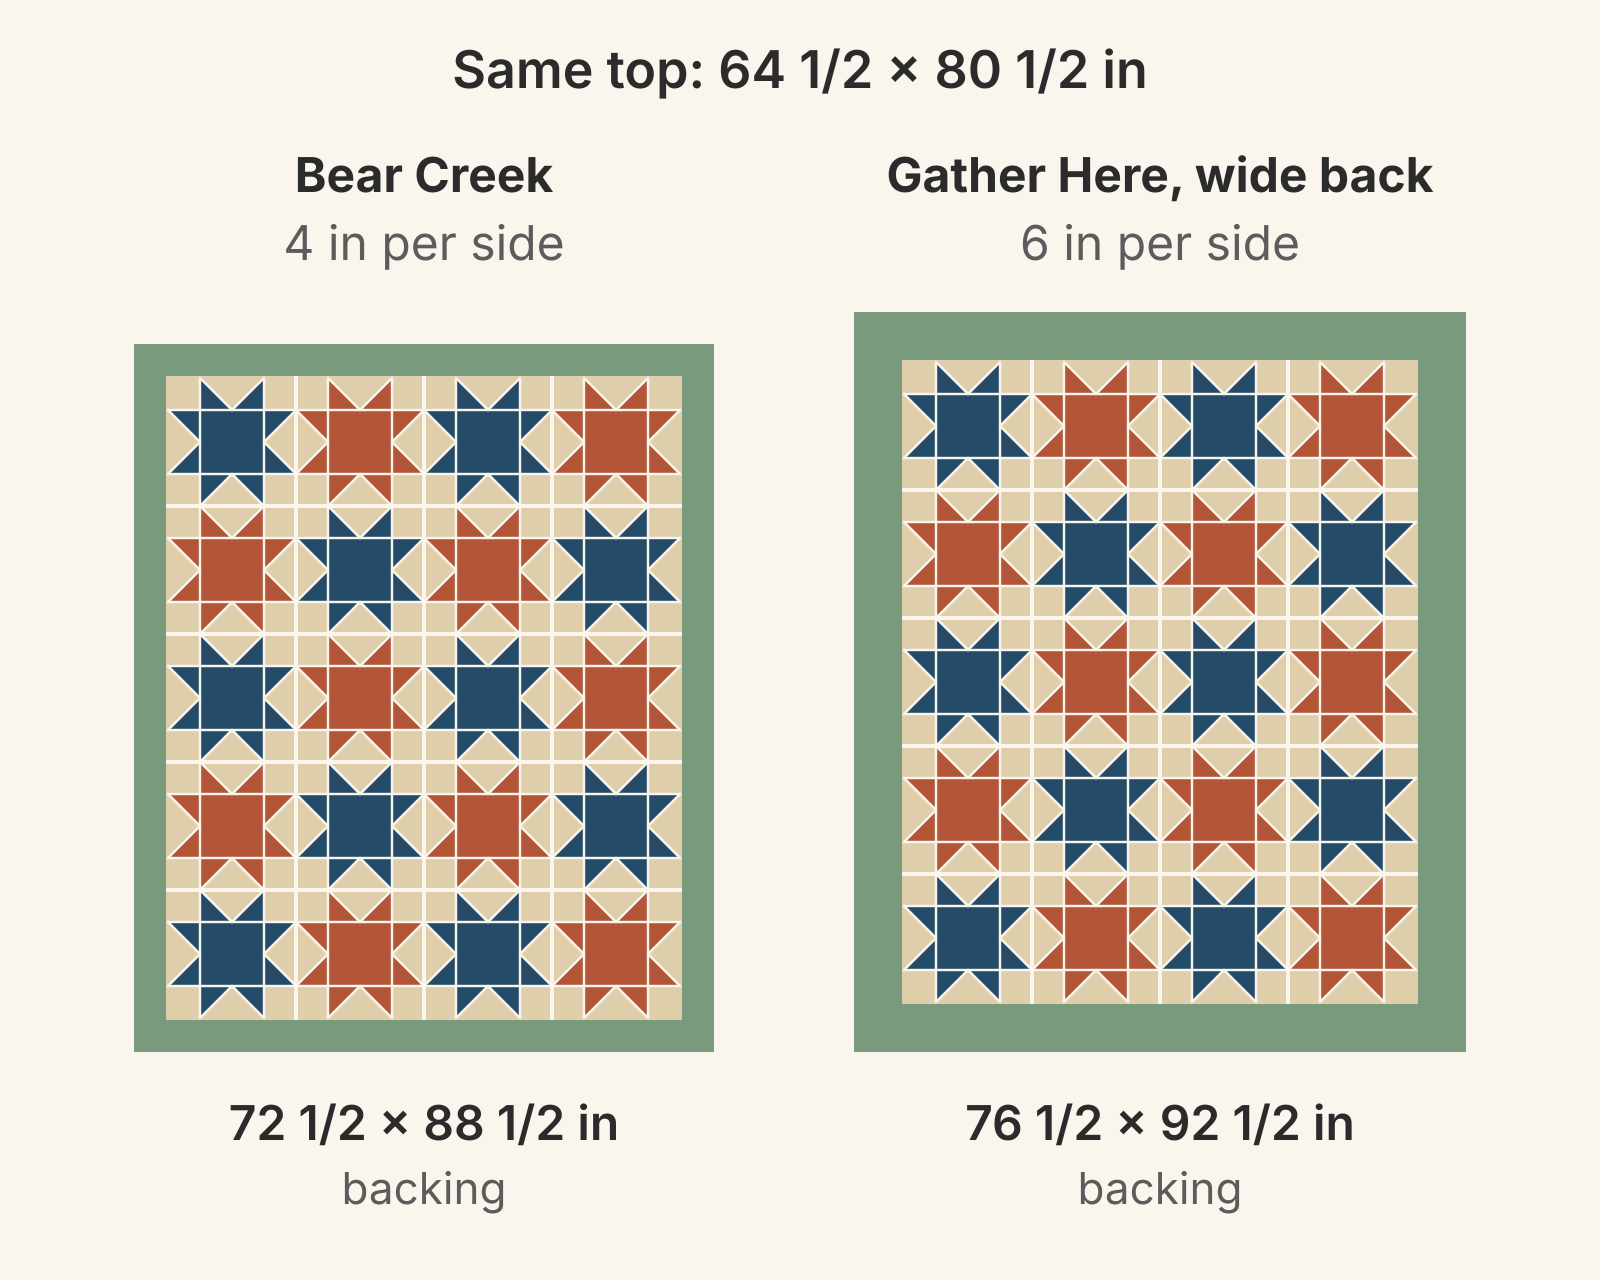
Written out, the two checklists for this top look like this.
For Bear Creek:
- Press the top and the backing, and clip threads.
- Stay-stitch around the top 1/8 inch from the edge, since the blocks run to the edge. Bear Creek calls this basting.
- Make the backing at least 72 1/2 x 88 1/2 inches. The selvages can stay.
- Prewash the backing if you prewashed the top's fabrics.
- Pin a note to the top edge if the top, the backing print or the quilting design runs one way.
- Fold the top and backing separately. Leave the batting at home.
For Gather Here:
- Press the top and the backing, and clip threads, especially behind light fabric.
- Stay-stitch around the top at 1/8 inch.
- Square the backing, especially its top and bottom edges. Piece it with 1/2-inch seams pressed open and no selvage inside them.
- Make a pieced backing 4 to 6 inches larger on each side, 72 1/2 x 88 1/2 to 76 1/2 x 92 1/2 inches. Make a wide back at least 76 1/2 x 92 1/2.
- Buy batting in the shop, or bring your own 3 to 4 inches larger on each side: 70 1/2 x 86 1/2 to 72 1/2 x 88 1/2 inches.
- Safety-pin the top edge of both the top and the backing, near the middle.
- Fold the top, backing and batting separately.
The same top needs a wide back 4 inches longer and wider at one shop than at the other, and the two give different selvage instructions. Gather Here also charges for any prep it has to do itself. Read the sheet before you buy fabric.
What to ask before you drop it off
If your quilter has no written list, ask these at booking. When in doubt, stay-stitch the edge anyway, since the stitching ends up inside the binding.
- How much backing do you need beyond the top on each side, and does a wide back need more?
- Do you supply batting? If I bring mine, how big should it be?
- Should the selvages come off?
- How do you want the top edge marked?
- What does the price include? Keelyn notes that some longarmers will press a top or fix seams for an extra charge.
- Do you offer trimming or binding? Baker lists both as services some quilters add.
- What's the turnaround? Baker's advice is to say so up front if you need the quilt back by a date.
Your quilter will also ask about thread color and the quilting design. OLFA suggests thinking those through before drop-off day.
Pack it for the trip
Fold the top with its seams to the inside, as Cotton Cuts suggests, and fold the top, backing and batting separately. Bear Creek says folding for the trip won't leave troublesome creases. Put everything in a clear bag or a box; OLFA asks you to skip the garbage bag. Keep it clean and free of pet hair and strong smells. Keelyn has heard of longarmers turning down tops for strong odors.
Tuck in a note with your name, phone number and the top's measured size.
Your next step
Ask your longarm quilter for their prep sheet today, before you buy backing. Then write your own checklist from it, line by line, with your measured top size filled in.
If you designed the quilt in QuiltLab, the Layout heading in the Quilt Editor's Properties shows its finished dimensions. Check your tape against that number, plus the 1/2 inch of outer seam allowance. File > Export PDF makes an overview of the layout with its dimensions, which you can tuck in the bag so the quilter sees which way the design runs. QuiltLab doesn't work out backing or batting sizes; that's the arithmetic above.
Quilt Editor: arrange blocks and fabric →Where a layout's finished dimensions appearRelated posts
Pin Basting vs Spray Basting: Which Fits Your Quilt and Room?
Pins 3 to 4 inches apart hold until you remove them; spray is faster but lasts only as long as its label says. Choose by quilt size, surface and can.
Should You Prewash Quilt Fabric? Decide by Precuts, Yardage and Color
Most quilters can skip prewashing good quilting cotton as long as every fabric in the quilt gets the same treatment. Here's when precuts, flannel, a wide backing or a deep red change the answer.
Starch vs Sizing for Quilting: Which Should You Use Before Cutting?
Starch gives quilting cotton a crisp hold for bias edges and small pieces; sizing adds light body. See which to use, when to skip both, and a worked star quilt plan.