


How to Plan a Quilt with Limited Fabric
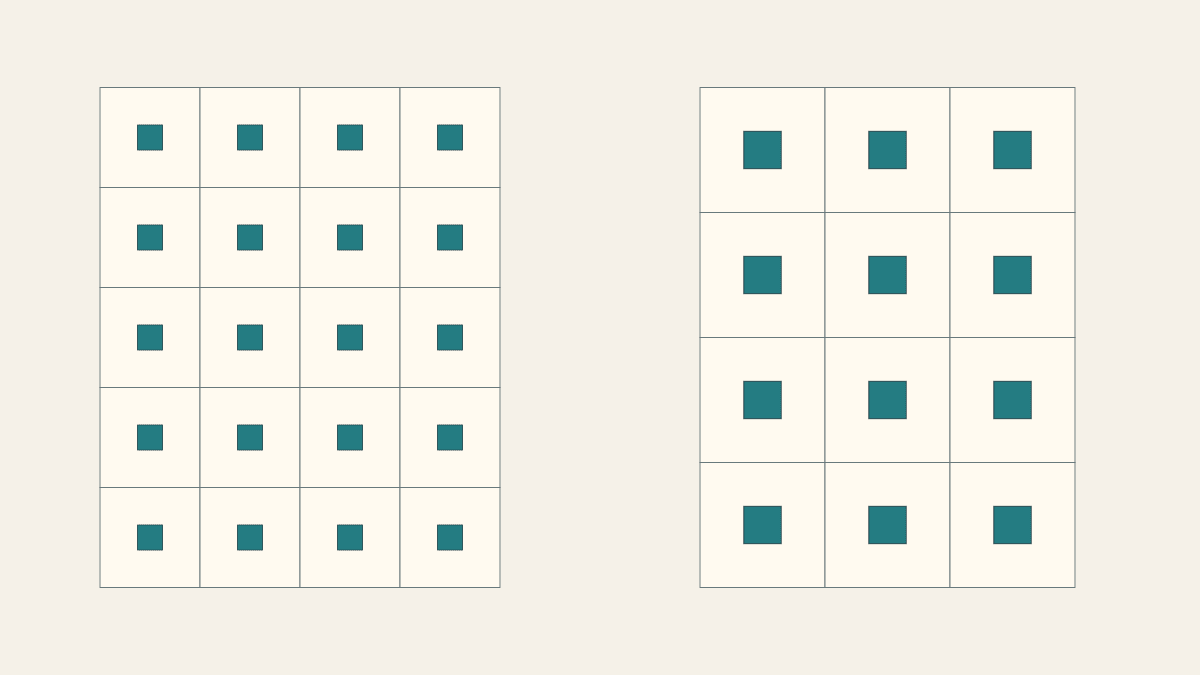
Start with the usable piece of fabric, set some aside, and compare the cuts for two layouts before you choose a block count. For a small piece you can't replace, a simple framed square is a useful first choice: the special fabric stays in the center, and a separate background makes the block larger.
The useful question is how often you want that fabric to appear and how much of the print each patch should show. Fewer blocks don't always use less fabric. Below, twelve larger centers use more focal fabric than twenty small ones, even though the two finished tops are nearly the same size.
Measure what you can actually cut
Prepare the fabric as you intend to use it, then measure the sound, squared area after removing selvages and damaged edges. A label or purchase size doesn't tell you how many cuts will fit now.
Write three things on your sketch:
- The usable width and length.
- The direction the print needs to face.
- The piece you'll leave untouched until the first block has passed its checks.
For this example, the usable focal cloth is 16 x 20 inches. We leave a 4 x 20-inch strip along the right edge unassigned. That leaves a 12 x 20-inch area for the planned centers. The reserve is a choice for this example, rather than a percentage you must use for every quilt.
Keep the reserve separate on paper even if you don't cut it off yet. It's easy to spend the same strip twice when you start counting leftover pieces.
Kimberly Jolly's first-block lesson at Fat Quarter Shop includes a cutting guide so you can plan the fabric before cutting. That order helps here too: draw the pieces on the cloth outline before you commit to a layout. Our fat-quarter cutting layouts show how to map a mix of rectangular cuts when your plan is more complicated.
Choose the part of the print you want to see
Put a paper window over the fabric before you settle on a center size. Try a 2-inch finished window, then a 3-inch window. Does the smaller one show a useful bit of the print? Does the larger one make the motif easier to recognize?
Nannette D.'s fussy-cutting guide at The Textile District shows the difference between the visible window and the surrounding seam allowance. It also calls attention to the top and bottom of a directional print.
The cut maps below assume you can use adjacent squares with the same grain direction. If each square must catch a particular flower or animal, lay every cut on the actual cloth first; motif spacing can reduce the yield. Our fussy-cutting guide walks through that placement check.
Compare two tops from the same focal piece
Both options use straight seams with 1/4-inch seam allowances. For an ordinary square, the cut size is the finished size plus 1/2 inch. Julie Baird explains this relationship in her quilt-block design guide.
Here are the choices. Background frames come from separate fabric; the limited piece supplies only the centers.
| Choice | Center squares to cut | Finished block | Finished top |
|---|---|---|---|
| A: more small centers | 20 at 2.5 inches | 8 inches | 32 x 40 inches |
| B: fewer larger centers | 12 at 3.5 inches | 10 inches | 30 x 40 inches |
Option A repeats the fabric twenty times. Each center finishes at two inches square. Option B repeats it twelve times, with three-inch finished centers. Choose A if a small window still reads clearly and you like the busier repeat. Choose B if the print needs the larger window.
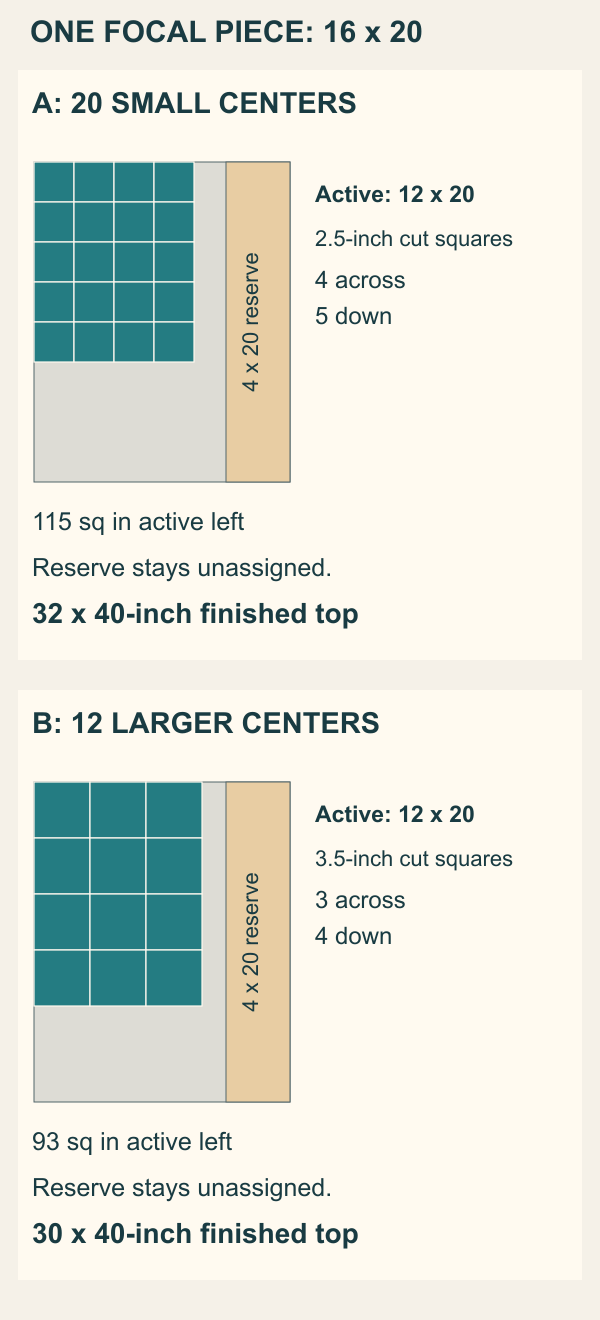
Option A: twenty centers in a 32 x 40-inch top
In the active 12 x 20-inch area, mark a 10-inch-wide lane along the left edge. Five 2.5-inch bands across that lane give you four squares per band: 4 x 5 = 20 squares. They occupy 10 x 12.5 inches.
The active leftovers are two rectangles:
- 2 x 20 inches beside the lane.
- 10 x 7.5 inches below the five bands.
Their combined area is 40 + 75 = 115 square inches. The centers use 20 x 2.5 x 2.5 = 125 square inches. Together, 115 plus 125 accounts for the full 240-square-inch active area.
Frame each center to make an 8-inch finished block. Set the twenty blocks four across and five down. With no sashing or outer border, the top finishes at 4 x 8 = 32 inches wide and 5 x 8 = 40 inches long.
Option B: twelve centers in a 30 x 40-inch top
In the same active area, mark a 10.5-inch-wide lane. Four 3.5-inch bands give you three squares per band: 3 x 4 = 12 squares. They occupy 10.5 x 14 inches.
This time the active leftovers are:
- 1.5 x 20 inches beside the lane.
- 10.5 x 6 inches below the four bands.
That's 30 + 63 = 93 square inches left. The centers use 12 x 3.5 x 3.5 = 147 square inches. The two areas again total 240.
Frame these centers to make 10-inch finished blocks, then set them three across and four down. The top finishes at 30 x 40 inches.
Although B has eight fewer centers, it uses 22 more square inches of cut focal fabric. That's why the cut sizes matter more than the block count alone. These are two feasible maps, not a search for the maximum possible yield.
Work out the background frames separately
Sew the side bars to the center first, then add the top and bottom bars. For each block, cut:
| Choice | Two side bars | Two top/bottom bars | Block before joining |
|---|---|---|---|
| A | 3.5 x 2.5 inches | 8.5 x 3.5 inches | 8.5 inches square |
| B | 4 x 3.5 inches | 10.5 x 4 inches | 10.5 inches square |
In A, the side bars finish three inches wide. The center and two sides make an unfinished width of 2.5 + 3.5 + 3.5 - 1 = 8.5 inches. The subtraction covers the fabric taken up by two seams. Adding the top and bottom makes the block 8.5 inches square before it's joined to neighboring blocks.
In B, the frame finishes 3.5 inches wide. The same check gives 3.5 + 4 + 4 - 1 = 10.5 inches.
For the whole top, A needs 40 side bars and 40 top/bottom bars. B needs 24 of each. Draw those cuts on your background fabric before choosing between the options. Backing, batting and binding also need their own amounts; none comes out of the focal-cloth allowance above.
If you're following a purchased pattern instead, use its cutting and construction instructions. Our guide to reading a quilt pattern helps separate finished block dimensions from the sizes you actually cut.
Sew one block before cutting all the centers
Choose the window you prefer, then cut the pieces for one of the planned blocks. Sew it, press it, and measure the unfinished block in the last column above. Check the print direction and the visible center too.
If it passes, count it toward the twenty or twelve blocks. You haven't added an extra block to the plan. If it needs replacing, set it aside and redraw the remaining cuts before using the reserve. The reserve gives you options; its shape still has to fit the replacement you need.
This is also the moment to look at the whole layout. Twenty tiny windows can feel quite different from twelve large ones, even in nearly equal top sizes. For help thinking through the repeat, see how to design a quilt.
Make the next cut an informed one
Measure your own focal piece and draw its usable outline. Mark a reserve, audition two finished-size windows, and map the cuts for each. Then check the background and sew one block from the option you prefer.
Keep the chosen window, repeat count and finished top size together on your quilt design brief. You'll have a clear plan for the fabric you love before most of it reaches the cutting mat.
Related posts
Choosing Quilt Block Size: Which Size Fits Your Quilt?
Compare three Nine Patch scales for one quilt footprint, count the joining work for a stated method, and audition prints at patch size.
How Long Does It Take to Make a Quilt? Work Out Your Own Time
A simple throw often takes two to four weeks of spare-time sewing. Here's how to time one batch of blocks and turn it into hours and a finish date.
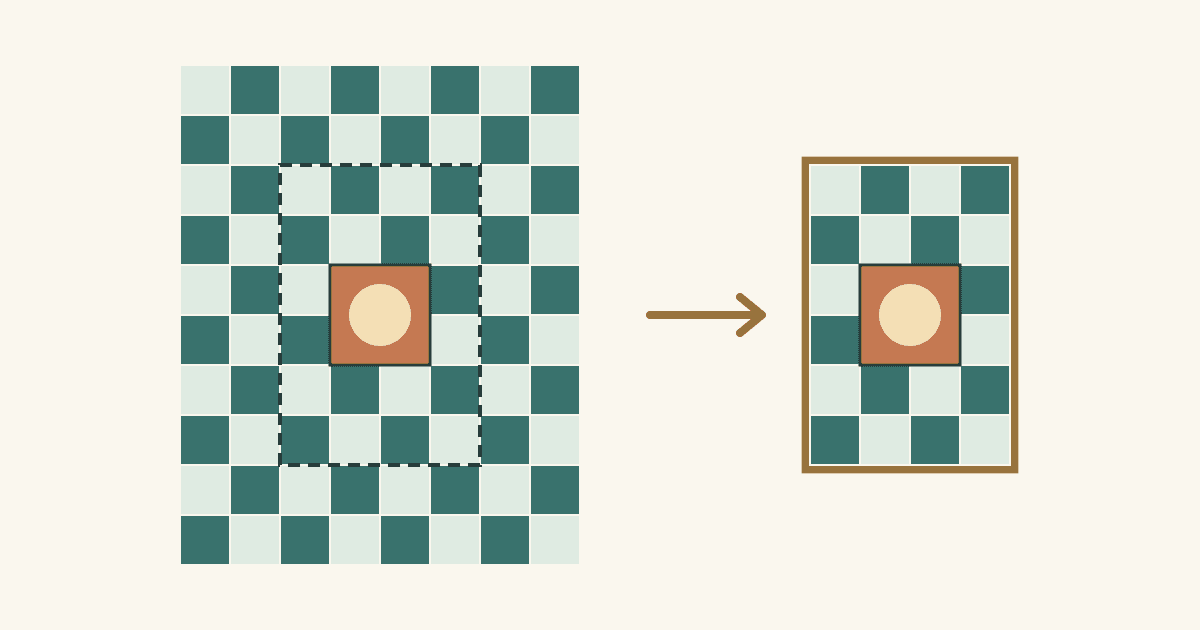
How to Make a Quilt Pattern Smaller Without Losing the Center
Drop whole rows and columns first. Here's how we'd shrink a 48 x 60-inch throw to a 26 x 38-inch wall quilt and keep its 12-inch center.