


One Charm Pack Quilt: What Size Can You Make?
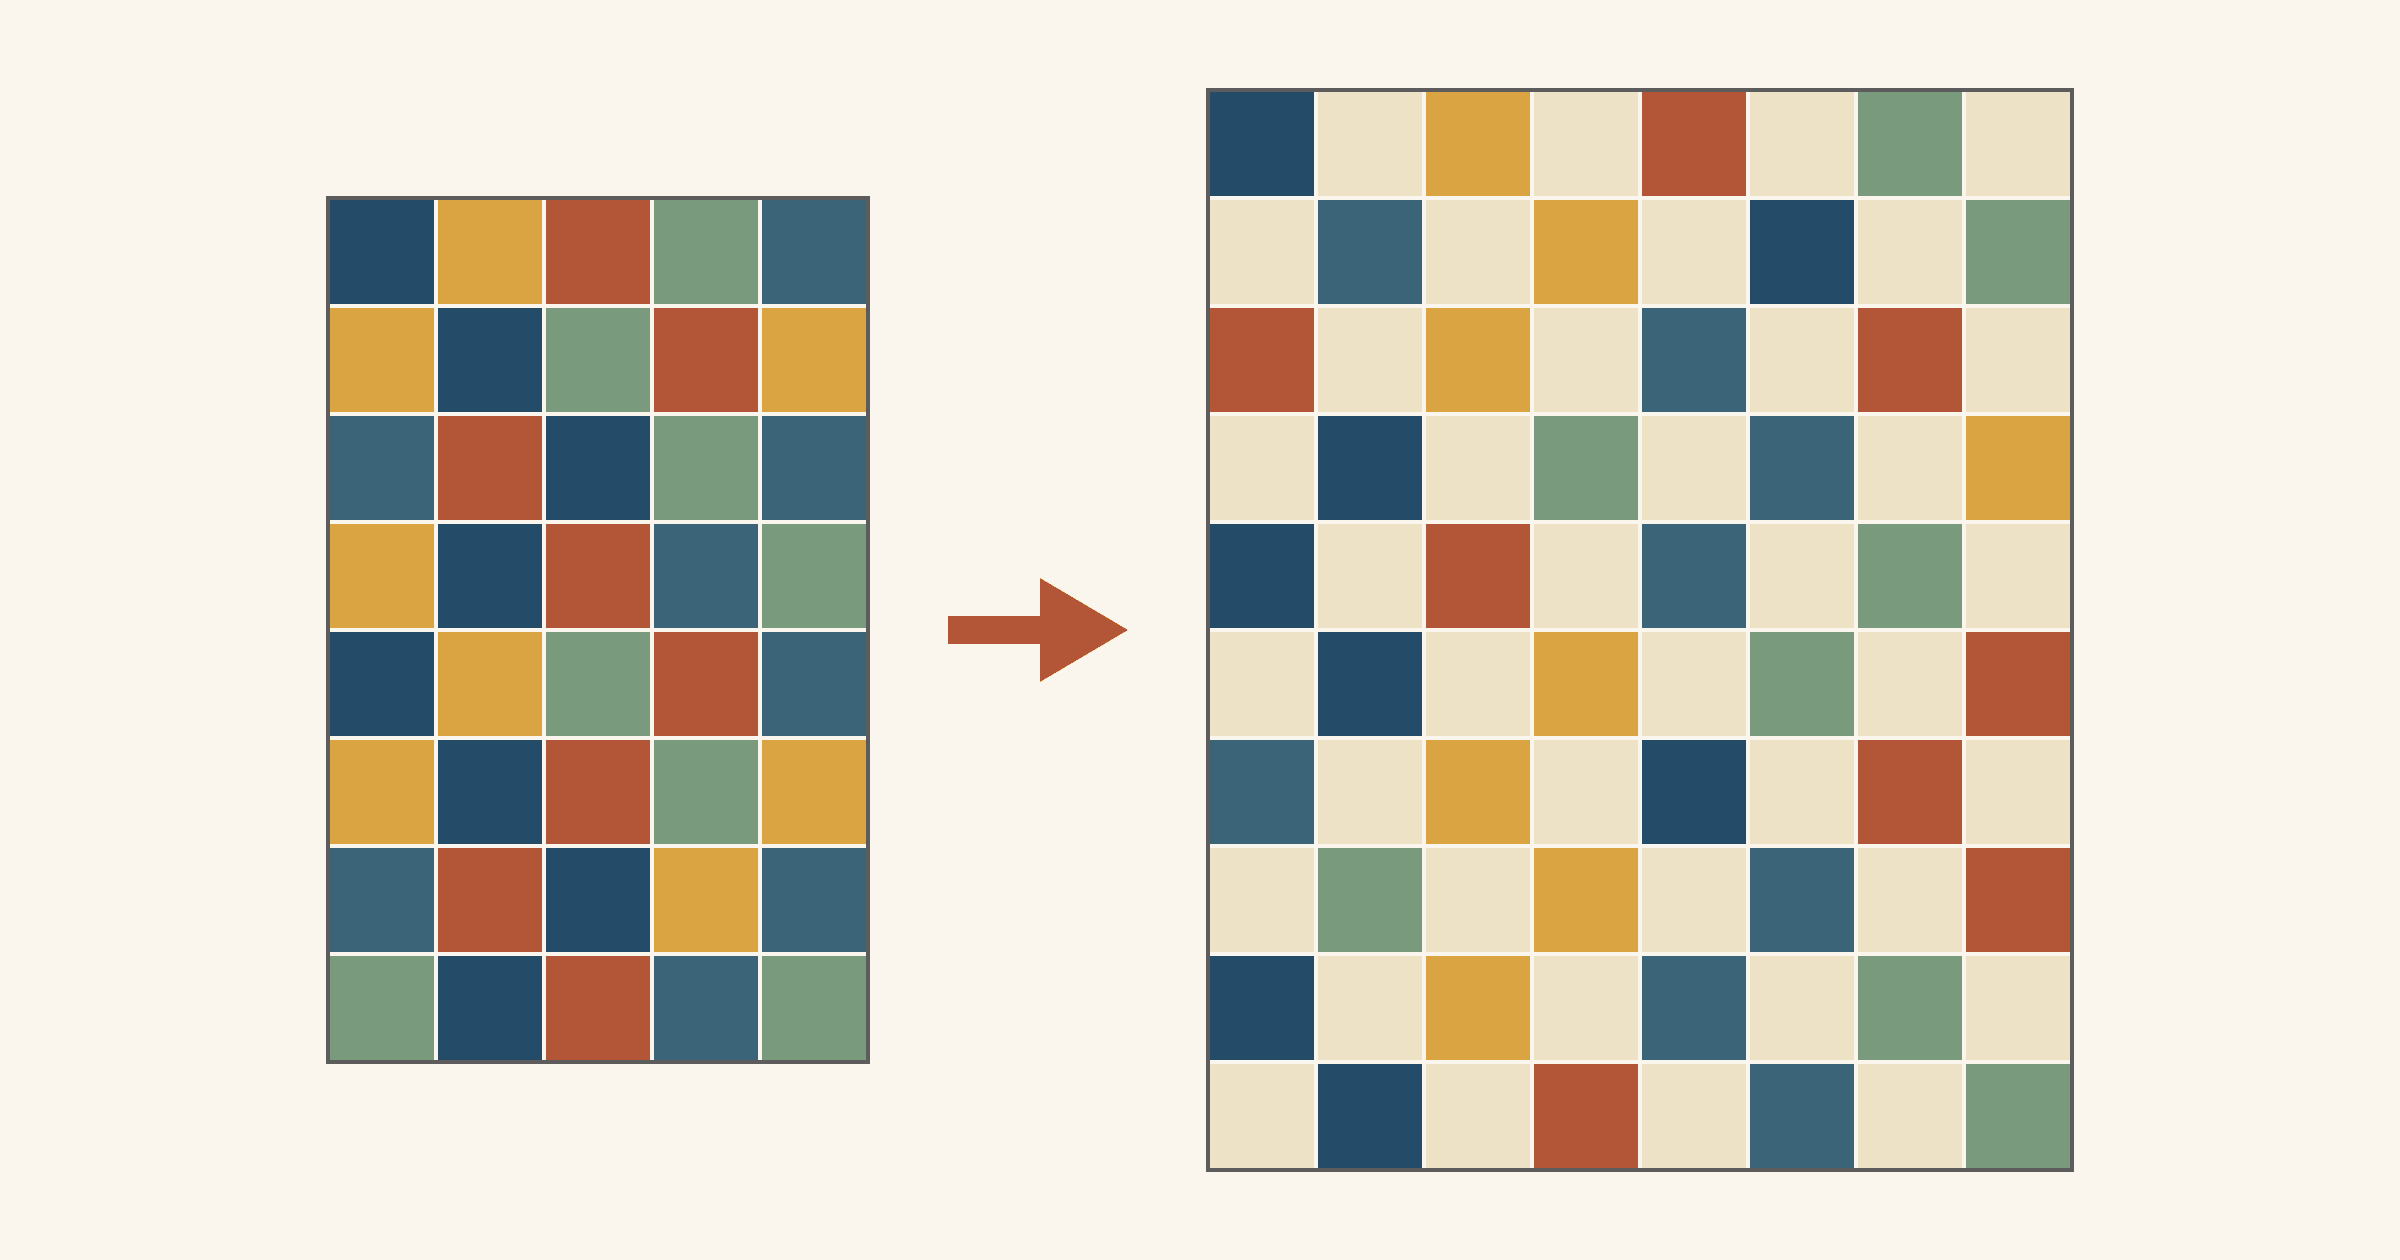
Sewn edge to edge, one charm pack makes a quilt about 27 x 31 1/2 inches. A standard pack holds 42 squares cut at 5 inches. Each finishes at 4 1/2 inches once it's sewn in, so a grid six squares across and seven down comes to that size. The usual rule of thumb sounds bigger. In Missouri Star Quilt Co.'s guide to what precuts can make, Kate counts one pack as a baby quilt, and she lists a baby quilt as 36 x 54 inches before borders. The squares cover less than half of that, so background fabric has to make up the rest.
For most one-pack quilts, alternate the prints with background squares. With 40 prints (the example below sets two aside), a checkerboard 8 squares across and 10 down finishes at 36 x 45 inches and takes about 3/4 yard of background. Below, you'll count the squares you can actually use, turn that count into a grid, and compare four layouts for the same 40 squares.
Count the squares you'll actually use
Start with the number in your hand, not the number on the label. Most packs hold 42 squares. Sherri McConnell's charm pack FAQ at A Quilting Life notes that the number of prints varies by manufacturer, and that some prints may repeat in a Moda pack. Our charm pack guide covers sizes and names across brands.
Then pull the squares that won't work in this quilt:
- Prints that blend with your background. A pale print next to a cream background loses its edges. Our guide to choosing background fabric shows how to test the weakest pairing first.
- Duplicates you don't want twice. Keep them only if you can place them far apart.
- Squares that don't measure 5 inches. Check a few with a ruler. A square that runs small throws off every row it sits in.
Whatever is left is your usable count. In the example below, two pale tan prints nearly match the cream background, so they come out. That leaves 40.
Turn your count into a grid
Every square across adds 4 1/2 inches of width, and every row adds 4 1/2 inches of length:
- Width = squares across x 4 1/2 inches.
- Length = squares down x 4 1/2 inches.
The grid has to use your count exactly, or leave a few squares over. Forty squares fit 5 x 8 or 4 x 10. Forty-two fit 6 x 7. Forty-one and 37 are prime numbers, so the only rectangle they make is one long row. Set one square aside and plan for 40 or 36.
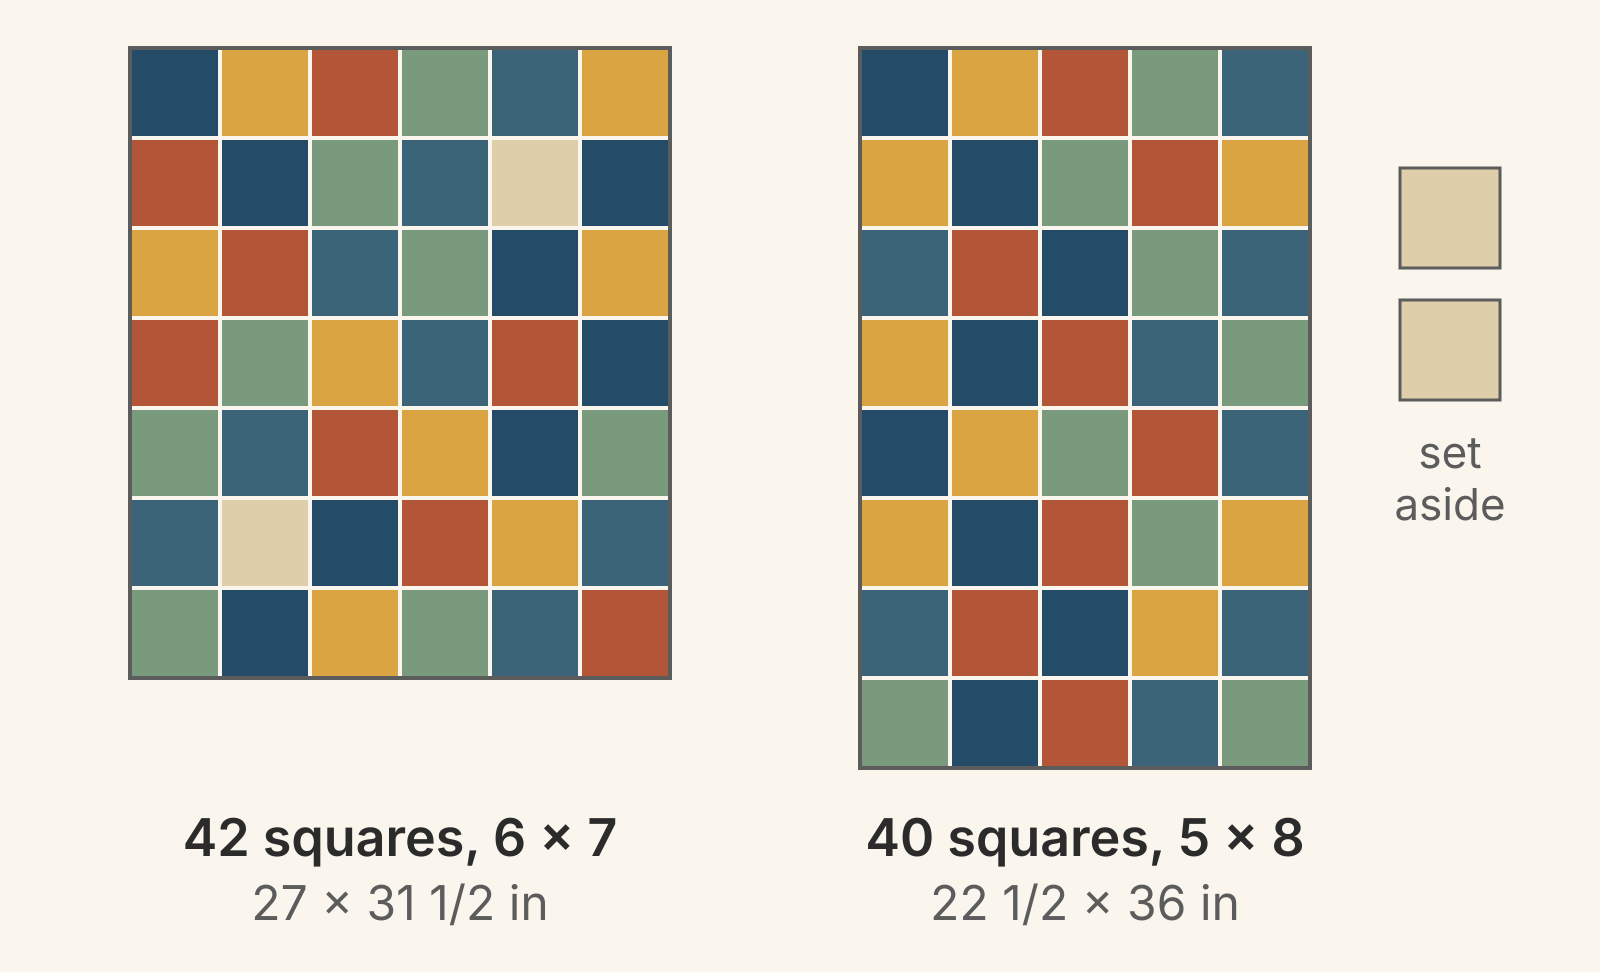
Setting two squares aside made the quilt 4 1/2 inches narrower and 4 1/2 inches longer. That's why the count comes before the layout. Here are the closest-to-square grids for three counts, with and without background:
| Usable squares | Squares only | Checkerboard, equal background |
|---|---|---|
| 42 | 6 x 7: 27 x 31 1/2 in | 7 x 12: 31 1/2 x 54 in |
| 40 | 5 x 8: 22 1/2 x 36 in | 8 x 10: 36 x 45 in |
| 36 | 6 x 6: 27 x 27 in | 8 x 9: 36 x 40 1/2 in |
The squares-only column shows why one pack runs small. Our quilt size chart suggests 36 x 52 inches for a baby quilt, close to Kate's 36 x 54. To cover either one, squares alone would need 8 across and 12 down: 96 squares, more than two packs. A checkerboard reaches the same 36-inch width with 40 prints.
Cheryl Brickey ran into the same wall. Writing on the C&T Publishing blog about her book Just One Charm Pack Quilts, she says one pack "never seemed like enough fabric to make a full quilt," and most charm pack patterns asked for two or three. Her answer was to add one more fabric and a background. If you'd rather buy more packs, our charm packs vs yardage comparison counts a 45 x 54-inch top made from three.
Four ways to use the same 40 squares
Each layout below uses the 40 usable prints. Only the background changes.
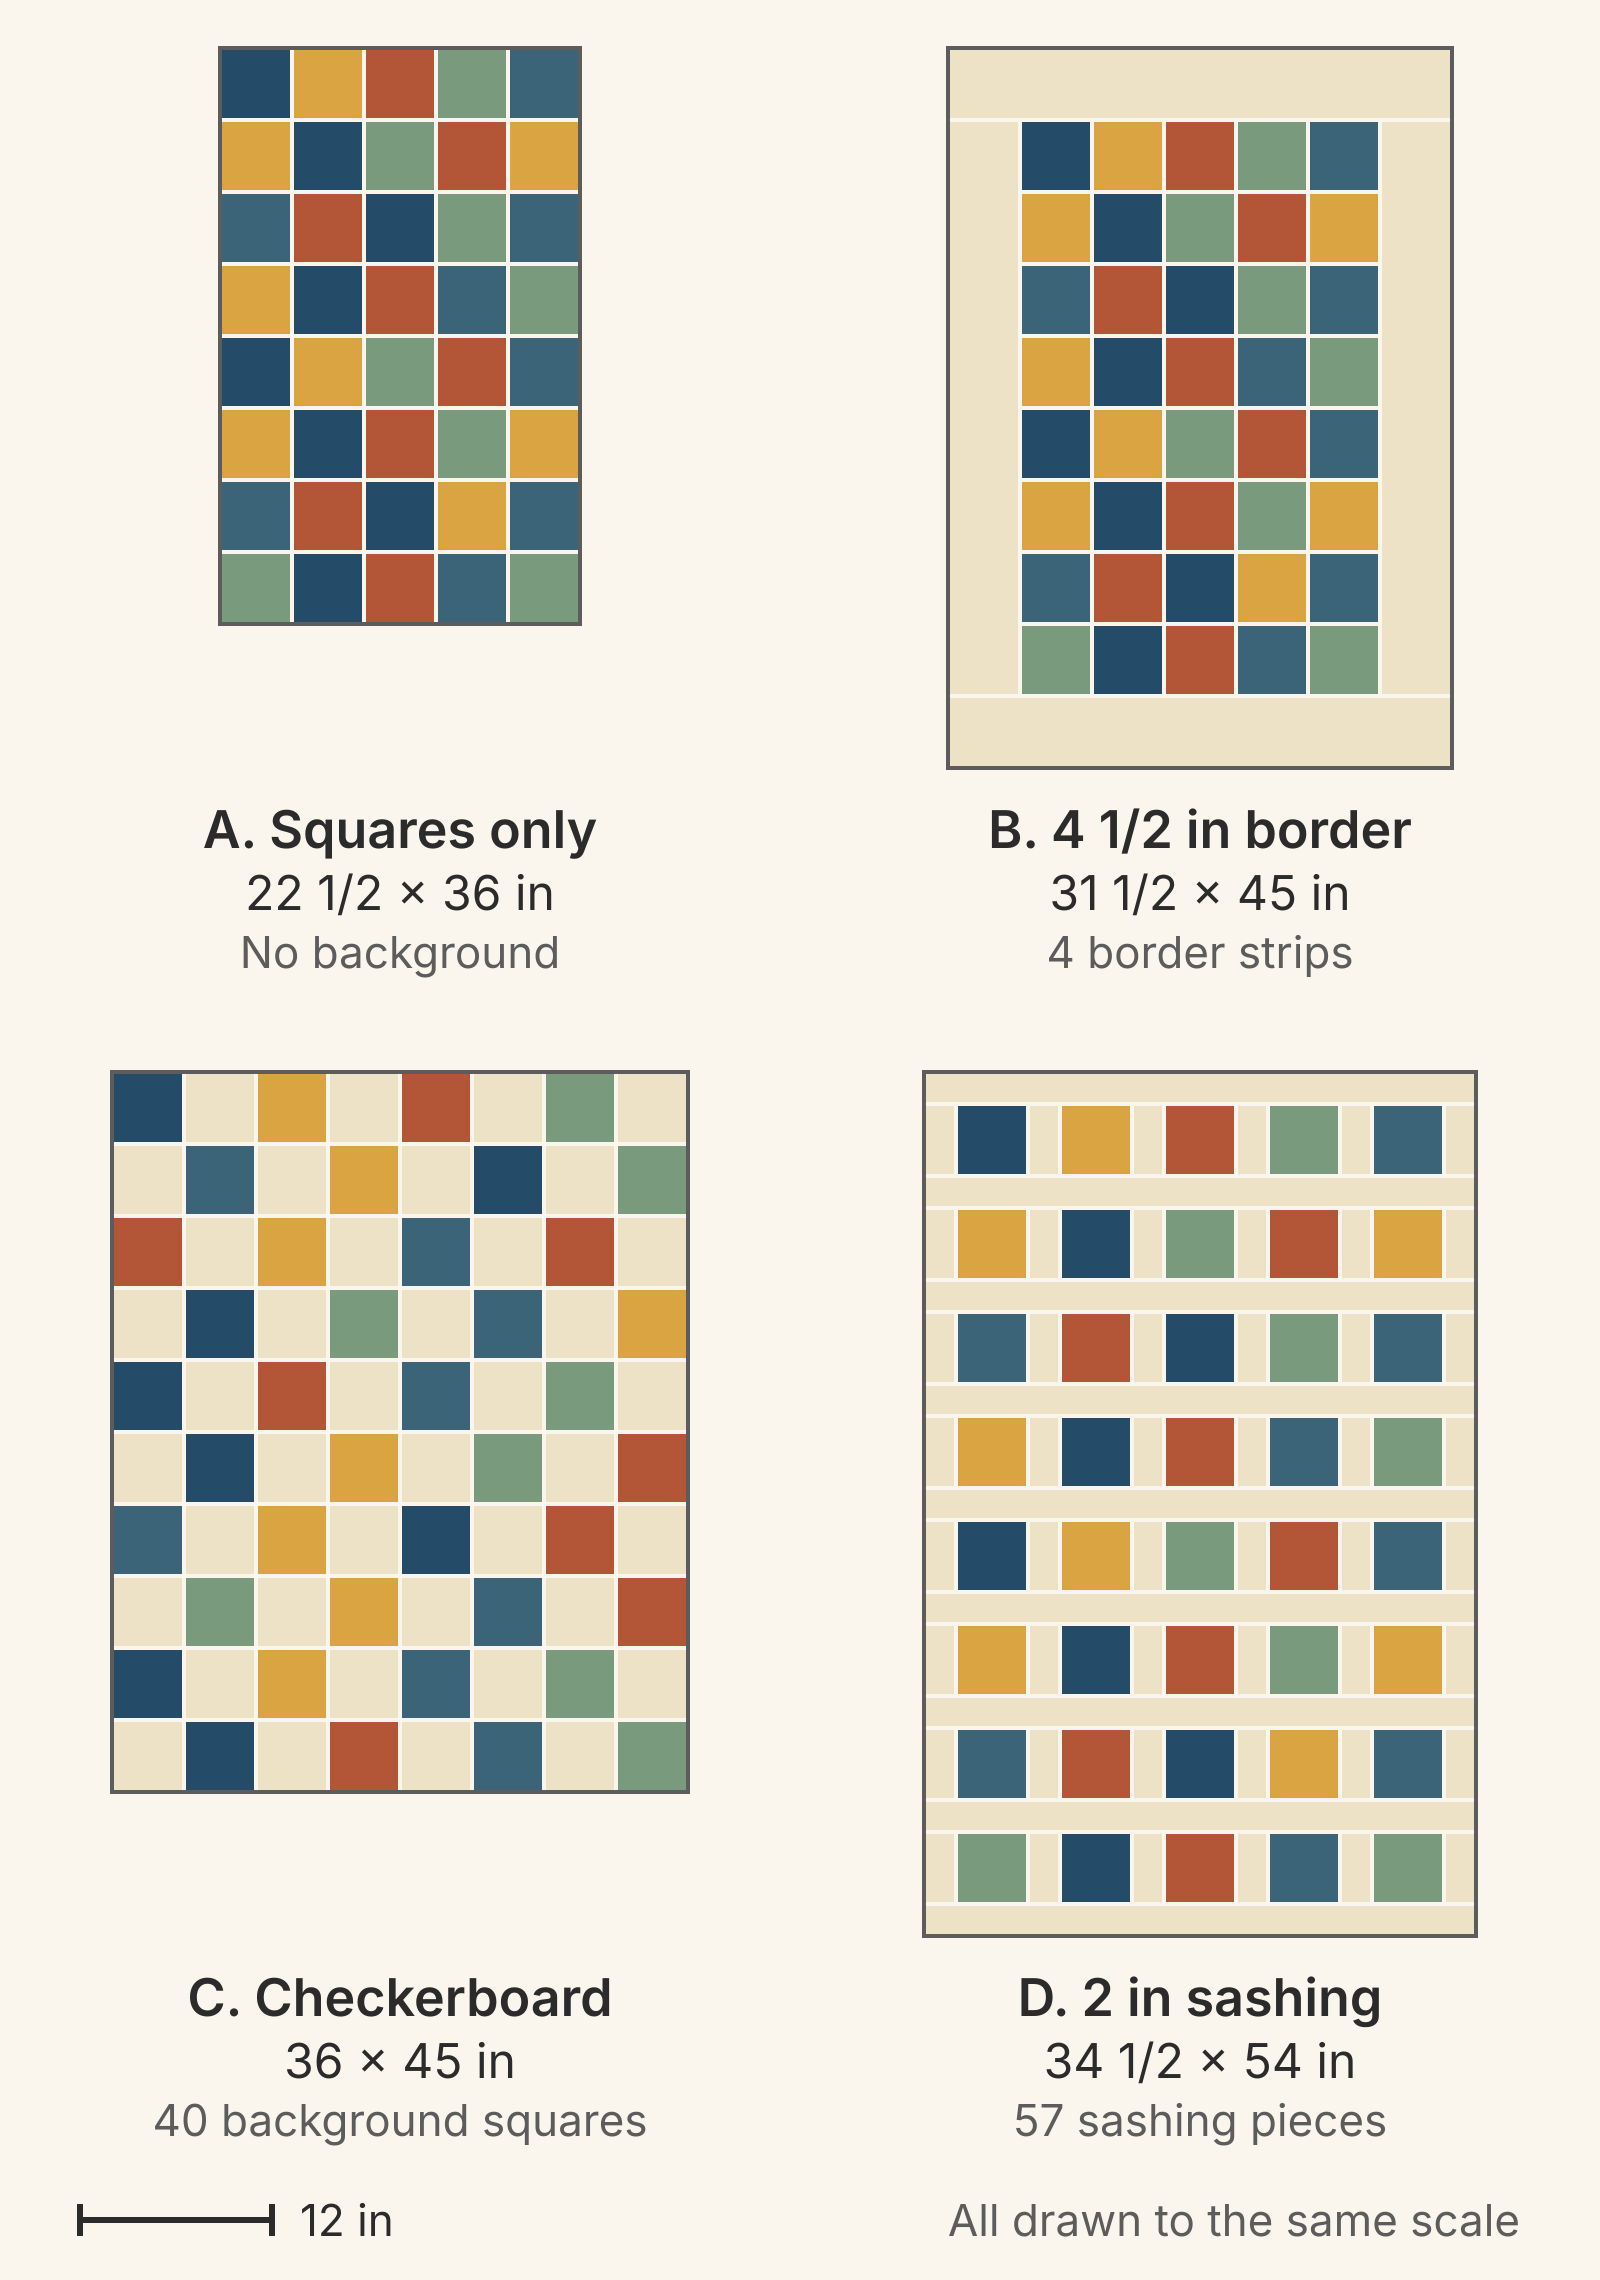
| Layout | Background to cut | Finished size |
|---|---|---|
| A. Squares only | None | 22 1/2 x 36 in |
| B. 4 1/2 in border | 4 strips, 5 in wide | 31 1/2 x 45 in |
| C. Checkerboard | 40 squares, 5 in | 36 x 45 in |
| D. 2 in sashing | 48 pieces 2 1/2 x 5 in, 9 strips 2 1/2 x 35 in | 34 1/2 x 54 in |
A. Squares only. No extra fabric, and the fastest top to sew. At 22 1/2 x 36 inches it suits a wall quilt or a table topper.
B. Border. A 4 1/2-inch finished border is cut from 5-inch strips, the same width as the charms. Connie Kresin Campbell took this route with the one charm pack quilt on her blog, Freemotion by the River. She says the pieced center "would be too small as it was," so she added 5-inch strips of teal, and the quilt finished at 31 x 35 inches. For Layout B, cut two side strips 5 x 36 1/2 inches, sew them on, then cut the top and bottom strips 5 x 32 inches. Measure your sewn center before cutting, as our guide to preventing wavy borders explains.
C. Checkerboard. Prints alternate with 5-inch background squares. Each of the 10 rows has 4 prints and 4 background squares. The quilt is twice the area of Layout A and reaches 36 inches wide. If you'd rather have a square quilt, a 9 x 9 checkerboard takes the same 40 prints with background squares in all four corners. That's 41 background squares and 40 1/2 x 40 1/2 inches.
D. Sashing. Sashing strips that finish at 2 inches run between the squares and around the outside. Each row of 5 squares takes 6 short pieces cut 2 1/2 x 5 inches. Nine long strips cut 2 1/2 x 35 inches go above, between and below the 8 rows, for 57 sashing pieces in all. It's the longest layout here, and each print sits apart as its own square. Our post on sashing width compares narrower and wider strips.
Which layout should you choose?
For a first one-pack quilt, choose the checkerboard. Every cut is a 5-inch square, there are no long strips to measure, and it's the only one of the four that reaches 36 inches wide. If you need more length, add a 4 1/2-inch border to it for 45 x 54 inches, or pick the sashed layout. For a throw from a single pack, look at 10-inch squares instead; our layer cake cutting guide shows one layer cake sewn whole makes 57 x 66 1/2 inches.
Background also changes how loudly the prints speak. In Layout A they cover the whole top. In B they cover 57 percent of it, in C half, and in D about 43 percent. With a border added to the checkerboard, the prints drop to a third of the top. If you bought the pack because you love every print in the line, choose B. Of the layouts that add size, it keeps the most print showing.
What about half-square triangles? Pairing each print with a background square for two-at-a-time HSTs gives 80 units from the same 40 background squares as Layout C. But HSTs from 5-inch squares get trimmed to 4 1/2 inches, so each finishes at 4 inches. Eight across and 10 down comes to 32 x 40 inches. That's 4 inches narrower and 5 inches shorter than the checkerboard, because the diagonal seam uses up fabric. Our HST layout guide shows what those 80 units can become.
If the quilt is for a baby, plan it for play time or the wall, not the crib. The US Consumer Product Safety Commission's safe sleep guidance says not to add blankets to a baby's sleep space.
Work out the background before you buy
These amounts assume 40 inches of usable width once the selvages are trimmed. Measure your own fabric, and cut every strip across the width.
- B, border: four 5-inch strips, 20 inches of fabric. Buy 5/8 yard.
- C, checkerboard: eight 5-inch squares per strip, so 40 squares take five strips, or 25 inches. Buy 3/4 yard.
- D, sashing: nine 2 1/2-inch strips for the 35-inch pieces. Each leaves 5 inches over, enough for one short piece. Five more strips give the other 39 short pieces at eight per strip. That's fourteen strips, or 35 inches. Buy 1 1/8 yards.
- C with a 4 1/2-inch border: five strips for the squares and five for the border, 50 inches in all. Buy 1 1/2 yards. The border pieces are 45 1/2 inches long, so join the border strips end to end with straight seams before cutting them.
Each amount leaves at least 2 inches for straightening cuts. Binding is extra.
Check your plan before you cut
Spread the pack out on the background you have in mind and pull the prints that blend. Count what's left, find the count in the table, and pick the layout that reaches the size you need.
Then check the grid in QuiltLab. In the Quilt Editor, start a Grid quilt and open Properties > Layout. Set block W and H to 4.5 inches, Cols to 8 and Rows to 10. The finished size beside the Layout heading should read 36 x 45 inches. For the checkerboard look, draw two plain 4 1/2-inch square blocks in the Block Editor, one print and one background, and place them alternately. To try the bordered version, choose Add border under Borders and set its finished width to 4.5 inches. The Layout heading still shows the 36 x 45 top, and the status bar's Overall size reads 45 x 54 inches. The Quilt Editor has no sashing control, so keep Layout D on paper. It doesn't count background squares or yardage either, so use the numbers above.
Quilt Editor guide →Grid layouts, block size, borders and finished dimensionsOnce the sizes on screen match your table, cut the background.
Related posts
Precuts vs Yardage: One Quilt Counted Both Ways
One 45 x 54-inch quilt of 120 five-inch squares, bought as charm packs or as yardage. See the fabric left over, the cuts and the prints you get each way.
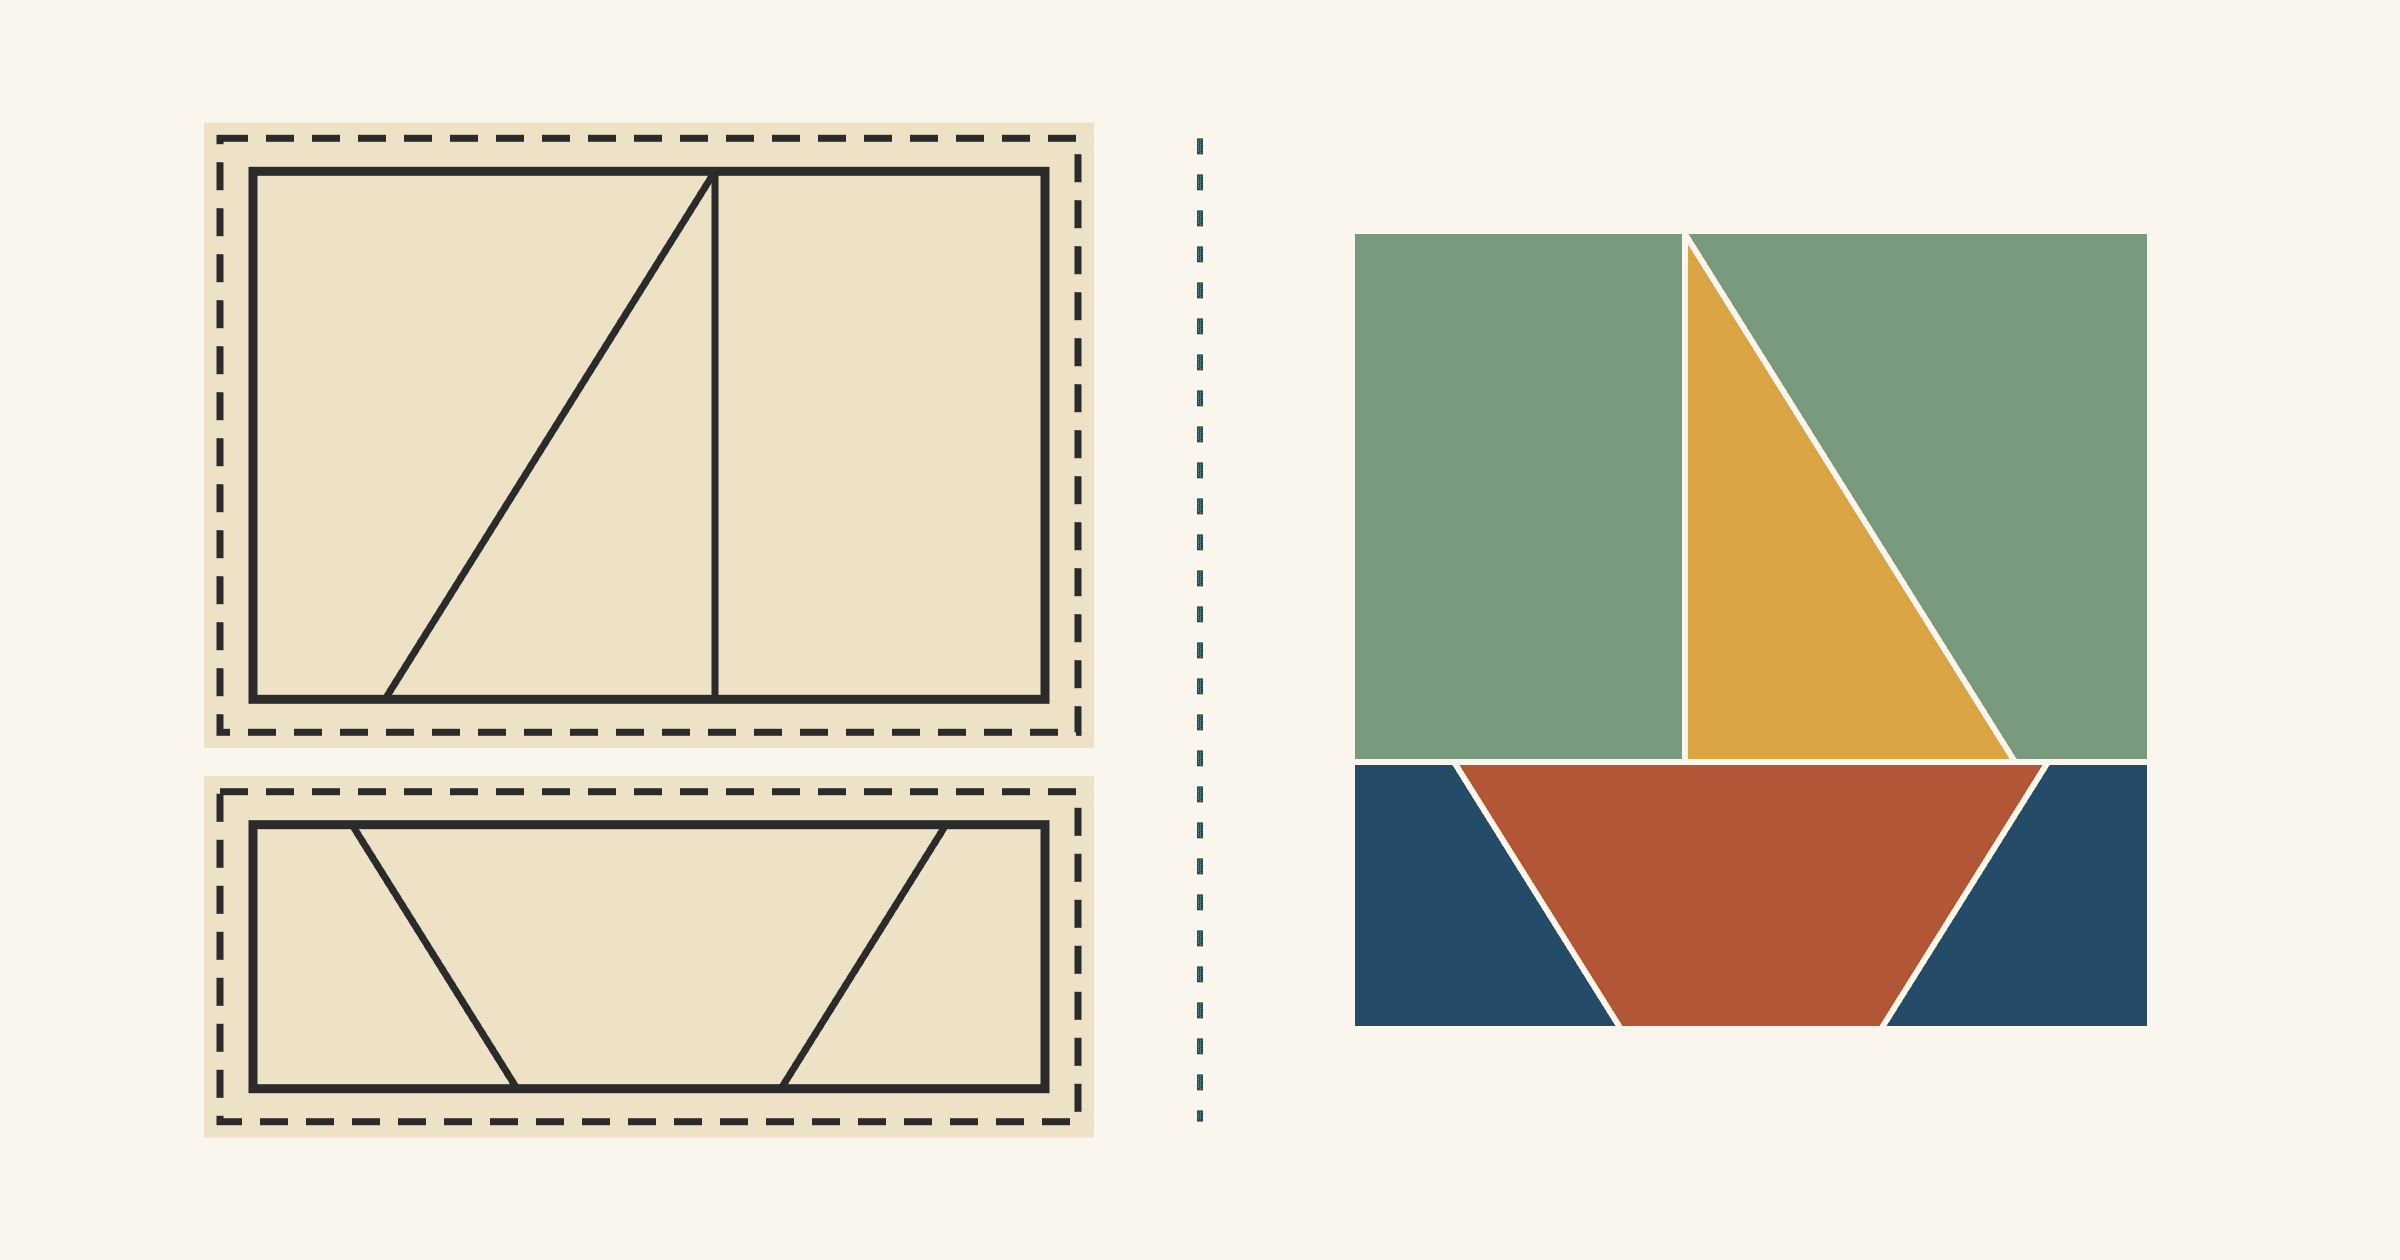
How to Read a Foundation Paper Piecing Pattern: Which Line Is Which?
Numbers set the sewing order, the lines inside a section are where you stitch, and the outer pair of lines marks the finished edge and the trim line.
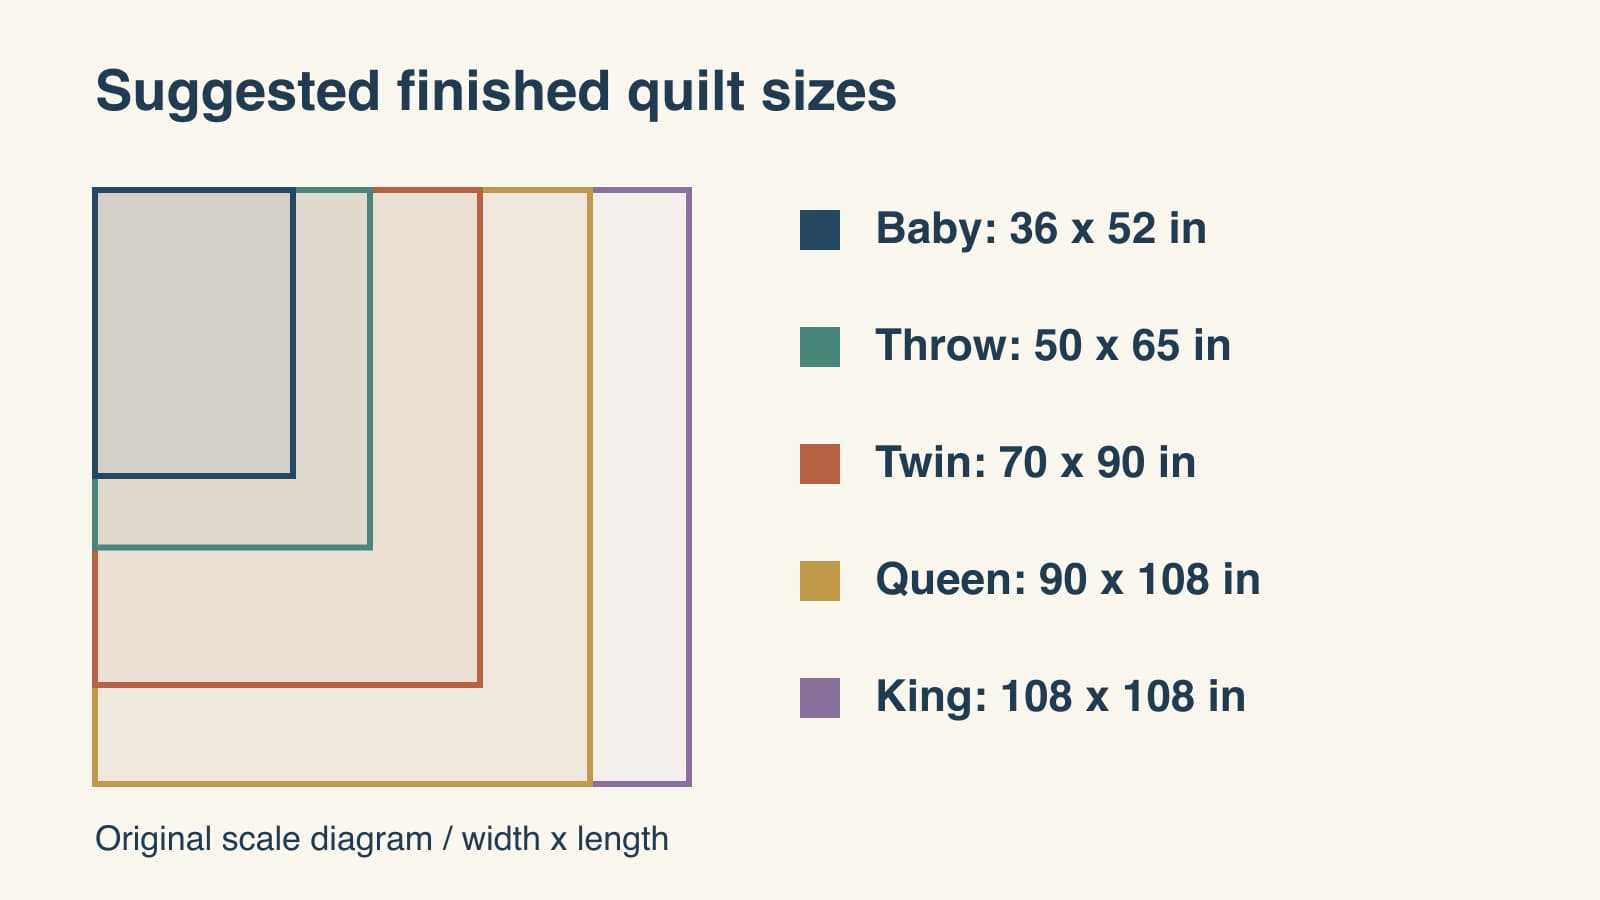
Quilt Size Chart: Baby, Throw, Twin, Queen and King
Compare suggested finished quilt sizes, measure the drop on a real bed, and check how many blocks fit your target before choosing a pattern.