


Two-at-a-Time HSTs: Plan the Starting Square
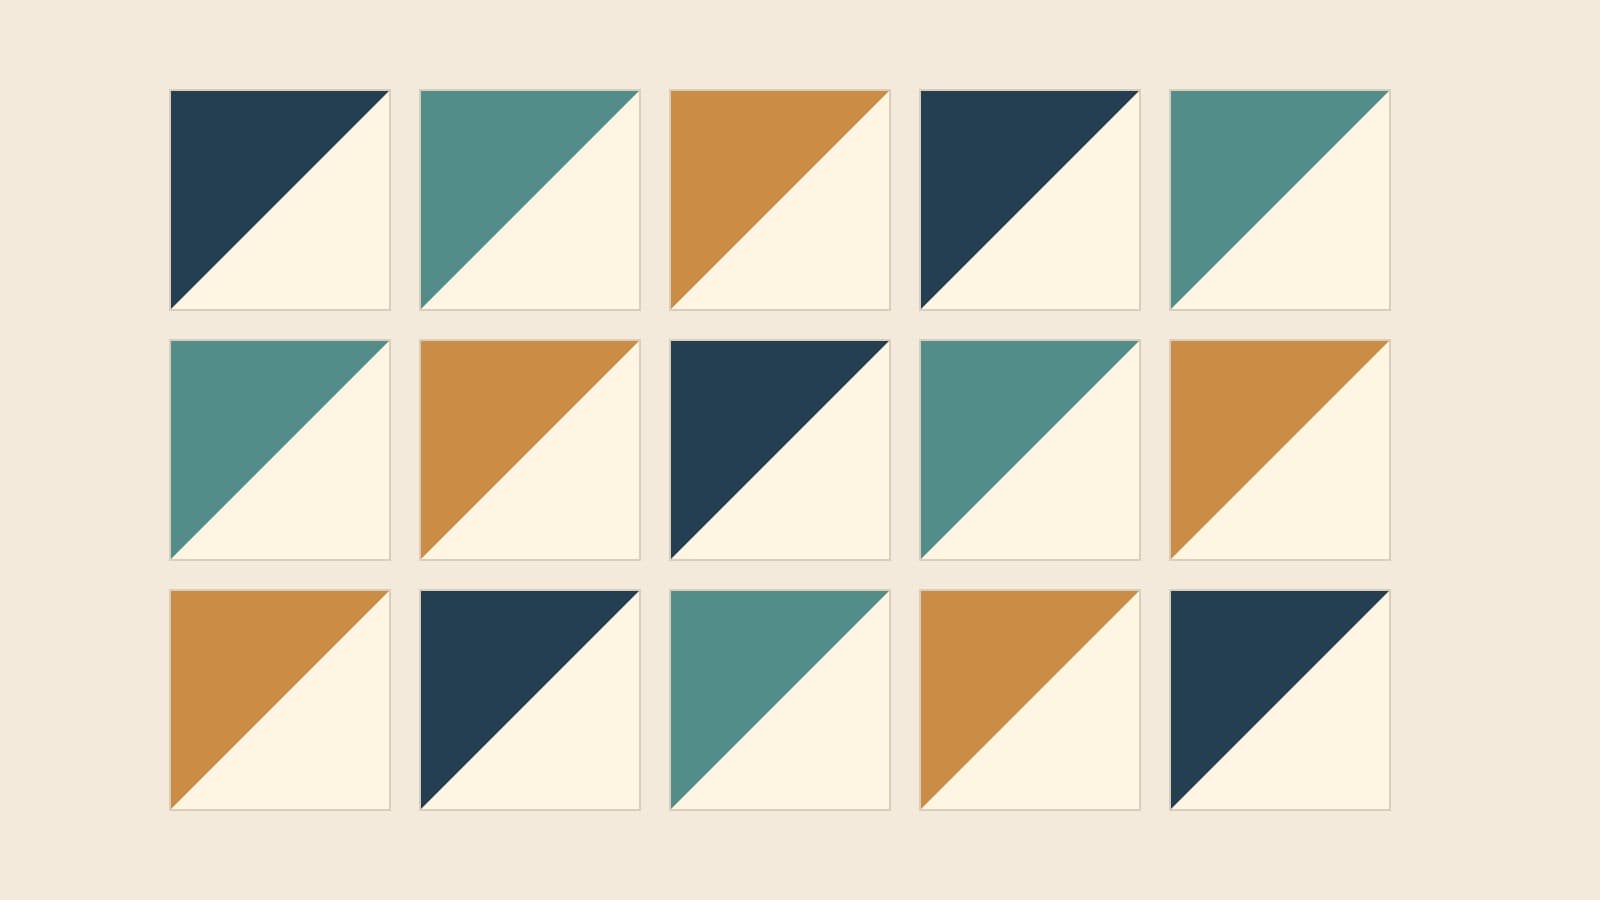
Two at a time half square triangles start with a pair of squares and finish with two matching units. The useful decision comes before sewing: how large should those squares be, and what size should the sewn units measure before joining them to the quilt?
For a 3-inch finished HST, this article uses two 4-inch starting squares, then trims both sewn units to 3 1/2 inches. The extra fabric gives you a little correction room. Below is the arithmetic, a size table, and an original 48-unit example. These are planning calculations and diagrams, not a sew-tested pattern.
Name the three sizes before cutting
An HST is a square made from two triangles joined along their diagonal. That description is simple; the size labels cause more trouble.
| Size label | What it means | Our example |
|---|---|---|
| Finished | Visible size after outer seams are sewn | 3 inches |
| Unfinished / trim size | Unit before joining, including outer allowances | 3 1/2 inches |
| Starting square | Each of the two squares used to make the pair | 4 inches |
With quarter-inch seams around the finished unit, add 1/2 inch to its finished width and height to find the unfinished size. A 3-inch square therefore needs to measure 3 1/2 inches before assembly. It loses 1/4 inch at each opposite edge when joined.
The starting square needs more than that half inch because the diagonal seam consumes fabric too. A 3 1/2-inch starting square is not a shortcut to a 3-inch finished HST: once you sew its diagonal, the unit is already smaller than the required 3 1/2-inch unfinished size.
If your pattern says “make HSTs measuring 3 1/2 inches,” first confirm whether it means the units before assembly. Check the surrounding squares in the same step: pieces being joined along a full edge should have matching unfinished dimensions.
Choose the conventional or oversized starting square
The familiar two-at-a-time rule is finished size + 7/8 inch. The Happy Kiwi Quilt Studio's tutorial uses that convention with a scant quarter-inch diagonal seam. For a 3-inch finished unit, that gives 3 7/8-inch starting squares.
Another useful choice is finished size + 1 inch, then trim. Carole Fure's National Quilters Circle lesson describes this oversized approach. It makes the starting measurement easier to cut and leaves extra fabric for squaring up.
These rules refer to the same finished size. The second adds 1/8 inch to each starting square's side, compared with the first. That is not an extra 1/8 inch around every edge, and it is not a promise that any sewing error will trim away.
| Finished HST | Trim to | Conventional start | Oversized start |
|---|---|---|---|
| 1 1/2 inches | 2 inches | 2 3/8 inches | 2 1/2 inches |
| 2 inches | 2 1/2 inches | 2 7/8 inches | 3 inches |
| 3 inches | 3 1/2 inches | 3 7/8 inches | 4 inches |
| 4 inches | 4 1/2 inches | 4 7/8 inches | 5 inches |
| 5 inches | 5 1/2 inches | 5 7/8 inches | 6 inches |
Every row is independently calculated from those rules. Sarah Stearns's HST charts provide an external reference for the conventional two-at-a-time measurements and distinguish them from other batch methods.
Use the conventional size when it fits your pattern and your seam calibration gives the required result. Choose the oversized column when you want to trim each unit. Test one pair in the actual fabric before cutting the whole project; a generous starting square still needs accurate marking, sewing and pressing.
Why the diagonal changes the allowance
In an ideal flat geometric model, a quarter-inch seam measured perpendicular to a 45-degree diagonal reduces the opened square's side by 1/4 × the square root of 2, about 0.3536 inch. Add the 1/2 inch required for the unit's outside seams, and the theoretical starting allowance is about 0.8536 inch over finished size.
The familiar 7/8 inch is 0.875 inch: a convenient fraction just above that geometric value. The +1-inch choice leaves more room. Real cloth, thread thickness and the fold at the seam change the result, which is why this calculation explains the rule without replacing a sewn size check.
Sew one pair, then measure it
The basic sequence follows the two-at-a-time method in the expert tutorials above:
- Cut one light and one dark square at 4 × 4 inches. Place them right sides together.
- Draw one diagonal on the wrong side of the lighter square, from corner to corner.
- Sew a scant quarter inch on both sides of that marked line. The mark is the future cut, not a stitching line.
- Cut on the drawn diagonal. You now have two folded units.
- Open and press them according to the intended assembly. Press toward the darker fabric if no pattern-specific direction is needed.
- Let them lie flat, measure, and trim each to 3 1/2 × 3 1/2 inches.
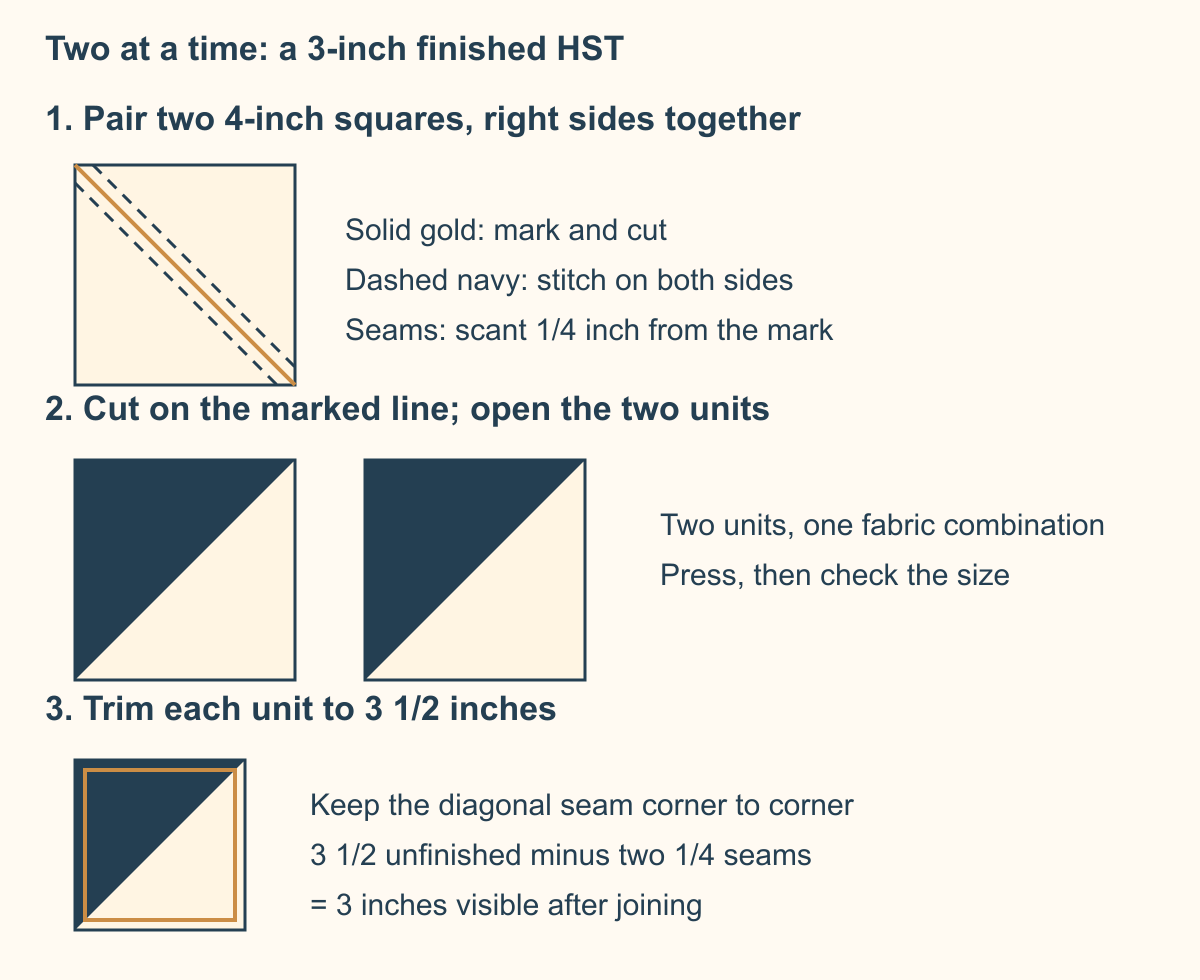
When trimming an opened unit, align the ruler's 45-degree line with the diagonal seam. Check that the full 3 1/2-inch square fits within the fabric. Trim two adjacent edges, turn the unit, align the newly cut edges with the 3 1/2-inch marks, and trim the remaining edges. The diagonal should reach the finished trimming square's opposite corners.
If there is not enough fabric to contain the target square, trimming cannot restore it. Check starting-square size and seam width before making the next pair. If the unit is big enough but the seam misses the ruler's diagonal, reposition the ruler rather than cutting a square around a displaced seam.
Work out a 48-unit project before cutting 48 squares
Suppose you want a small design study with 6 columns and 8 rows of 3-inch finished HSTs. Its center measures:
- Width: 6 × 3 = 18 inches.
- Height: 8 × 3 = 24 inches.
- Units: 6 × 8 = 48 HSTs.
Two units come from each pair, so 48 ÷ 2 = 24 pairs. If every unit uses the same light and dark fabrics, cut 24 light squares and 24 dark squares, each 4 inches. That is 48 starting squares in total, not 48 pairs.
The test pair can count toward those 48 HSTs if both units meet the 3 1/2-inch requirement. If you want one extra practice pair outside the project count, cut 25 of each fabric instead: 25 pairs yield 50 units, with two spares.
Color combinations have their own counts. If you need 18 navy/cream HSTs and 30 teal/cream HSTs, make 9 navy/cream pairs and 15 teal/cream pairs. You still need 24 cream squares, with 9 navy and 15 teal squares. Keep those pairings labeled so the total remains right when you chain-piece.
For an odd quantity, round the number of pairs upward. Seven matching HSTs need four pairs, yielding eight units and one spare. A spare in one color combination does not fill a missing unit in another.
Keep construction sizing separate from the layout
Use half-square triangle quilt layouts to decide how your units face. Turning a sewn HST changes its orientation, not its size or the number of pairs needed.
In QuiltLab, design using the finished unit dimension: 3 inches for this example. The Quilt Editor guide explains the Grid controls and finished measurements. Set 6 columns, 8 rows and a 3-inch block width and height to plan the 18 × 24-inch center.
Keep the 4-inch starting square and 3 1/2-inch trim size in your own construction notes. QuiltLab does not turn the design into HST cutting instructions or calculate fabric yardage. The paper cutting plan and the digital layout answer different questions; checking both keeps a correctly counted design from becoming an incorrectly sized pile of units.
For a larger repeated unit count, compare the eight-at-a-time HST batch plan. Its worked example includes surplus units and trimming room so you can decide whether the larger batch suits your fabric pairs.
Related posts
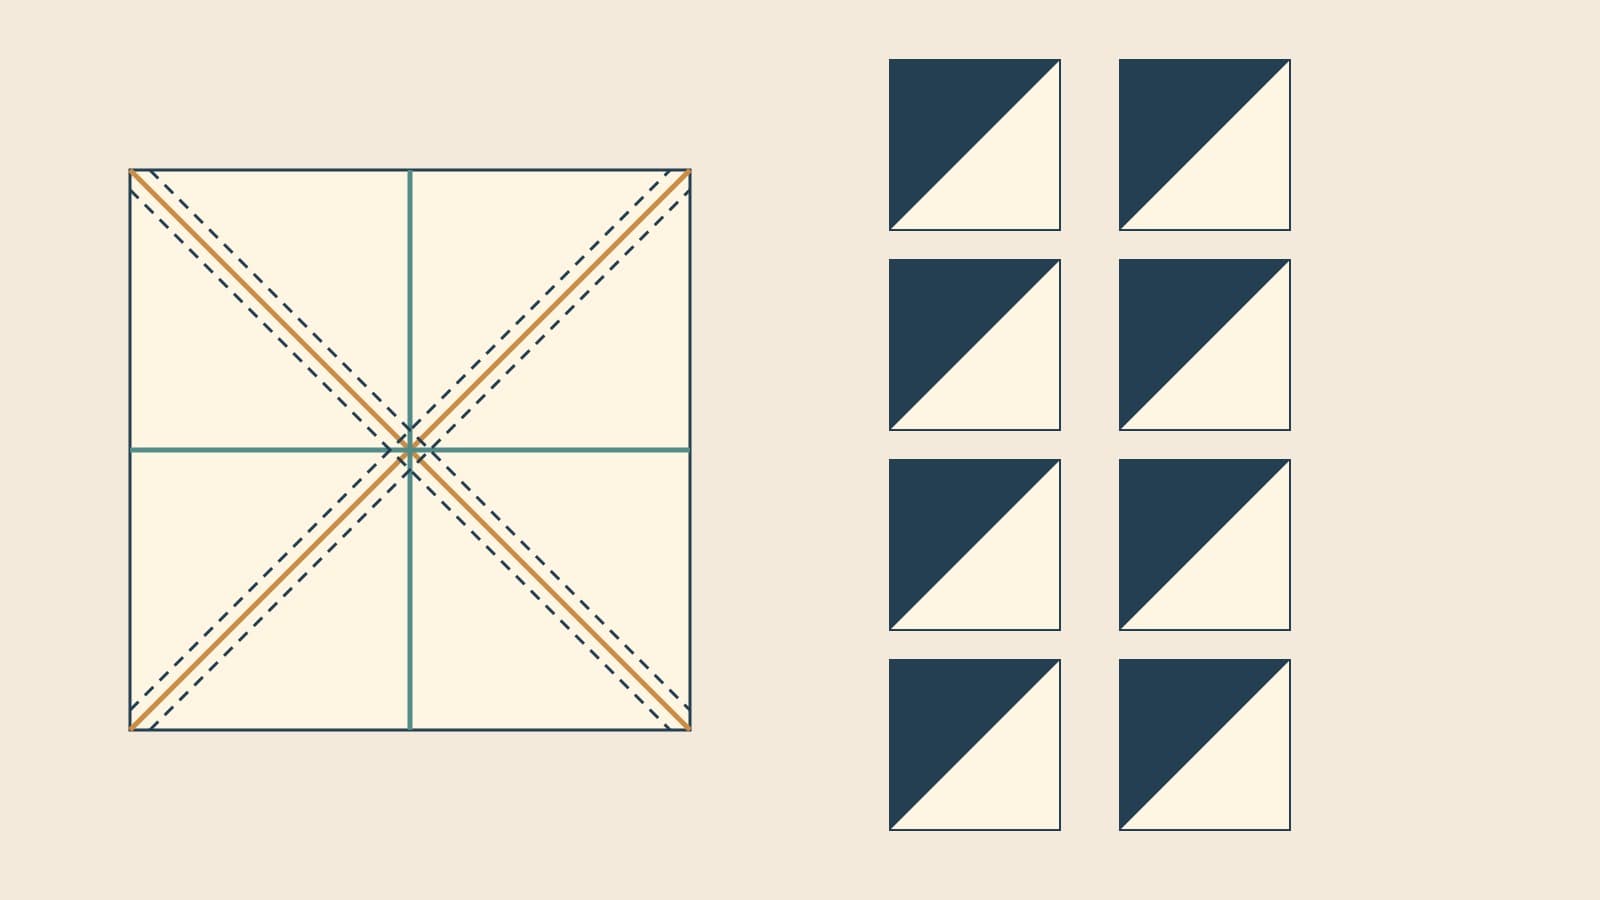
Eight at a Time Half Square Triangles: Batch Math
Plan eight-at-a-time half-square triangles with an oversized starting-square rule, a clear cutting sequence, and a 54-unit color-pair example.
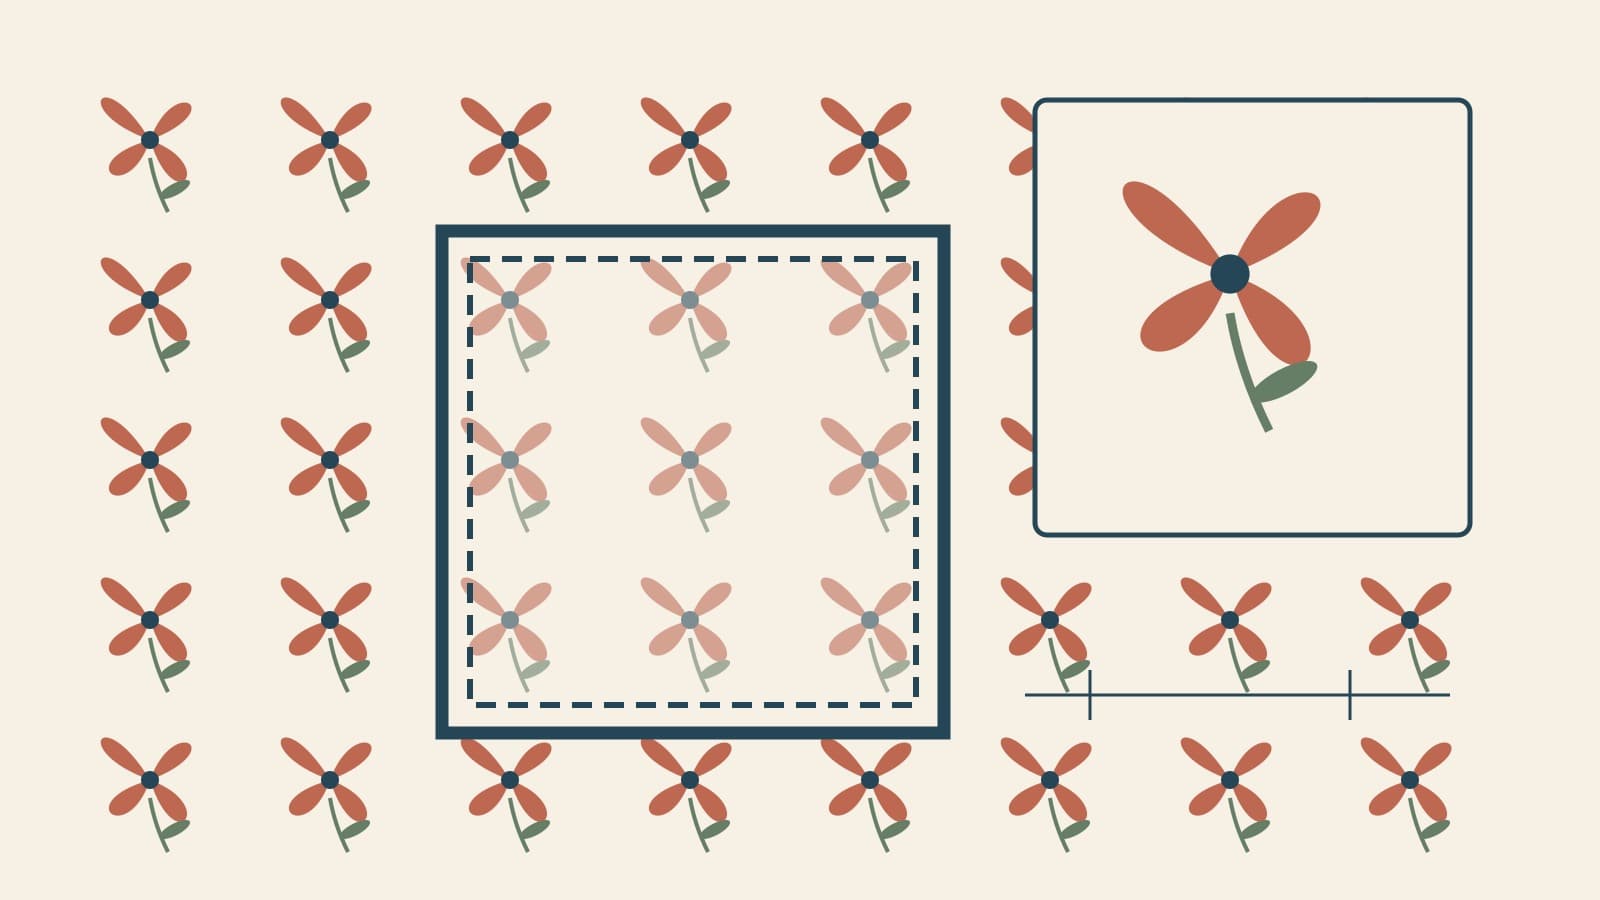
Fussy Cutting: Plan the Motif Before You Cut
Frame the print, protect the seam allowance and count usable repeats. A four-inch square example, plus a QuiltLab preview before you cut.
Fussy Cutting Hexagons: Plan Repeats for a Rosette
Count six matching motifs, record their orientation and preview a hexagon rosette before cutting the fabric.