Photographing Finished Quilts for a Useful Record
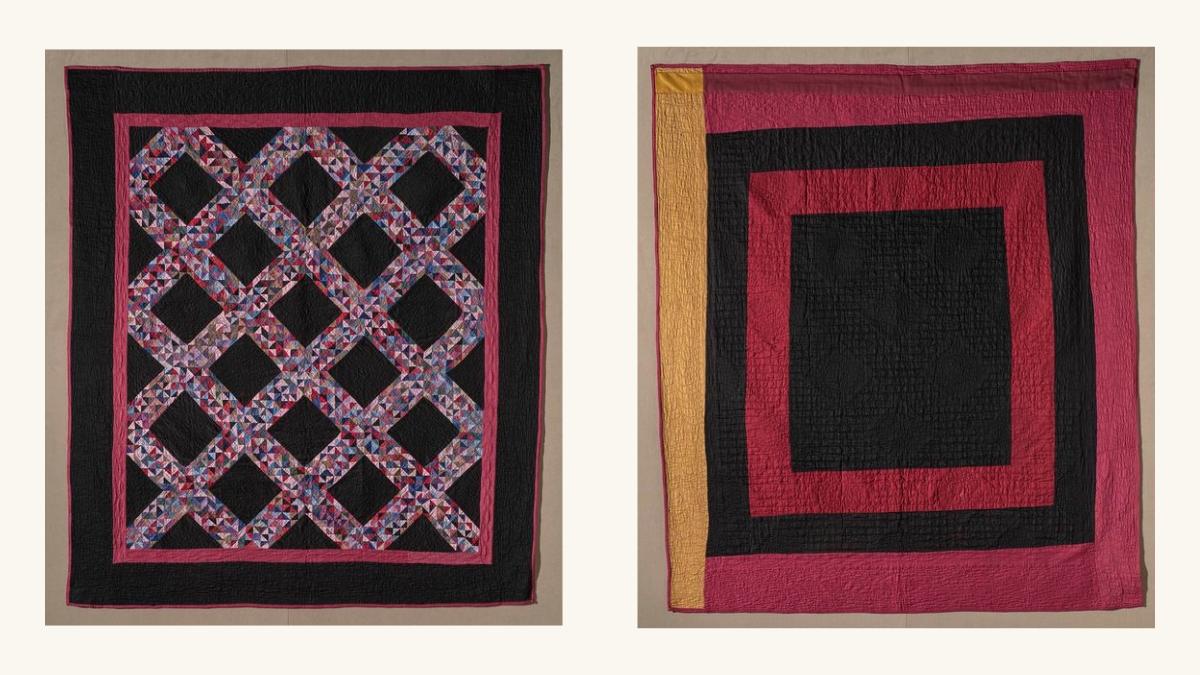
Photograph a finished quilt straight on, with one whole-front view and another of the whole back. Then add close views of the quilting, an edge or corner, the label and any feature that makes the quilt easy to identify. Keep those images together with its name, maker, dimensions and photograph date.
A full view shows the arrangement. Details answer different questions: how the quilting looks, which side is the back and what a label actually says. A useful record needs both. You can also make room photographs or pictures of the maker, but keep a clear whole-quilt image in the set.
Decide what the photographs need to record
A quilt-show entry and a personal record may need different pictures. Quilts, Inc.’s photography instructions request one full view and one detail with quilting visible. They also ask for the maker, title, dimensions and view type in the filenames. Those are that show’s requirements; check the current rules of the event you enter.
For a fuller identity record, Lost Quilt Come Home recommends including the back, label, personalization, unusual features and center and corner details. That set can help you explain what distinguishes your quilt if it leaves your care.
Before taking pictures, list the questions you want to answer:
- Can someone see the complete design and every outside edge?
- Can they distinguish the front from the back?
- Can they see the quilting and the treatment at an edge or corner?
- Can they read the identifying label or inscription?
- Is there an unusual feature worth recording separately?
Look at six documented views of one real quilt
The Smithsonian American Art Museum’s Ocean Waves, with Concentric Squares / Framed Quilt back provides a useful example. The museum identifies it as a cotton quilt by an unidentified maker, dated about 1920, object 2021.67.2. It records dimensions of 70⅛ × 61⅝ inches and credits the Gift of Faith and Stephen Brown.
We inspected the six museum photographs below. They are public-domain images supplied by SAAM, whose object page permits copying, modifying and distributing them. This is an audit of that published set, not a quilt we photographed. The camera position, lighting setup and a readable label image are not established by the viewed files. The capture plan later in this article is a proposal for a sound quilt you are authorized to handle.
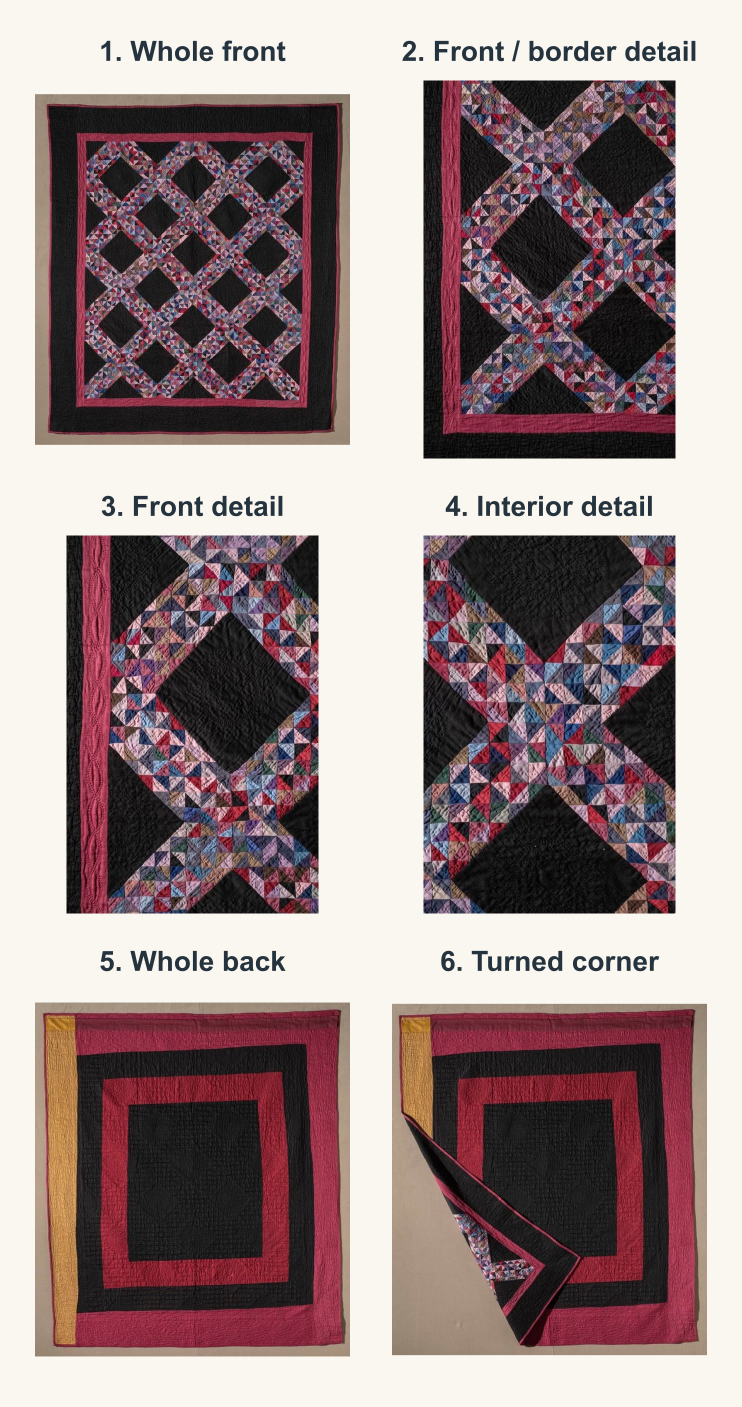
The first image shows the full front: colored piecing travels around large dark diamonds, enclosed by pink and dark borders. Seeing every edge tells you where the design ends and how the borders relate to the center.
The second, third and fourth images move closer to different parts of that front. The views make the relationship between piecing, quilting and border areas easier to examine than it is in the whole-quilt photograph. They are distinct detail views; do not treat them as three different quilts.
The fifth image shows the complete back. Its large framed-square arrangement is visibly different from the pieced front. The sixth shows that back with a corner turned, exposing a section of the front and connecting the two sides within one photograph.
That turned corner is useful context, but it does not replace either flat whole-side view. Part of the back is covered, and the revealed front is folded rather than fully visible.
Turn the example into a coverage check
Here is what those six published views establish for this audit:
| Record question | View in this set | What remains to collect |
|---|---|---|
| Whole front and edges | Image 1 | A new condition record if circumstances change |
| Front quilting and piecing | Images 2–4 | Any additional area needed for a specific question |
| Whole back and edges | Image 5 | A separate back detail if needed |
| Relationship between sides | Image 6 | Keep both flat whole-side views too |
| Readable identifying label | Not established | A label or inscription photograph, if one exists |
| Camera and lighting setup | Not established | Notes from the photographer |
“Not established” is a limit of this image set, not a statement that the quilt has no label or the photographer kept no notes. It tells us which evidence we would ask for before calling the record complete for those questions.
Apply that same check to your own folder. Ten near-identical front pictures can still leave the back unrecorded. One readable label image may add more useful information than another wide shot.
Plan a simple whole-quilt capture
For a new, sound quilt, choose a clean neutral background and a way to support it without pulling the corners out of shape. Frame every edge with a little background showing. Place the camera directly opposite the center and keep its face parallel to the quilt.
Quilts, Inc. recommends a straight-on position and even illumination. Check the actual preview: a side that looks much narrower, a strong bright patch or a deep shadow is a reason to adjust the setup before taking the record pictures. Keep the phone or camera steady and inspect a full-resolution file afterward, rather than relying on its small preview.
Choose a brief session with diffuse light. Avoid a strong shaft of sunlight across the cloth. The Canadian Conservation Institute’s quilt-care guidance explains that light damage is cumulative and irreversible. For an older or fragile quilt, ask an appropriate textile professional how to support and photograph it before following an everyday hanging plan.
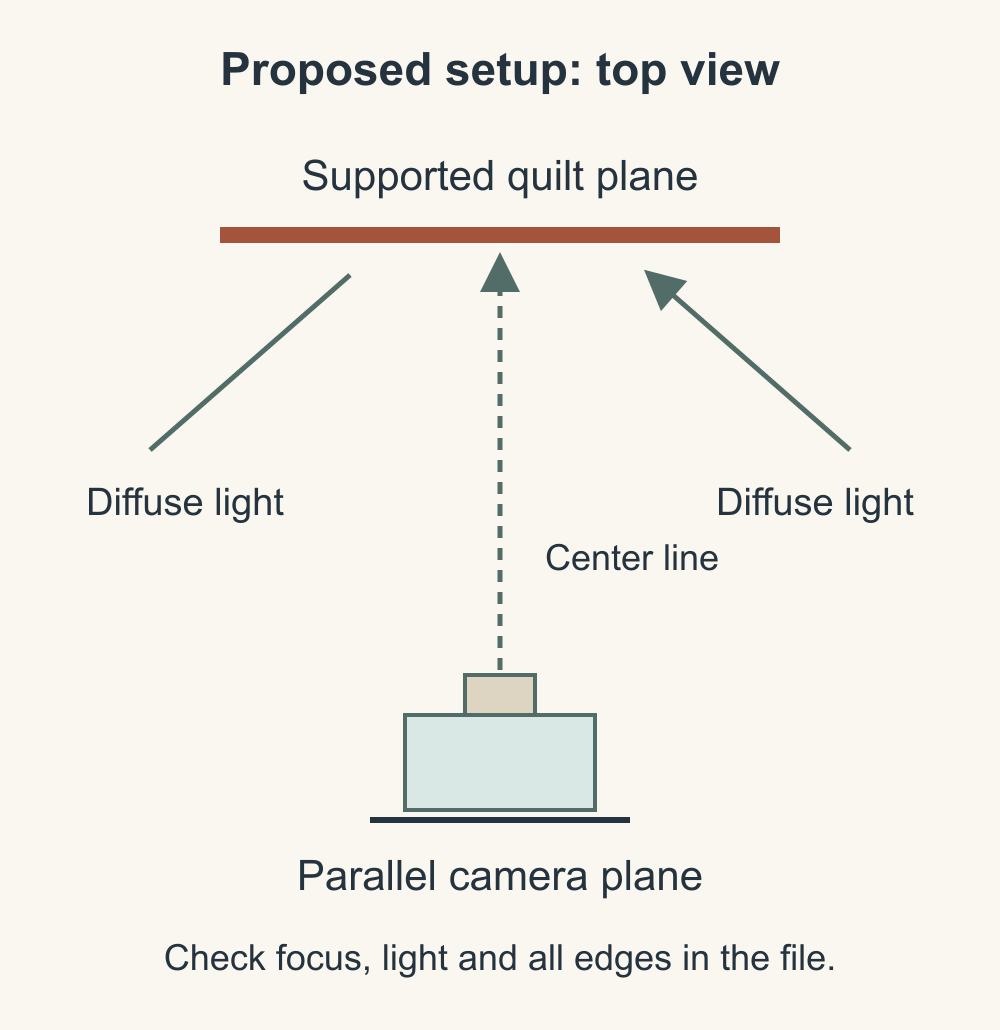
Take a whole front and whole back before concentrating on details. Keep a note of the camera or phone, date, light source and how the quilt was supported. Those notes help you repeat the session if a file turns out to be blurred.
Make each detail answer one question
For quilting, fill the frame with a representative area and check that the stitches can be seen. If the surface texture is the question, a separate view with light coming more from one side may reveal it better. Keep that texture view beside the evenly lit record rather than letting it stand for the quilt’s overall color.
For an edge, include enough of the adjoining piecing to show where the corner belongs. For a label, move close enough to read the whole inscription and check its focus before putting the quilt away. Photograph additional personalization or unusual construction that matters to its identity.
Preserve a full-side file before making detail crops. A crop can make a useful reference, but it cannot show material outside its boundary. If you crop a whole image instead of making a separate close photograph, name that derivative clearly so you know its origin.
Keep the images and their identity together
Choose one quilt ID and put it at the start of each filename. A simple set might use Q017-front, Q017-back, Q017-front-center-detail, Q017-corner-detail and Q017-label. Add a date when you create another session rather than overwriting the earlier pictures.
For a made-up Q017 record, the folder note could say: “Front, back and corner recorded; no readable label photograph yet.” That is more useful than calling the folder complete because it has five files. Add the missing view to the next session's list, then update the note only after opening and checking the actual file.
Use a separate copy for show entries, with that show's required filenames and file format. Keep your original record and its uncropped images together.
Keep the maker’s name and permissions with the record, especially when photographing someone else’s quilt. Permission to take a personal record and permission to post it publicly can be different. A label may contain an address, a private dedication or another detail the owner does not want shared.
Store the full files with a short text note explaining the views and any gaps. Our quilt materials record guide shows how to connect photographs with fabric, batting, thread and care information. Keep a backed-up copy of both the note and the photographs.
Open the folder for one quilt today and check it against the coverage table. Make a short list of missing views, then plan one brief session to collect them while the quilt is still available.
Free patterns to try
Printable PDF patterns with cutting charts and diagrams, free to download.
Evergreen Ornaments
Quilt patternBeginner · Six 5 x 5 in ornaments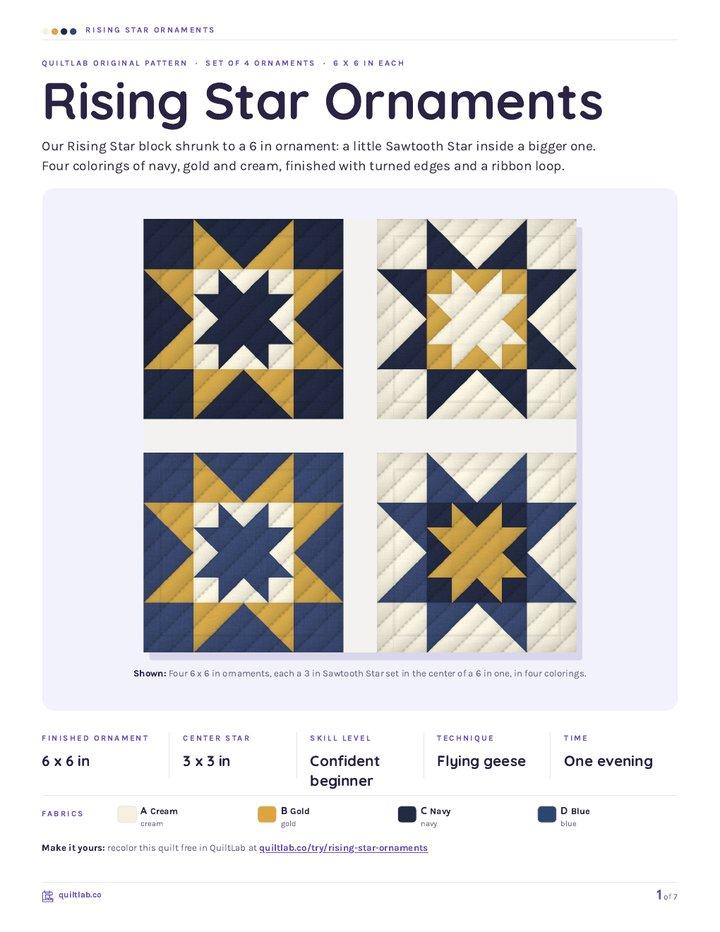
Rising Star Ornaments
Quilt patternBeginner · Four 6 x 6 in ornaments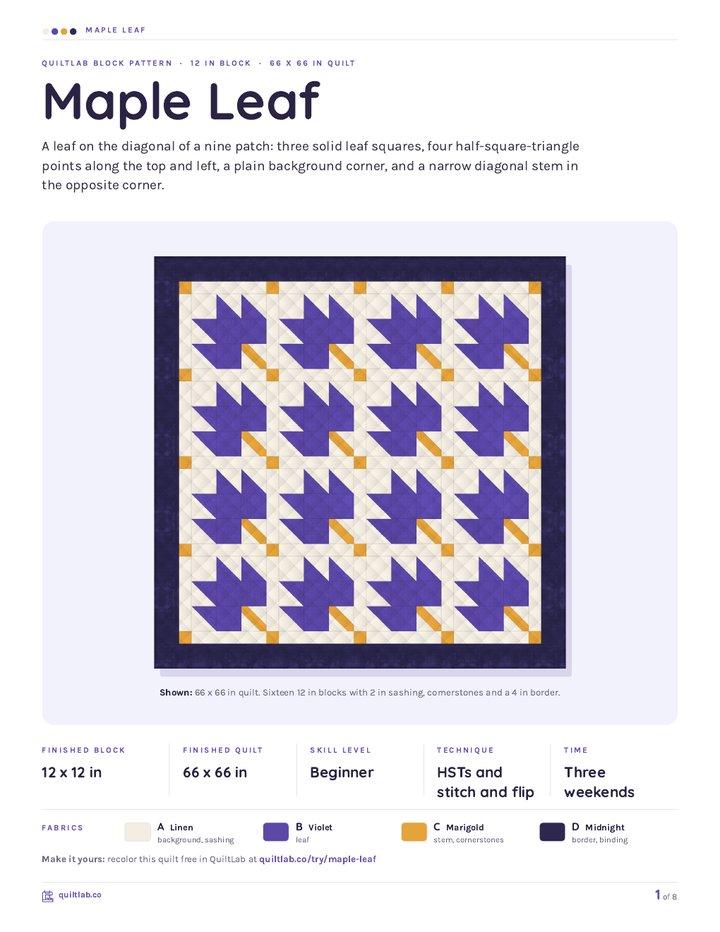
Maple Leaf
Block patternBeginner · 12 in block, makes a 66 x 66 in quilt
Plan your next quilt
Lay out blocks and try colors in QuiltLab's grid editor before you cut.
Free forever, no card needed.
Get quilting tips by email
QuiltLab updates, tips and quilting inspiration. Unsubscribe anytime.
Related posts

When Is an Improv Quilt Finished?
Stop changing a composition when it answers your current design question. A before-and-after study helps separate necessary fixes from new ideas.

Build an Abstract Quilt Design from Three Shapes
Turn a sketch you own into a clear patchwork plan. Three colored rectangles show how to preserve a composition while extending a few straight seams.

Start a Damaged Quilt Assessment Before Repair
Record what you see, what you were told and what remains unknown before changing a damaged quilt. A simple condition map organizes the questions.