Planning a Baby Quilt Gift Around Use and Care
Ask the caregiver how the quilt will be used, what size is useful and how it can be cared for before choosing the pattern or fabrics. Plan it for supervised use while the baby is awake, or as a keepsake, and keep it out of an infant's sleep space. Those answers matter more than starting from a generic crib-size label.
The NIH's Safe to Sleep guidance calls for a firm, flat, level sleep surface with only a fitted sheet. Loose quilts don't belong on or under a sleeping infant there. A handmade gift can have a useful place without becoming sleep bedding.
Ask about the actual use first
Start with a simple conversation: "Would a small quilt be useful, and where would you use it?" The recipient may prefer an awake-time floor quilt, a keepsake or a piece to save until the child is older.
Let that answer guide the design. A keepsake might need room for meaningful motifs or a story label. An everyday quilt needs care instructions the family can realistically follow.
Brittany Lloyd's quilt-gifting checklist emphasizes recipient preferences, a label and useful care information. Bring the recipient into those choices before the finished gift leaves them with an unexpected maintenance job.
Write the intended use in the brief rather than assuming everyone understands the word baby quilt in the same way.
Choose a useful footprint with the caregiver
Ask where the quilt will be spread out or kept and how much space is available. A product category such as crib batting describes the supplier's package size; it doesn't tell you how this family's quilt should be used.
Our quilt size chart offers general dimensions to compare. Treat them as reference points, then choose the actual finished footprint for the recipient's purpose.
Keep the shape simple for a first plan. A rectangular grid makes the size and block count easy to check before adding borders or changing block sizes.
Also ask whether the recipient would rather have a different size. A thoughtful gift brief can change while it is still a drawing, before the cloth has been cut.
Work a thirty-six-by-forty-two-inch study
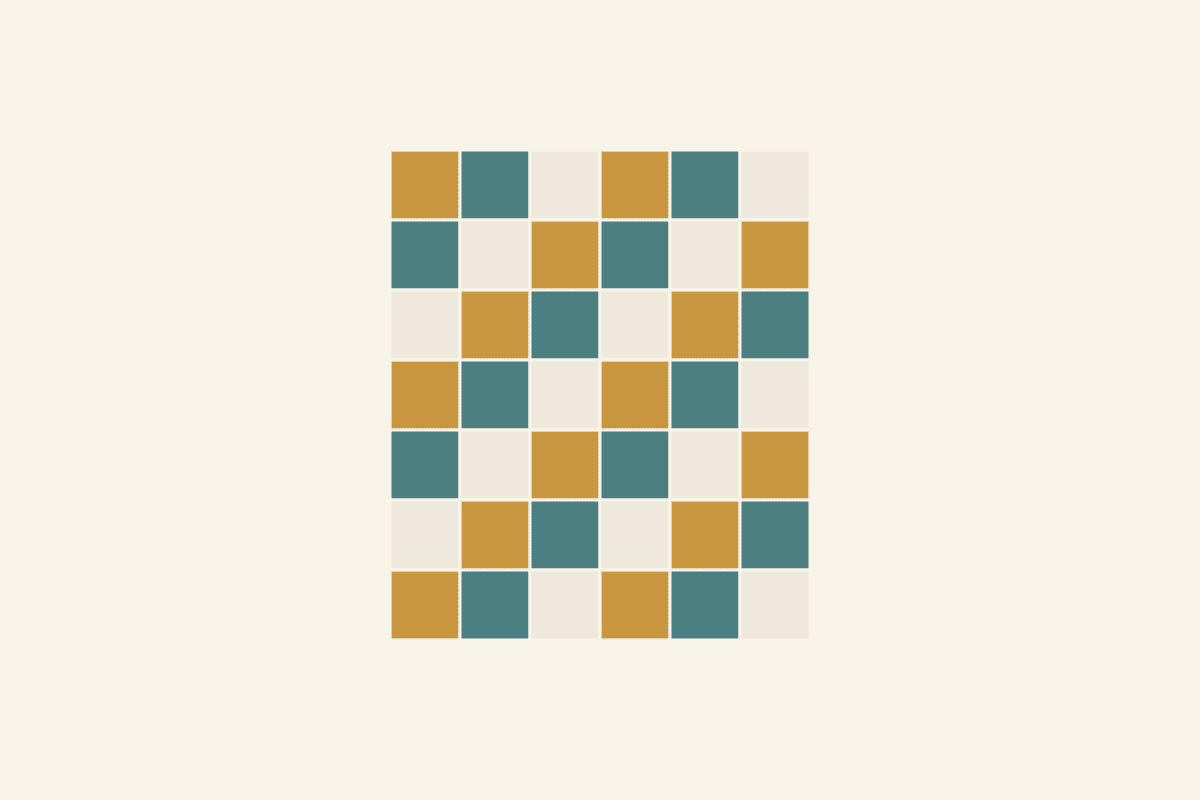
For our planning example, choose six columns and seven rows of six-inch finished blocks, with no sashing or borders.
- Six times six inches gives a 36-inch width.
- Seven times six inches gives a 42-inch length.
- Six times seven gives 42 blocks.
We drew this size study and haven't sewn it. It gives the conversation a specific footprint without supplying a tested baby-quilt pattern.
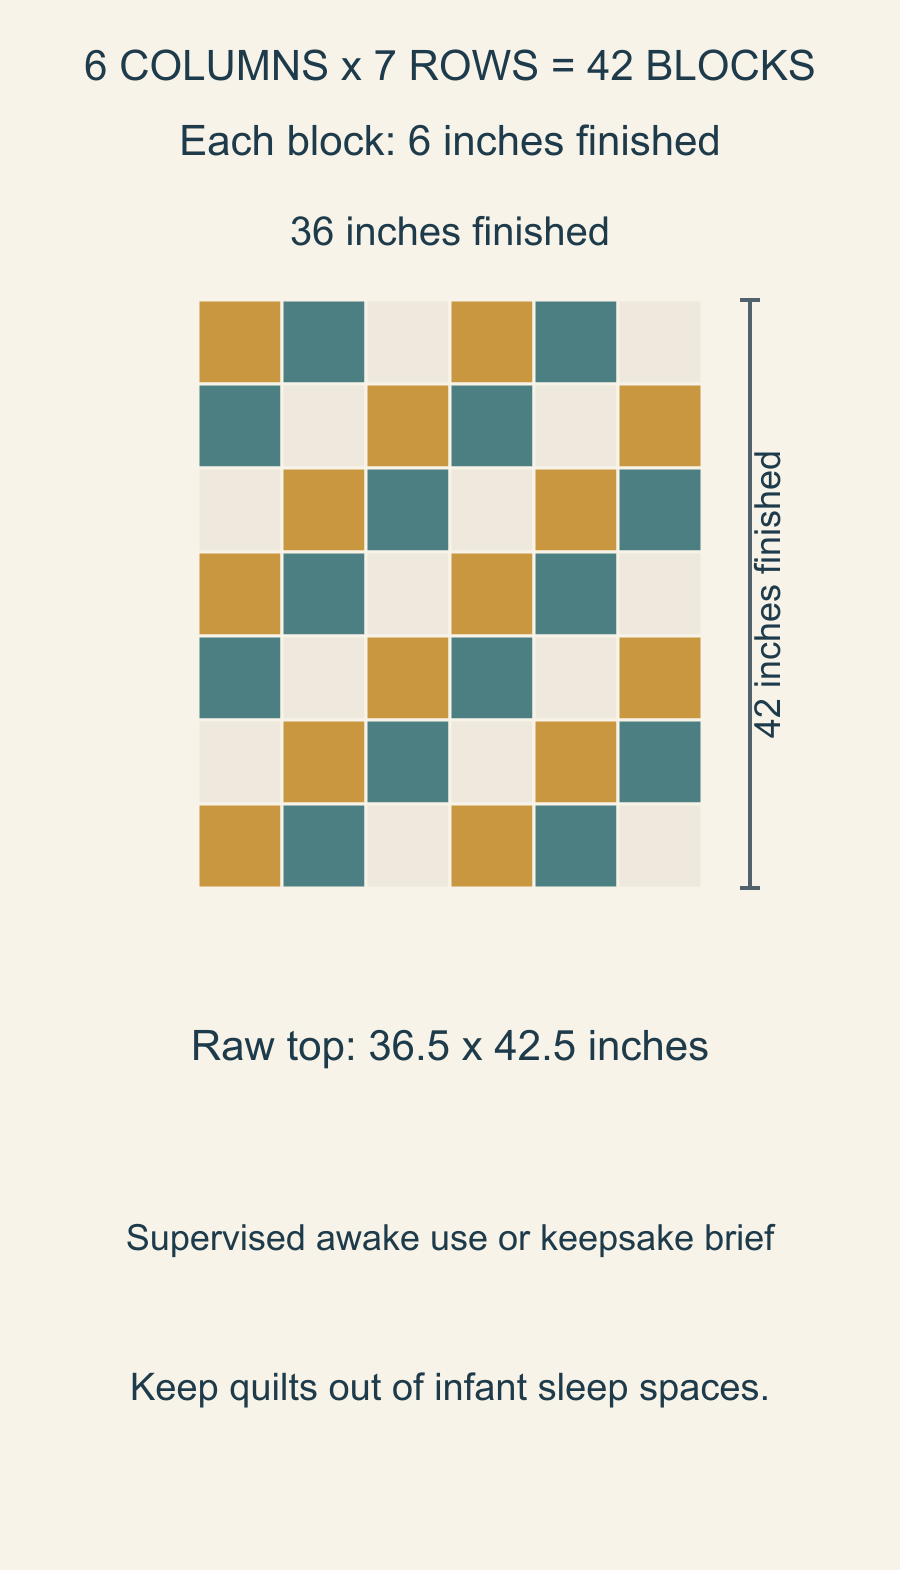
Under nominal quarter-inch seams, a six-inch finished block is 6.5 inches raw before joining. Six raw blocks with five half-inch seam losses give 36.5 inches raw across. Seven blocks with six such losses give 42.5 inches raw down.
The outside allowances account for the difference between that raw top and the 36-by-42-inch finished-space plan. Actual pressing, quilting and permitted care can change the finished measurements, so keep the planned and measured stages separate.
If the caregiver wants a larger footprint, change the grid deliberately and recount. Adding one six-inch column would make seven columns, 49 blocks and a 42-by-42-inch finished-space plan. It also changes the material and work requirements.
Match materials to the intended care
Keep the exact fabric, batting and thread instructions together while selecting materials. The care of a complete quilt depends on all its parts, including any printed image, marking or decoration.
One specific example shows why broad washing advice is insufficient. The maker of Quilters Dream Blend 70/30 specifies low-temperature drying, no commercial dryer and a low iron setting for that product. Another layer may impose a different restriction that also needs to be respected.
Don't promise that every handmade baby quilt can tolerate the same hot wash or dryer cycle. Resolve the actual product directions and make a separate sample with the intended combination when checking care behavior.
Our first-wash planning article helps organize those instructions for a new quilt. Record a real sample's observations only after the sample has been made and cared for.
Keep the design manageable for the gift deadline
Choose a block and finishing plan you can complete with the materials and time available. A small footprint can still involve many tiny pieces, intricate quilting or an unfamiliar construction method.
For the 42-block study, list block making, top assembly, backing, quilting, binding and the label separately. If you use a longarmer, get the actual preparation requirements and turnaround before promising a delivery date.
Keep optional decoration separate from the basic brief. Ask whether the recipient wants a name or date included, and confirm its spelling before adding it permanently.
If the deadline becomes unrealistic, discuss a later gift date or a simpler plan. A clear conversation is more useful than changing the promised use or care requirements without telling the family.
Prepare a care card and an honest label
Write the maker's name, actual completion date and any design credit once the quilt is complete. If the work is a gift from several people, agree on the credits before sewing the label.
Add a care card that names the actual material restrictions and any observations from a completed sample. Keep unknowns visible rather than translating them into a confident universal instruction.
Avoid wording or photographs that present the quilt as safe loose infant bedding. The intended use or keepsake description should agree with the conversation and the way you show the gift.
You can also include a small story about the design: the reason for a color, a remembered place or the person who helped make it. Keep that story factual and welcome to the recipient.
Write the brief before cutting
Turn the conversation into a short brief the caregiver and maker can both check. For the drawn study, it could look like this:
| Decision | Example brief | Resolve before cutting |
|---|---|---|
| Intended use | Awake-time use or a keepsake, as agreed with the caregiver; kept out of the infant sleep space | Which use does the family actually want? |
| Finished footprint | 36 by 42 inches, using 42 six-inch finished blocks | Does that footprint fit the intended place? |
| Materials and care | Named fabric, batting and thread with compatible care directions | Is the required care practical for the family? |
| Handoff | Agreed delivery date, label credits and a care card | Confirm spelling, timing and any actual sample observations |
The grid settles the geometry. The actual materials and making method still need their own checks; leave those decisions open in the brief until you have the answers.
Ask the caregiver the use question first. Then compare a size drawing, choose compatible materials and confirm the care plan. A useful quilt gift begins with the family's needs and keeps those needs visible through the last handoff.
Free patterns to try
Printable PDF patterns with cutting charts and diagrams, free to download.
Plan your next quilt
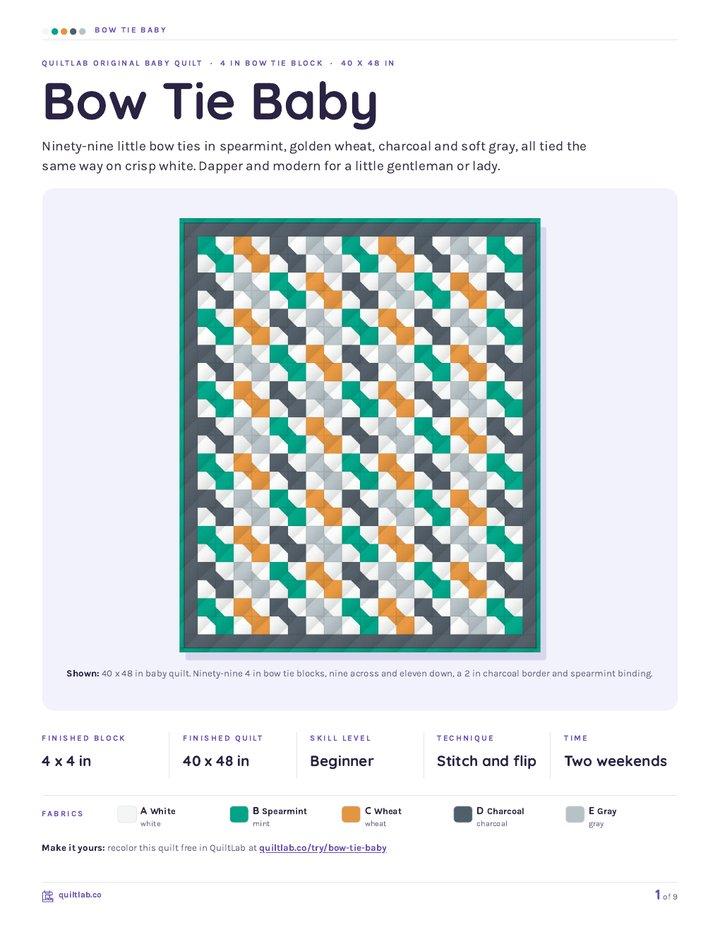
Lay out blocks and try colors in QuiltLab's grid editor before you cut.
Free forever, no card needed.
Get quilting tips by email
QuiltLab updates, tips and quilting inspiration. Unsubscribe anytime.
Related posts
Picnic Quilt Design Starts with Carrying and Care
Plan the ground space, carrier and care together. Compare two folds of a fifty-four-by-seventy-two-inch quilt, then check the actual bundle.
One Charm Pack Quilt: What Size Can You Make?
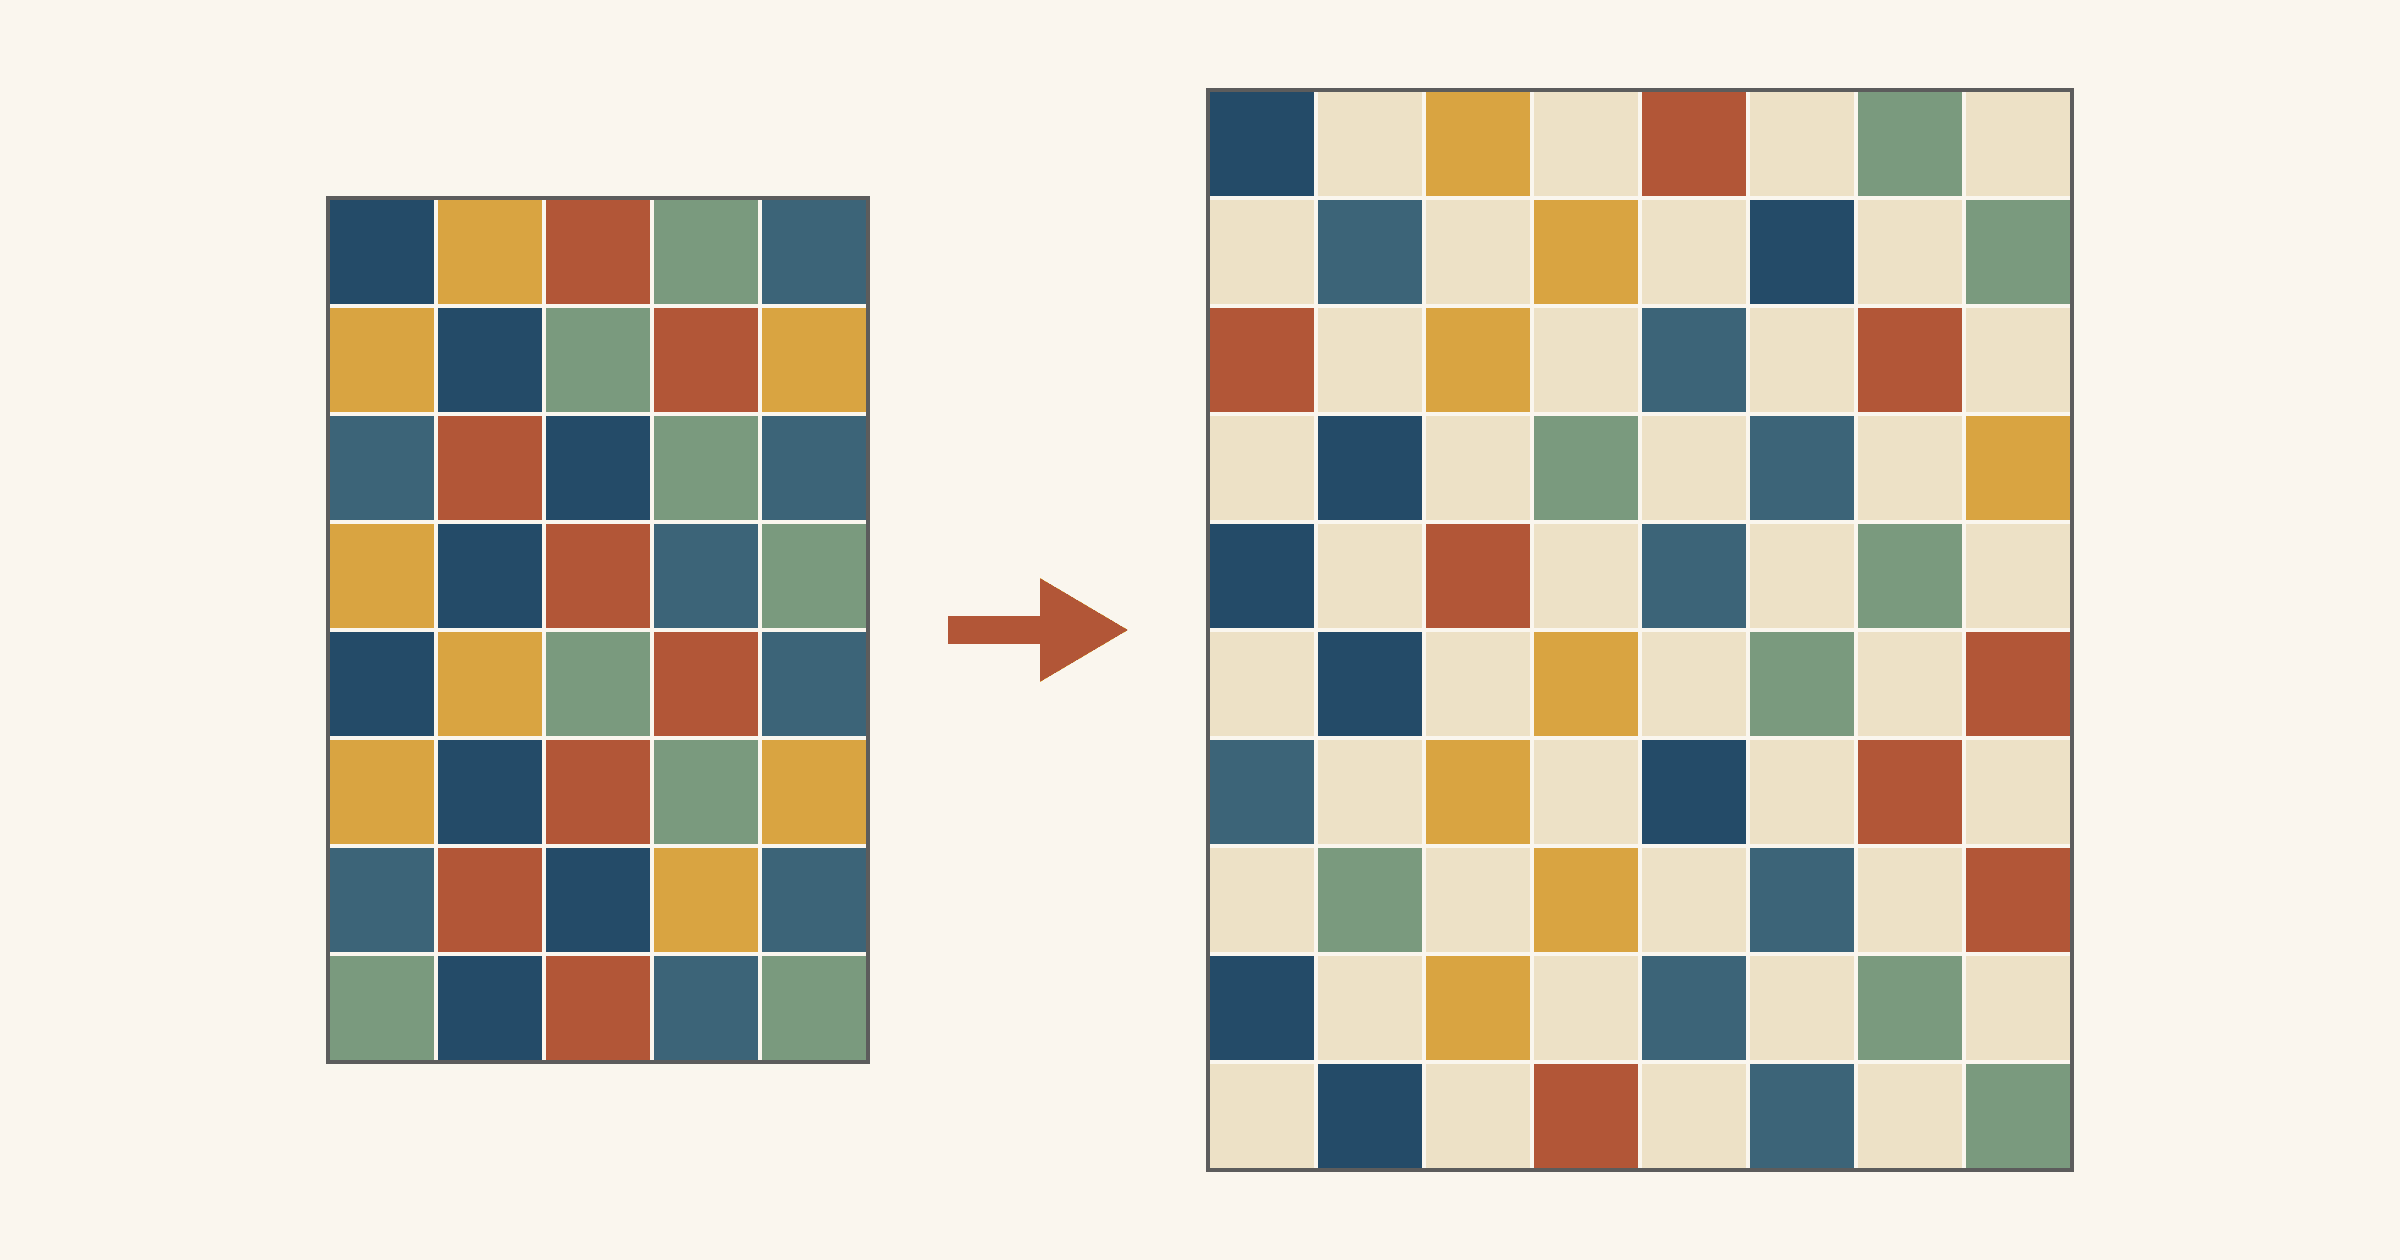
Sewn edge to edge, one charm pack makes a quilt about 27 x 31 1/2 inches. Count your usable squares, then compare four layouts that stretch it with background.
Precuts vs Yardage: One Quilt Counted Both Ways
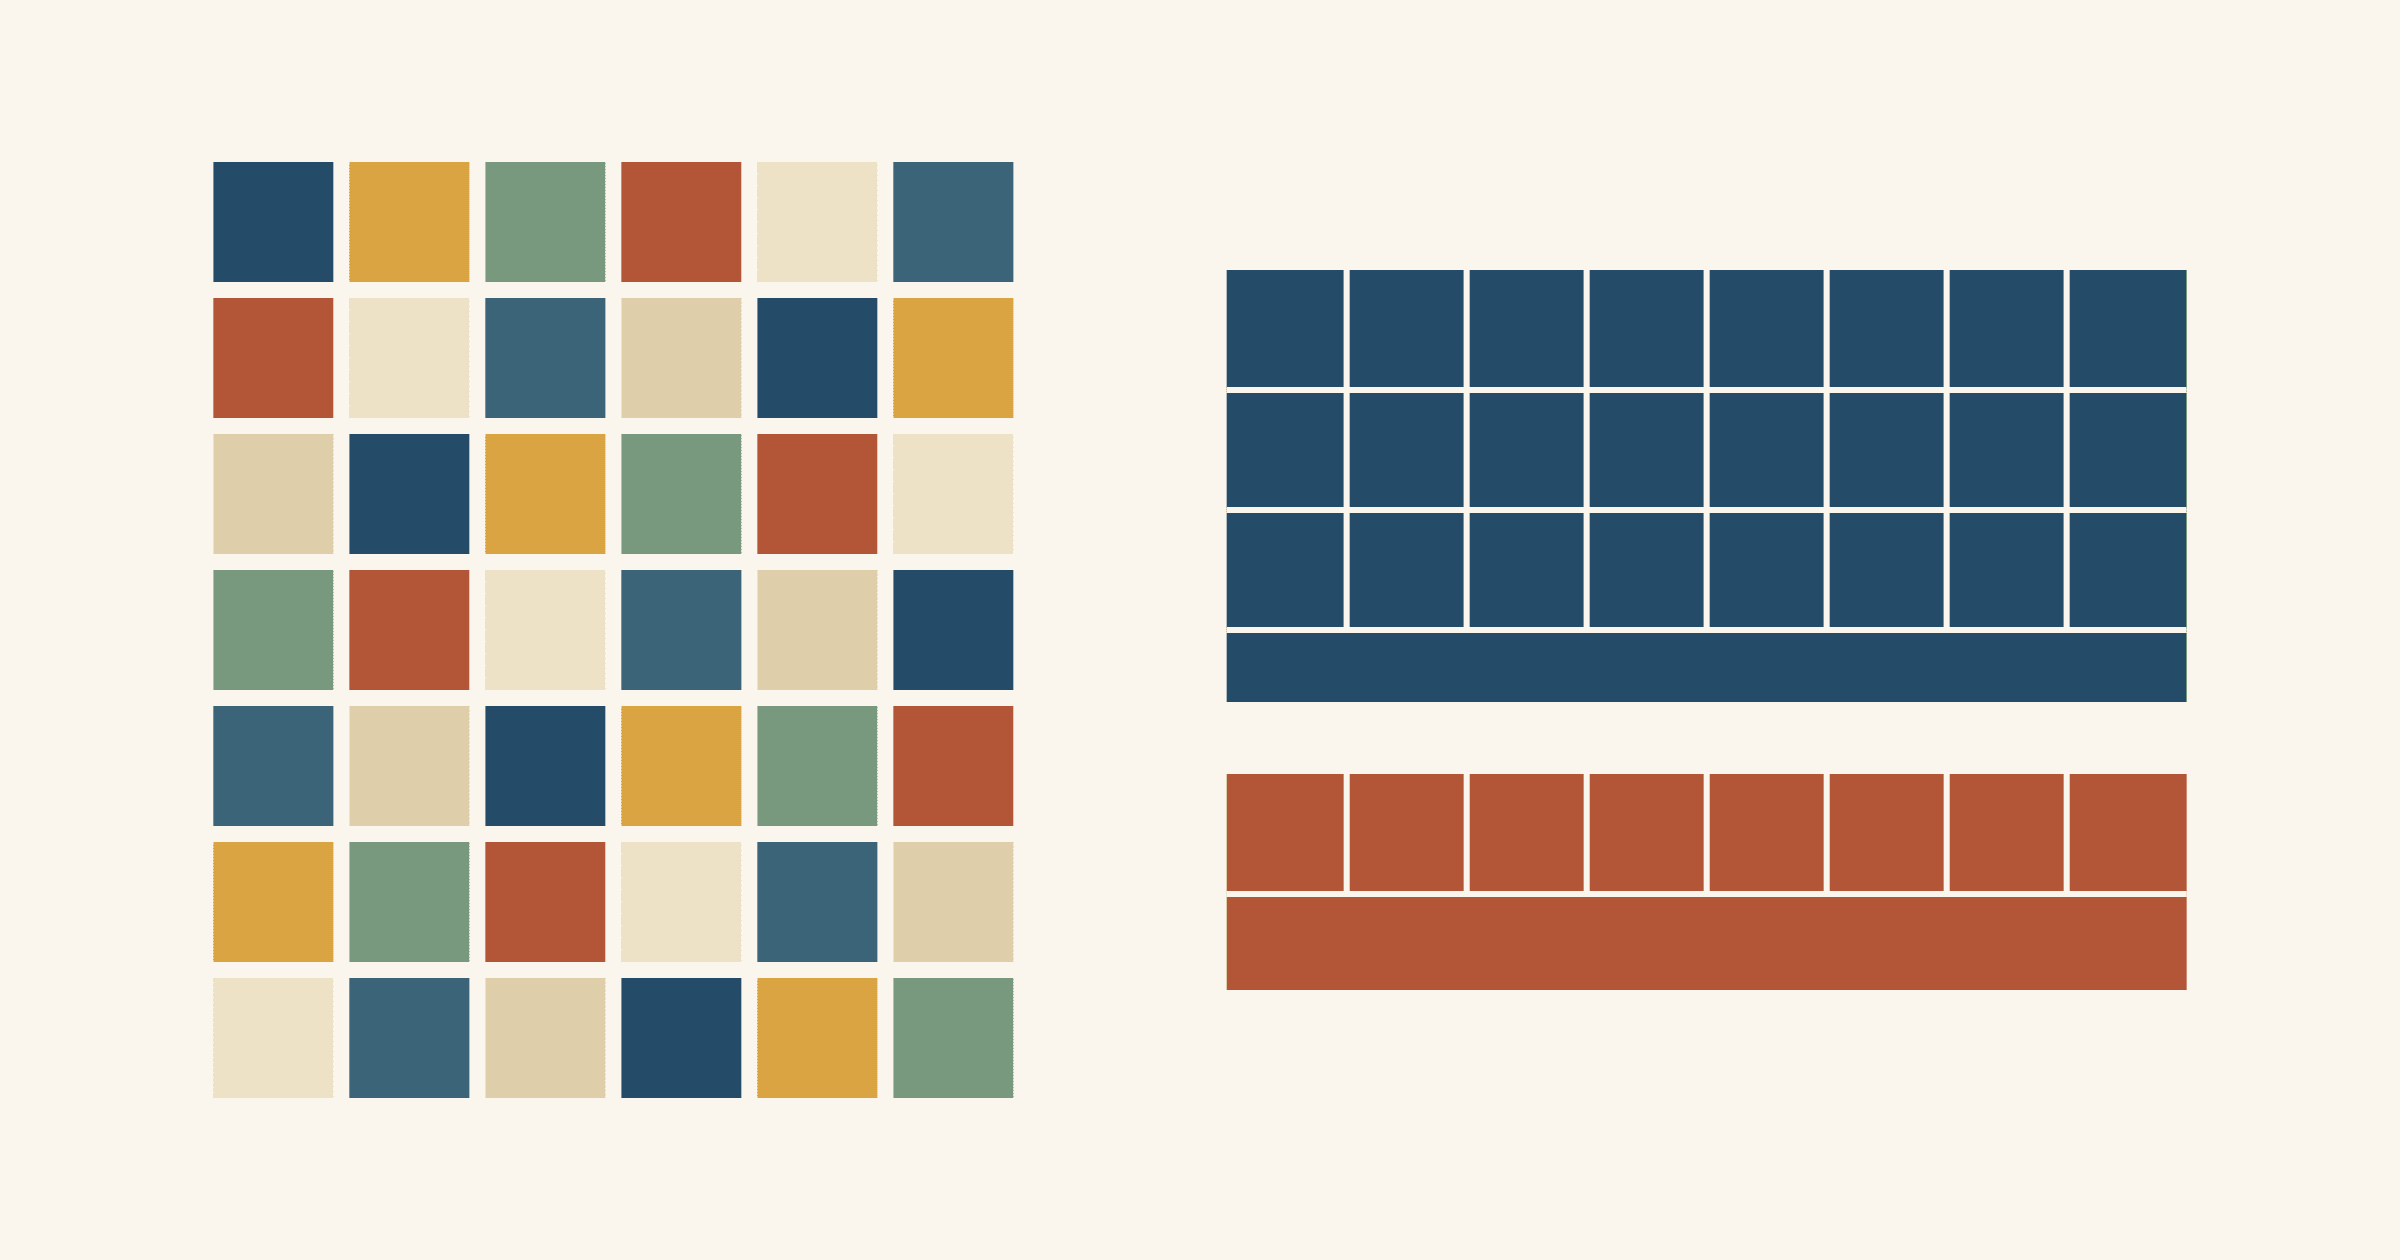
One 45 x 54-inch quilt of 120 five-inch squares, bought as charm packs or as yardage. See the fabric left over, the cuts and the prints you get each way.