Start a Damaged Quilt Assessment Before Repair

Record the damage and known history before attempting a repair, and keep a fragile quilt supported while you assess it. Separate what you can see from what someone reported and what is still unknown. Important, historic or weak textiles need advice from a qualified textile conservator before cleaning or stitching.
For a recently made everyday quilt, start with the maker's material records and care instructions. A historic or fragile quilt may need a different approach even when the damage looks small. This worksheet helps you prepare either conversation without choosing a cleaning or repair method.
Keep handling to the useful minimum
Choose a clean, uncluttered place where the quilt can be supported. Before moving it, look for loose areas or weaknesses that could worsen as the weight shifts.
Penny Ritchie Calder's museum textile-care guidance emphasizes support, careful handling and seeking expert advice rather than making a quick repair after damage.
Don't keep lifting the same area simply to take another look. Decide what information you need, prepare the record and photographs, and handle only as the object's condition allows.
If the quilt can't be moved or opened without stressing weak areas, stop that inspection and ask for appropriate advice. A partially completed record can still identify the limitation clearly.
Write down the history with its source
Record the quilt's owner or custodian, any maker information, approximate age and how those details are known. A family recollection can be valuable while remaining a recollection.
Keep dates and materials qualified where necessary: "reported as made around 1930" or "fiber not confirmed." A color, sheen or familiar feel doesn't establish the identity of every fabric and thread.
Include known previous repairs, display, storage and cleaning history. If those details aren't available, leave them open rather than filling the gaps with a likely story.
Our materials-record guide is useful when actual labels or maker notes survive. Preserve those records alongside the condition notes instead of replacing their wording with a confident guess.
Separate observations from explanations
Describe the location and what is visible: a seam opening, a loose edge, a faded area or a change in surface texture. Keep the description specific enough that another person can locate it.
Then put possible causes in a separate question. "Dark area beside the fold" is an observation. "Mold caused the dark area" is a diagnosis you may not be equipped to make from appearance alone.
The Canadian Conservation Institute's quilt-care guidance describes several causes of deterioration, including use, light, environmental changes and pests. More than one process can affect a textile, so a short inspection doesn't settle the cause.
Use three labels in the record: observed, reported and unknown. They keep the useful evidence from becoming mixed with assumptions as the story is passed along.
Make a condition map with a clear orientation
Choose one orientation for the quilt and mark which side you are recording. A small top-left reference on the drawing helps you return to the same place later.
For a fictional mapping example, use a 48-by-60-inch rectangle divided into four columns and four rows. Each cell is 12 inches across and 15 inches down. Columns A-D run left to right; rows 1-4 run top to bottom.
Measure coordinates from the top-left corner in the drawing. A point at 16 inches across and 22 down lies in B2. A point at 38 across and 49 down lies in D4.
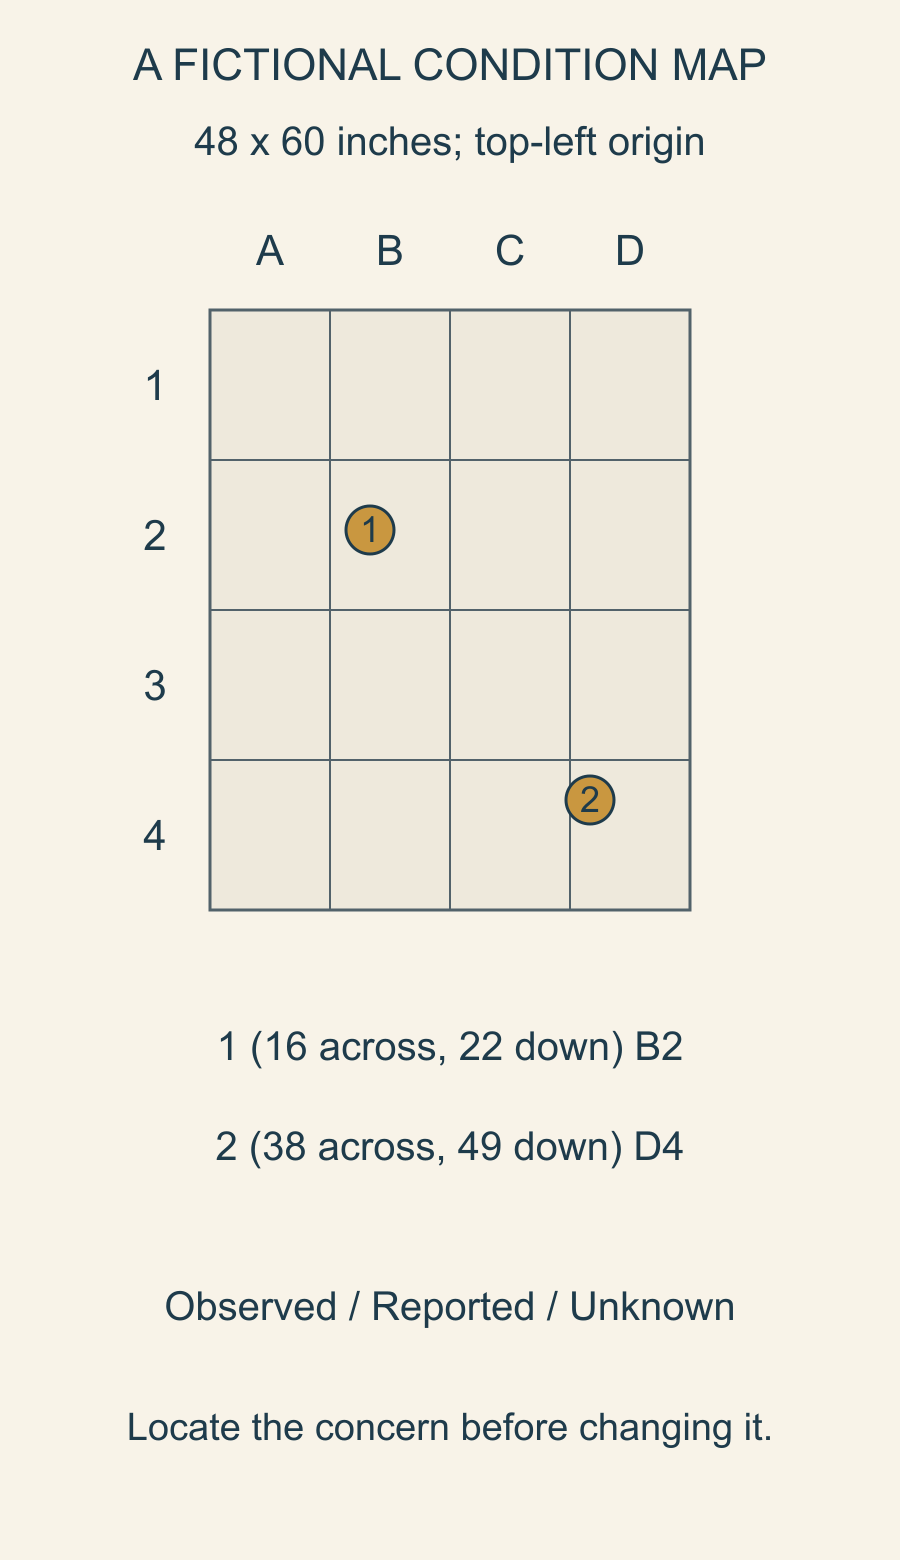
Those coordinates describe the example, not measured damage on an actual quilt. On a real record, use an achievable location reference without pulling a fragile textile flat to satisfy a geometric drawing.
Add one line per concern with its ID, location, description and evidence. A close photograph can share the same ID while an overall view shows where that detail belongs.
Here is a filled-in record for our fictional map. The entries are invented examples, not observations of a damaged quilt or details visible in the diagram.
| Map location | Record label | Example entry |
|---|---|---|
| 1 / B2 | Observed | Opening along a seam; detail photo 1 records its appearance. |
| 1 / B2 | Reported | Owner recalls an earlier repair; its date and material are unconfirmed. |
| 1 / B2 | Unknown | Whether the surrounding fabric can support handling. |
| 2 / D4 | Observed | Dark area; detail photo 2 records its appearance. |
| 2 / D4 | Reported | Owner recalls attic storage but cannot give dates. |
| 2 / D4 | Unknown | Cause of the dark area and condition of the uninspected reverse. |
The question at B2 is how to support the area while handling it. At D4, ask who should examine the area before any cleaning. Neither row tells you which thread, cleaner or treatment to use.
If an edge, width or reverse view cannot be checked safely, write that limitation in the record. Leave its measurement or description open instead of stretching, turning or repeatedly lifting the quilt to fill a box.
Record the question before choosing a treatment
The George Washington University Museum and The Textile Museum's care guidance treats cleaning important textiles as a matter for specialist judgment. Unknown fibers, dyes, embellishments and earlier repairs can change what is appropriate.
Write the decision you need help with: whether the quilt can be displayed, whether a loose section needs support, or whether cleaning is appropriate. These are clearer starting questions than asking for a universal way to restore it.
Keep an urgent practical need separate from a desired appearance. Stabilizing a weak area so the quilt can be handled is a different aim from making an old repair less visible.
Don't begin washing, fusing, adhesive work or stitching on a fragile or valued quilt while the material and treatment questions remain unresolved. The record's job is to preserve information before the object changes.
Prepare a useful conservation inquiry
Give the specialist the overall view, the mapped concerns, known history and the inspection limits. State what the quilt means to its owner and how the owner hopes to use it.
Winterthur's textiles-conservation overview illustrates how condition and materials guide conservation decisions. Continued display is not the only possible outcome for a particularly fragile object.
Ask what further information or examination is needed and how the quilt should be handled or transported meanwhile. A photograph may begin the conversation without establishing a complete treatment plan.
Keep any advice dated and linked to the person who gave it. If the proposed use changes, ask whether the earlier recommendation still applies.
Preserve the record between decisions
Save the map, photographs and notes together under a stable project or object name. Keep the unedited photographs as well as annotated copies, so later markings don't obscure the original record.
Our storage-planning article explains why support and space matter between uses. A known storage location and a brief condition note make a later comparison easier.
Choose one supported inspection now and write only what it can establish. Mark the unknowns, attach the mapped photographs and use that record to seek the right advice before attempting a repair.
Free patterns to try
Printable PDF patterns with cutting charts and diagrams, free to download.
Plan your next quilt
Lay out blocks and try colors in QuiltLab's grid editor before you cut.
Free forever, no card needed.
Get quilting tips by email
QuiltLab updates, tips and quilting inspiration. Unsubscribe anytime.
Related posts

When Is an Improv Quilt Finished?
Stop changing a composition when it answers your current design question. A before-and-after study helps separate necessary fixes from new ideas.

Build an Abstract Quilt Design from Three Shapes
Turn a sketch you own into a clear patchwork plan. Three colored rectangles show how to preserve a composition while extending a few straight seams.
Plan an Improv Quilt with Two Curve Sizes
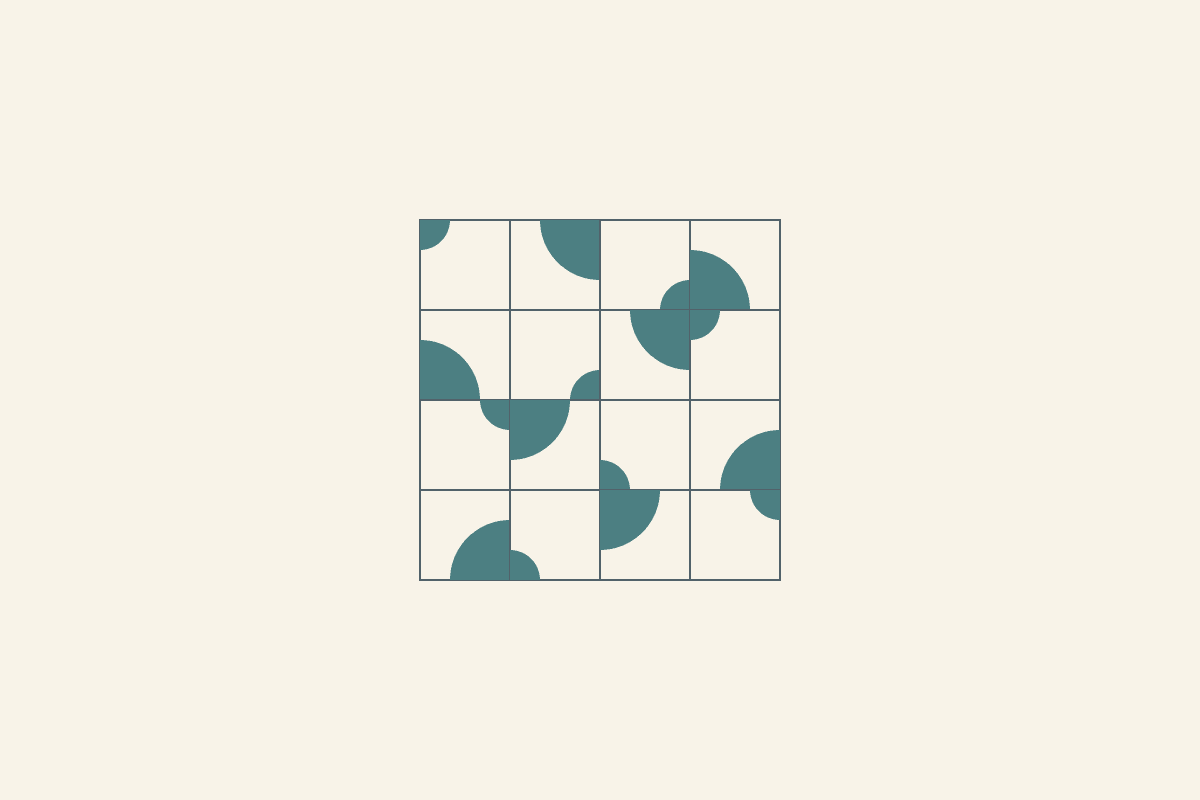
Compare two quarter-circle sizes in a twenty-four-inch composition, check where their edges meet and choose a sewing method that fits the shapes.