Build a Quilt Along Schedule from the Unit Count
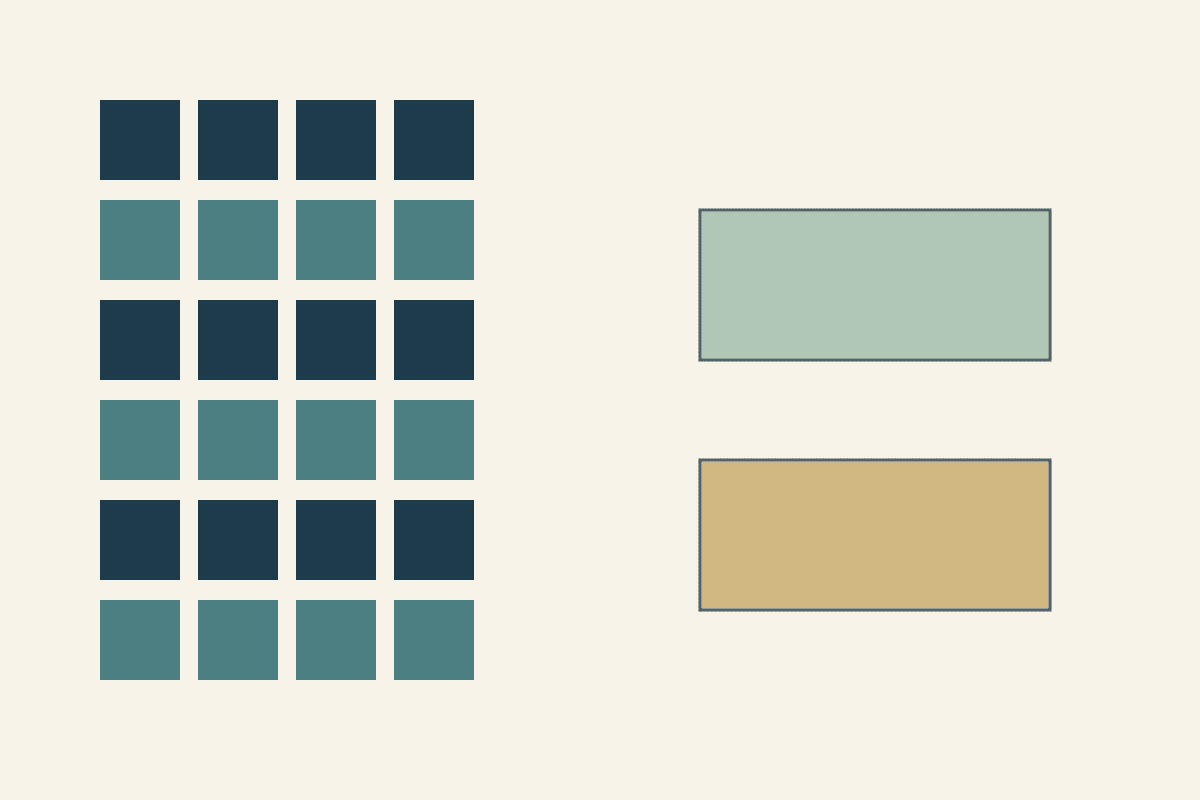
Build your quilt along schedule around a checked block count, with separate dates for assembly and finishing. In the example below, four comparable blocks a week make 24 blocks in six weeks. A week for assembly and another for finishing bring the plan to eight weeks, after preparation.
For a first event, choose a workload you can try before inviting participants. Tell them whether the finish line is a completed top or a bound quilt. Then give every release a clear target and a reminder of what comes next.
Name the finish line before choosing dates
Decide whether the event ends with a complete top, a quilted top or a bound, labeled quilt. Those finish lines need different amounts of time and different supplies.
The Quilters' Guild's group-quilt planning resource asks organizers to settle time, participants, finishing and budget. Use those questions before turning a list of blocks into dated announcements.
State who does the finishing. If each participant sends work to a longarmer, the studio's actual availability affects the calendar. If the group is making one shared quilt, name the people responsible for assembly, backing, quilting and binding.
Our group quilt overview helps settle the format first. The schedule here assumes an organizer is planning the releases for participants following the same project.
Count the work inside each release
List the blocks or units, their required preparation and the later assembly steps. A release containing one large block may take more work than a release with four simple ones.
Keep the pattern's actual instructions and any corrections attached to the work list. If participants need a special ruler, a different fabric or an oversized starting piece later, name that before the relevant week arrives.
Use one consistent definition of complete. "Four blocks pieced, pressed and checked against the pattern's required measurement" is clearer than "week two done."
For a mystery or BOM participant managing unreleased information, see our block-of-the-month planning guide. An organizer with the full project has a different responsibility: exposing the workload without inventing instructions or supply needs.
Work a twenty-four-block schedule
For this planning example, use 24 blocks of comparable work, released across six block-making weeks. The weekly target is 24 divided by 6 = four blocks. Count a block when it is pieced, pressed and checked against the pattern's required measurement.
Add a week for top assembly and backing preparation, followed by a finishing week. That gives eight event weeks after preliminary preparation. This is an uninterrupted example, not a measured sewing rate. Pilot the work and check finishing availability before putting dates beside it.
| Week | Main milestone | Cumulative block target |
|---|---|---|
| 1 | Four blocks completed and checked | 4 |
| 2 | Four more blocks | 8 |
| 3 | Four more blocks | 12 |
| 4 | Four more blocks | 16 |
| 5 | Four more blocks | 20 |
| 6 | Last four blocks | 24 |
| 7 | Assemble top and prepare backing | 24 |
| 8 | Planned quilting and finishing | 24 |
The block total stays at 24 during assembly and finishing. Those stages add work, even though the block count no longer grows.
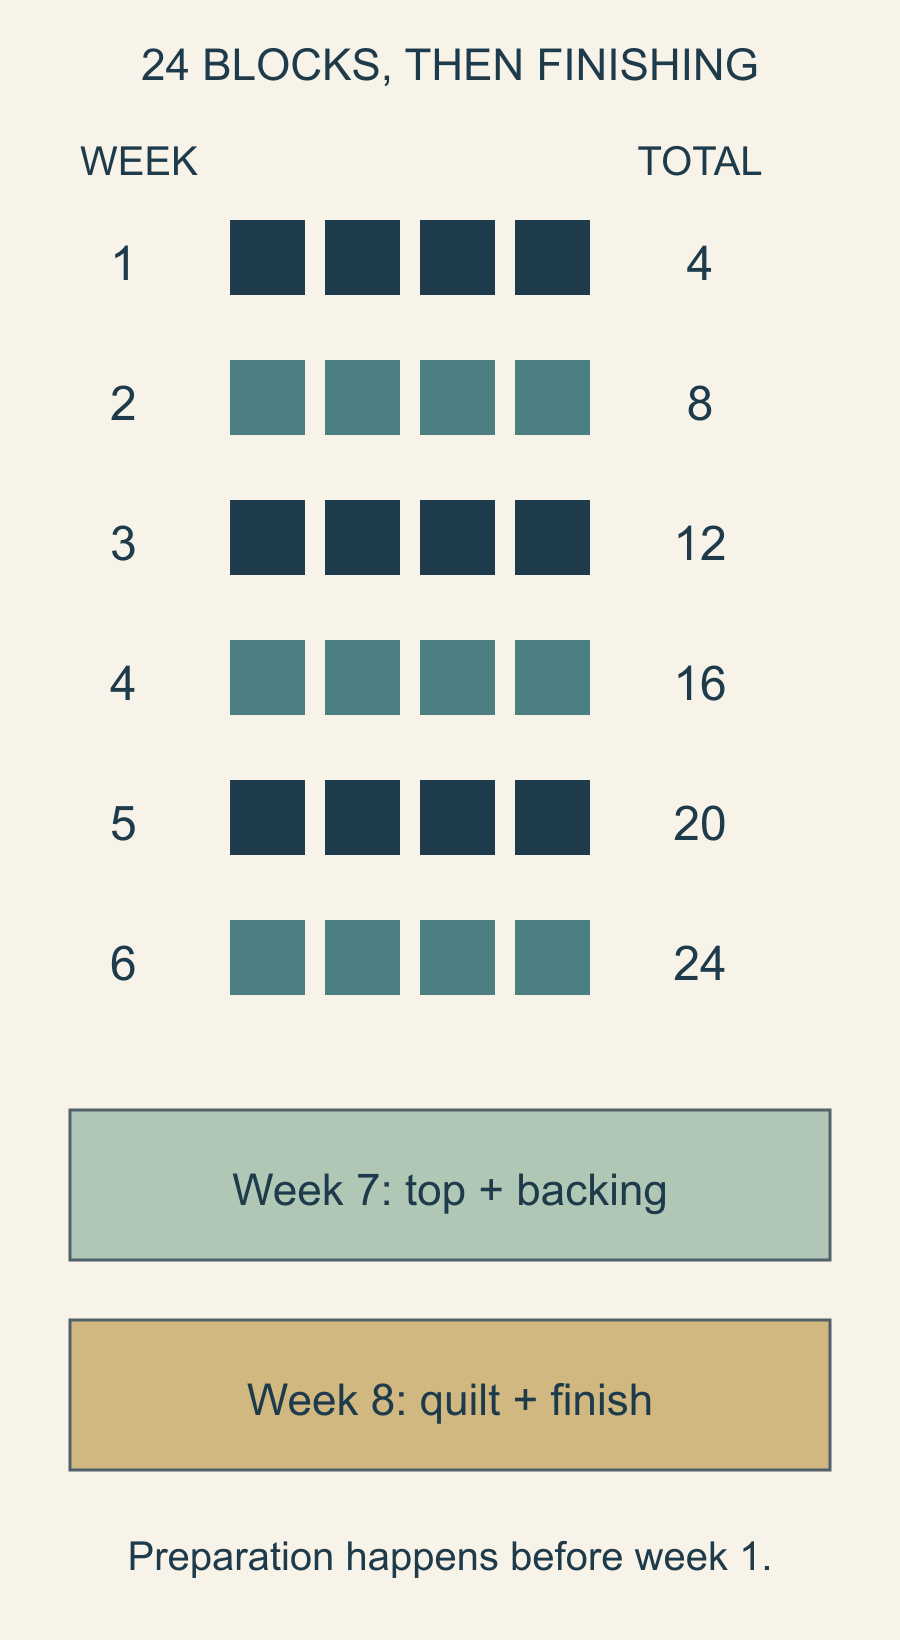
If the real finish takes longer, extend the calendar or change the stated finish line. Don't keep an eight-week promise by quietly dropping the quilting and binding from the definition of finished.
Keep preparation outside the first sewing surprise
Give participants a preparation list before week one. It should identify the actual pattern edition, fabric requirements, equipment and any work expected before the first release.
If a sample block forms part of preparation, say whether it counts toward the quilt. A usable sample included among the 24 leaves 23 further blocks. In that case, week one's target is the sample plus three new blocks. The other five block weeks supply 20 more: 1 + 3 + 20 = 24.
A practice block that doesn't meet the instructions leaves all 24 still to make. Label it practice so it cannot slip into the completed pile. The schedule should count usable blocks, wherever they were made.
Try a representative release before fixing its dates. If one block style is much slower or introduces a new method, divide that work differently rather than treating every numbered block as equal effort.
Leave room for the change between stages
Carolyn Friedlander's Elate Quilt Along schedule separates sewing, the finished top and quilting into different stages. That structure is useful even when your project and calendar differ.
Transitions often need their own decisions. Before top assembly, participants may need to compare block measurements or confirm orientation. Before quilting, they need a backing, batting and a chosen method. A schedule that names those handoffs gives people a better chance to arrive prepared.
Put each transition's requirements beside the milestone, not only in a message sent when that week begins. If a supply needs to be ordered, its lead time starts earlier.
For our example, the week-six message can include the assembly plan and backing reminder while people finish the last four blocks. It doesn't need to hide week-seven requirements until the calendar turns.
Make the event's rhythm match its purpose
Some groups want a brisk project; others want conversation and room to try unfamiliar methods. Decide which experience you are offering.
The historical 2020 Sewcialites announcement described 36 blocks from 18 designers over 38 weeks. Its block count and calendar length were different numbers. Use a past event as an example of structure, not as a current invitation or a universal pace.
Decide before launch whether catch-up time is inside or outside the published calendar. For example, a separate catch-up week after the first three block weeks adds one calendar week. The 24-block project then takes nine weeks: assembly moves to week eight and finishing to week nine. The drawing above still shows the uninterrupted eight-week version.
An optional evening within an existing week does not add a calendar week. Name it clearly so participants can tell whether a date is a new release, extra help or a deadline. Keep the required block total at 24 unless the group agrees to change the quilt.
Keep progress sharing optional where appropriate. A participant who is behind still needs clear instructions and the next useful action, rather than a schedule that only makes sense to people posting every week.
Publish a schedule people can update
Keep one dated schedule in a place participants can find again. Carolyn Friedlander's Elate page provides a useful model: the schedule is also the hub linking to each released post. Your group can use a document, web page or pinned message, as long as everyone knows which version to follow.
Give each release the same small set of details:
- When it opens and when work is due. Say which date is a target and which affects a handoff.
- What to finish. Name the units, quantity and measurement check from the actual pattern.
- What to have ready next. Include fabric, backing or equipment needed for the next stage.
- Where to ask. Name the coordinator and the way to report a problem.
When a date changes, show the old date, the new one and what else moves. Attach a correction to the affected release so someone arriving late does not have to reconstruct a message thread.
Ask participants to report a specific difficulty: missing materials, unclear measurement or a workload that doesn't fit the promised pace. Those need different responses.
Start with one representative release. Make its work list, try it with the intended method, and check whether the next stage has everything it needs. Then count the full quilt again and publish the dates. A schedule earns its place when participants can see both what to sew now and how that work reaches the promised finish.
Plan your next quilt
Lay out blocks and try colors in QuiltLab's grid editor before you cut.
Free forever, no card needed.
Get quilting tips by email
QuiltLab updates, tips and quilting inspiration. Unsubscribe anytime.
Related posts
Group Memory Quilt Instructions Contributors Can Use
Tell contributors what to send, what may be shared and how their materials will be returned. A sixteen-entry map keeps each memory tied to its maker.
Documenting a Group Quilt from Contributions to Credits
Connect contribution IDs, makers, design decisions and care notes in one record. A sixteen-unit example keeps credits separate from the head count.

Choose One Piecing Skill for Mini Quilt Practice
Practice four-patch intersections in an eighteen-inch mini. Check the cut squares, pressed rows and blocks before joining the nine-block top.