Picnic Quilt Design Starts with Carrying and Care
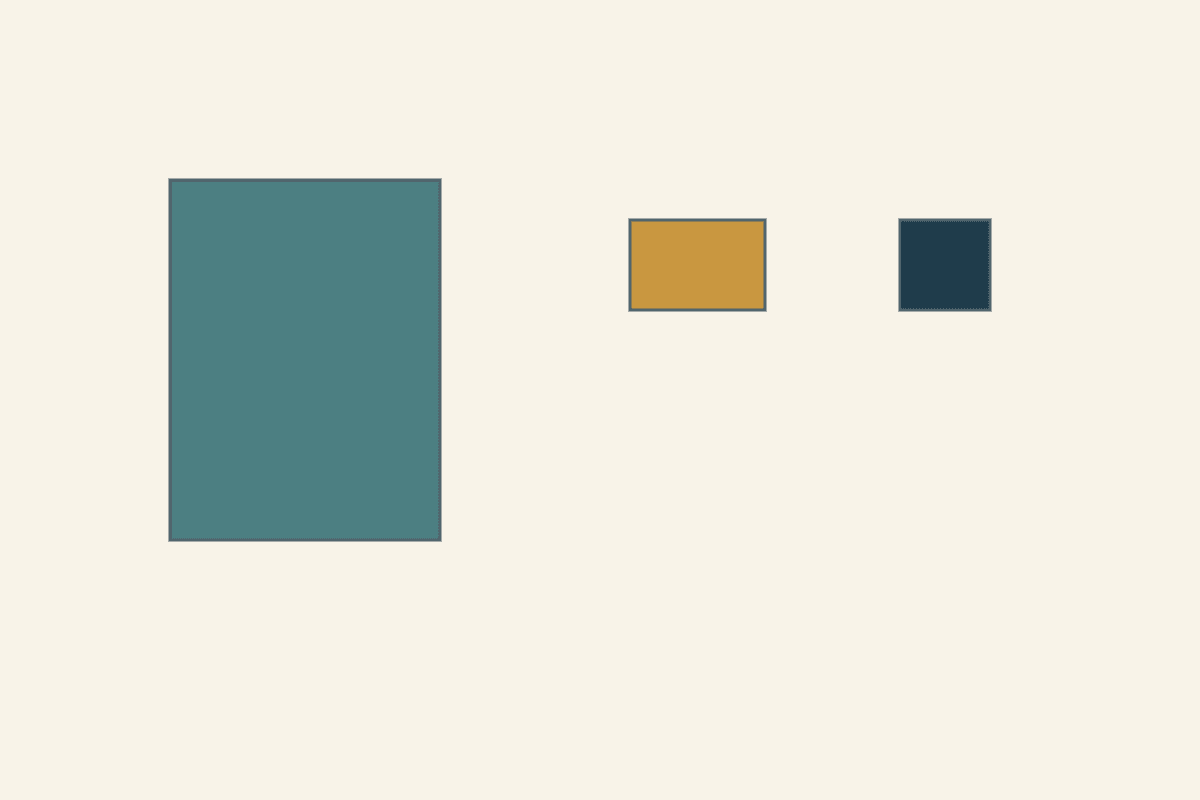
Choose a picnic quilt's ground footprint, carrying method and care requirements together. A quilt that gives you enough sitting room still needs to fit the way you travel and the cleaning routine its actual materials allow. Start with those uses before choosing a block pattern.
For a first brief, spread a familiar blanket on the floor and arrange the people, bags or picnic things it must accommodate. Measure that footprint, then choose the carrier and check the material care directions. Leave weight and packed thickness open until you can measure the real quilt.
Draw the space you expect to use
Think about the outing rather than a generic blanket category. Will the quilt hold two people sitting, a few bags beside them or a picnic spread? Will someone carry it a short distance from a car or keep it with other supplies for a longer trip?
Sketch the intended arrangement with the items you actually need. You can measure a familiar blanket or mark a footprint on the floor to make the size easier to discuss.
Our quilt-design guide helps turn an intended use into a finished footprint. Keep the picnic brief focused on that use before adding optional borders, handles or decorative work.
Decide what can change if the quilt becomes difficult to carry. A smaller field, a different carrier or a simpler construction may be more useful than discovering the problem after finishing.
Work a fifty-four-by-seventy-two-inch study
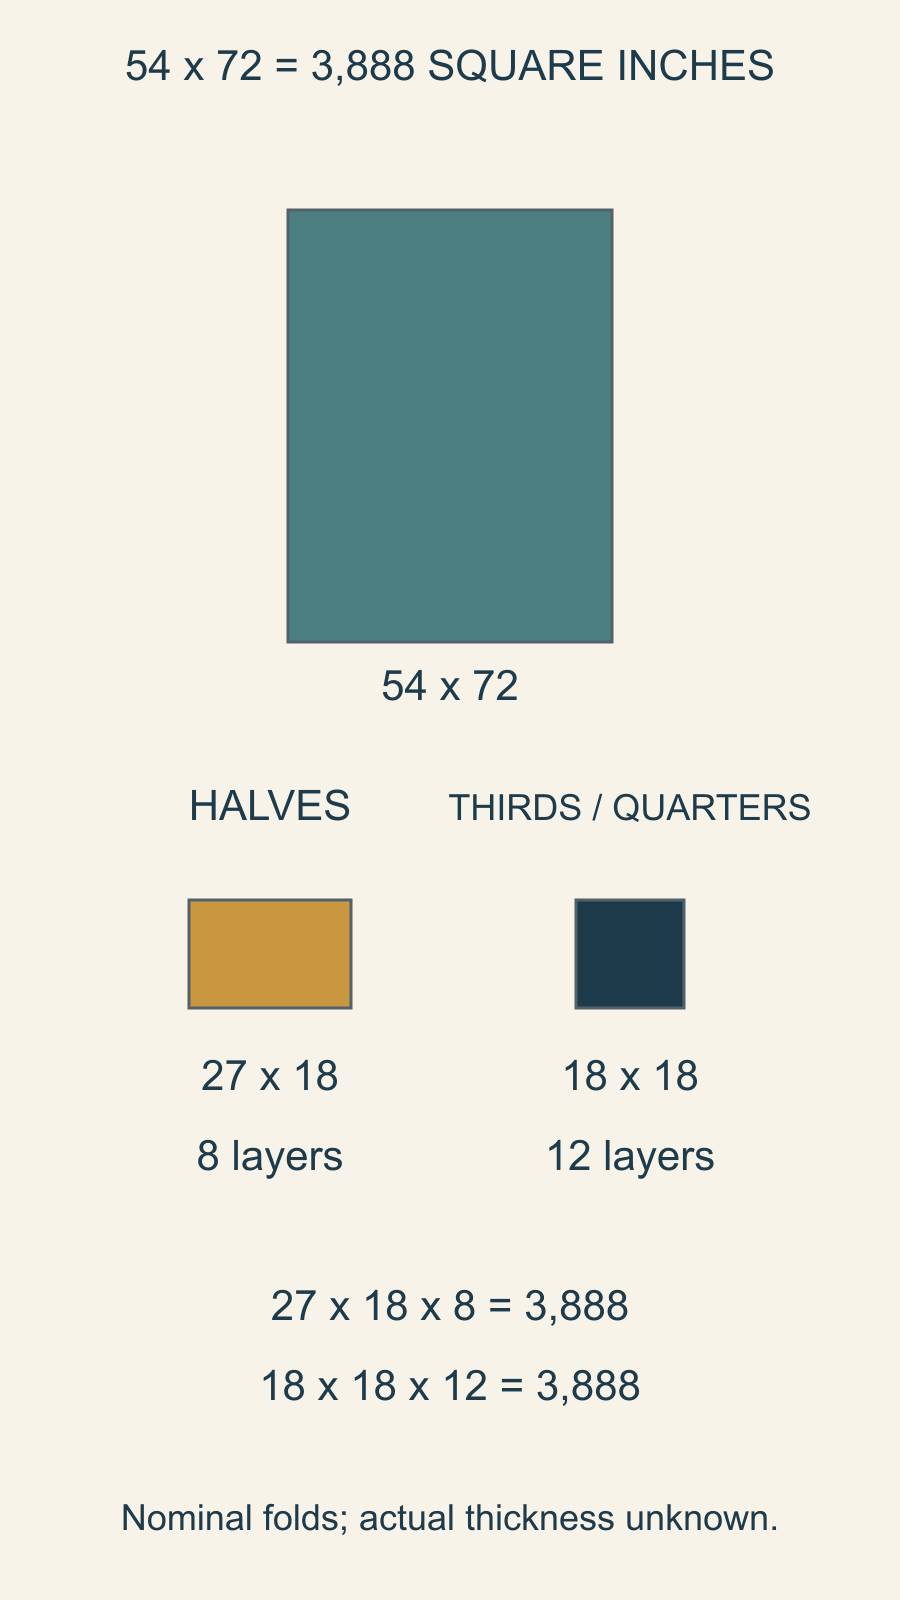
For our drawn example, choose a 54-by-72-inch finished-space rectangle. Its area is 54 times 72 = 3,888 square inches.
We drew the footprint and fold comparisons and haven't made or carried this quilt. These are zero-thickness calculations; real folds, binding and material bulk change the package. The study supplies no measured weight, bag fit or waterproof performance.
Keep the width and length named throughout the notes. Turning the sketch on the page doesn't change the quilt, but it can make a fold instruction difficult to follow if the numbers drift.
The next two options retain the same field while making different nominal packages. Use them to choose which fold to try with the real quilt.
Compare a half-fold arrangement
Fold the 54-inch width in half in the study, giving 27 inches. Halve the 72-inch length to 36, then halve it again to 18 inches.
That is three half-folds, giving a nominal 27-by-18-inch footprint with eight layers. The check is:
27 times 18 times 8 = 3,888 square inches.
The footprint is 486 square inches. It is wider than the second option below but has fewer layers.
When you eventually try the real quilt, rounded folds and the binding can change the package. Record the actual dimensions without pulling or compressing it just to match the drawing.
Compare thirds and quarters
For the second study, fold the 54-inch width into thirds, giving 18 inches. Fold the 72-inch length into quarters, also giving 18 inches.
The nominal result is an 18-by-18-inch footprint with twelve layers: three layers in one direction times four in the other. Its area check is:
18 times 18 times 12 = 3,888 square inches.
This footprint covers 324 square inches. Compared with the half-fold plan, it uses one-third less flat space but stacks twelve nominal layers instead of eight.
| Fold plan | Nominal footprint | Nominal layers |
|---|---|---|
| Width halved; length quartered | 27 by 18 inches | 8 |
| Width in thirds; length quartered | 18 by 18 inches | 12 |
Choose which shape suits the intended carrier, then leave room to measure its real depth. The smaller flat rectangle isn't automatically the easier bundle to handle.
Suppose you are comparing those folds with a bag whose usable base is 20 by 20 inches. On paper, the 18-inch-square option leaves two inches in each direction; the 27-inch side of the other option extends seven inches beyond one base dimension. Start the physical trial with the square fold, or choose another carrier for the wider fold. Those flat measurements still leave the opening and depth to check.
Let the carrying plan affect the design
Ruby Star Society's Roll-Up Picnic Quilt pattern, published through Moda, includes a handle and straps in its own project. It is a useful example of portability being considered as part of the design rather than afterthought packaging.
Our fold study is a separate size-and-use exercise. If you choose a published carrying construction, follow its actual instructions, materials and permissions rather than borrowing isolated measurements.
For a bag, measure the usable opening and interior dimensions, including depth. Pack the quilt as you intend to carry it, close the bag and lift it with the other outing supplies in place. Record the actual bundle's width, length, depth and weight if those affect the trip. For a separate wrap or carrier, follow a suitable construction method and try its closure and handling with the actual load.
Keep a carrying note in the brief: who carries it, where the hands go and what other supplies share the space. A single number for finished quilt width can't answer those questions.
Match the care plan to all the layers
A picnic use doesn't make every material suitable for wet ground, heavy soiling or an aggressive wash. Read the actual top, backing, batting, thread and any printed or added elements together.
For one product-specific example, Quilters Dream Blend 70/30 calls for low-temperature drying, no commercial dryer and a low iron setting. That instruction belongs to that batting; another layer may add its own restriction.
Our first-wash care article helps collect the evidence for a new quilt. Make a separate material sample when checking intended care behavior, and keep the real observations with the chosen combination.
Decide whether the expected care is practical for the person who will use the quilt. Include drying space and time: a quilt that needs a method the owner cannot carry out is a poor picnic choice. If the care won't fit, revisit the materials before making the whole project. Our lightweight-batting brief separates material specifications from the finished quilt's measured weight and handling.
Give a recipient the information they need
If this is a gift, ask how the recipient expects to use and carry it. Brittany Lloyd's gifting checklist includes care information and a label alongside the gift itself.
Provide the actual material directions and a description of the carrying arrangement after it has been tried. If you don't know a care detail, resolve it with the maker rather than turning a guess into a confident card.
Check the whole brief before choosing the pattern
Write four lines: ground footprint, carrying plan, material/care requirements and what still needs a real trial. Use the fold calculation to compare possibilities, then leave room for measurements from the actual object.
Start with the outing you want the quilt to serve. Choose a useful footprint, compare how it could be packed and check the intended materials. Let those decisions guide the pattern and finishing plan that comes next.
Plan your next quilt
Lay out blocks and try colors in QuiltLab's grid editor before you cut.
Free forever, no card needed.
Get quilting tips by email
QuiltLab updates, tips and quilting inspiration. Unsubscribe anytime.
Related posts
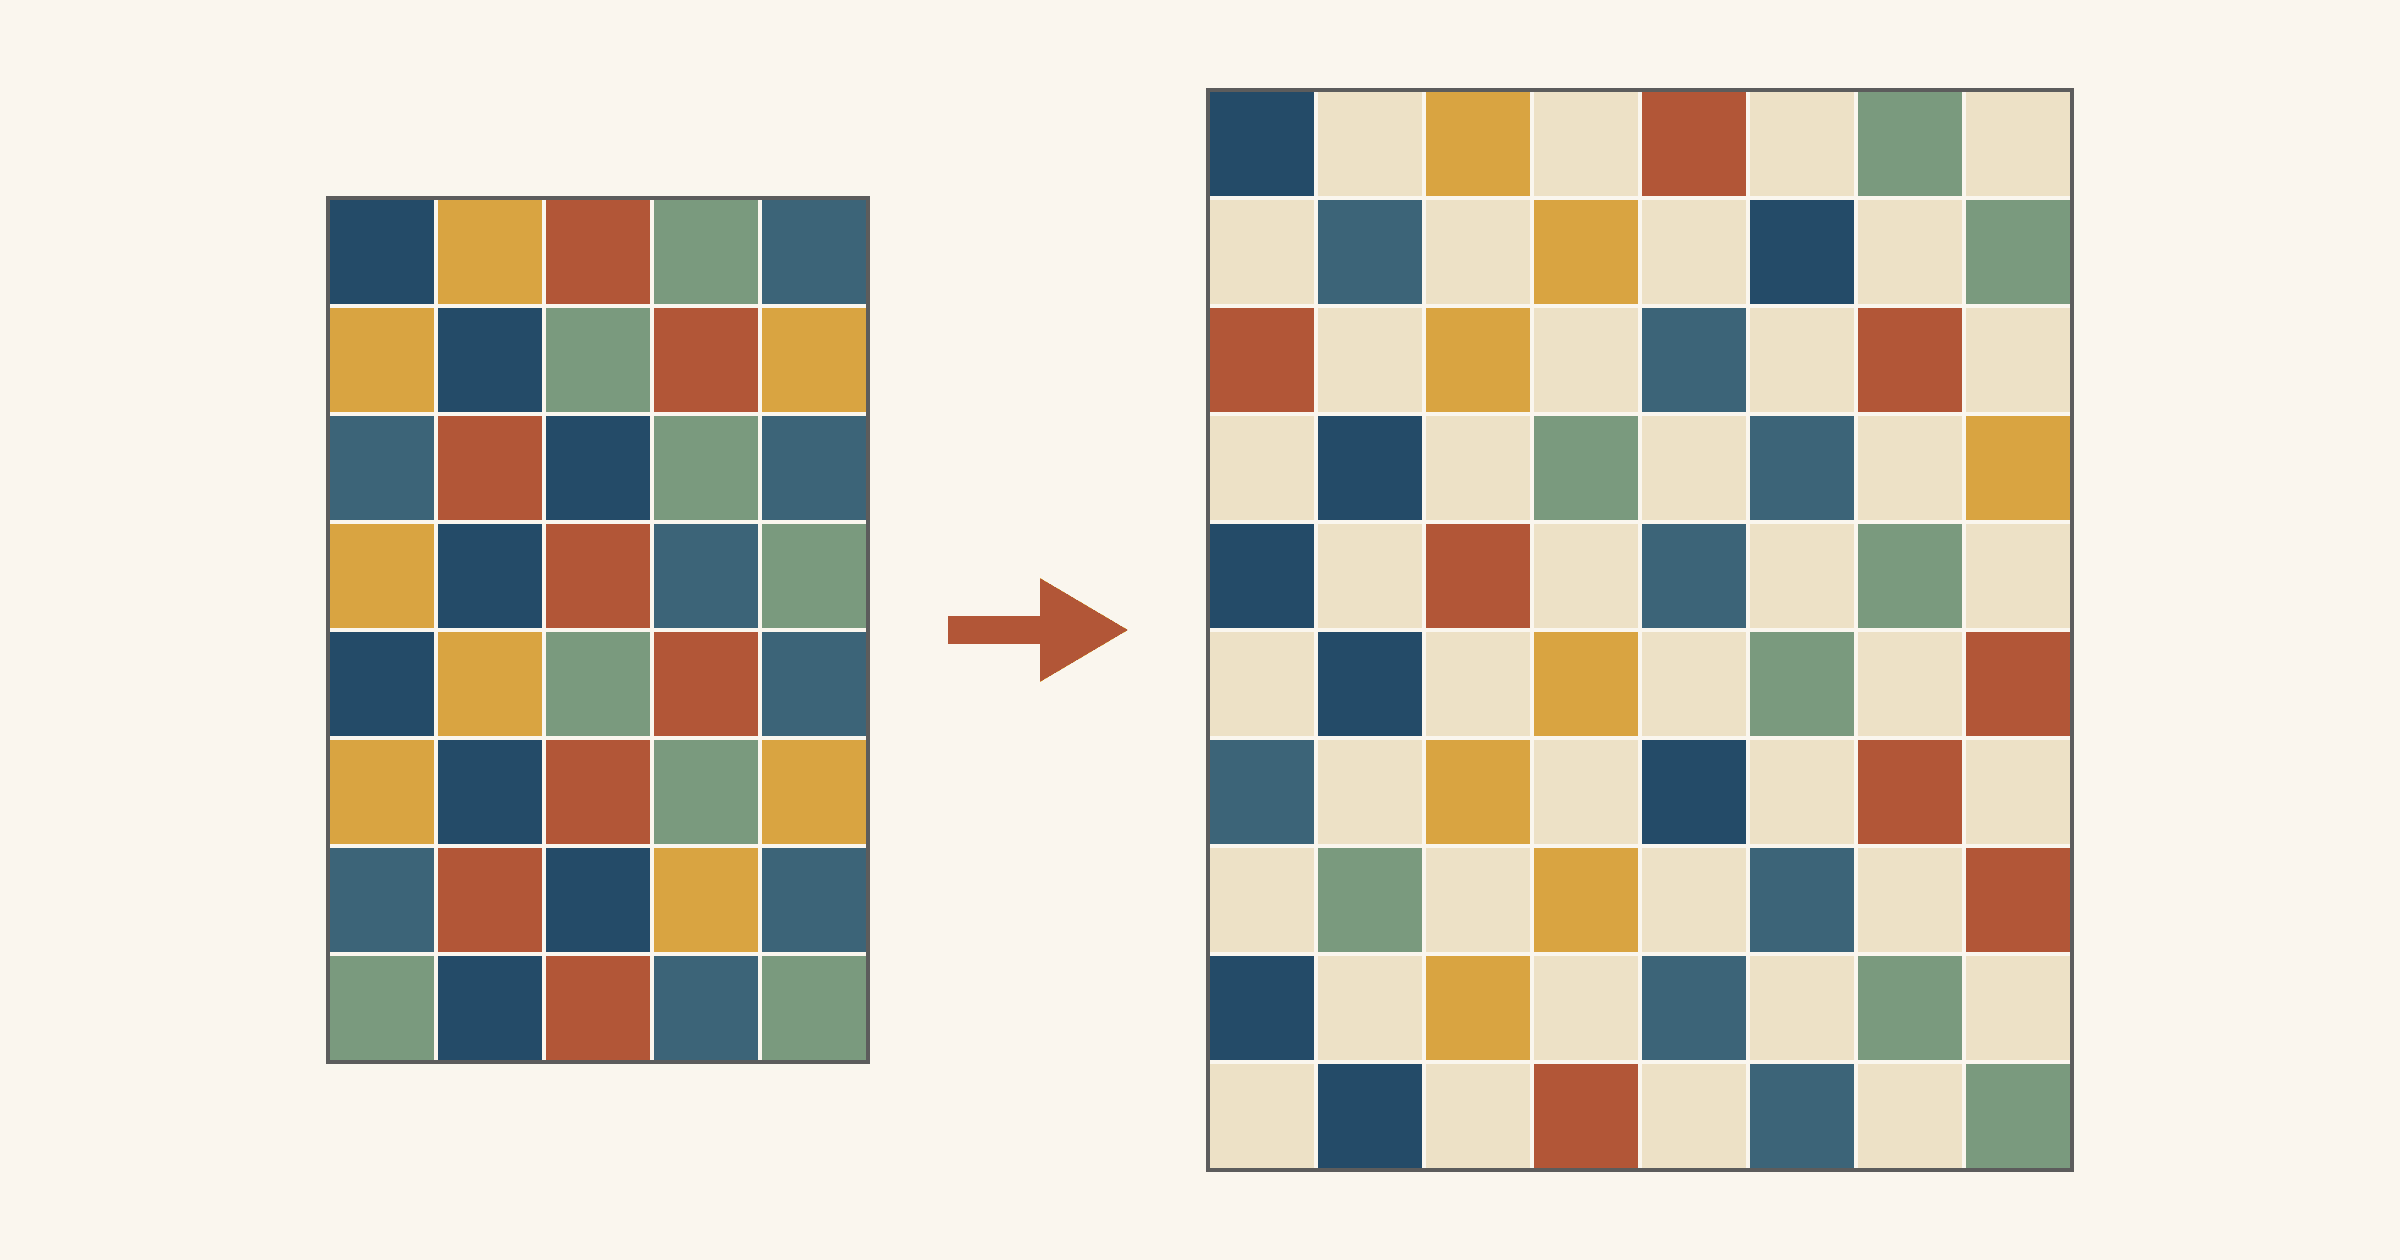
One Charm Pack Quilt: What Size Can You Make?
Sewn edge to edge, one charm pack makes a quilt about 27 x 31 1/2 inches. Count your usable squares, then compare four layouts that stretch it with background.
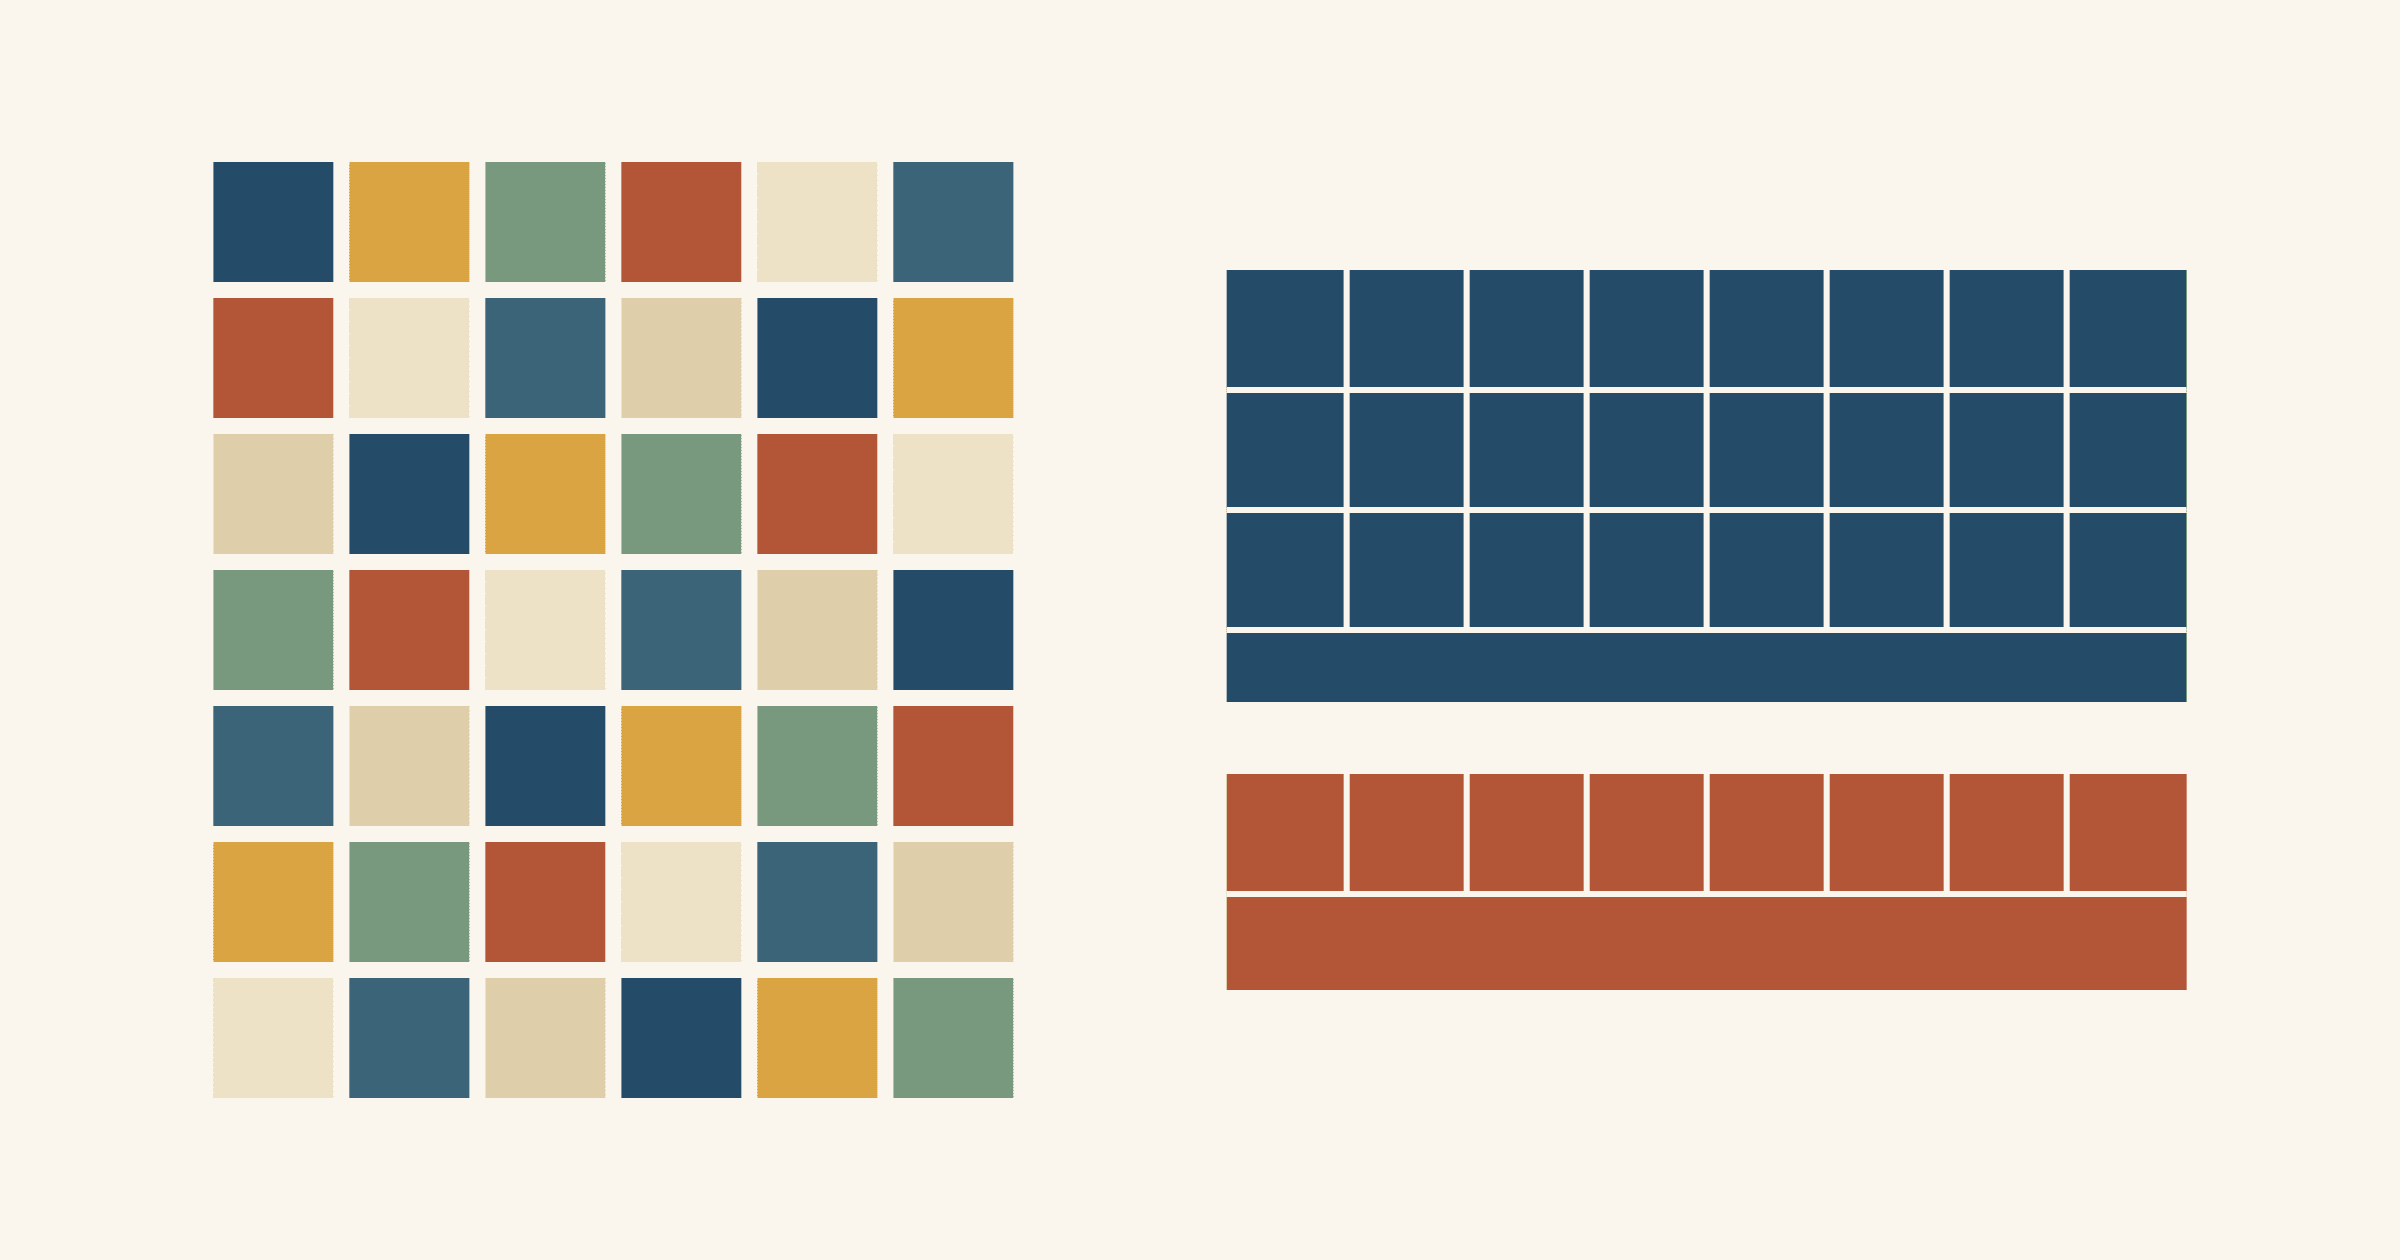
Precuts vs Yardage: One Quilt Counted Both Ways
One 45 x 54-inch quilt of 120 five-inch squares, bought as charm packs or as yardage. See the fabric left over, the cuts and the prints you get each way.
How to Read a Foundation Paper Piecing Pattern: Which Line Is Which?
Numbers set the sewing order, the lines inside a section are where you stitch, and the outer pair of lines marks the finished edge and the trim line.