Quilting Order: What Should You Stitch First?
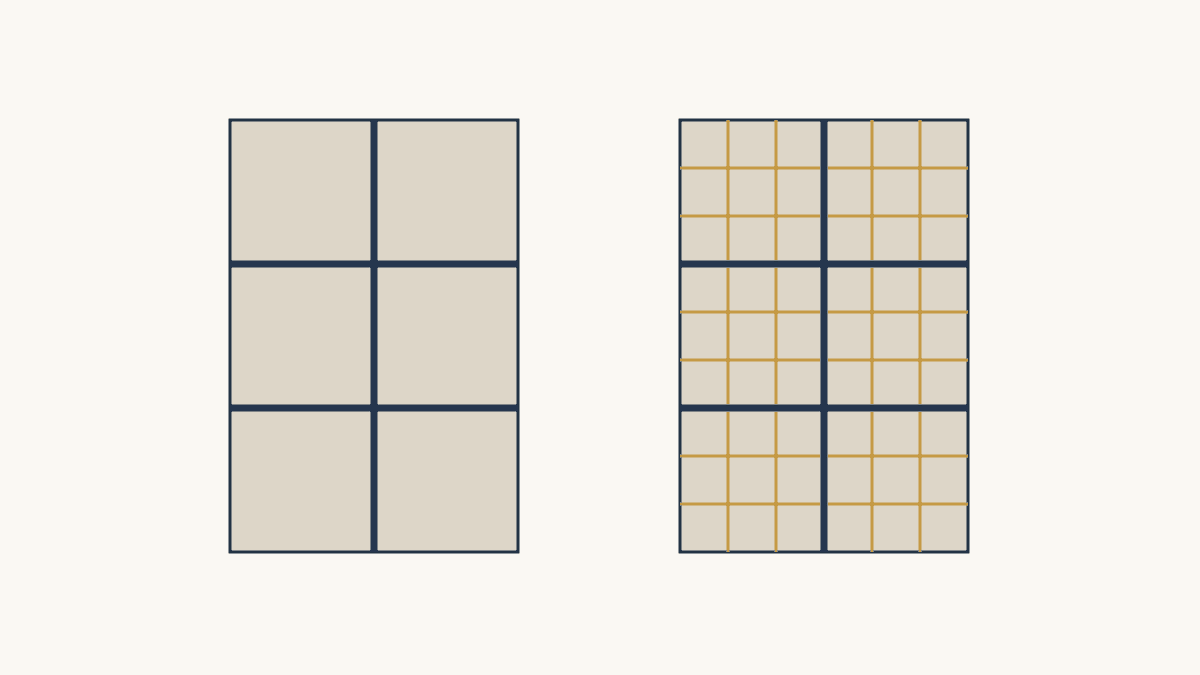
For a domestic-machine plan that combines structural lines with denser detail, anchor the main areas first, then add the fill. Keep those early lines separate from the finished quilting plan: temporary stability does not mean the remaining open areas meet the batting's requirements.
Use a sequence taught for your equipment and design. A walking-foot start followed by free-motion detail is one useful workflow; a frame system has its own loading and advance process.
Identify the structural lines
Look at the top and mark seams or planned lines that divide it into manageable areas. Choose references you can recognize on the quilt while it is under the machine.
Christa Watson's Sea of Squares lesson anchors major lines in several directions before adding denser work. She rotates the quilt as the method requires. That is a specific construction sequence you can study, rather than a rule that every quilt must follow one direction from its center.
Our walking-foot versus free-motion comparison explains the different tasks those methods suit. Choose the structural route with the actual foot and machine in mind before drawing a decorative motif in every space.
Count a small anchor plan
Our study top is 24 by 36 inches. Divide it into two columns and three rows of 12-inch regions.
Draw a vertical line at x = 12 inches and horizontal lines at y = 12 and y = 24 inches, measured from the upper-left corner. Their lengths are 36, 24 and 24 inches.
| Drawn anchor | Length | Regions it separates |
|---|---|---|
| Center vertical | 36 in | Left and right columns |
| First horizontal | 24 in | Top and middle rows |
| Second horizontal | 24 in | Middle and bottom rows |
| Total | 84 in | Six 12-inch regions |
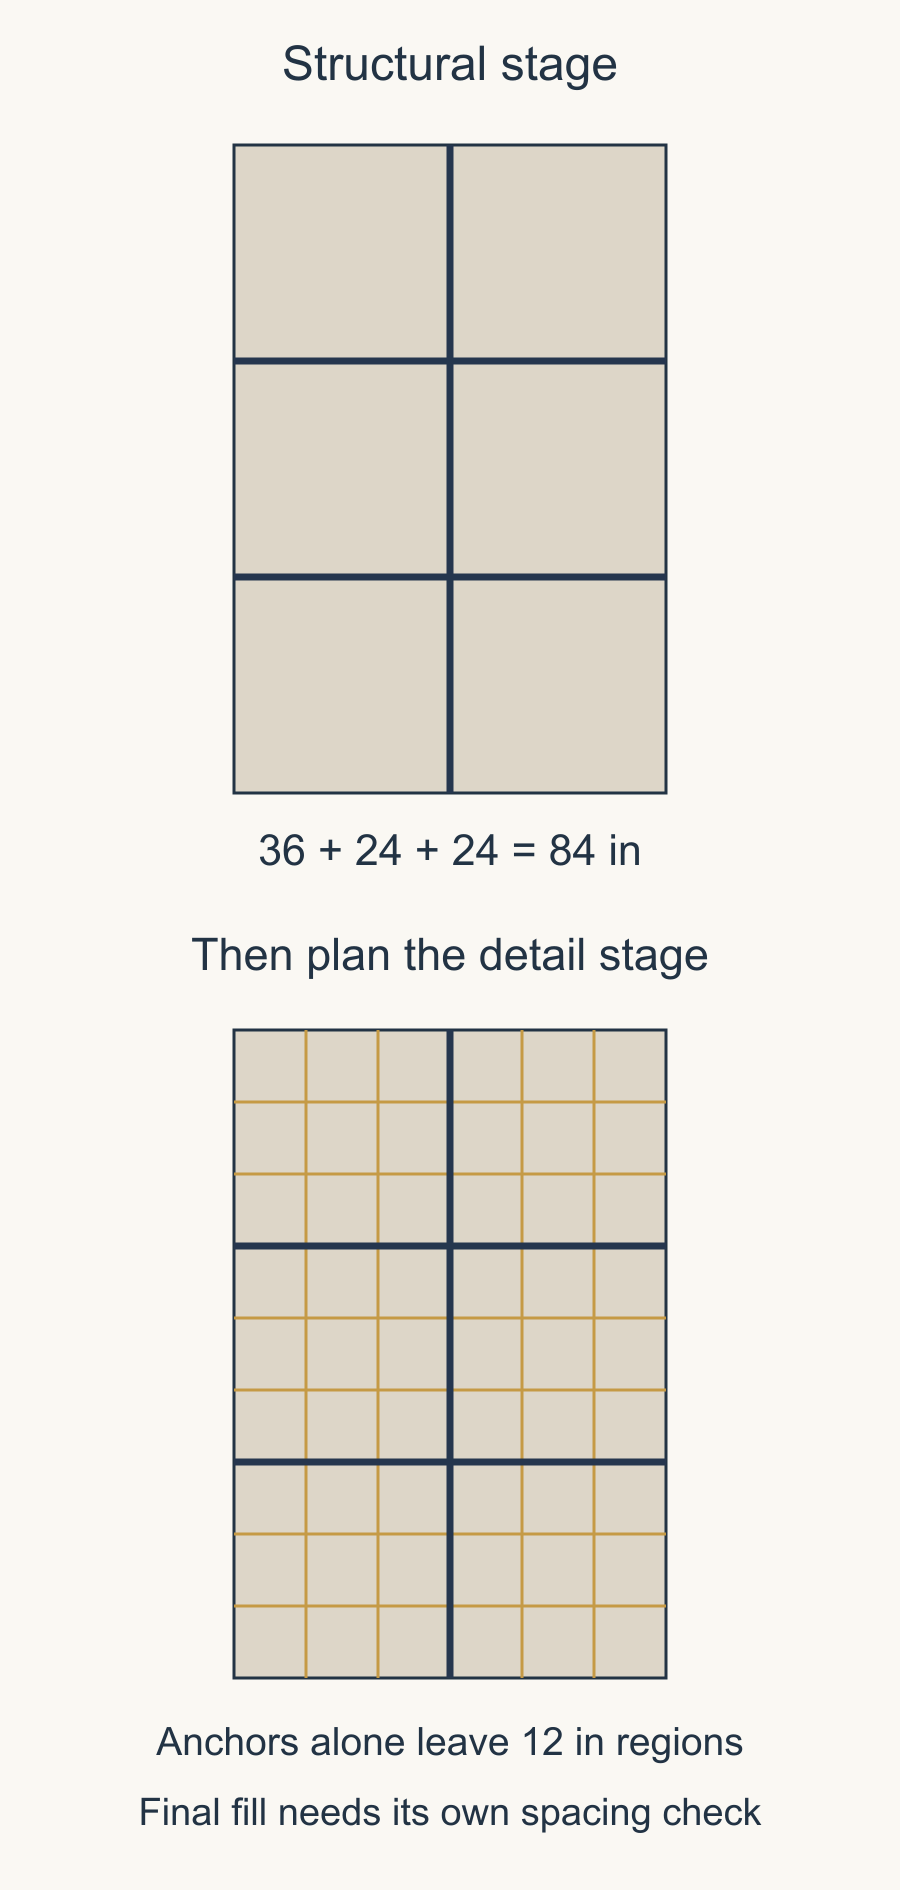
The 84 inches describe the drawn line segments. Starts, stops, securing threads and the practical sewing route require their own decisions.
Check what the anchors leave open
The first plan still contains 12-inch spaces. If the chosen batting allows a maximum 4-inch quilting distance, those anchors alone are plainly not the complete plan.
Draw the additional stitching needed inside each region. Inspect the largest remaining open area rather than the densest motif. Include quiet background, borders and any place where a planned line stops.
For the regular grid in the second drawing, add lines every 4 inches. The five vertical lines fall at x = 4, 8, 12, 16 and 20 inches. The eight horizontal lines fall at y = 4 through 32 inches, in 4-inch steps. That divides the six large regions into 54 smaller 4-inch squares.
Those drawn lines total 5 x 36 + 8 x 24 = 372 inches, including the original 84 inches of anchors. The added lines account for 288 inches. Count them as part of the final quilting only if they remain in the quilt. This geometric check does not measure starts, stops or the route under the machine.
An irregular motif needs its own spacing check using the batting maker's instructions. Our straight-line spacing guide helps with the regular-line part of that comparison.
Write the batting's actual product name and requirements beside the drawing. Keep them visible while deciding whether a region is finished or merely held for the next stage.
Finish one stage across the planned areas
For this domestic-machine workflow, plan the structural walking-foot work before switching to the decorative free-motion work. That makes the stage change intentional and reduces the temptation to fully quilt one attractive corner while neighboring areas remain largely untouched.
Julie Baird's written machine-quilting answer discusses central ditch lines, working outward and doing walking-foot ditch quilting before free motion. Her explanation also emphasizes not hauling a quilt that catches on the work surface.
Use the method's actual seam and direction guidance. If your top lacks seams along the proposed lines, choose a verified marking method for the materials. A drawn planning line is not permission to use an arbitrary marker on the quilt.
Keep supporting the surrounding quilt as you move between regions. A change in stage does not remove the handling problem presented by a large top.
Keep frame instructions in their own context
Gammill's layer-preparation guidance describes stabilizing each working area as the quilt advances on a frame, then proceeding to decorative work after stabilization. Its rollers, clamps and advance steps belong to that system.
Do not copy those loading operations into a domestic-machine sequence. The shared idea is to plan structural work before dense detail; the actual way to do that depends on the equipment.
If someone else will quilt the top, discuss the plan with that quilter before prescribing a stitch order. They may need a different route to suit the frame, pattern and handling of the layers.
Mark progress without losing unfinished areas
Name temporary and permanent lines separately. If you plan removable basting inside a large area, use the chosen technique’s instructions and mark its removal on the progress sheet. A line that will come out cannot be counted toward the final quilting coverage. Keep that distinction clear before decorative work makes the early lines harder to identify.
Use two colors on a paper copy of the plan. One can mark completed structural lines; the other can mark regions whose final quilting is complete.
A region should not receive the second mark merely because it contains a few anchors. Check its intended fill and the batting requirement first. This is especially helpful when you stop partway through a multi-session project.
Keep a short note for the next session: last completed region, next route, foot and settings to check, and any remaining gap that needs attention. A clear restart point is more useful than trying to remember which side looked finished last night.
Try the transition on a sample
Make a representative sample with the actual layers. Include one structural line and the planned detail beside it so you can assess the transition and handling together.
Record the sequence you actually used and inspect both sides. Adjust the plan while the sample is small if the selected detail is awkward to reach or the density change is stronger than intended.
Your next step is to draw the anchor lines separately on a copy of the quilt top. Count the open regions they leave, then complete the filling plan before calling any region finished.
Plan your next quilt
Lay out blocks and try colors in QuiltLab's grid editor before you cut.
Free forever, no card needed.
Get quilting tips by email
QuiltLab updates, tips and quilting inspiration. Unsubscribe anytime.
Related posts
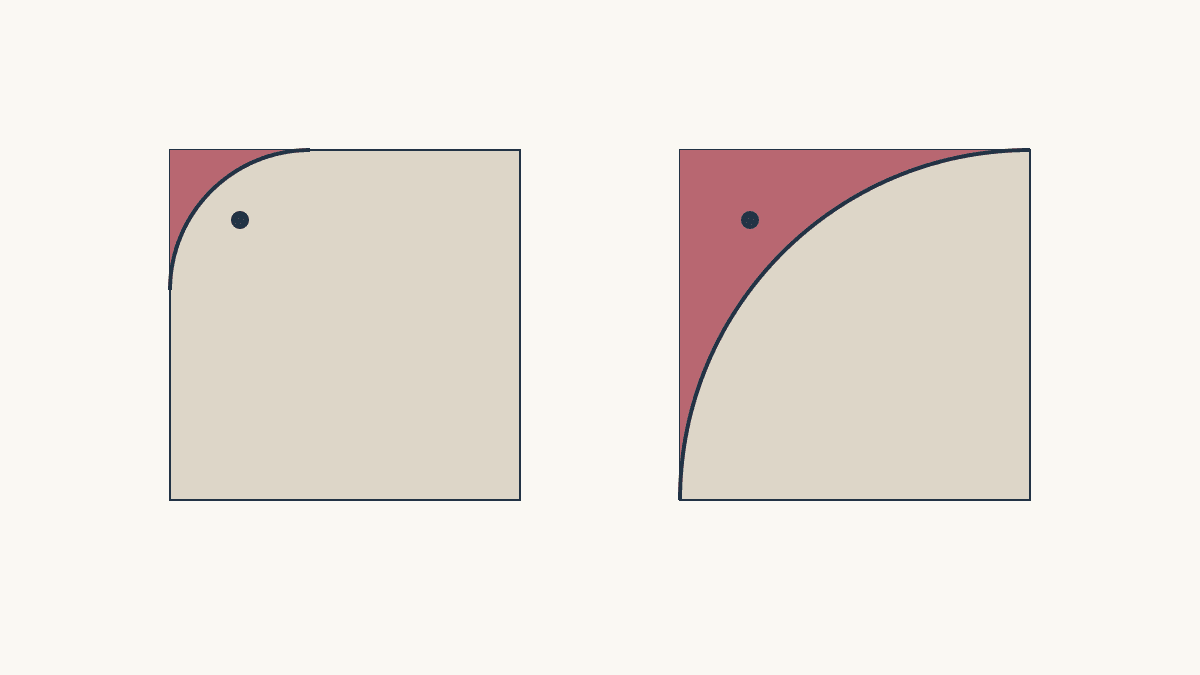
Rounded Quilt Corners: Will Your Motif Survive?
Compare two corner radii against nearby motifs before trimming, then plan a consistent curve and suitable binding method.
Lightweight Quilt Batting: Check Care First
Write the coverlet’s care requirements, check the exact batting limits, and test the finished combination before calling it lightweight.
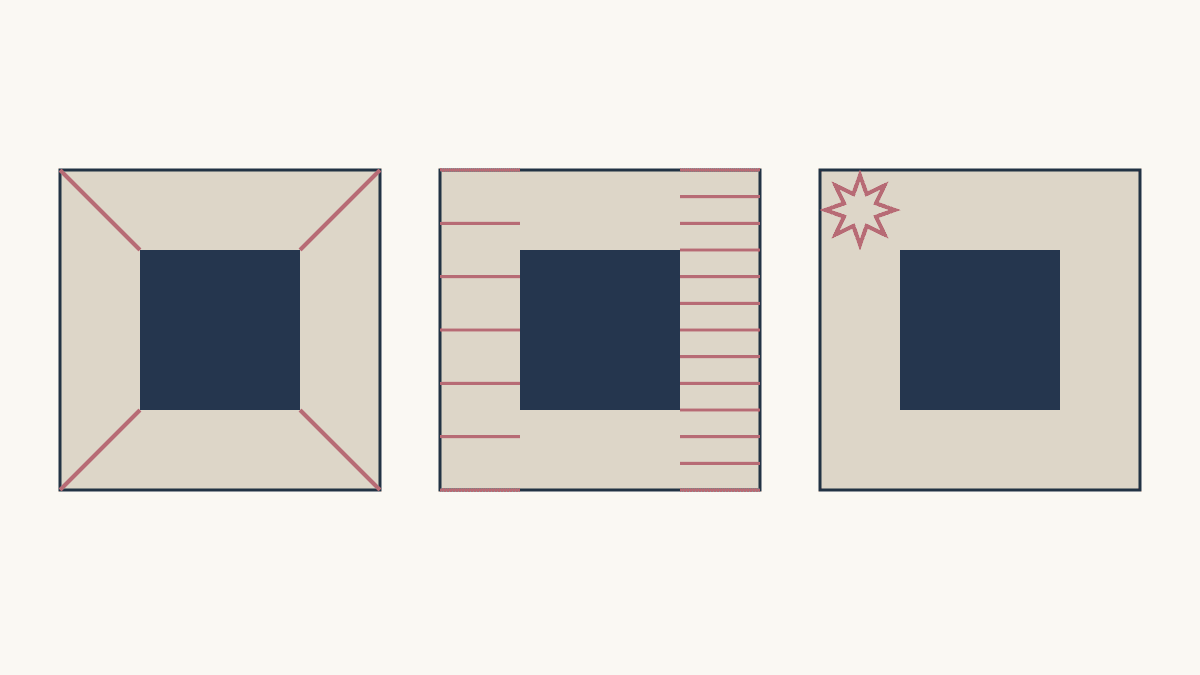
Quilting Negative Space: Extend, Fill or Echo
Compare three quilting approaches on one fixed quilt layout, then count the lines and check the open areas.