Rounded Quilt Corners: Will Your Motif Survive?
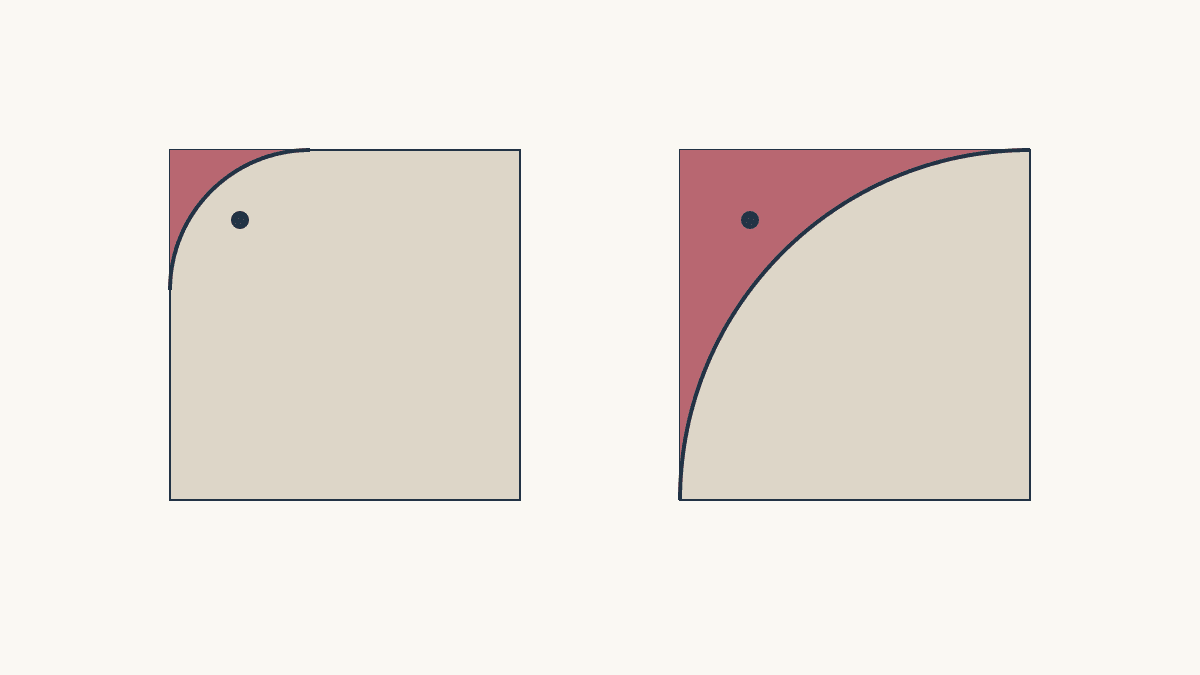
Choose rounded quilt corners by the motif space they leave and the curve you can bind. Audition the shape on paper, then check it again from the front of the quilted, squared sandwich before trimming. A larger radius can cut into a motif that a smaller curve preserves.
For a first rounded edge, test the chosen bias-binding method on a sample with the actual materials. A convenient household circle is useful only if its curve also suits the quilt.
Square the quilted sandwich before trimming
Plan the motif clearance while the top is still a drawing. Make the actual rounded cuts after quilting, when you have squared the layered sandwich. Quilting can change the outer dimensions, so check the motif positions again on that squared edge. The two reference edges should meet at 90 degrees.
Erin Jones's rounded-corner tutorial at Suzy Quilts begins by squaring the finished quilt. Wendy Chow's method below also starts with a squared quilt sandwich. Follow the selected method's preparation sequence before making the cut.
Lay the quilt flat with its design facing you. Locate important points, letters or small motifs near the corners. Compare those features before choosing a radius merely because it looks smooth on plain paper.
Compare the part that would disappear
Our drawing represents a squared 36 by 48-inch outline before rounding. One motif reference point lies 1 inch from both the top and left edges: coordinate (1, 1).
For a 2-inch top-left radius, the circle's center sits at (2, 2). The distance from that center to the motif point is the square root of 2, about 1.414 inches. That is inside the radius, so this point remains after the corner is rounded.
For a 5-inch radius, the center moves to (5, 5). The same motif point is about 5.657 inches away, outside the radius. It falls in the corner area removed by that larger curve.
| Proposed radius | Circle center | Distance to motif point | Point remains? |
|---|---|---|---|
| 2 in | (2, 2) | About 1.414 in | Yes |
| 5 in | (5, 5) | About 5.657 in | No |
This circle test applies within the affected corner square. It is not a test for every point across the entire quilt.
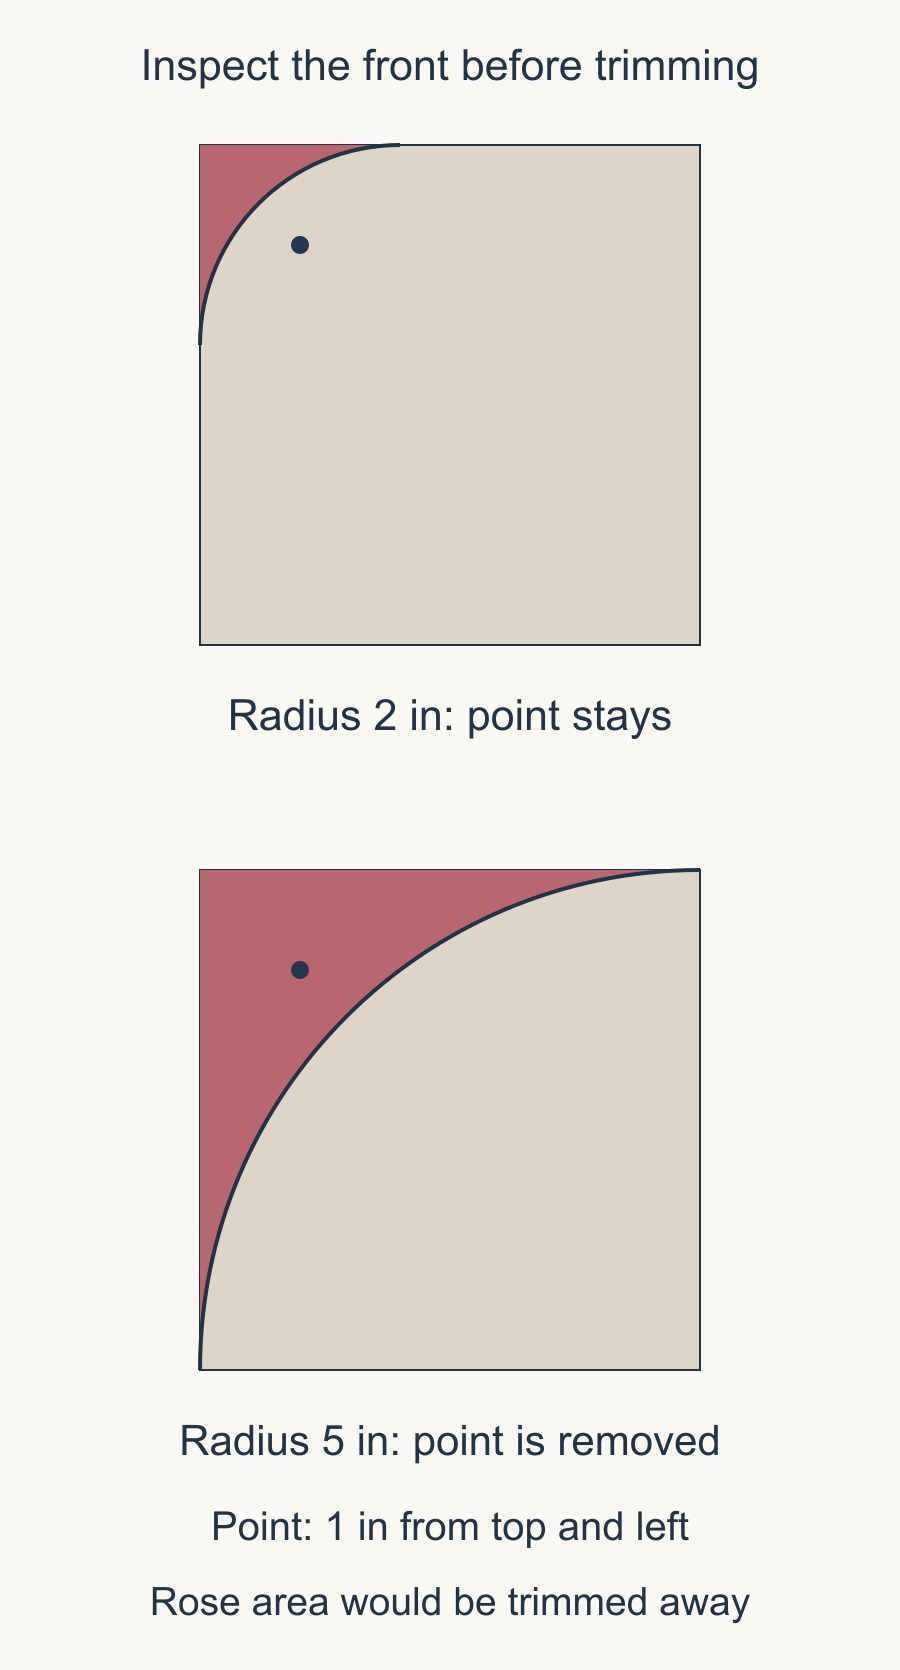
Record radius and diameter separately: a 2-inch radius belongs to a 4-inch-diameter circle, while a 5-inch radius belongs to a 10-inch-diameter circle. Confusing those two measurements changes the curve you intended.
Inspect the whole motif and the binding coverage
A retained reference point does not prove the whole motif survives. Trace or cover the actual area that would be removed, then inspect all the details you care about.
A point just half an inch from both edges would already be outside the 2-inch circle in our example. That makes a useful reminder to check the most exposed part of the design, rather than choosing one convenient point farther inside.
Also audition the planned finished binding width. The curve defines the new outer edge, while binding covers part of the quilt beside it. A motif can survive the trim and still become crowded by the finished binding.
Our binding-width guide helps with that separate visible-width decision. Put a paper band of the intended width over the curved sketch before choosing the final radius.
Use the front view for the decision
Wendy Chow's Weekend Quilter tutorial marks from the quilt front so you can see the design being removed. That is particularly useful for borders, words and directional pictures near the edge.
Try paper curve previews first. Keep the same top and side reference for each option, and compare the removed area in a contrasting color. Keep the actual quilt intact while you compare the paper options.
Once you choose a radius, check the other three corners. A motif may sit farther from one corner than another, so one successful audition does not settle the full quilt.
If a single radius damages an important feature, reconsider the design or finishing choice before trying to disguise one differently shaped corner.
Choose binding that can follow the curve
Wendy's lesson recommends bias particularly for smaller rounded projects. Bias-cut strips can follow curves differently from straight-grain strips; our straight-grain versus bias binding article explains that choice.
Use a representative curve sample with the intended fabrics, batting and binding width. Follow one complete attachment method rather than combining several teachers' seam allowances or folding sequences.
Erin's lesson checks the curve while sewing slowly. Give yourself the same opportunity to inspect the edge as it develops, instead of pulling the binding into position and hoping the later fold will hide the strain.
Record the sample's radius and binding preparation. That makes the result useful when you return to a larger quilt or a different fabric combination.
Keep outside curves separate from inside corners
A convex rounded outside corner is not the same as a scallop's inward turn. Sylvia Schaefer's curved-binding tutorial covers inside corners and a curved binding join, including checking the fit before trimming the join.
Use the part relevant to the shape you actually have. Do not apply an inside-corner miter sequence simply because both projects have curved edges.
Our binding-end joining article covers that later connection as its own task. Leave enough room to work the chosen join and check it before trimming away useful length.
Save the curve decision with the project
Keep the radius, reference edges, visible binding width and a photograph of each front-view audition. Note which nearby motif was the limiting feature.
Complete the representative binding sample before trimming the quilt. If the smaller curve is difficult to handle, you can still choose another finishing plan while the quilt is intact.
Begin by laying a paper 2-inch and 5-inch curve over one important corner. Compare the fabric that would disappear, then check the other corners before making the first irreversible cut.
Plan your next quilt
Lay out blocks and try colors in QuiltLab's grid editor before you cut.
Free forever, no card needed.
Get quilting tips by email
QuiltLab updates, tips and quilting inspiration. Unsubscribe anytime.
Related posts
Lightweight Quilt Batting: Check Care First
Write the coverlet’s care requirements, check the exact batting limits, and test the finished combination before calling it lightweight.
Quilting Negative Space: Extend, Fill or Echo
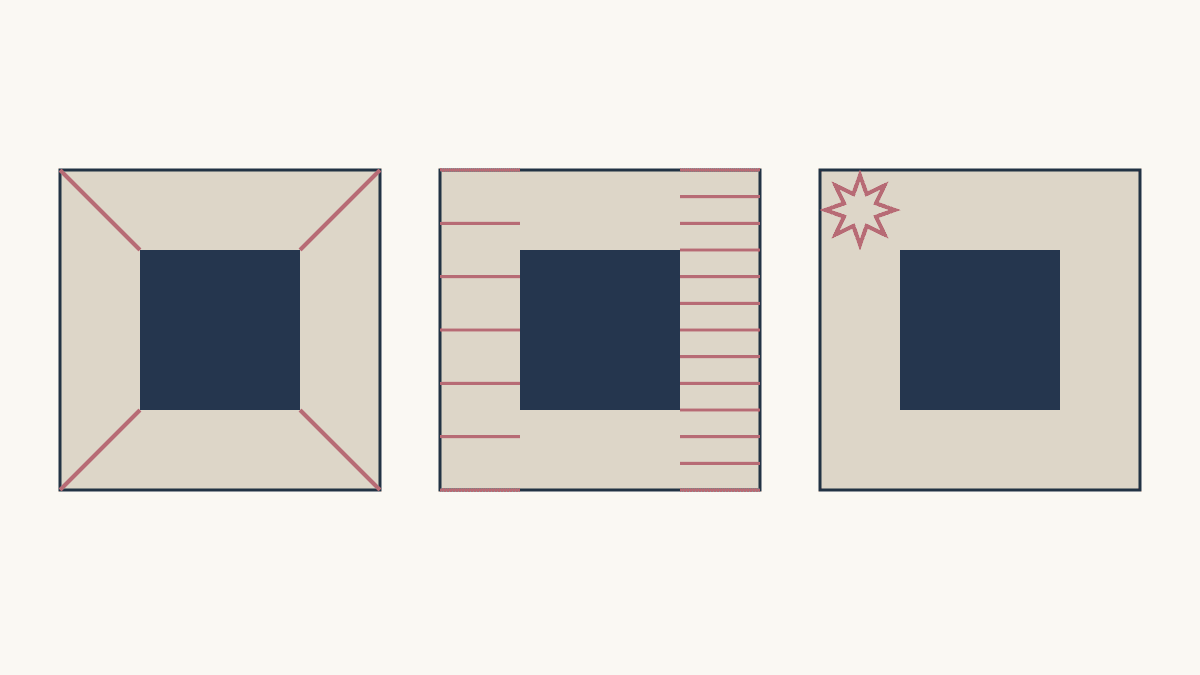
Compare three quilting approaches on one fixed quilt layout, then count the lines and check the open areas.
Quilting Order: What Should You Stitch First?
Map structural quilting separately from decorative fill, check the remaining gaps, and use the sequence suited to your machine.