Quilting Negative Space: Extend, Fill or Echo
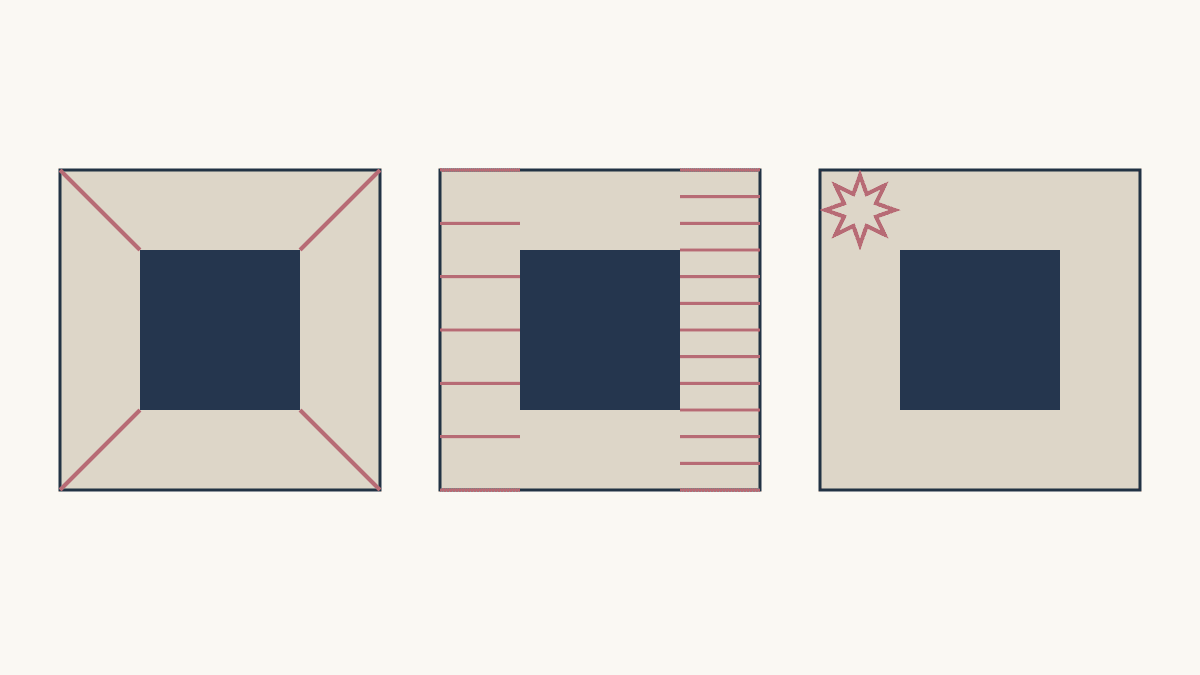
Choose quilting in negative space by deciding what the background should emphasize: extend the pieced shapes, use a repeated fill, or add a second shape in stitches. Compare those options on the same quilt drawing before adding detail.
For a first plan, try one repeated fill alongside one extension of the existing geometry. The simpler comparison makes it easier to see which supports the focal block and how much stitching each asks you to do.
Keep the patchwork fixed
Our planning top is 24 inches square with one 12-inch block centered in it. That leaves 6-inch side fields and 6-inch fields above and below the block.
Use identical copies of this patchwork for every quilting sketch. If you also move the block or recolor the background, the change in composition may disguise what the quilting did.
Our negative-space quilt-design article covers placing the patchwork itself. This stage starts after that arrangement is chosen and asks how stitching will use the surrounding cloth.
Put the intended use beside the drawing. A quilt that needs a quick, manageable quilting plan may lead to a different choice from a small display piece where detailed stitching is the main attraction.
Extend a line the piecing already suggests
Follow an edge, diagonal or angle from the focal block into the background. A few extended lines can make the block seem connected to a larger structure.
Kimberlee Tanner's On Williams Street lesson discusses echoing existing shapes, repeated fills, structural shapes and ghosted blocks. Start by asking which existing edge is worth carrying into the open area.
Draw only that extension first. Check where it reaches the outer edge and whether it creates a narrow leftover area. Then decide how the spaces around it will be filled, if they need more quilting.
Use one line style for planned stitching and another for temporary placement guides. Otherwise, the sketch can imply that every construction mark will be sewn.
Compare an even fill with actual counts
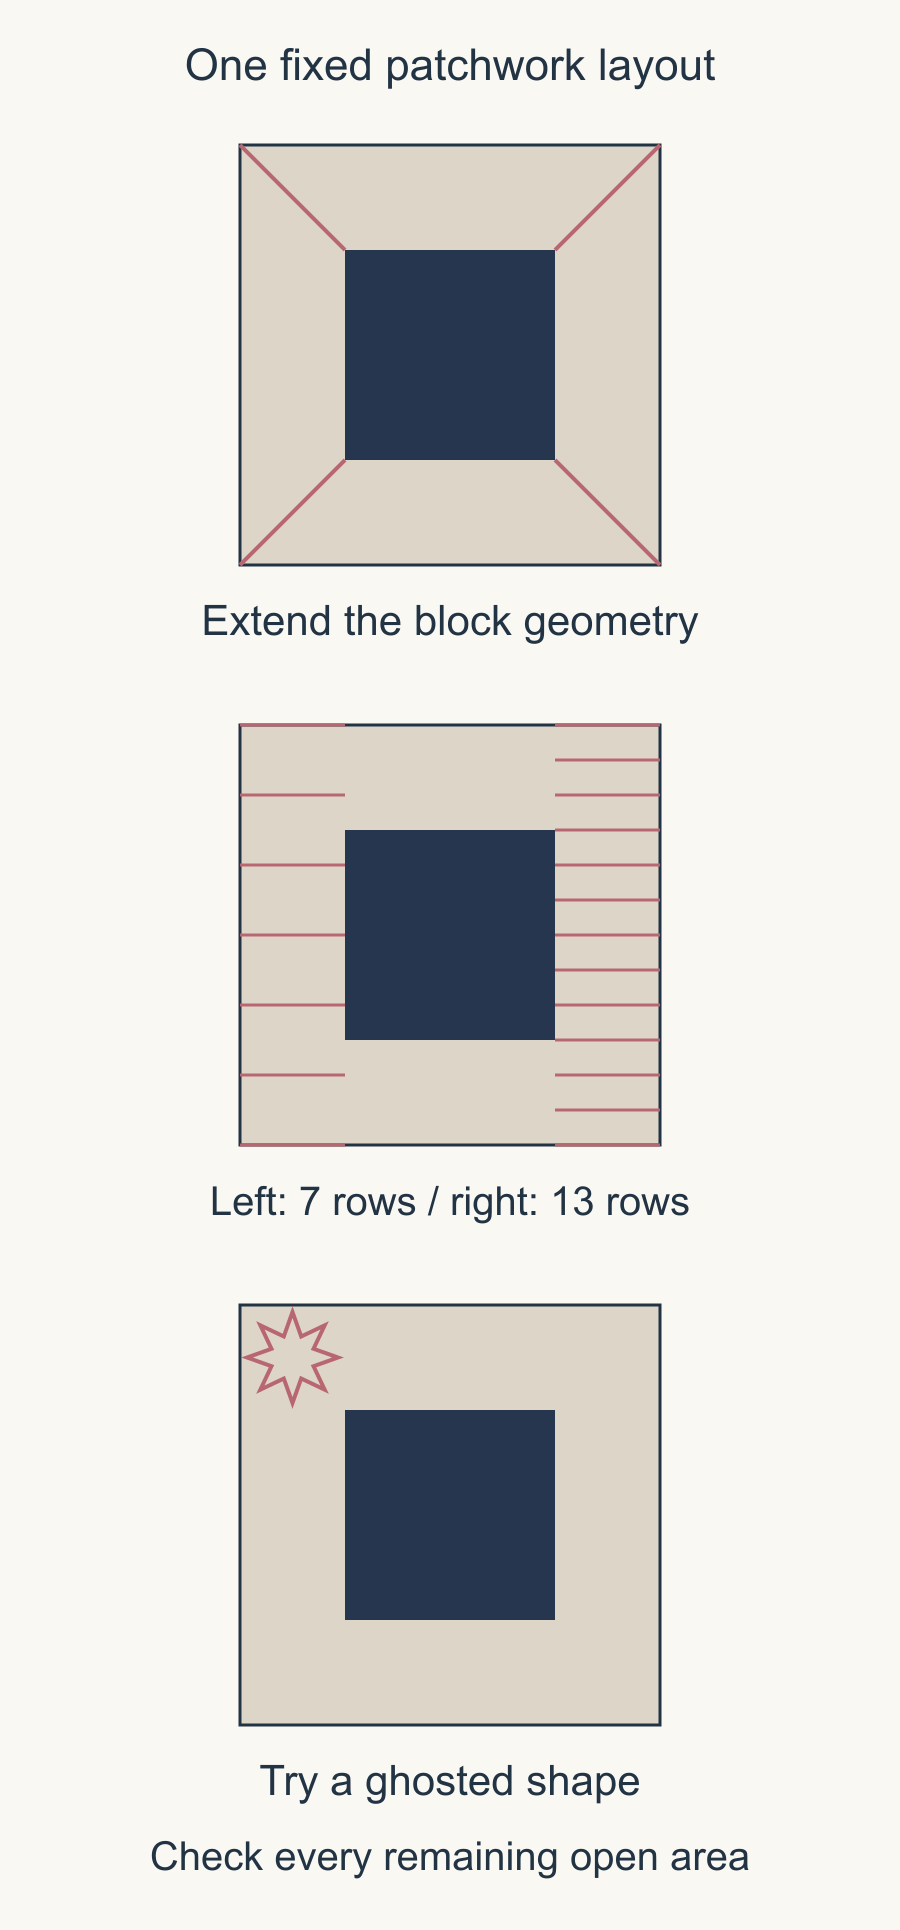
Take the 6 by 24-inch field along the left side. Draw horizontal rows at 0, 4, 8, 12, 16, 20 and 24 inches. Including the two drawn boundary lines, that gives seven lines and six 4-inch intervals.
Now use rows at 0, 2, 4 and so on through 24 inches. That gives thirteen lines and twelve 2-inch intervals.
| Drawn interval | Lines including boundaries | Spaces | Line length in this field |
|---|---|---|---|
| 4 in | 7 | 6 | 42 in |
| 2 in | 13 | 12 | 78 in |
Each line is 6 inches long within this side field. The 2-inch version adds 36 inches of drawn line: 78 - 42 = 36. It has about 1.86 times the line length, rather than exactly twice, because both counts include the two boundaries.
Decide whether those boundary lines will actually be stitched. If they are only placement marks, omit them from the stitching total: five interior rows give 30 inches at 4-inch spacing; eleven give 66 inches at 2-inch spacing. Real starts, stops and travel paths still need their own sewing plan.
For the effect of a repeated row interval, our straight-line spacing article offers a closer comparison.
Add a second story only if it helps
A ghosted star or block can continue the patchwork idea into the background. Outline that shape before deciding which parts receive denser fill.
HollyAnne Knight's Aurifil guest lesson compares a single fill, mixed motifs and a second story while considering use, time and focal emphasis. Give the extra shape a job rather than filling an empty area because it is available.
For our centered-block top, try a faint drawn star beside the block. Does it lead the eye back to the piecing or become a competing focal point? Remove it and compare again at the same scale.
If the quilt reads clearly with a simple fill, you can stop there. Added complexity earns its place when it improves the design you meant to make.
Look at the spaces between motifs
A line drawing can be attractive while leaving a large area unquilted. Inspect the largest open region, including where an extended line stops or a ghosted shape changes direction.
Bobbie Gentili's Ruby Roads discussion uses structural guidelines, echoes and density contrast to build another design in negative space. Keep the structural outline and the density decisions visible separately when using that approach.
Our 4-inch and 2-inch row counts are arithmetic for one side field. They do not settle how a batting maker interprets an irregular open area elsewhere on the quilt. Read the chosen product's instructions and use the batting-distance guide to review the complete plan.
Do not rely on the most densely filled corner to represent the least stitched part of the quilt.
Plan thread and route on a sample
Place intended thread beside both the focal fabric and the background. A line that is quiet in the drawing may become prominent when the thread contrasts strongly with the cloth.
Make a representative sample using the actual layers and a useful portion of the proposed design. Compare whether you can control the shapes and whether the density difference feels appropriate for the quilt's use.
Then trace the sewing route with a finger on the sketch. Identify starts, stops, direction changes and areas where you would need to move or rotate the quilt. That can make two visually similar plans very different practical projects.
Keep time estimates labeled as your own plan until you have actual experience with the chosen sample and equipment.
Save one selected plan
Record the fixed patchwork size, selected approach, thread choice, largest open-area questions and the sample result. Keep rejected sketches only if they explain a useful tradeoff.
Begin with the 6 by 24-inch side field today. Draw one simple fill and one line extended from the focal block, count what you drew, and choose which one gives the background a clear purpose before planning the rest.
Plan your next quilt
Lay out blocks and try colors in QuiltLab's grid editor before you cut.
Free forever, no card needed.
Get quilting tips by email
QuiltLab updates, tips and quilting inspiration. Unsubscribe anytime.
Related posts
Rounded Quilt Corners: Will Your Motif Survive?
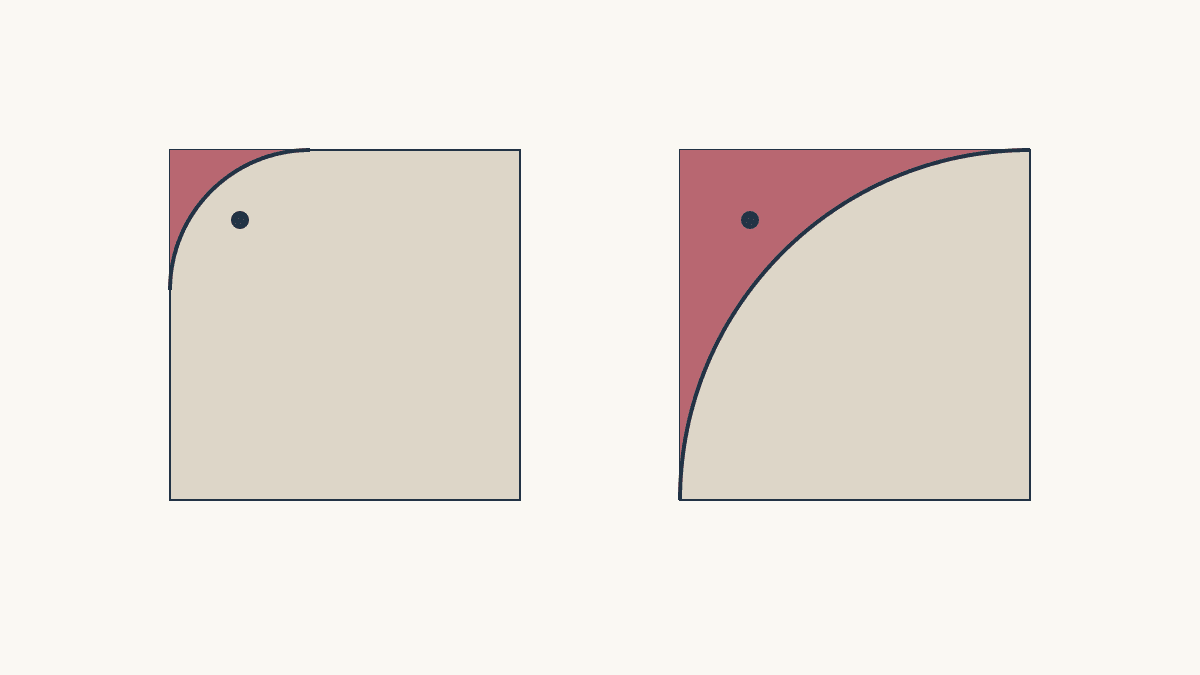
Compare two corner radii against nearby motifs before trimming, then plan a consistent curve and suitable binding method.
Lightweight Quilt Batting: Check Care First
Write the coverlet’s care requirements, check the exact batting limits, and test the finished combination before calling it lightweight.
Quilting Order: What Should You Stitch First?
Map structural quilting separately from decorative fill, check the remaining gaps, and use the sequence suited to your machine.