Fabric Shifting When Quilting? Find What Moved
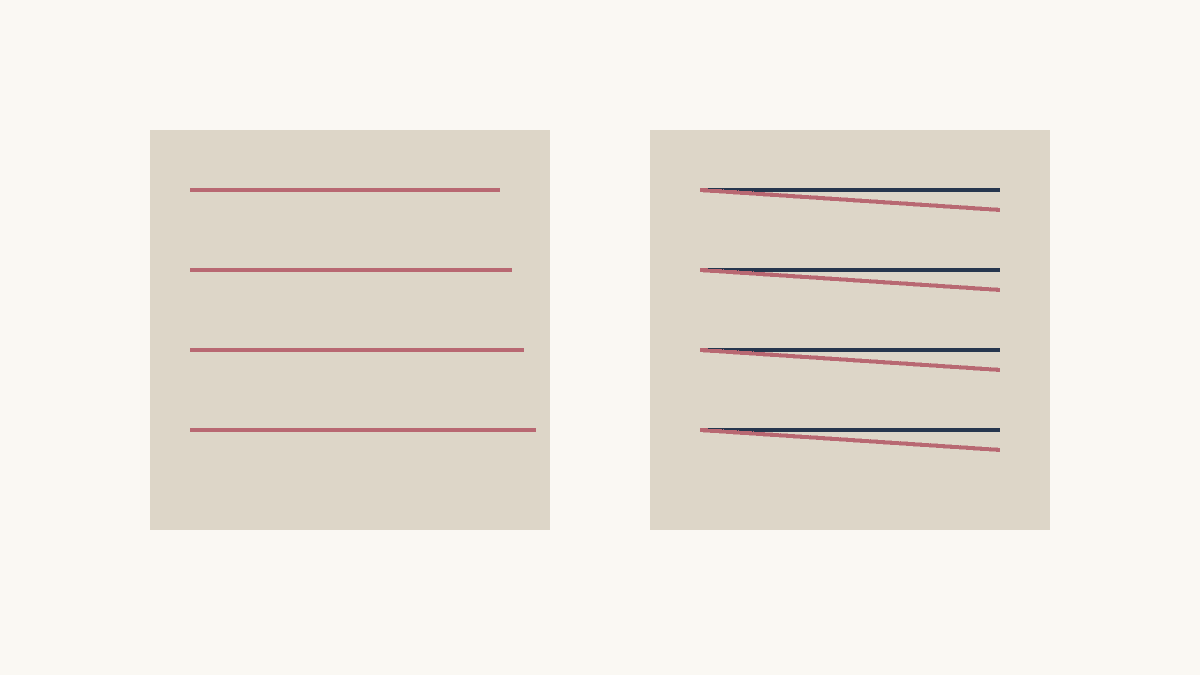
Stop when straight-line quilting begins to shift the fabric, and compare the layers with their starting references. If the top moves relative to the backing, investigate feeding, basting and support. If the layers remain aligned but the sewn line leaves its guide, investigate the guiding process instead.
Start with a small representative sandwich and one change at a time. Changing pressure, basting, speed and direction together can improve a sample without telling you which change helped.
Record what moved
Before stitching a trial, identify reference points on the top and backing that you can compare afterward. Choose a marking method already verified for those materials, or record the relationship with measured edges and photographs.
Write the starting alignment and the planned line direction. Include the top, batting, backing, machine and foot used. The record does not need to be elaborate; it needs to distinguish the layers from the drawn quilting guide.
Fran of Cotton and Joy's Janome lesson emphasizes good basting, compatible even feeding and returning to known references. Those are separate things to inspect when a line stops behaving as expected.
Our straight-line spacing article covers choosing the interval. This check asks what changes while you sew that interval.
Read a layer-creep example
Imagine a trial that begins with the top and backing references aligned. After the first pass, the top reference has moved one-sixteenth inch relative to the backing. After the second, it has moved one-eighth inch. The backing reference has stayed fixed in the record.
| Checkpoint | Relative top movement | Backing reference |
|---|---|---|
| Before sewing | 0 | Starting position |
| After pass 1 | 1/16 in | Unchanged |
| After pass 2 | 1/8 in | Unchanged |
The 1/8-inch entry is the total movement after two passes. The second pass added another 1/16 inch: 1/8 - 1/16 = 1/16. Keep cumulative and per-pass changes separate when you write your own log.
That pattern suggests relative layer movement. It does not prove one particular machine setting caused it. Basting, feeding, handling and the materials can all belong in the investigation.
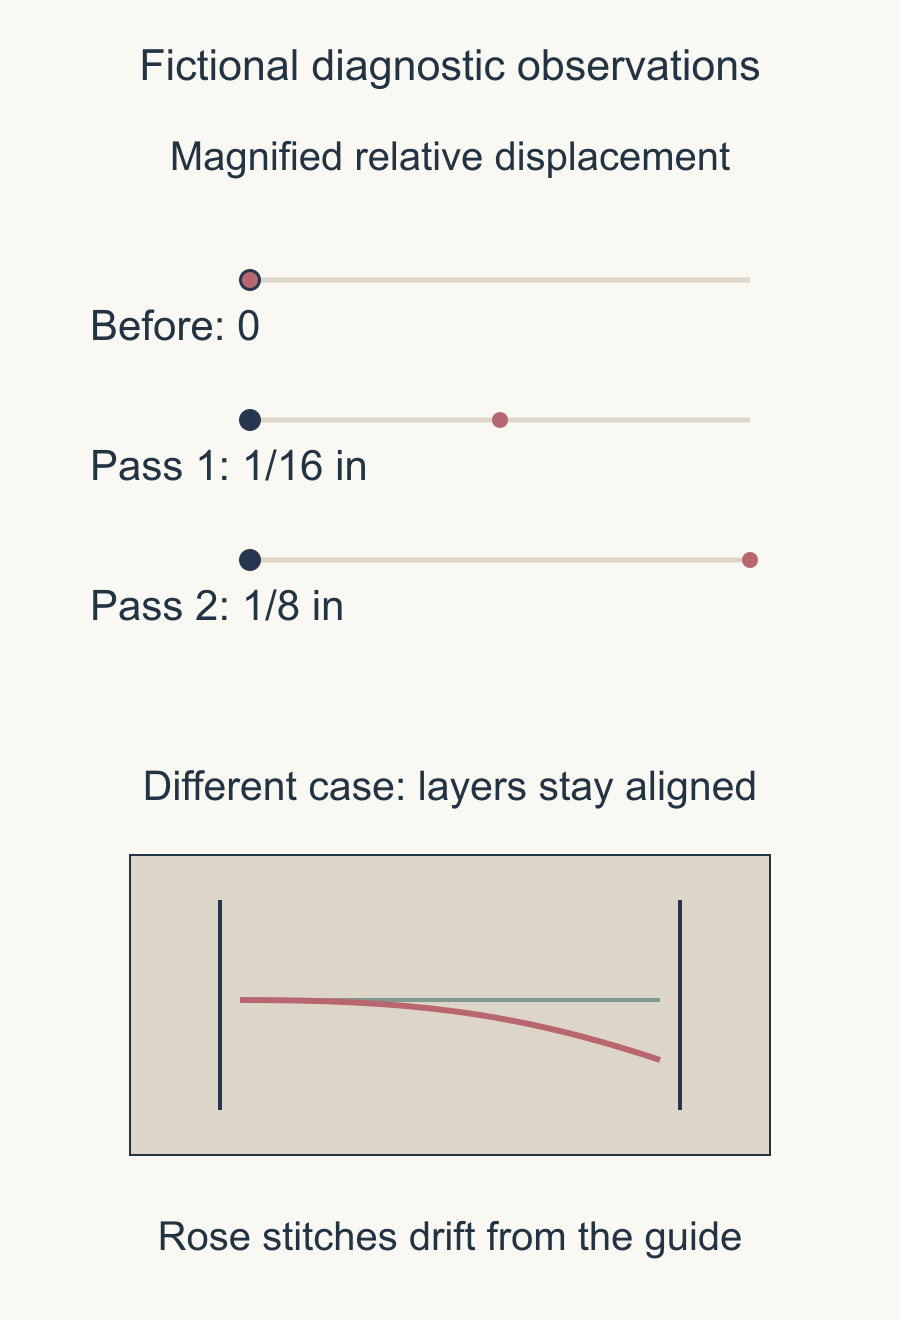
Keep the observation precise: "The top reference moved relative to the back." That gives your next trial a clearer question than "The quilt went wrong."
Recognize a guiding problem
Now consider a different sample. Its layer references still agree, but the stitching moves away from the intended guide.
Check whether you lost sight of the reference, used a changing point on the foot as the guide, or allowed the weight of the quilt to alter your handling. Inspect the line in short sections to find where the change began.
Annette's Juniperus straight-line discussion considers even feeding, quilt support and resetting guides. Those observations help form questions, but they are not a diagnosis of your particular sample.
If the guide bar follows a line that has already wandered, that error can carry into the next line. Stop and compare the stitching with an independent straight reference, such as the marked first line or a suitable long patchwork seam. Reset the next guide from that reference before changing the feeding setup.
Do not adjust the machine's feeding settings solely because a line wandered. First determine whether the layers also moved. You may have more than one problem, but the records should show each separately.
Check support before adding effort
Look at the quilt beside and behind the machine. Is a hanging area pulling on the part under the needle? Does a fold catch on the table edge when you reach the same point in every pass?
Our quilt-weight support guide covers arranging that surrounding fabric. Resolve an obvious catch before trying to steer harder through it.
Keep the sample supported in the same way for the comparison trial. If one version lies flat on a large surface and another hangs from a small table, you have changed the conditions as well as the setting you meant to test.
Photograph the support arrangement if you need to repeat it later. A useful improvement should be practical on the full quilt, not only on a tiny sample that never presents the same handling problem.
Use the machine's actual controls
Check the machine manual for the intended foot, compatible stitch and available adjustments. A walking foot or even-feed system must be installed and used as that machine requires.
Heather Jones's Sew 4 Home tutorial uses a same-material sample, a controlled pace and pressure adjustments where the machine provides them. Her setup is an example to learn from, not a universal pressure number to copy.
If the manual permits an adjustment, record its starting position and change only that setting for the next comparable trial. Keep the fabric combination, line length and basting arrangement as consistent as you can.
Stop and investigate a caught fold or damaged stitching before continuing. More passes through a developing problem make its starting cause harder to recognize.
Keep an honest comparison sheet
Use blank result fields for your actual trials:
| Trial | One planned change | Observed layer movement | Observed line behavior |
|---|---|---|---|
| Starting setup | Record current conditions | Fill after sewing | Fill after sewing |
| Comparison | Name one change | Fill after sewing | Fill after sewing |
Also record the line direction and number of passes. The second pass may reveal a pattern the first pass did not show.
If a change helps, repeat a representative portion before applying it to the whole quilt. If it does not, return to the observation rather than adding several unrelated adjustments at once.
Choose the next useful trial
A top that creeps while the back stays stable calls for a different next check from a well-aligned sandwich with an irregular guide line. Name the first visible change, then choose one condition you can reasonably investigate.
Keep successful samples and notes beside the machine while you begin the quilt. Recheck the actual quilt after the first useful section, because its weight and handling differ from the small sample.
Start by comparing your layers with their original references. That one observation will make the next adjustment more deliberate and the result easier to understand.
Plan your next quilt
Lay out blocks and try colors in QuiltLab's grid editor before you cut.
Free forever, no card needed.
Explore designing with your fabricsGet quilting tips by email
QuiltLab updates, tips and quilting inspiration. Unsubscribe anytime.
Related posts
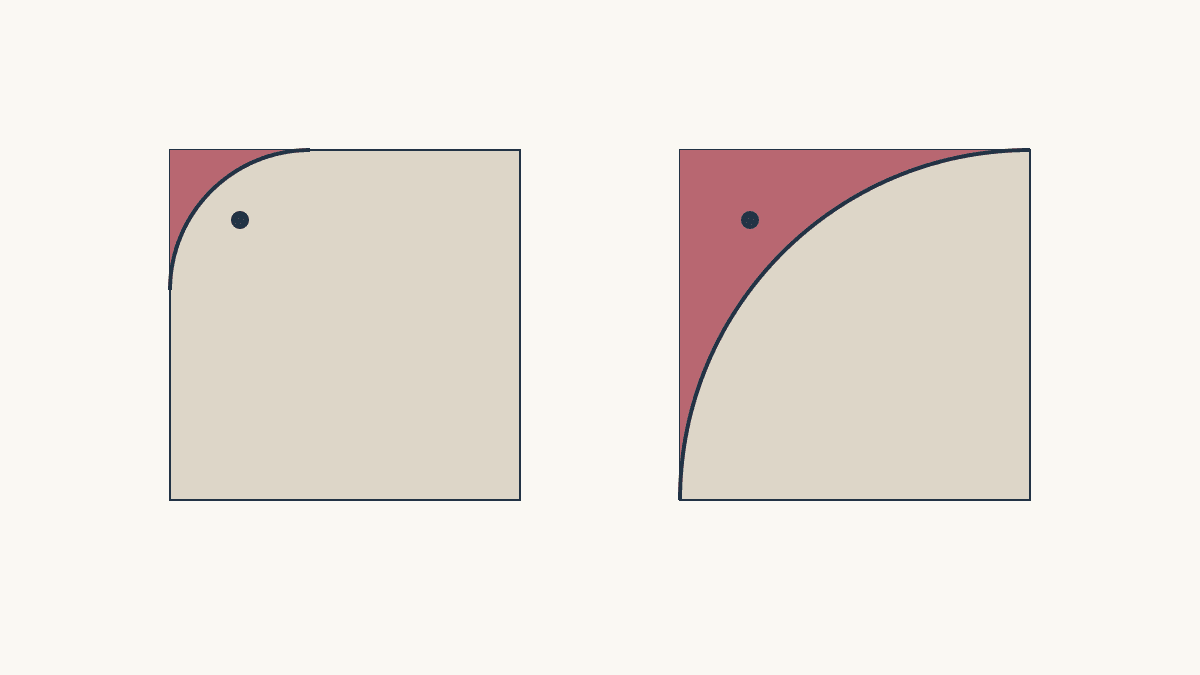
Rounded Quilt Corners: Will Your Motif Survive?
Compare two corner radii against nearby motifs before trimming, then plan a consistent curve and suitable binding method.

Lightweight Quilt Batting: Check Care First
Write the coverlet’s care requirements, check the exact batting limits, and test the finished combination before calling it lightweight.
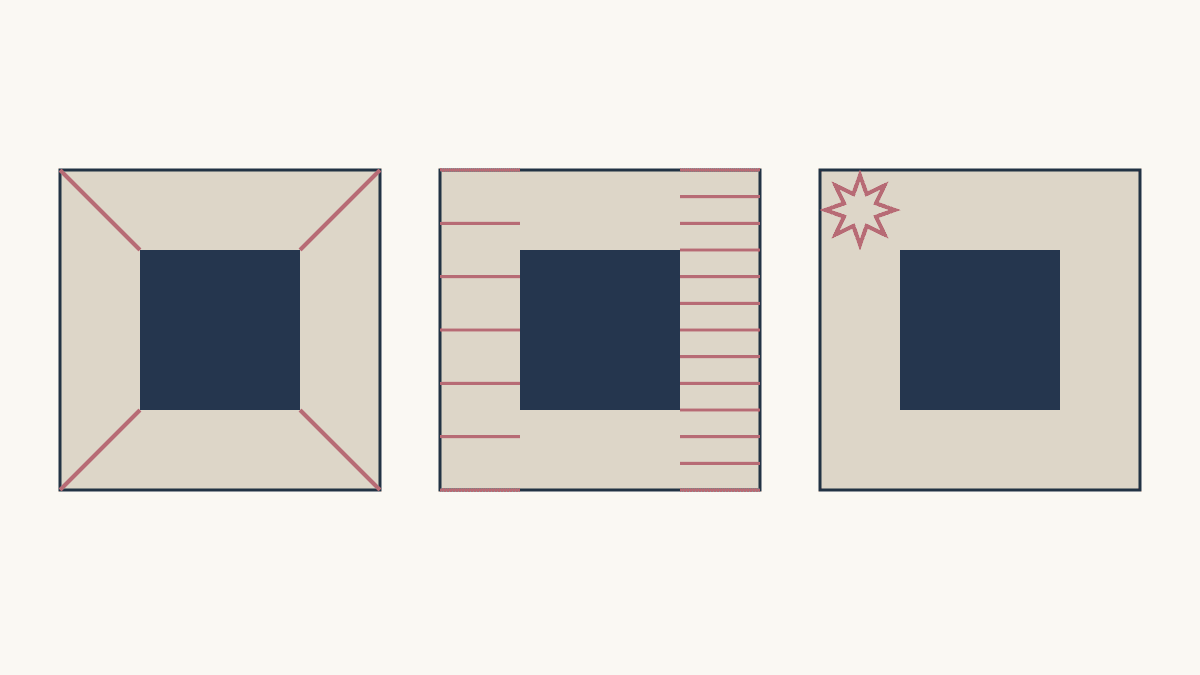
Quilting Negative Space: Extend, Fill or Echo
Compare three quilting approaches on one fixed quilt layout, then count the lines and check the open areas.